I'm known locally for my bike's reflective properties... I take a bike that looks like this:
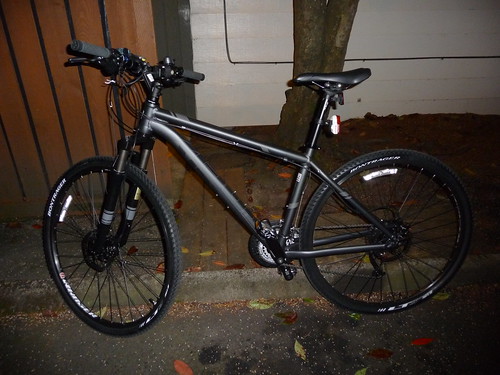 2011 Trek Montare (near stock condition)
and make it look like this:
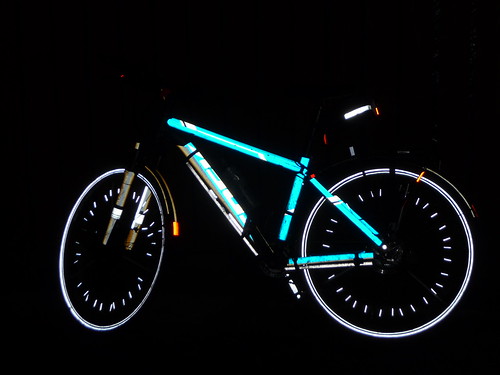 2011 Trek Montare (Using Avery blue, white, black reflective films, and Lightweights for Wheels)
If anybody's looking to do it themselves, here's a quick little primer on how to do it...
First locate your reflective material. For the large areas, I've been using Avery and 3M Scotchlight self-adhesive reflective films for years now, but
my supplier is shifting to another product from Oracal. It's as good as the Avery product they say, and it's cheaper (15" wide $14USD/yd, 24" wide $24USD/yd(ish)). It comes in a number of colors, and has a 1yd/color minimum purchase (3 colors = 3 yards = lots of coverage).

For my bikes, I've come to the decision that the 24" wide material is a LOT more effective (especially when you're doing your first bike).
For the spokes, I use
lightweights for wheels ($15USD/set of 75 pieces).
I've also been known to use
conspicuity (or reflective) tape ($7USD/set of Ten 2" x 12" strips) from
Harbor Freight Tools, on things like my bike pump, inside my cranks, and the back of my helmet.
You'll need some tools, such as good scissors, an X-acto knife (or two) with a few new #11 blades, a cutting surface, a metal ruler, a hair drier, some
Goo Gone, rubber gloves, safety glasses, rags, and a sharpie pen.
When applying these products, it's important to have the surface clean and dry, so your bike gets a nice bath and a rubdown (or air dry) before you get started.
My latest method to capture detail is to start with outlining the small stuff first. I cut thin (sacrificial) strips (1/16" wide or so) of a different color than the main area, then carefully apply it to the detail I want to keep. Remember the more detail you want to keep, the harder and longer this process will take (Keep It Simple Stupid applies). When finished outlining, cut strips of the main color, and apply it over the area. Using your fingernails, firmly press the main color into the edges of the outlining material, this will guide you as you trim the material with the X-acto. Peel back the material that's overlapping the detail, then using the Goo Gone (with proper safety gear), remove any residue from the detail area. Then apply the detail color over it's area, and again with the fingernails, X-acto, and Goo Gone.
Do not try to wrap the entire tube in a single piece of film, it won't work cleanly, and you'll end up wasting a lot of material (if you want a nice finish). I find that strips that are not much more than 1/3 the circumference work best. For best results, start at the lower (say right) side, then switch to the other (left) side, then from the top (I like a little overlap). This eliminates areas where water may catch and possibly cause failure of the adhesive (or catch dirt and make the joints more visible). Any bubbles that get trapped under the film can be dealt with by simply lancing them with a sharp X-acto blade.
A hair drier helps make the films flexible when going around odd shapes. Using scraps, and the sharpie can help you make cutting patterns for things like lettering.
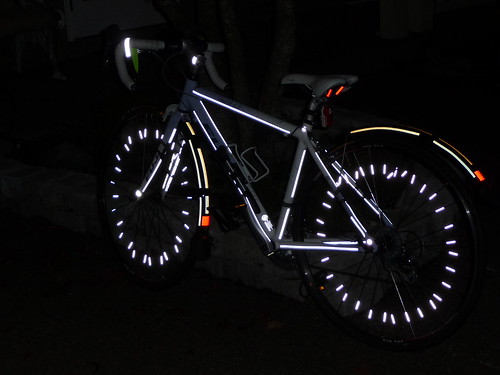
 2004 Giant Rainier (using 3M blue and white Scotchlight films)
Some time and effort, and you can end up with a really convincing application that doesn't stand out in day, but has a remarkable effect at night.
And remember, you don't have to go all out to make a bike glow...
 Mom's 2008 Fuji Finest 2.0 (Using Avery white, and black reflective films)
Be Seeing You!
K'Tesh