


8spd Ultegra STI shifter (original style) rebuild guide
 12-23-09, 08:13 AM
#1
Senior Member
Thread Starter

Join Date: Dec 2009
Location: Melbourne, Oz
Posts: 9,547
Bikes: https://weightweenies.starbike.com/forum/viewtopic.php?f=10&t=152015&p=1404231
Mentioned: 15 Post(s)
Tagged: 0 Thread(s)
Quoted: 1529 Post(s)
Liked 718 Times
in
510 Posts
8spd Ultegra STI shifter (original style) rebuild guide
*****EDIT
It turns out there's a vastly simpler way to revive your STIs, so don't bother with this method here unless you like a challenge.
Basically, the quick and dirty style doesn't involve undoing the round 4-slotted nut that holds the pivot bracket on and keeps almost the entire mechanism together; instead you push the inner lever over to access the philips screw holding the mechanism in the main lever, undo that, and hey presto - you've mostly exposed the mechanism for cleaning and lubing.
See here, here and here for (nice and clear) pics and further details.
For those who'd like to crack on with the full overhaul, a comprehensive set of very good pics of the process on these 6400 levers can be found here.
Also, 9s STIs have their own failure mode where they jam; if you're keen you can try tweaking the tired springs responsible, or you can just hook a bit of tube around them.
****
I just fully overhauled an older 8spd Ultegra shifter today... found this old thread when I got stuck, but it was no help.
Like most folks I'd balked at my first attempt; got it halfway apart and got scared it was a genuine 'no user-serviceable parts inside' deal...
But that was a few years ago, and just motivated by curiosity. This time it was necessity; my left one's small lever had pretty much given up.
Didn't need any special tools, and managed it in two or three hours (most of which was figuring out how to replace this one spring I didn't get a look at before it came loose). I reckon I could overhaul the other one in about an hour now, but those with stubby fingers will find it tough going...
I would've taken pics, but my phone recently died... when I get a new one I'll strip down the right shifter and post a full article.
In the meantime, here's a basic run-down.
For these original-style Ultegra levers, you'll need a 5mm allen key to get em off of course, and a 2mm one to get the brake lever pivot out. Put aside the little plastic bushes and the return spring (which you can prolly tell is a bit of a trick to replace). Pull out the brake cable holder and put it aside. Get a blade and prise up the little round sticky cover off the front (which you may need a dob of Blu-Tack to replace).
Using an 8mm socket, remove the small bolt from the front, and the fascia bit incorporating the gear cable stop will come off along with a spring and surrounding plastic ring. The brake lever bracket is next, held on with a special nut that obviously requires a unique tool Shimano will charge you $40 or something for... but you can just use a particularly pointy pair of long-nose pliers (you may need to file them a bit). Underneath the bracket is a special steel washer and a similar plastic one, which retain another spring underneath via a little hole through both of them (use a steel ruler or scissor blade or some such to replace the end of the spring through the hole on reassembly).
Now we're getting into the complicated stuff, and my memory's waning, but it's primarily a matter of getting a good look at the various bits of mechanism before disassembling them; it'd be a good idea to take a few pics or even draw diagrams. The cross-shaped central bolt only lets the bits with cross-shaped holes on in two ways, rather than four, so that makes it a bit easier...
When you remove a bit made up of multiple other bits, it's a good idea to leave such subassemblies intact until you clean and grease them, or better still prepare them for reassembly as you remove them - this will minimise the amount of time you have to remember the most complicated arrangements. Use a blade to gently remove washers and such, and take care to remember or record the order of everything. When you undo the philips head screw holding the central part of the mechanism in the lever, make sure to push the central bolt through from the other side to keep the assembly intact in order to scope it out before it falls apart.
Inside here is the spring that gave me so much trouble, so try and spot where it lives before it moves (hint: the curly end hooks around the small round bump on the bit of plate beneath it, not the bent-up part... took me more than an hour to figure that out). Not much more to disassemble once you've started taking the central mechanism apart, but just make sure you properly clean and regrease the pivots for all the little sprung pawls all over the place; use some WD40 and pull a shred of rag through the pawl pivot holes.
Once the whole thing's disassembled and cleaned, grease up the bushes and stuff and begin reassembling. If you forget the precise orientation of the parts, it's not the end of the world as long as you've remembered the order they go together in - the assembly can only successfully go back together one way. If you've got it wrong, you'll notice when you go to do up the philips head screw (or before), and you may have to disassemble and reassemble multiple times (helps to leave a couple of the pawls off) to figure out the details. Perseverance will pay off, but you want to figure it out before the memories get fuzzy, so persistence is also recommended.
Once you have the central part of the mechanism back together and screwed into the lever, the small lever can go back on, and then you need to figure out the first real trick in reassembly - to replace the small lever's return spring, hook the end of the spring into the little slot in the top of the lever's pivot section, then slide the special plastic and steel washers onto the cross-shaped bolt with the matching spring holes towards the top. Using a couple of fingers to press the washers down, slide a thin piece of metal underneath to wind up the spring and push the bent end through the holes in the washers - snap. Then the pivot bracket, lock washer and special nut can go back on.
Now it's time to replace the cast fascia bit. The spring that lives under here (presumably a return spring for the large lever) has one bent end a bit longer than the other; I wasn't sure which way it went but elected to put the longer end in first, which seemed to work fine. Put in the plastic ring around the spring, and now engage the other end of the spring with the hole in the fascia bit and turn it to wind up the spring and get it pointing the right way.
Replace the small bolt (with spring washer) and tighten it up a bit. Now, the spring and its surrounding plastic ring are almost certainly poking out the side and looking very wrong, but that's okay cause you're just going to tighten the bolt a little bit at a time until the spring and ring are lightly jammed. Using a small flat screwdriver or something, just push the spring until it snaps into place, and then you can finish tightening the bolt.
Now the lever assembly is complete; only one more trick to go. Replace the brake cable holder, pivot bushes and brake lever return spring in the pivot bracket on the lever... the trick here is to use a finger to hold a bit of preload on the spring and find the angle where you can successfully slide the pivot bracket into the lever's body so as to continue winding up the return spring. Carefully holding the lever in place, you can slide the pivot pin back in, tighten up the grub screw and you're done.
Phew. It's a mission... but quite doable, if you have the requisite skill and dexterity. This stuff about STI levers being unserviceable just isn't true - they just sort out the real mechanics from the pretenders ; )
But they're rubbish next to Ergopower. As any fule kno, a blind multiple amputee can rebuild Campy levers, and they're relatively indestructible... the only weak point being the inner pivot point for the brake levers. Of course, Campy gear is way expensive and their rear hubs are a joke... and last time I tried it, Exadrive couldn't hold a candle to Hyperglide.
So, what's the solution? Shimagnolo. Ergopower on Hyperglide is a joy.
Last edited by Kimmo; 06-25-14 at 05:35 AM.
 12-23-09, 09:12 AM
#2
Senior Member
Join Date: Aug 2005
Location: Pittsburgh, PA
Posts: 33,656
Bikes: '96 Litespeed Catalyst, '05 Litespeed Firenze, '06 Litespeed Tuscany, '20 Surly Midnight Special, All are 3x10. It is hilly around here!
Mentioned: 39 Post(s)
Tagged: 0 Thread(s)
Quoted: 2026 Post(s)
Likes: 0
Liked 1,096 Times
in
742 Posts
A couple of comments.
First, Shimano provides a "tool" to ease the job of replacing the brake lever return sping. It a 2mm OD hollow metal tube 20 mm long that slips over the end of the spring and makes levering it into place easy. One came with each set of 8-speed STI levers I bought but I don't know if they are still provided.
Second, I fully agree on the Shamagnolo recommendation. I have 10-speed Ergos shifting a 9-speed (soon to be 10-speed) Shimano cassette on a Shimano freehub with a Shimano rear derailleur. Jtek's Shiftmate makes them work together wonderfully.
12-23-09, 09:16 AM
#3
Senior Member
Thread Starter
Join Date: Dec 2009
Location: Melbourne, Oz
Posts: 9,547
Bikes: https://weightweenies.starbike.com/forum/viewtopic.php?f=10&t=152015&p=1404231
Mentioned: 15 Post(s)
Tagged: 0 Thread(s)
Quoted: 1529 Post(s)
Liked 718 Times
in
510 Posts
It was a bit of a fiddle, but I wouldn't bother making a tool to do it; a little screwdriver could've helped.
I like the meaty Campag rear derailleurs, but they're damn expensive... about ten years ago I paid something like AU$80 for a pivot bolt and special little bush-type jigger to repair a $140 Veloce derailleur... but at least the parts were available.
I like the meaty Campag rear derailleurs, but they're damn expensive... about ten years ago I paid something like AU$80 for a pivot bolt and special little bush-type jigger to repair a $140 Veloce derailleur... but at least the parts were available.
Last edited by Kimmo; 12-23-09 at 09:22 AM.
12-23-09, 10:17 AM
#4
Newbie
You mentioned making a diagram at several stages.....If you have the cpability I would suggest taking pictures at your highest resolution on your camera at regular intervals, if you have the technology. That way you could blow them up to get a better look and they would be sequentially numbered to help.
01-05-10, 02:44 AM
#5
Senior Member
Thread Starter
Join Date: Dec 2009
Location: Melbourne, Oz
Posts: 9,547
Bikes: https://weightweenies.starbike.com/forum/viewtopic.php?f=10&t=152015&p=1404231
Mentioned: 15 Post(s)
Tagged: 0 Thread(s)
Quoted: 1529 Post(s)
Liked 718 Times
in
510 Posts
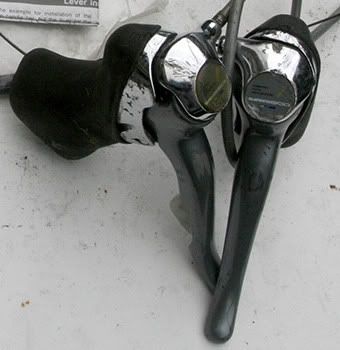
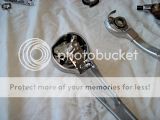
r/h shifter - pics!
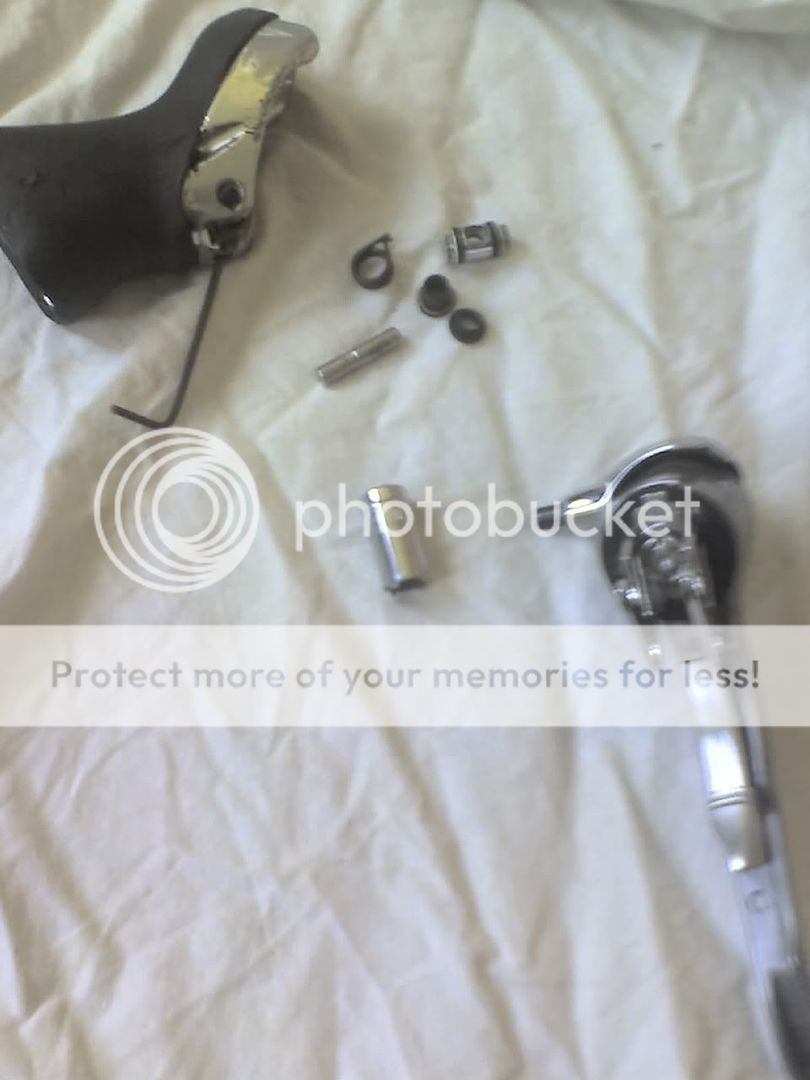
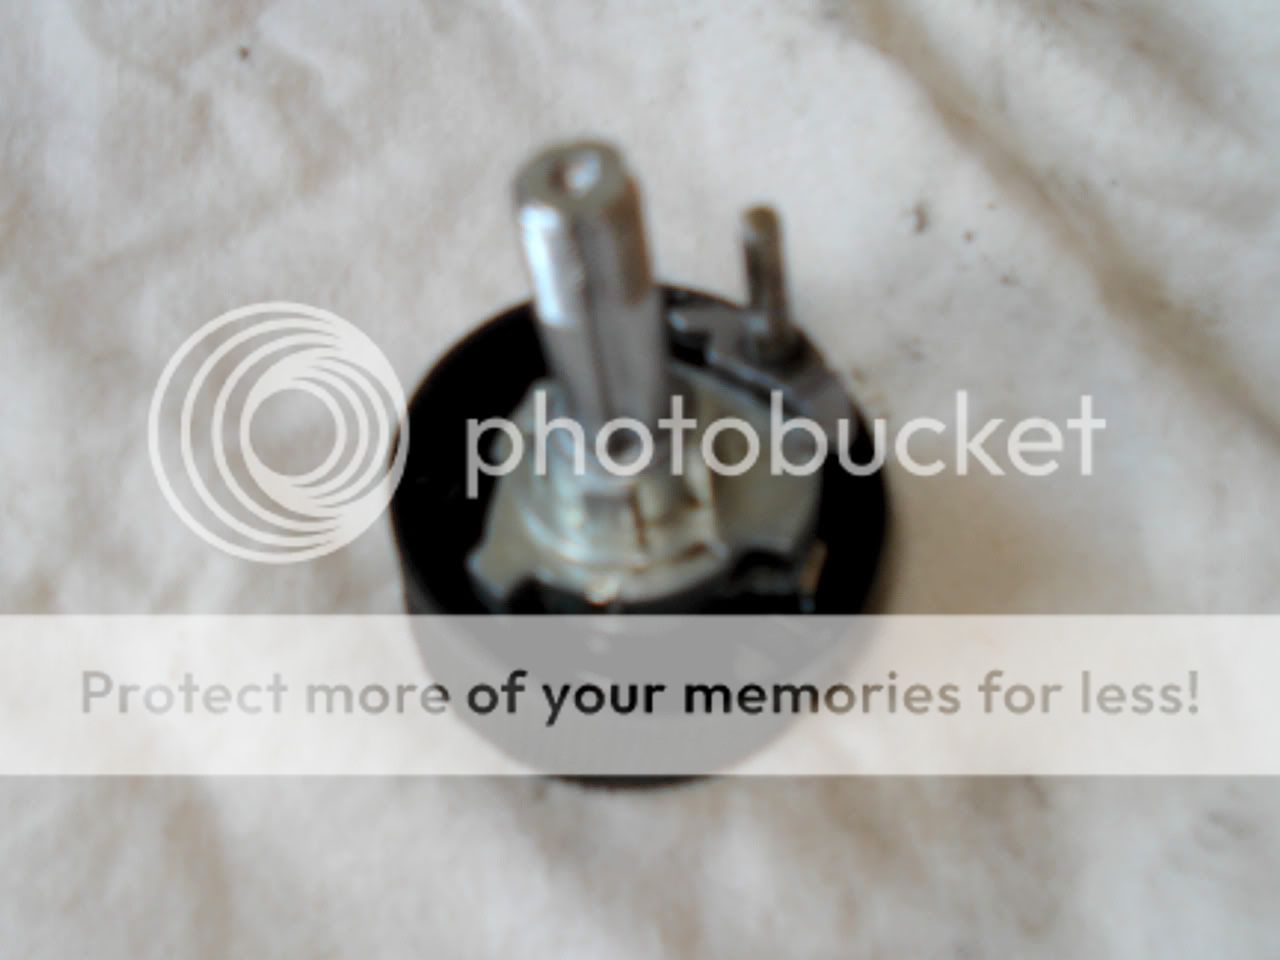
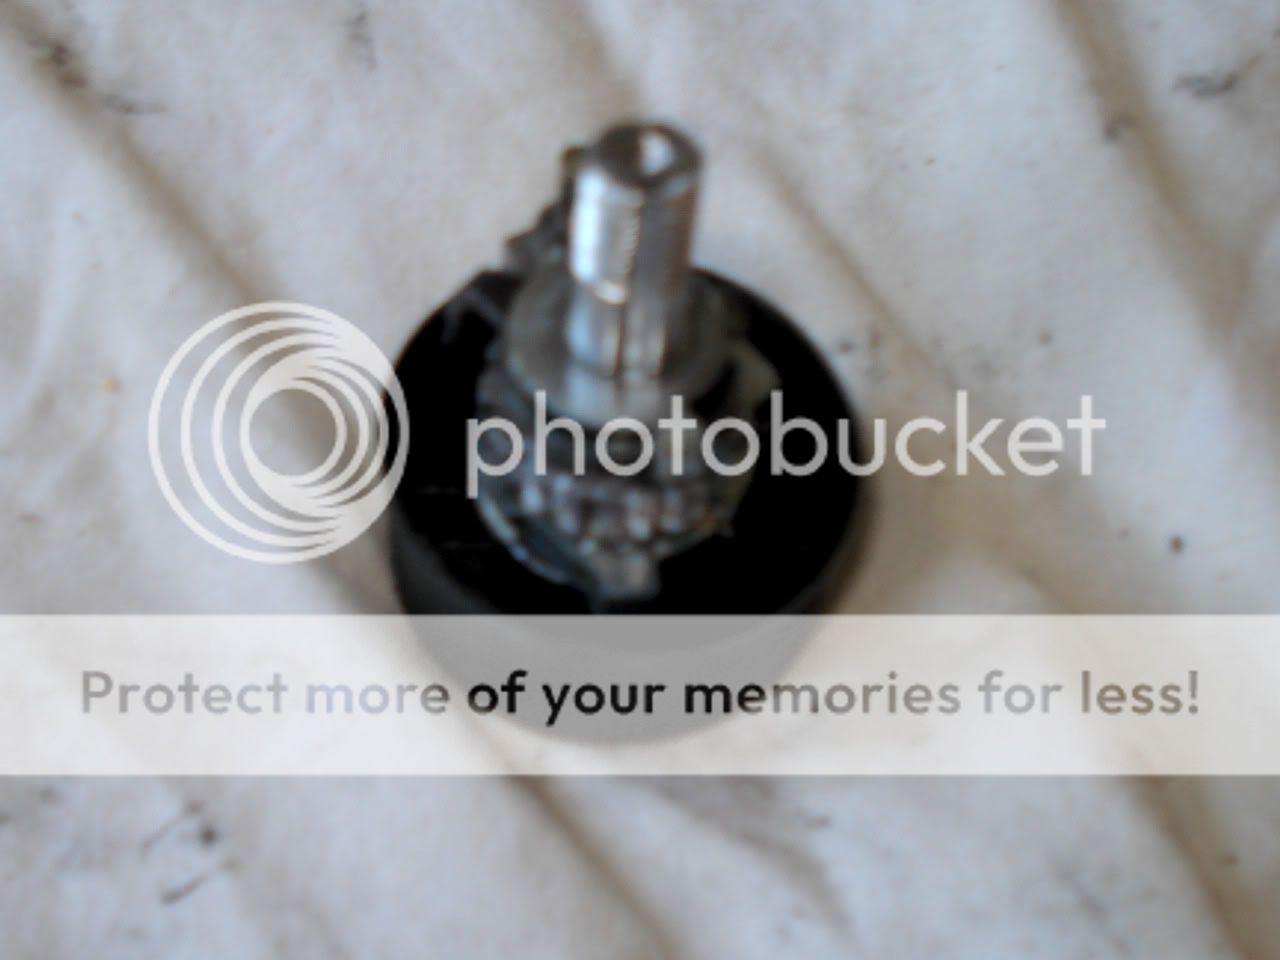
Apologies for how blurry these pics are... the camera in this V3i isn't a patch on the one in my dead V3x, dammit.
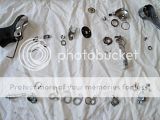
So anyway, here's the deal - the r/h shifter is actually quite different to the l/h one; stuffed if I know why... there are fewer tricks to successful reassembly, but the whole thing is a bit more tedious and fiddly. It's a very good idea to do this on the floor, where tiny parts can't fall any further... and also a good move to put down a sheet or something so if any bits do fall, they won't bounce away.
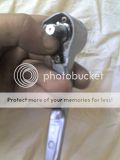
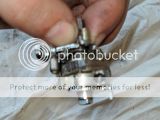
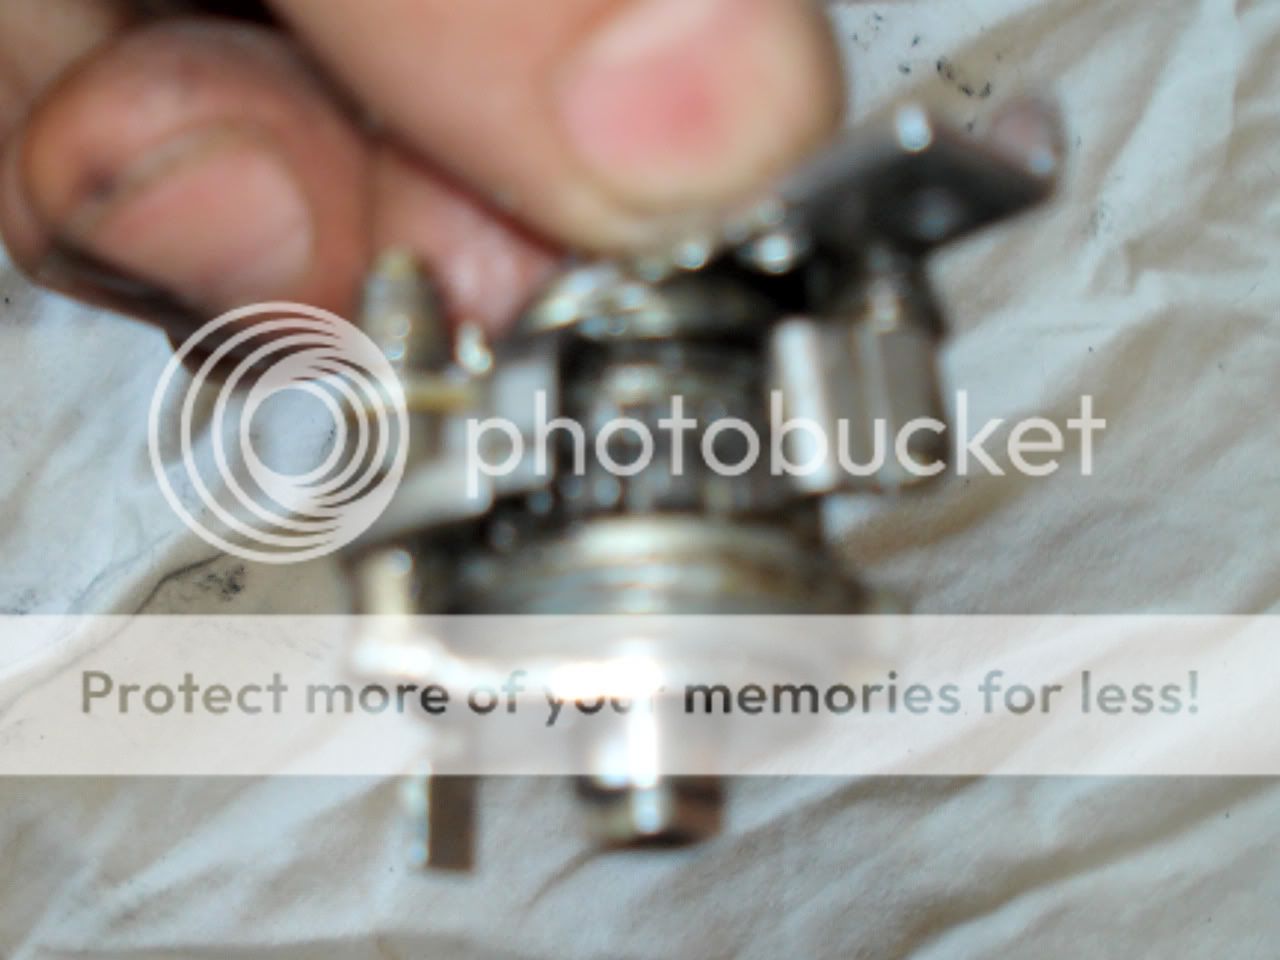
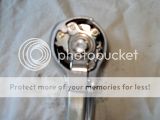
Use a 2mm allen key to get the lever off the body; watch you don't lose the little brass washers off the plastic bushes (I'd either already lost one last time, or there's only one - guess it makes sense to have it on the bush that also carries the spring). Pull the loose bits out of the lever bracket and put them aside.
I'd taken this lever off before, because the special nut holding the bracket onto the lever had come loose; unfortunately I overtightened it and couldn't get it off again with long-nose pliers. So, I took a fresh cutting wheel on the grinder to an 8mm socket... it wasn't perfect, but it did the job well enough. Get that nut off to start getting stuck in.

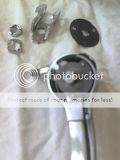
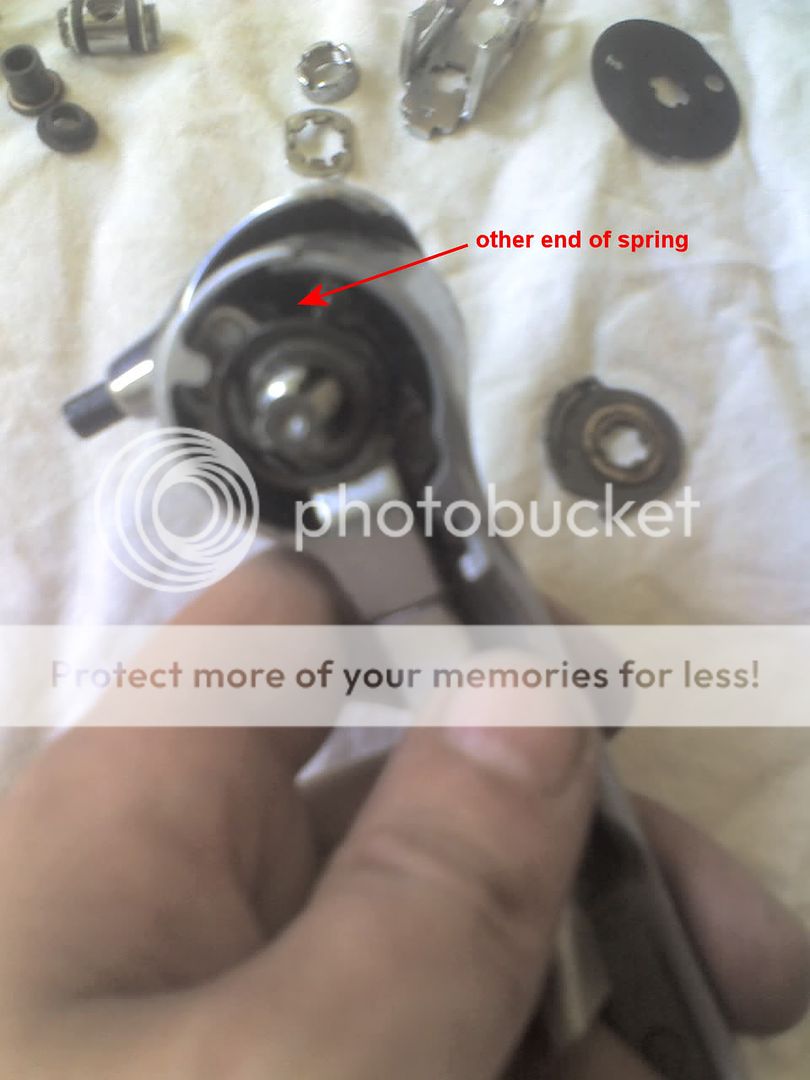
Unhook that spring to get the fancy steel washer off, and take note of where the other end of the spring belongs. Take care not to lose track of the brass washer underneath; these things are sometimes easy to miss when they're covered in black goop and stuck to other parts. Remove the small lever which includes a separate bush and brass washer. Clean each bunch of bits as they're removed - undo the circlip on the little pawl and give it a good clean. Regrease and reassemble as much as possible before continuing.

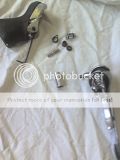
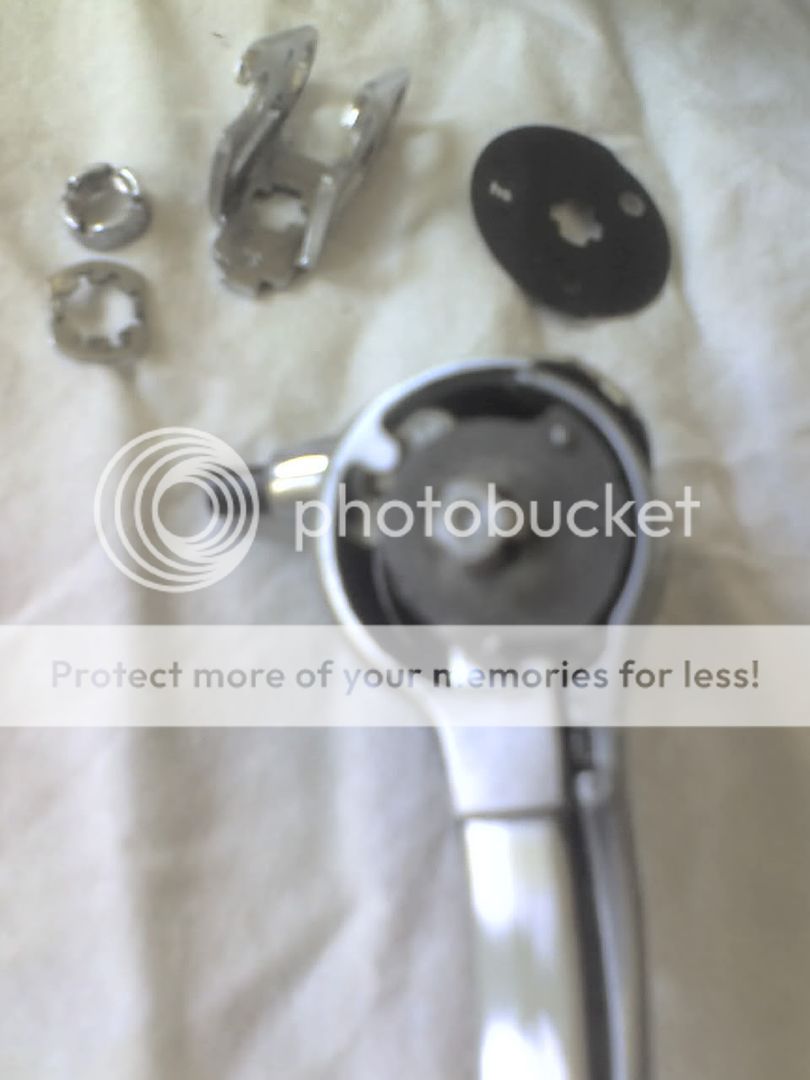
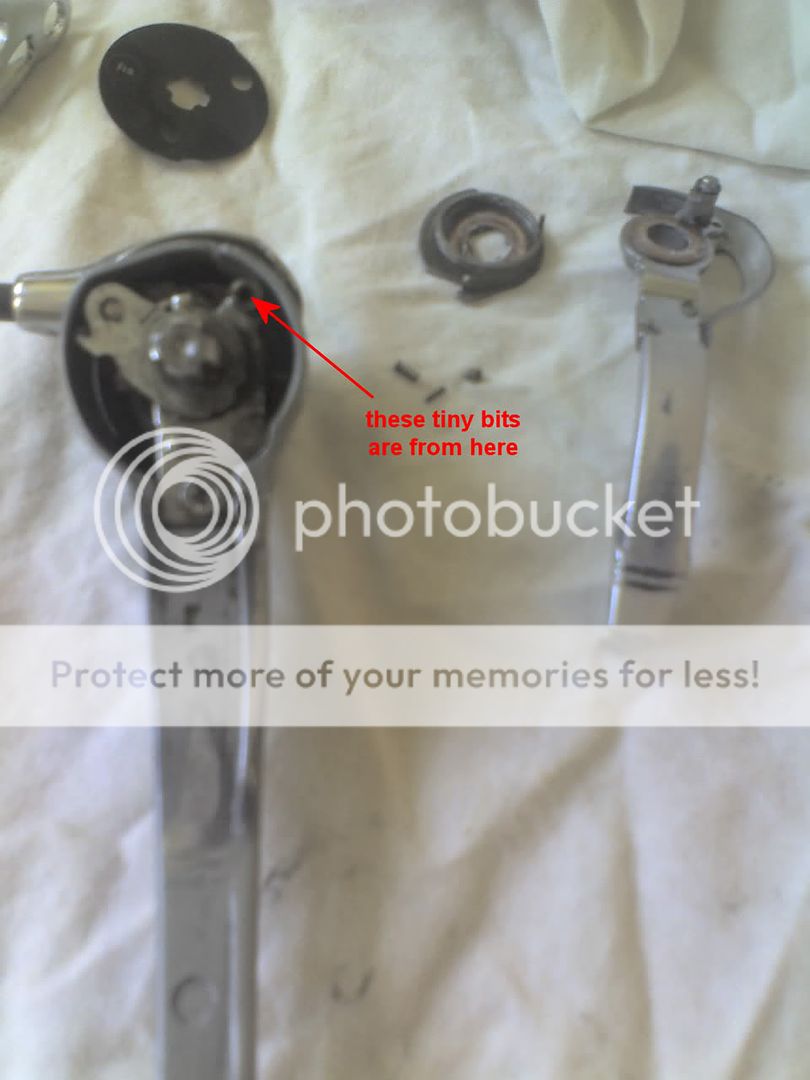
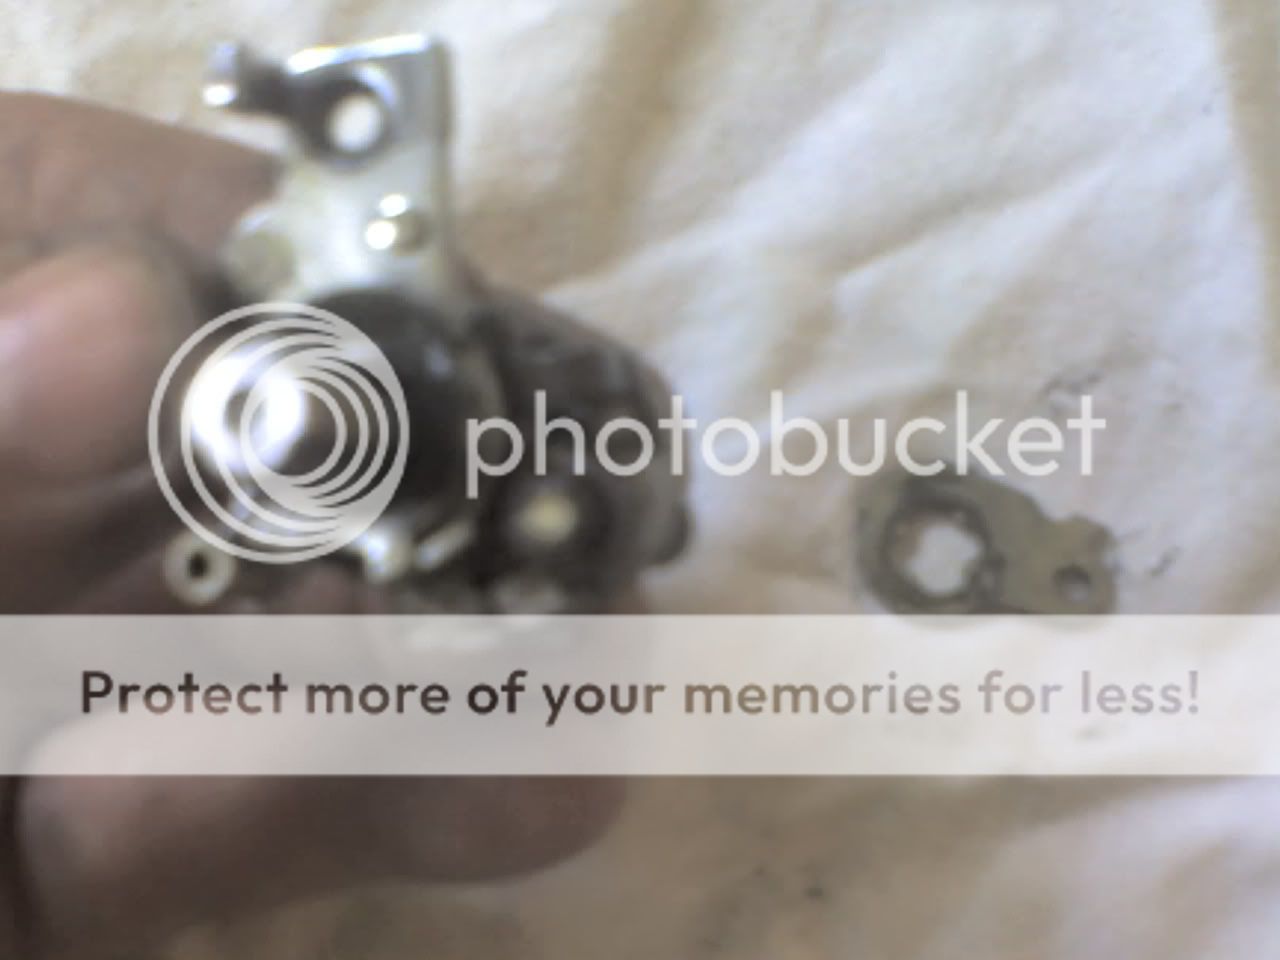
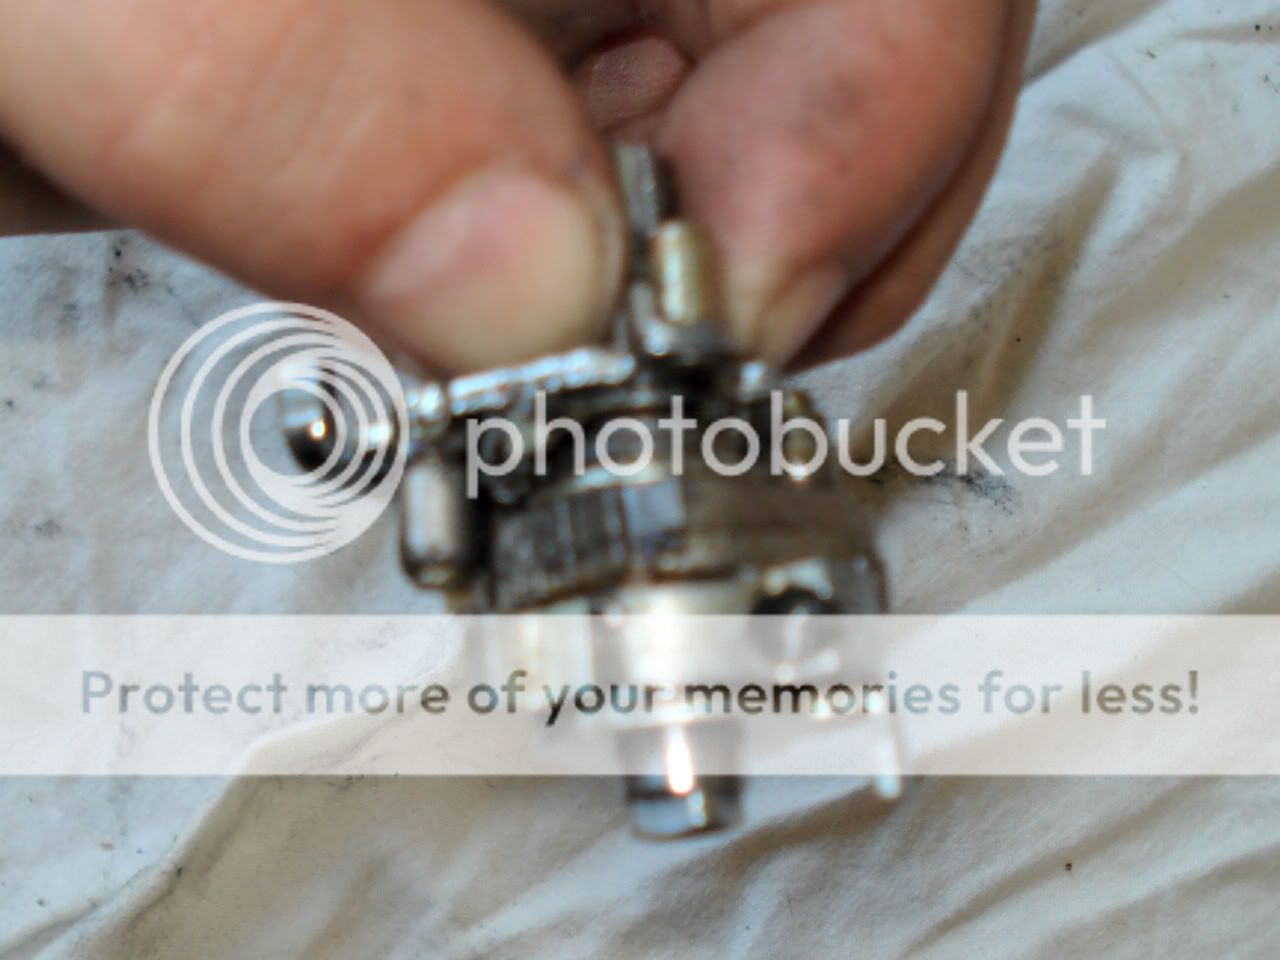
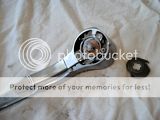
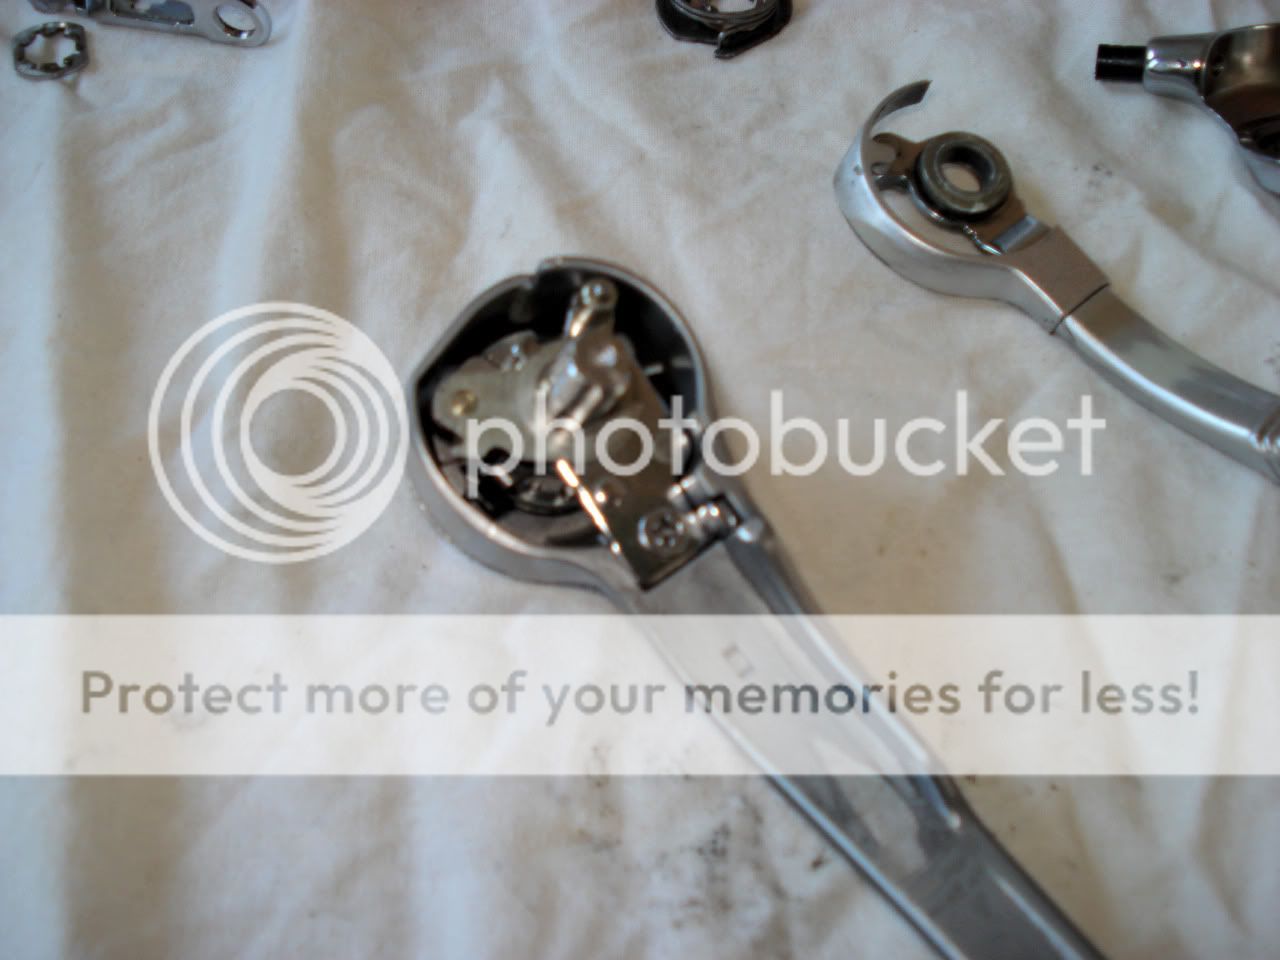
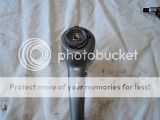
Using an 8mm socket, undo the bolt on the front of the lever and remove the fascia / gear cable stop. There's a spring and a little plastic ring under here. Now keep your finger pressing on the front of the spindle as you undo the philips-head screw to prevent the mechanism popping apart inside the lever. There's a little square captive washer that's meant to retain this screw, but mine came off (the screw was already quite loose, too).
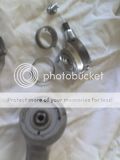

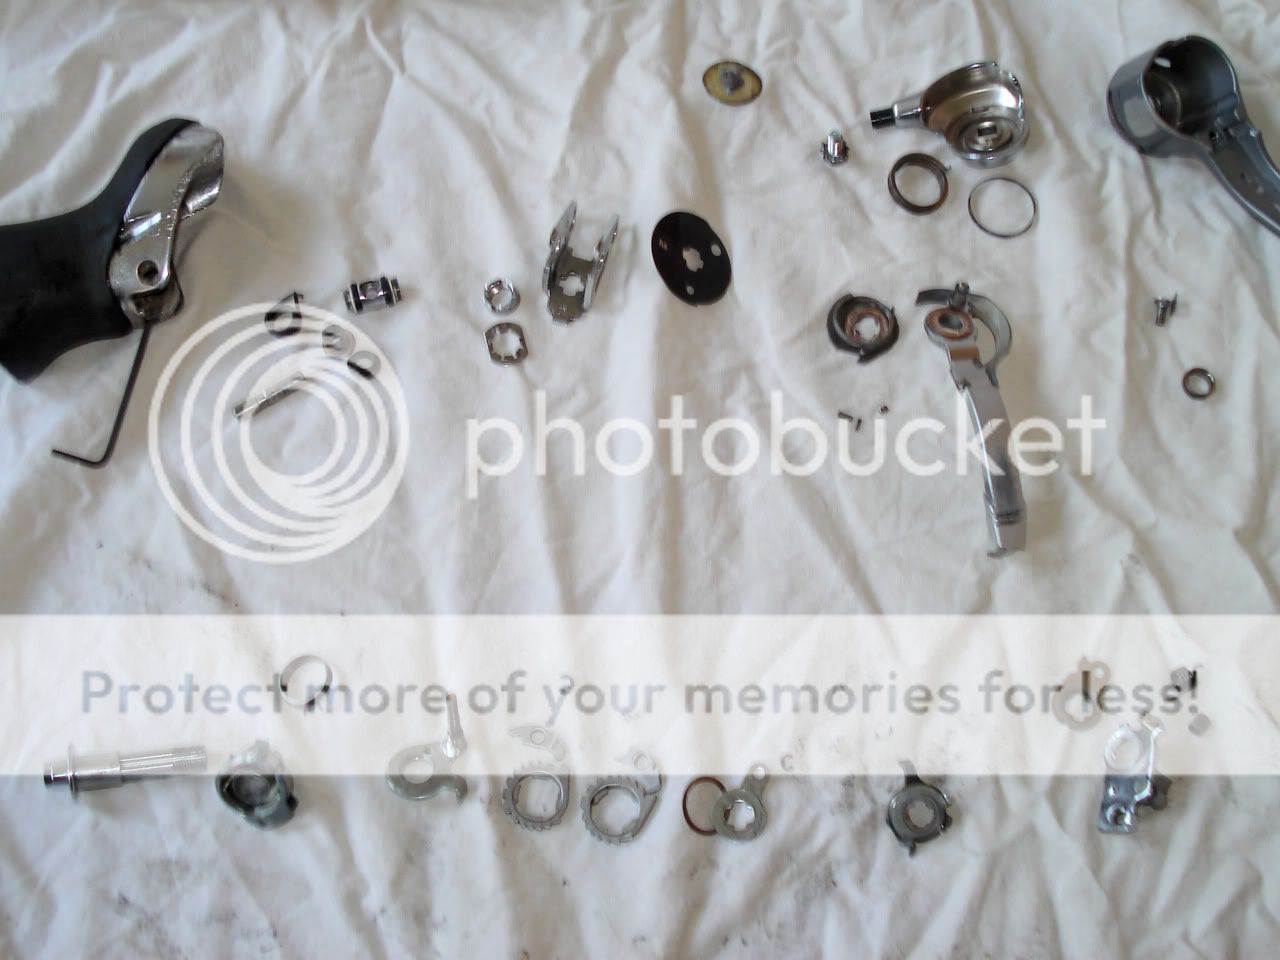
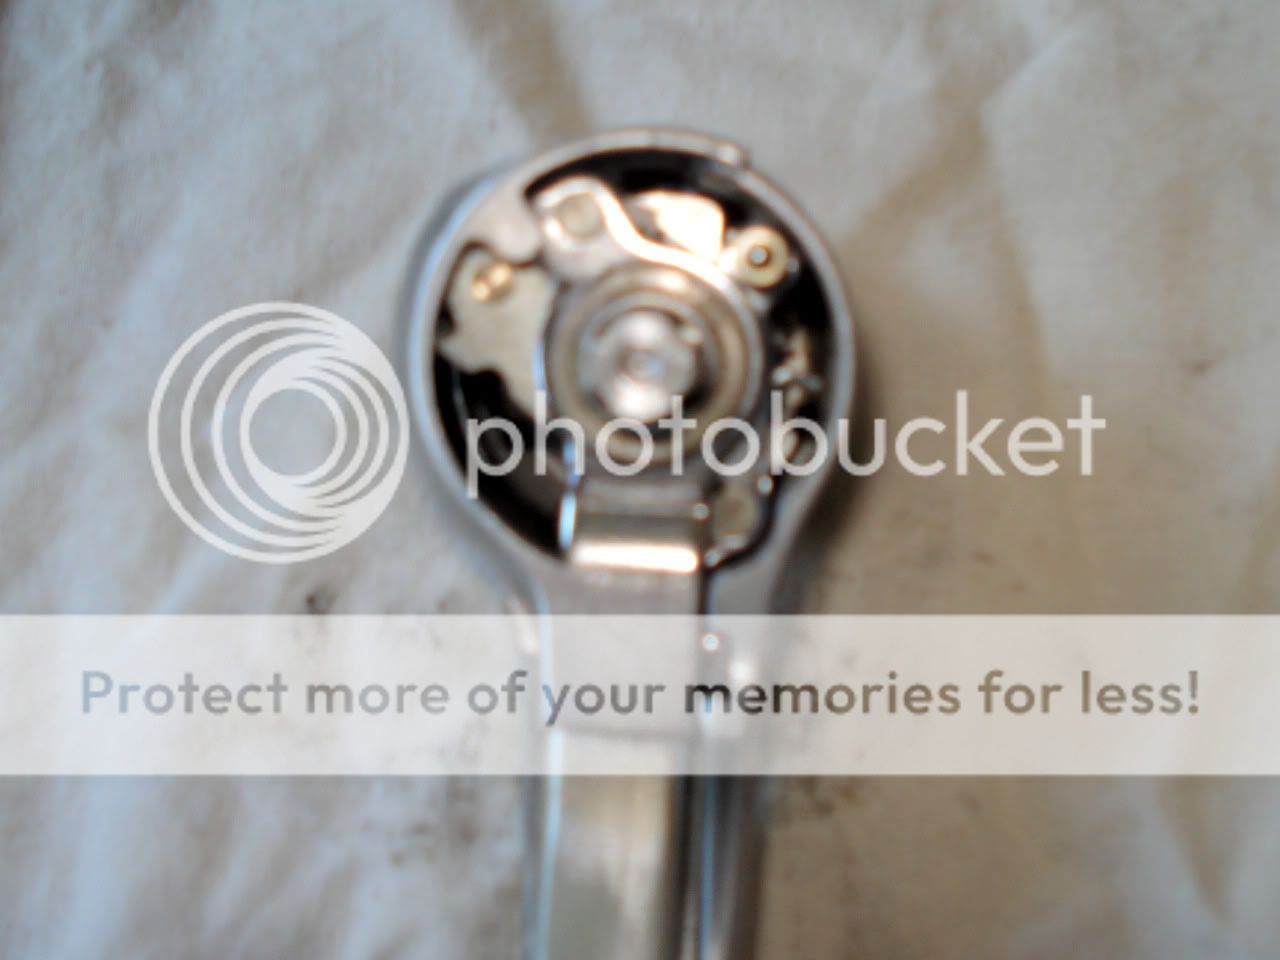
Now you'll want to get a good hard look at this mechanism before going any further... take note of where and how the different layers of bits interact; take pics (hopefully better than these) or draw a picture if you have to. The first bits to come off this mess sre the bushing and brass washer off the front (not shown) and another fancy washer that also encircles the top of a pin with a spring around it. Also remove the spring and its bush (not shown as anything but a blur).
So anyway, here's the deal - the r/h shifter is actually quite different to the l/h one; stuffed if I know why... there are fewer tricks to successful reassembly, but the whole thing is a bit more tedious and fiddly. It's a very good idea to do this on the floor, where tiny parts can't fall any further... and also a good move to put down a sheet or something so if any bits do fall, they won't bounce away.
Use a 2mm allen key to get the lever off the body; watch you don't lose the little brass washers off the plastic bushes (I'd either already lost one last time, or there's only one - guess it makes sense to have it on the bush that also carries the spring). Pull the loose bits out of the lever bracket and put them aside.
I'd taken this lever off before, because the special nut holding the bracket onto the lever had come loose; unfortunately I overtightened it and couldn't get it off again with long-nose pliers. So, I took a fresh cutting wheel on the grinder to an 8mm socket... it wasn't perfect, but it did the job well enough. Get that nut off to start getting stuck in.

Unhook that spring to get the fancy steel washer off, and take note of where the other end of the spring belongs. Take care not to lose track of the brass washer underneath; these things are sometimes easy to miss when they're covered in black goop and stuck to other parts. Remove the small lever which includes a separate bush and brass washer. Clean each bunch of bits as they're removed - undo the circlip on the little pawl and give it a good clean. Regrease and reassemble as much as possible before continuing.
Using an 8mm socket, undo the bolt on the front of the lever and remove the fascia / gear cable stop. There's a spring and a little plastic ring under here. Now keep your finger pressing on the front of the spindle as you undo the philips-head screw to prevent the mechanism popping apart inside the lever. There's a little square captive washer that's meant to retain this screw, but mine came off (the screw was already quite loose, too).


Now you'll want to get a good hard look at this mechanism before going any further... take note of where and how the different layers of bits interact; take pics (hopefully better than these) or draw a picture if you have to. The first bits to come off this mess sre the bushing and brass washer off the front (not shown) and another fancy washer that also encircles the top of a pin with a spring around it. Also remove the spring and its bush (not shown as anything but a blur).

 01-05-10, 02:45 AM
#6
Senior Member
Thread Starter
Join Date: Dec 2009
Location: Melbourne, Oz
Posts: 9,547
Bikes: https://weightweenies.starbike.com/forum/viewtopic.php?f=10&t=152015&p=1404231
Mentioned: 15 Post(s)
Tagged: 0 Thread(s)
Quoted: 1529 Post(s)
Liked 718 Times
in
510 Posts
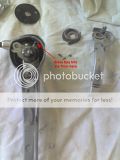
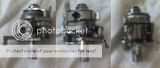
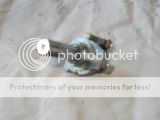
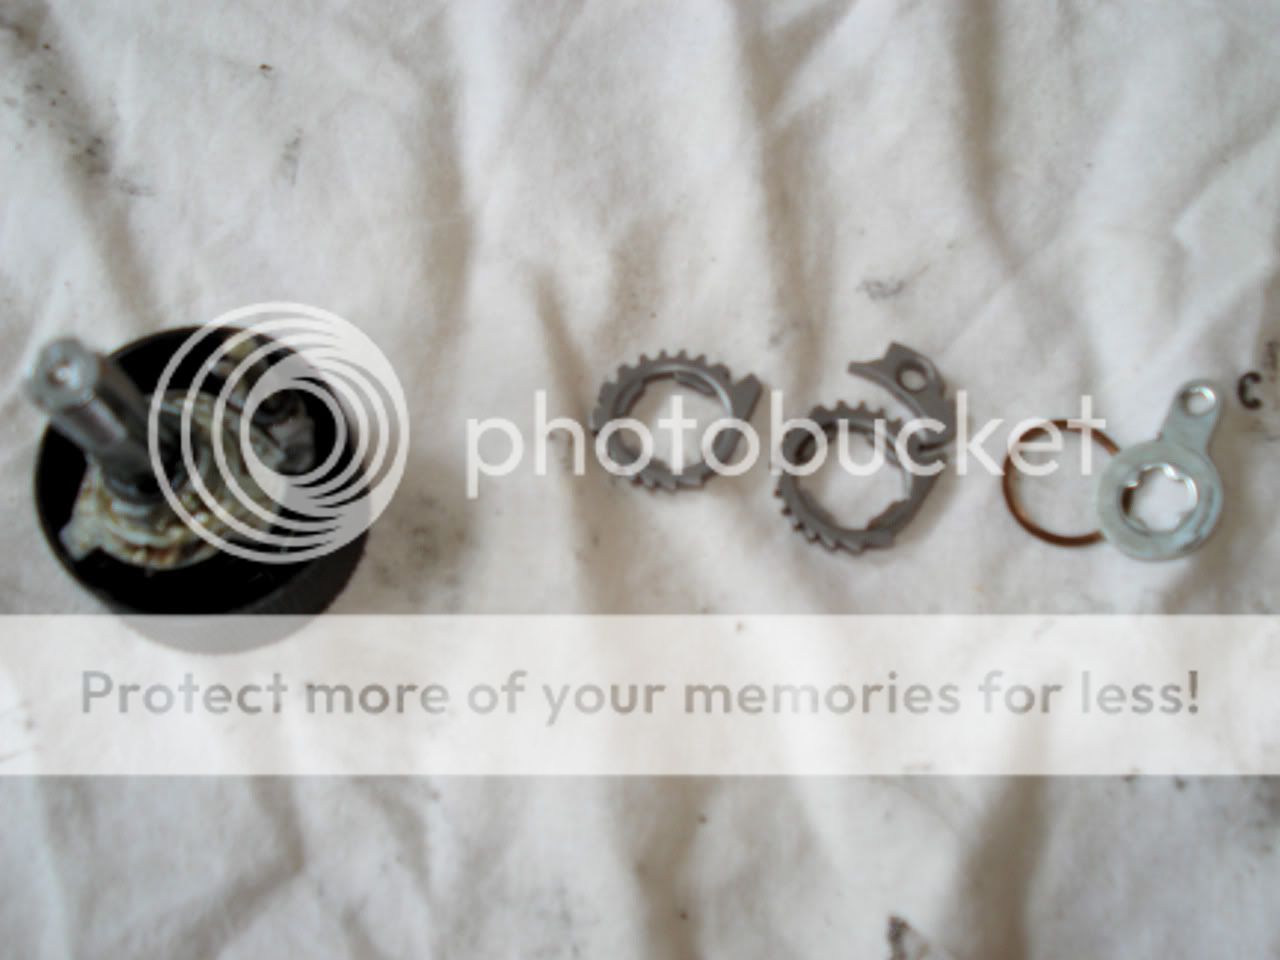
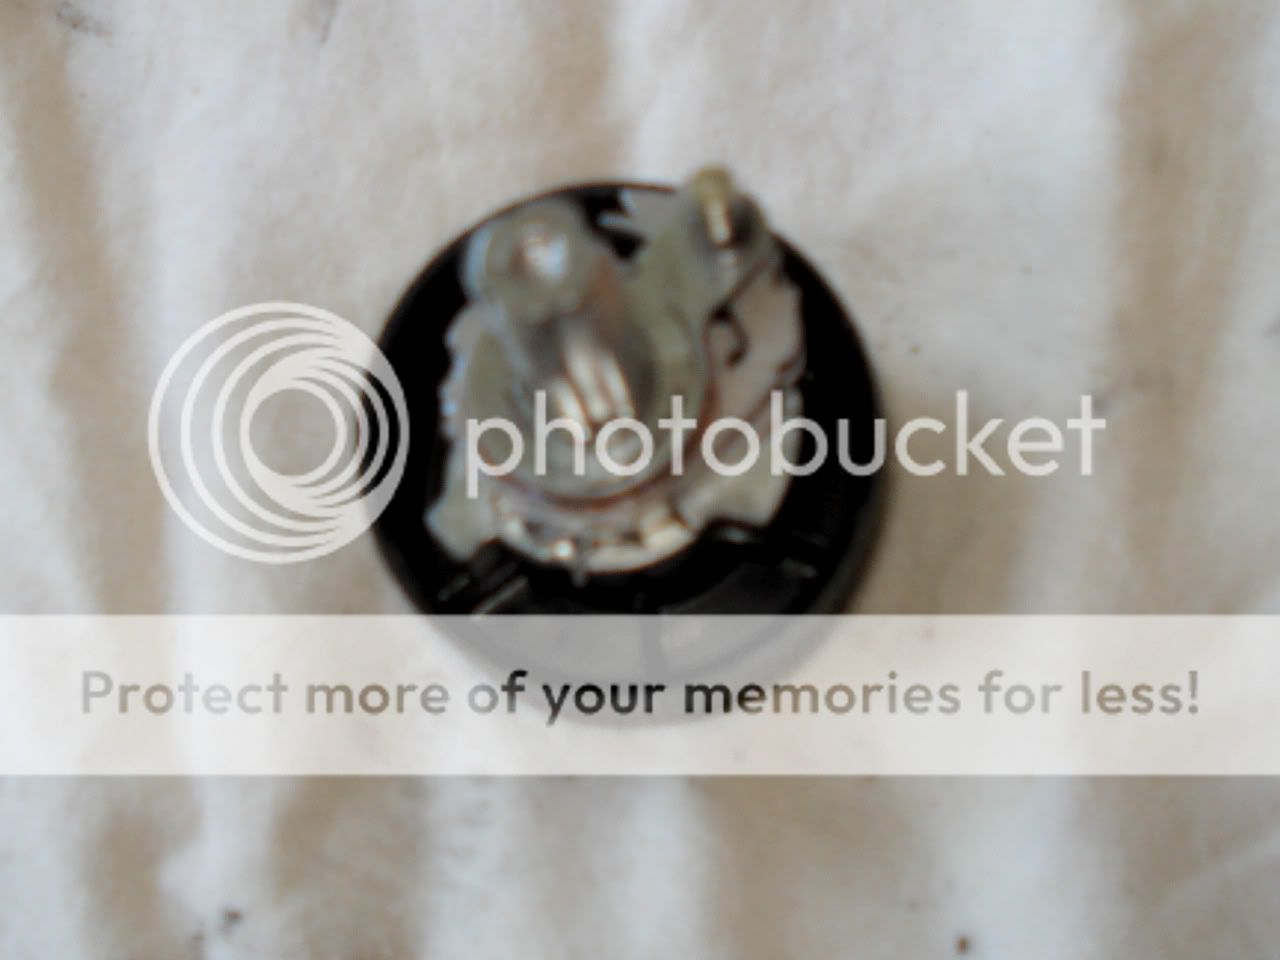
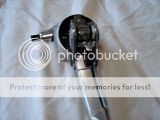
The next bit to come off is the plate that's secured by the philips-head screw; it also includes a large pawl. As before, clean, lube and reassemble such sub-assemblies before continuing.

There's another tricky washer with a bushing, another brass washer and a spring, and yet another tricky washer here... best to keep them together as they came apart. Then there's another washer that goes around that pin, this time retained by a circlip.


Underneath that there's yet another brass washer, sitting on top of a couple of ratchety bits with a couple of pawls on the pin. When you take off the second pawl, you may feel a spring let go, but don't panic; just continue disassembling.

Phew... the fun's just started...
Reassembly
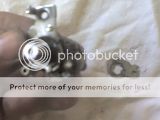
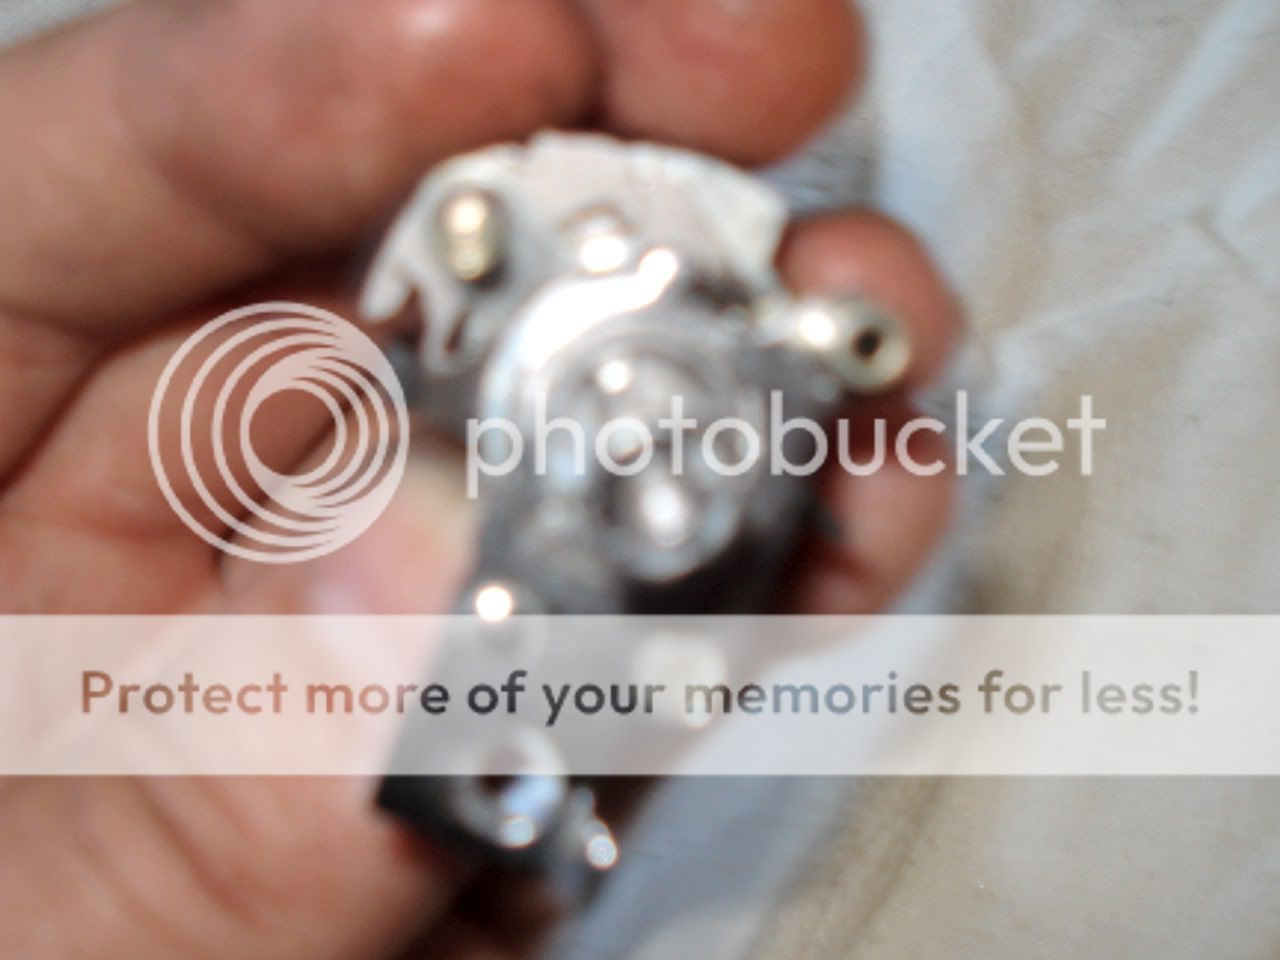
Insert your greased spring back where it belongs and slide the freshly greased spindle through that last part. Get the bit with the pin on it, and put it back on the spindle with the end of the spring engaging in it's corresponding hole... it might take a bit of fiddling, but it's meant to go together like the first pic. Then put on the first pawl, and you can relax a bit once its retaining circlip goes back on, cause this holds the assembly together.

Put the first ratchet bit on. Then the second, and its brass washer, and the second pawl. Apply grease all the way.

There's another tricky washer with a bushing, another brass washer and a spring, and yet another tricky washer here... best to keep them together as they came apart. Then there's another washer that goes around that pin, this time retained by a circlip.

Underneath that there's yet another brass washer, sitting on top of a couple of ratchety bits with a couple of pawls on the pin. When you take off the second pawl, you may feel a spring let go, but don't panic; just continue disassembling.
Phew... the fun's just started...
Reassembly
Insert your greased spring back where it belongs and slide the freshly greased spindle through that last part. Get the bit with the pin on it, and put it back on the spindle with the end of the spring engaging in it's corresponding hole... it might take a bit of fiddling, but it's meant to go together like the first pic. Then put on the first pawl, and you can relax a bit once its retaining circlip goes back on, cause this holds the assembly together.

Put the first ratchet bit on. Then the second, and its brass washer, and the second pawl. Apply grease all the way.


Last edited by Kimmo; 01-05-10 at 03:13 AM.
01-05-10, 02:46 AM
#7
Senior Member
Thread Starter
Join Date: Dec 2009
Location: Melbourne, Oz
Posts: 9,547
Bikes: https://weightweenies.starbike.com/forum/viewtopic.php?f=10&t=152015&p=1404231
Mentioned: 15 Post(s)
Tagged: 0 Thread(s)
Quoted: 1529 Post(s)
Liked 718 Times
in
510 Posts
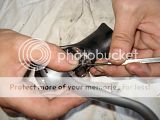
Replace the tricky double washer and its circlip to enclose the pawls. Then comes the part where you may need to refer to some pics or diagrams... the two fancy washers, brass washer, spring and bushing go back on now, and you'll need to know exactly how. Sorry my pics aren't up to it...


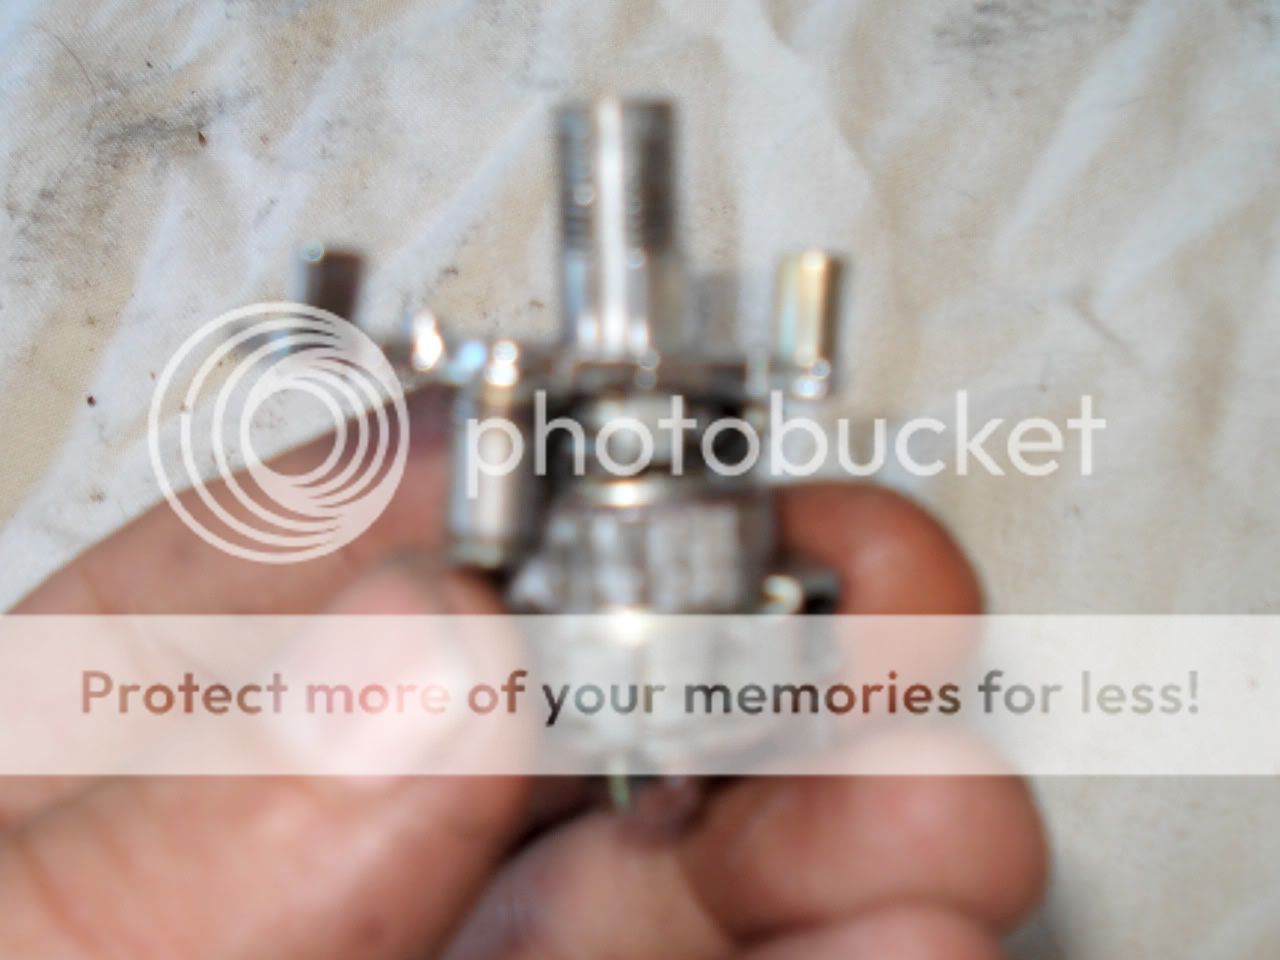
Then it's time to replace the spring and its bushing. Put it in place on the upper pawl, then lower the next double washer until it's pushing on the end of the spring, and use something thin to snap the end of the spring into place. Sorry about the angle of the pic...
Actually, I've forgotten quite what happens here... this last step may be completely wrong, but you should know what happens fresh after disassembly with the parts in front of you.

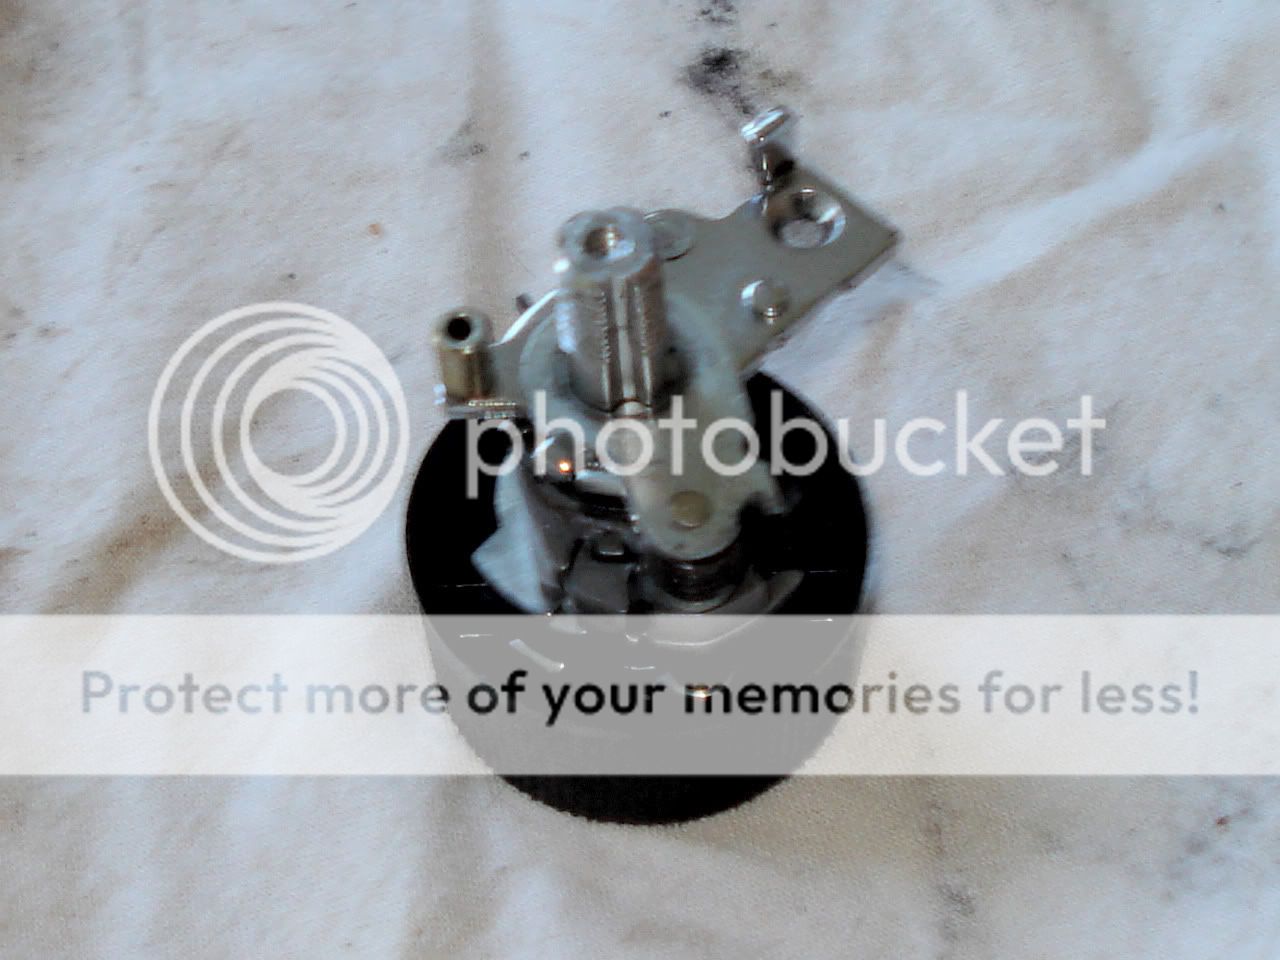
Now comes the plate with the large pawl hanging off it... it's a bit fiddly; your best bet is prolly to slide its bushing on first, then holding the pawl wound out of the way, work it down into place. It doesn't sit real pretty, but the next part will sort it out some. Now the double washer goes on, I think... snap the spring into place.


Put the brass washer and bushing back on the front of the spindle. Carefully (the mechanism is threatening to go *sproing* and destroy the last twenty minutes of effort) reinsert it into the lever and do up the philips-head screw. You may need to back off and retry tightening it just at the end a few times to get the square washer to seat properly in its cutout.
Using something thin to hold the pawl out of the way, replace the small lever along with its washer and bushing. Replace the return spring and brass washer.

Then it's time to replace the spring and its bushing. Put it in place on the upper pawl, then lower the next double washer until it's pushing on the end of the spring, and use something thin to snap the end of the spring into place. Sorry about the angle of the pic...
Actually, I've forgotten quite what happens here... this last step may be completely wrong, but you should know what happens fresh after disassembly with the parts in front of you.
Now comes the plate with the large pawl hanging off it... it's a bit fiddly; your best bet is prolly to slide its bushing on first, then holding the pawl wound out of the way, work it down into place. It doesn't sit real pretty, but the next part will sort it out some. Now the double washer goes on, I think... snap the spring into place.
Put the brass washer and bushing back on the front of the spindle. Carefully (the mechanism is threatening to go *sproing* and destroy the last twenty minutes of effort) reinsert it into the lever and do up the philips-head screw. You may need to back off and retry tightening it just at the end a few times to get the square washer to seat properly in its cutout.

Using something thin to hold the pawl out of the way, replace the small lever along with its washer and bushing. Replace the return spring and brass washer.

Last edited by Kimmo; 01-05-10 at 03:40 AM.
01-05-10, 02:50 AM
#8
Senior Member
Thread Starter
Join Date: Dec 2009
Location: Melbourne, Oz
Posts: 9,547
Bikes: https://weightweenies.starbike.com/forum/viewtopic.php?f=10&t=152015&p=1404231
Mentioned: 15 Post(s)
Tagged: 0 Thread(s)
Quoted: 1529 Post(s)
Liked 718 Times
in
510 Posts
Slide the steel washer on, and using something thin, snap the end of the spring into its spot on the washer. Don't forget the tiny double spring and clicky bit in the brass tube underneath. It may require a fair bit of jiggery-pokery to get the return spring into position to allow the steel washer to become properly seated. Replace the plastic washer, lever bracket and spring washer, and do up the special nut.
On the front, replace the plastic ring and greased spring with the end with the straight bit outermost, hook the corresponding hole in the fascia over the spring end, and wind it up as you press the fascia onto the square end of the spindle. Do up the 8mm bolt. Replace the brake cable holder, bushes and return spring in the lever bracket.
Slide the lever almost into place so the spring is located laterally, and get a little screwdriver under the end of the spring to wind up so you can get its end over the corner of the lever body. Then push the lever into the body, compressing the spring, and slide in the pivot pin (with the thin part corresponding to the grub screw).
Et voila.
My lever feels much newer now; some of those bits were pretty gunged up, and that loose screw sure wasn't helping. It was prolly gonna die in the arse soon, but no more : )

On the front, replace the plastic ring and greased spring with the end with the straight bit outermost, hook the corresponding hole in the fascia over the spring end, and wind it up as you press the fascia onto the square end of the spindle. Do up the 8mm bolt. Replace the brake cable holder, bushes and return spring in the lever bracket.


Slide the lever almost into place so the spring is located laterally, and get a little screwdriver under the end of the spring to wind up so you can get its end over the corner of the lever body. Then push the lever into the body, compressing the spring, and slide in the pivot pin (with the thin part corresponding to the grub screw).

Et voila.
My lever feels much newer now; some of those bits were pretty gunged up, and that loose screw sure wasn't helping. It was prolly gonna die in the arse soon, but no more : )
Last edited by Kimmo; 01-05-10 at 03:55 AM.
01-05-10, 07:34 PM
#9
Senior Member
Thread Starter
Join Date: Dec 2009
Location: Melbourne, Oz
Posts: 9,547
Bikes: https://weightweenies.starbike.com/forum/viewtopic.php?f=10&t=152015&p=1404231
Mentioned: 15 Post(s)
Tagged: 0 Thread(s)
Quoted: 1529 Post(s)
Liked 718 Times
in
510 Posts
I would have expected a few props for proving this is doable, let alone breaking it down step by step... : /
01-05-10, 11:03 PM
#11
Senior Member
Thread Starter
Join Date: Dec 2009
Location: Melbourne, Oz
Posts: 9,547
Bikes: https://weightweenies.starbike.com/forum/viewtopic.php?f=10&t=152015&p=1404231
Mentioned: 15 Post(s)
Tagged: 0 Thread(s)
Quoted: 1529 Post(s)
Liked 718 Times
in
510 Posts
Cheers : )
It's a bit nerve-wracking, but if you're attentive and methodical enough, it's far from impossible... I'd imagine the details may differ quite a bit for other types of STI lever, but the same principles would apply.
All in a day's work ; )
It's a bit nerve-wracking, but if you're attentive and methodical enough, it's far from impossible... I'd imagine the details may differ quite a bit for other types of STI lever, but the same principles would apply.
All in a day's work ; )
05-11-11, 11:33 AM
#12
<3s bikes
Join Date: Dec 2005
Location: CA
Posts: 1,060
Bikes: lots
Mentioned: 0 Post(s)
Tagged: 0 Thread(s)
Quoted: 4 Post(s)
Likes: 0
Liked 1 Time
in
1 Post
Does anyone know how similar 8s brifters are to 10s on the inside ?
For some reason I'm going to guess there are quite different. For one 10s does not have the plastic disk on the brake handle that can be pried off.
For some reason I'm going to guess there are quite different. For one 10s does not have the plastic disk on the brake handle that can be pried off.
06-14-11, 02:49 AM
#13
Senior Member
Thread Starter
Join Date: Dec 2009
Location: Melbourne, Oz
Posts: 9,547
Bikes: https://weightweenies.starbike.com/forum/viewtopic.php?f=10&t=152015&p=1404231
Mentioned: 15 Post(s)
Tagged: 0 Thread(s)
Quoted: 1529 Post(s)
Liked 718 Times
in
510 Posts
I'd guess the differences are actually fairly subtle; pretty sure they operate on exactly the same principles. AFAIK the biggest change is the addition of the Flightdeck switch.
Here's a couple of other guides:
Ultegra 9spd (left)
DA 9spd
Sora repair
Here's a couple of other guides:
Ultegra 9spd (left)
DA 9spd
Sora repair
Last edited by Kimmo; 07-23-11 at 12:10 AM.
06-14-11, 06:51 AM
#14

Thrifty Bill

Join Date: Jan 2008
Location: Mountains of Western NC
Posts: 23,526
Bikes: 86 Katakura Silk, 87 Prologue X2, 88 Cimarron LE, 1975 Sekai 4000 Professional, 73 Paramount, plus more
Mentioned: 96 Post(s)
Tagged: 0 Thread(s)
Quoted: 1236 Post(s)
Liked 964 Times
in
628 Posts
Local guy here fixes 7 and 8 speed stuff, but refuses to mess with the 9 speed and higher. He told me Shimano changed the design, and a lot of the 9/10 speed stuff has broken parts inside, which cannot be bought. I guess if you had a pile of them, you could probably get one or two rebuilt.
You might want to check with the guy on Facebook.
You might want to check with the guy on Facebook.
Last edited by wrk101; 06-14-11 at 06:59 AM.
07-22-11, 10:57 AM
#15
Oldie

Join Date: Jun 2011
Location: Medford, Oregon
Posts: 411
Bikes: Lance Exodus Europe, Univega Sportour, Motobecane Cafe Latte
Mentioned: 0 Post(s)
Tagged: 0 Thread(s)
Quoted: 0 Post(s)
Likes: 0
Liked 0 Times
in
0 Posts
Or... drown the damn thing in WD 40 like I did!
Of course mine have not been mounted yet, and I shouldn't rejoice until they are and actually shift properly. But I can click through 8 times now both directions, which is more than they did before.
Of course mine have not been mounted yet, and I shouldn't rejoice until they are and actually shift properly. But I can click through 8 times now both directions, which is more than they did before.
07-22-11, 11:02 PM
#16
Senior Member
Thread Starter
Join Date: Dec 2009
Location: Melbourne, Oz
Posts: 9,547
Bikes: https://weightweenies.starbike.com/forum/viewtopic.php?f=10&t=152015&p=1404231
Mentioned: 15 Post(s)
Tagged: 0 Thread(s)
Quoted: 1529 Post(s)
Liked 718 Times
in
510 Posts
Most folks are gonna try that first, but I was peeved at the black box deal...
All parts are user serviceable.
All parts are user serviceable.
07-24-11, 09:50 AM
#17
Member
Join Date: Mar 2007
Location: Westwood, CA
Posts: 27
Bikes: Mtn Bike
Mentioned: 0 Post(s)
Tagged: 0 Thread(s)
Quoted: 1 Post(s)
Likes: 0
Liked 0 Times
in
0 Posts
My old 8 speed 105 sti wouldn't shift so I dunked them in rubbing alcohol over night. I rinsed water and applied lube. Result in brand new. The risk in ripping them apart like these instructions is just too high versus a light dunk.
07-24-11, 11:21 AM
#18
Senior Member

Thanks for the write-up and links Kimmo. Now that I see what is involved I doubt I'll actually try dis-assembly myself unless all else fails but if I ever do go that route, this post will be a great help.
09-06-11, 04:37 PM
#19
Oldie
Join Date: Jun 2011
Location: Medford, Oregon
Posts: 411
Bikes: Lance Exodus Europe, Univega Sportour, Motobecane Cafe Latte
Mentioned: 0 Post(s)
Tagged: 0 Thread(s)
Quoted: 0 Post(s)
Likes: 0
Liked 0 Times
in
0 Posts
Like I said above, " I shouldn't rejoice until they are (installed) and actually shift properly." They are installed now, and the right one is not doing its thing. It doesn't pull the cable at all, even when it gives a proper click.
Does anyone know what could be the reason?
Does anyone know what could be the reason?
09-06-11, 04:54 PM
#20
Senior Member
09-06-11, 05:25 PM
#21
Oldie
Join Date: Jun 2011
Location: Medford, Oregon
Posts: 411
Bikes: Lance Exodus Europe, Univega Sportour, Motobecane Cafe Latte
Mentioned: 0 Post(s)
Tagged: 0 Thread(s)
Quoted: 0 Post(s)
Likes: 0
Liked 0 Times
in
0 Posts
09-18-11, 04:16 PM
#22
Senior Member

Join Date: Aug 2011
Location: Puyallup, WA
Posts: 443
Bikes: Tommasini Super Prestige, Kamra Triathlee, Nishiki Tri-A equipe', Sakai 2000
Mentioned: 2 Post(s)
Tagged: 0 Thread(s)
Quoted: 0 Post(s)
Likes: 0
Liked 3 Times
in
3 Posts
Thank God (and Kimmo!) for this thread! I'm trying to install my first set of "brifters". The left side went pretty smooth, but on the right I apparently tried shifting with too much slack in the cable. The head of the cable came out of the socket and folded over inside the lever jamming up the whole works. Found this thread last night in a panic but had to wait 'till this morning to make the special tool needed to get started. Took about three hours and a number of attempts to re-assemble but seems to be working great now. Now lets see if I can get her working on my bike...
-Andy
-Andy
09-21-11, 08:05 AM
#23
Senior Member
Thread Starter
Join Date: Dec 2009
Location: Melbourne, Oz
Posts: 9,547
Bikes: https://weightweenies.starbike.com/forum/viewtopic.php?f=10&t=152015&p=1404231
Mentioned: 15 Post(s)
Tagged: 0 Thread(s)
Quoted: 1529 Post(s)
Liked 718 Times
in
510 Posts
Yay! : D
I bet you're glad you didn't have to take it all the way apart... although getting the guts out is scary enough.
I bet you're glad you didn't have to take it all the way apart... although getting the guts out is scary enough.
09-21-11, 01:54 PM
#25
Senior Member
Join Date: Apr 2006
Posts: 1,053
Mentioned: 0 Post(s)
Tagged: 0 Thread(s)
Quoted: 16 Post(s)
Likes: 0
Liked 0 Times
in
0 Posts
Thanks for a good write up on how to clean the brifters. I have often wanted to get some old brifters and tear them apart just to see if I could get them to work.