


Frame painting: The Basics for a DIYer?
 09-29-08, 02:11 PM
#26
Junior Member
Thread Starter
Join Date: Sep 2008
Location: Dallas
Posts: 16
Mentioned: 0 Post(s)
Tagged: 0 Thread(s)
Quoted: 0 Post(s)
Likes: 0
Liked 0 Times
in
0 Posts
Valid question.
I should have said AT my apartment. I have an outdoor balcony with a closet, which I've turned into a paint booth by lining it with drop cloths. From a functional perspective, it's worked out great because there's no dust to settle on the frame, and it's still hot here in Texas. I can just close the door for a couple days after painting to let the heat take care of it for awhile.
Ventilation has been fine so far, but I'm going to add in more ventilation via an exhaust fan before I do any more coats, just to be safe. I'm also wearing plenty of eye and breathing protection.
 10-02-08, 12:29 PM
#27
Junior Member
Thread Starter
Join Date: Sep 2008
Location: Dallas
Posts: 16
Mentioned: 0 Post(s)
Tagged: 0 Thread(s)
Quoted: 0 Post(s)
Likes: 0
Liked 0 Times
in
0 Posts
Picked up all the paint, respirator, etc. today at lunch from a local PPG store (English Paint on Northwest Highway in Dallas - great guys), and the painting begins tomorrow morning.
Would yall recommend painting the lugs first or doing the tubes first? My gut says to do the lugs first because then I would be masking off so much of the bike. Opinions?
Would yall recommend painting the lugs first or doing the tubes first? My gut says to do the lugs first because then I would be masking off so much of the bike. Opinions?
10-04-08, 10:19 AM
#28
Guest
Posts: n/a
Mentioned: Post(s)
Tagged: Thread(s)
Quoted: Post(s)
Yes, I would do the lugs first.
Once they are dry and you start masking the lugs, bve SURE the tape (blue painters tape) is pressed down really well & into the corner of the lug edge/tube areas.
A PopSicle stick can be used to ensure that the tape is in the corner all the way around the lug.
Then use a new, sharp #11 Xacto blade to carefully cut along the tube/lugedge corner.
Then go back & press down the edges of the remaining tape with the stick again.
Now you should get nice, crisp lug edges.
If not, you can always add some gold pin stripes to clean up the line between colors.
Also, post pictures of your "paint booth", as well as the frame!
Good luck & ENJOY!
10-04-08, 04:47 PM
#29
Junior Member
Thread Starter
Join Date: Sep 2008
Location: Dallas
Posts: 16
Mentioned: 0 Post(s)
Tagged: 0 Thread(s)
Quoted: 0 Post(s)
Likes: 0
Liked 0 Times
in
0 Posts
All the advice didn't go to waste! Finally got it painted and cleared.
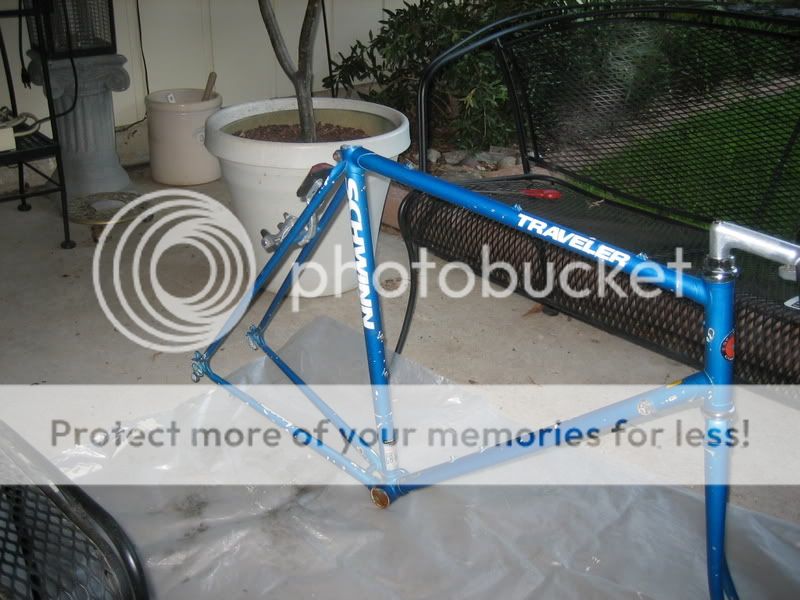
Here's where I started, 80-something Schwinn Traveler frame. Rusted and neglected:
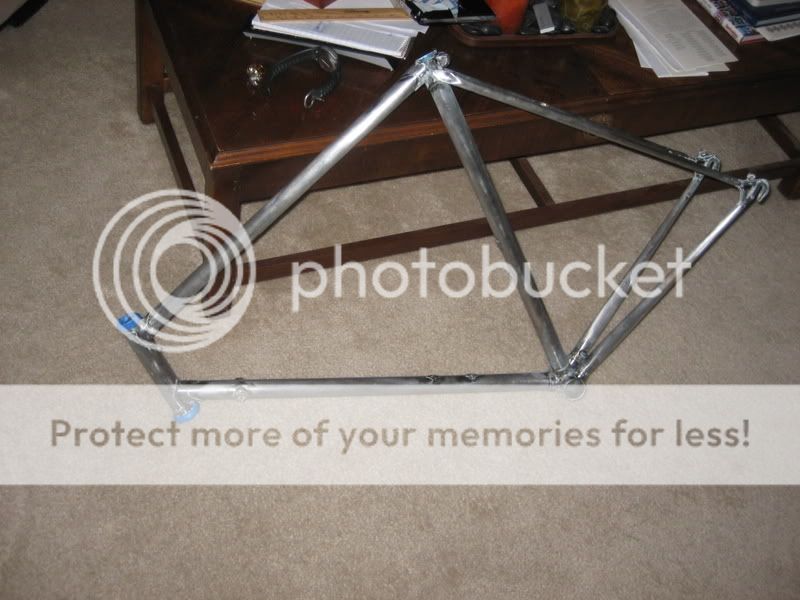
After plenty of sanding and stripping, I had the frame to where it needs to be:
Primed:
At this point, I mixed the paint from the PPG dealer and set about with the HVLP sprayer I picked up. Amazingly, my budget didn't allow for a decent sprayer, and it wouldn't even move the paint. After a brief freakout, I called a friend, who just happened to have a turbine HVLP set:
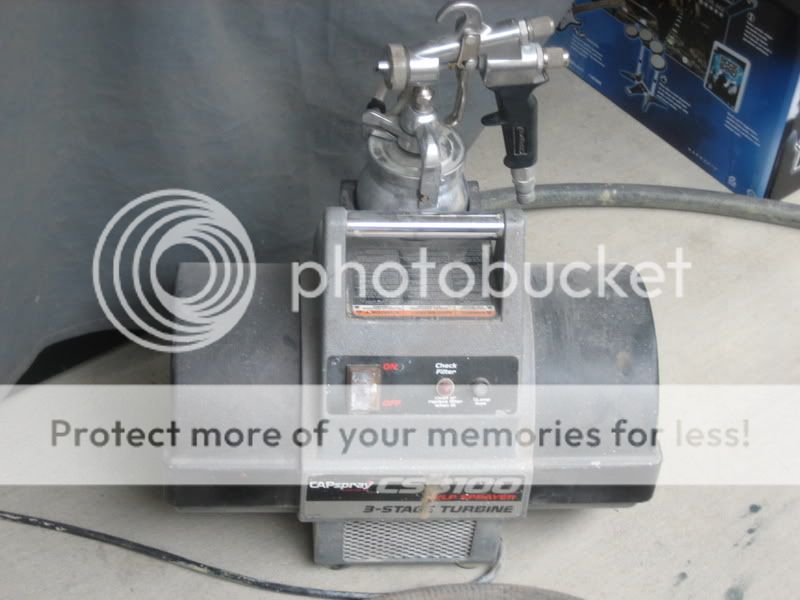
Dude saved my tail with this one. Would have been $220 of paint wasted. This thing worked like a charm. (Note, I don't have a reference with the super high-end sprayers.)
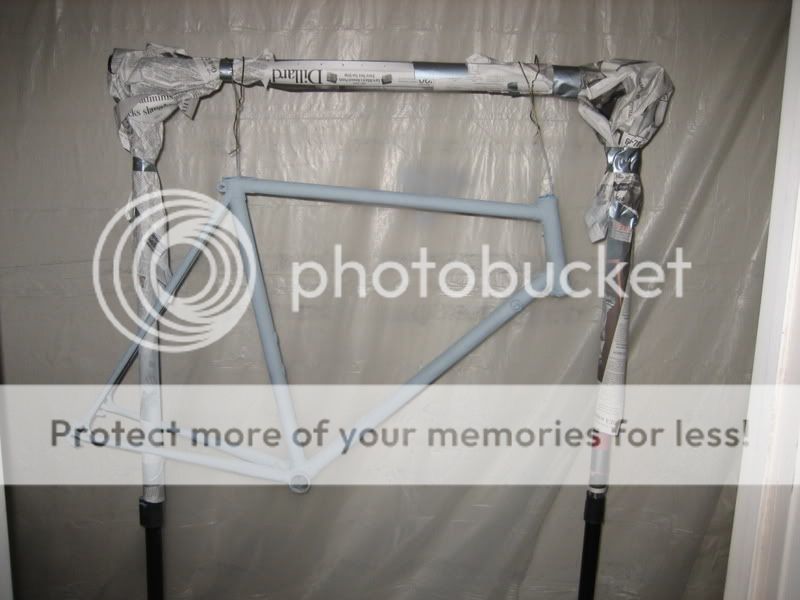
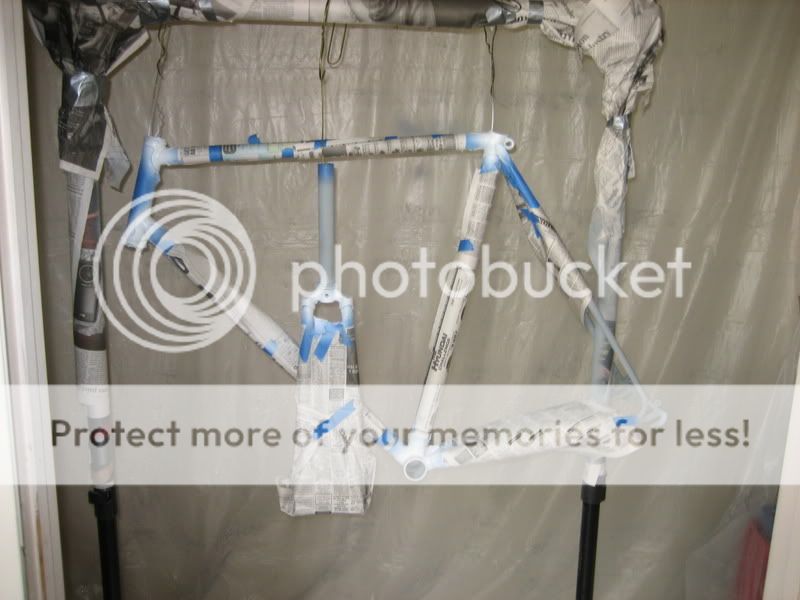
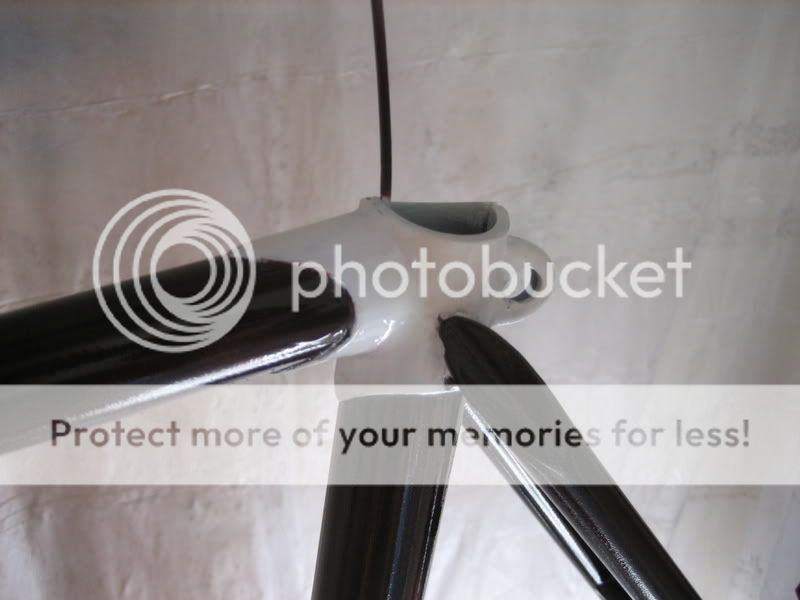
Masked to paint the lugs white:
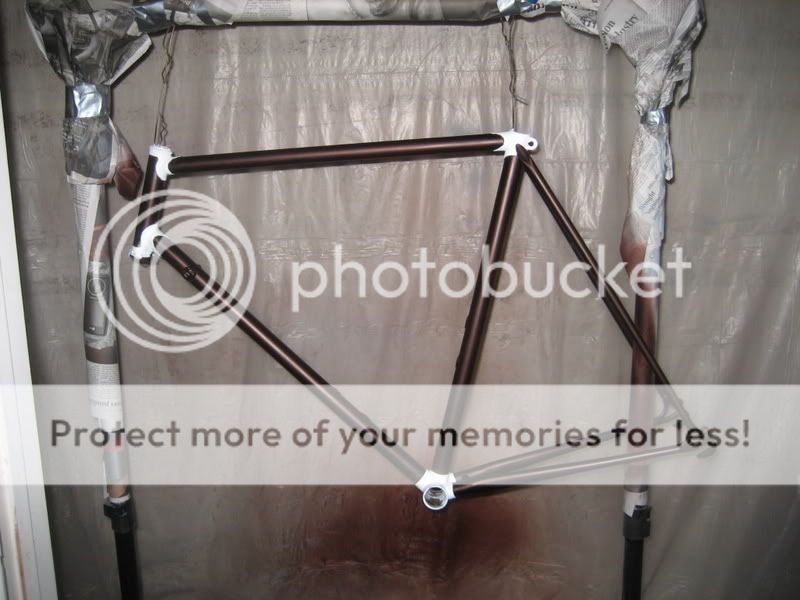
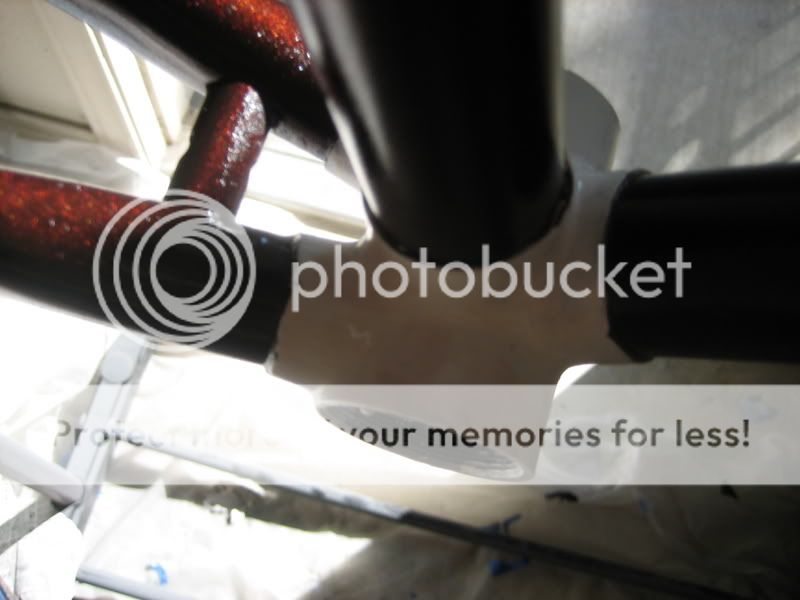
After letting the lugs dry for a few hours (Not enough time. Pics to follow), I masked them off and did the frame in a maroon/burgundy color yesterday afternoon and cleared it this morning. I went to Texas A&M, so I'm calling it the Wrecking Cruiser:
Here's where I started, 80-something Schwinn Traveler frame. Rusted and neglected:
After plenty of sanding and stripping, I had the frame to where it needs to be:
Primed:
At this point, I mixed the paint from the PPG dealer and set about with the HVLP sprayer I picked up. Amazingly, my budget didn't allow for a decent sprayer, and it wouldn't even move the paint. After a brief freakout, I called a friend, who just happened to have a turbine HVLP set:
Dude saved my tail with this one. Would have been $220 of paint wasted. This thing worked like a charm. (Note, I don't have a reference with the super high-end sprayers.)
Masked to paint the lugs white:
After letting the lugs dry for a few hours (Not enough time. Pics to follow), I masked them off and did the frame in a maroon/burgundy color yesterday afternoon and cleared it this morning. I went to Texas A&M, so I'm calling it the Wrecking Cruiser:
Last edited by Scriffer; 10-15-08 at 08:25 AM.
10-04-08, 04:48 PM
#30
Junior Member
Thread Starter
Join Date: Sep 2008
Location: Dallas
Posts: 16
Mentioned: 0 Post(s)
Tagged: 0 Thread(s)
Quoted: 0 Post(s)
Likes: 0
Liked 0 Times
in
0 Posts
Very pleased with the outcome, except for not waiting long enough to mask the lugs. Ended up pulling some paint off, and I had to try and redo it by hand. It didn't turn out well, so I may go back and redo it in the future. I also wasn't very precise with the masking. Not sure if the knife wasn't sharp enough or what, but I also did some hand retouches under the lugs.
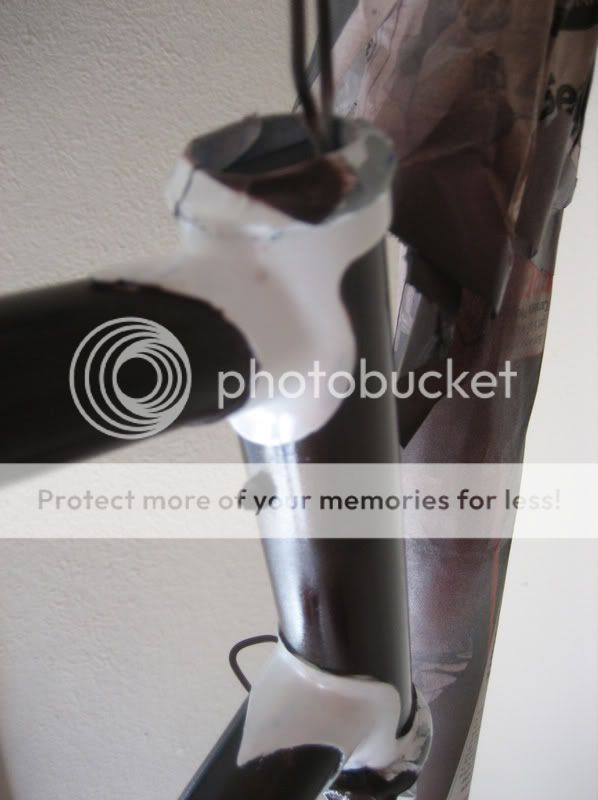
And here are some pictures of my "booth."

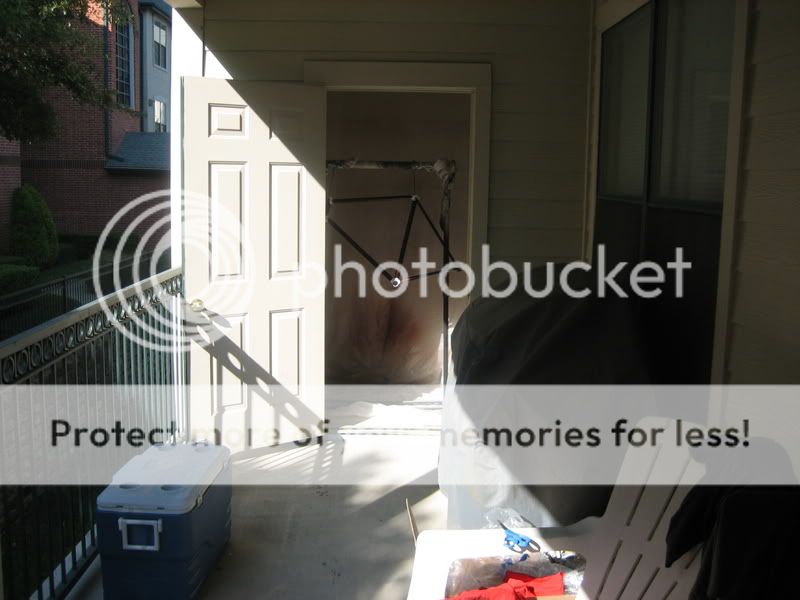
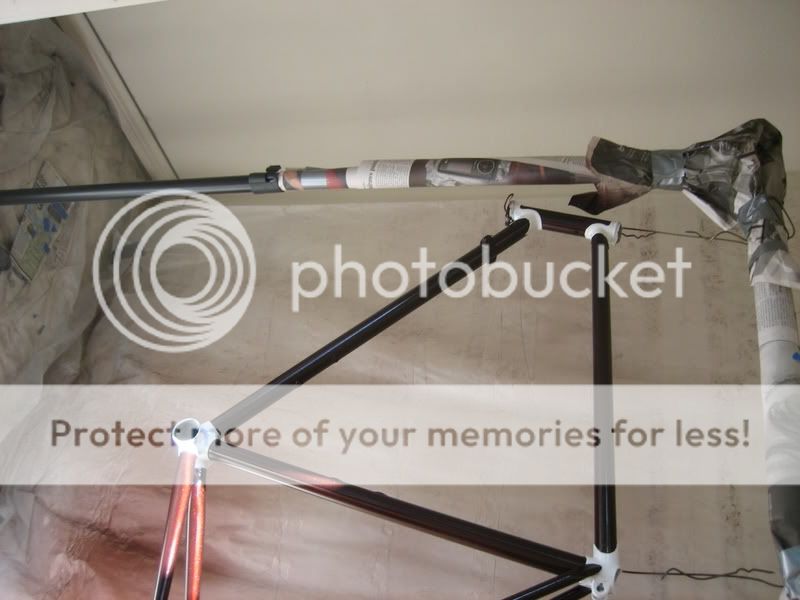
I basically lined the whole closet with drop cloths and relied on the open air circulation to help with ventilation. The support frame is a clothes-rack I pilfered from my parents. I had to take care not to let the chainstays not hit the rack during painting, but other than that, it was great. Also had a good respirator working.
I can't thank y'all enough for all the help over the last few weeks. Lessons learned:
1. Don't piss money away on crappy equipment.
2. Be patient. Jumping the gun on the lugs really cost me on appearance.
3. Be more precise on masking. I was using 3/4" tape and doing a lot of trimming. 1/4" or so would have been much better to get the tight corners.
4. Use chemical stripper from the get-go rather trying to hand-sand the whole thing at the start. Too many blue boogers from that garbage.
5. Try again soon.
And here are some pictures of my "booth."
I basically lined the whole closet with drop cloths and relied on the open air circulation to help with ventilation. The support frame is a clothes-rack I pilfered from my parents. I had to take care not to let the chainstays not hit the rack during painting, but other than that, it was great. Also had a good respirator working.
I can't thank y'all enough for all the help over the last few weeks. Lessons learned:
1. Don't piss money away on crappy equipment.
2. Be patient. Jumping the gun on the lugs really cost me on appearance.
3. Be more precise on masking. I was using 3/4" tape and doing a lot of trimming. 1/4" or so would have been much better to get the tight corners.
4. Use chemical stripper from the get-go rather trying to hand-sand the whole thing at the start. Too many blue boogers from that garbage.
5. Try again soon.
10-05-08, 01:09 PM
#31
Guest
Posts: n/a
Mentioned: Post(s)
Tagged: Thread(s)
Quoted: Post(s)
Very pleased with the outcome.....
Lessons learned:
1. Don't piss money away on crappy equipment.
Couldn't agree more!!
2. Be patient. Jumping the gun on the lugs really cost me on appearance.
Good things come to those who wait.
3. Be more precise on masking. I was using 3/4" tape and doing a lot of trimming. 1/4" or so would have been much better to get the tight corners.
D'Ooooohh..my bad.
I should have mentioned...just spray the lugs first, NO masking.
Just fade the paint onto the tubes a bit, then (when dry), lightly sand the "fuzzy" edge smooth, THEN mask the lugs.
I lay the tape on the lug, just slightly hanging over the edge. That's when I use the stick* to push the tape down into the corner between lug & tube.
Now cut with new, SHARP #11. It's OK to cut into the white slightly, just don't get down to the primer/tube! I uactually have a special #11 that I use for this. I made a small curve at the tip and keep it sharp with 1000 sandpaper. It's similar to a scalpel, which would probably be ideal, if I could find one.
Then use the stick to push down any loose edges.
Now spray the tube color and be careful NOT to get too much paint along the tape edges.
It's easy to "fill" that corner between the lug & the tube with paint, thus making it too thick to unmask cleanly. Have the scalpel handy so you can cut through the thick paint spots.
And voila! Beautiful lug masking!
*I mentioned PopSicle stick, but I use several that I have sanded & shaped to fit different radius's etc.
I clear coat them to make them more durable & smooth.
4. Use chemical stripper from the get-go rather trying to hand-sand the whole thing at the start. Too many blue boogers from that garbage.
Couldn't agree more!!
Except, even hand sanding will not get the rust, so a rust killing treatment is in order before priming.
My weapon of choice? A pessure blaster using #60 sand.
(which happens to come from the beach about a mile from my house.
NO, I don't shovel it myself, the sand company happens to be just down the road!)
The blaster I use holds about 80 lbs of sand and is similar to an airbrush. I can erase rust very carefully this way. Once done, I primer immediately. THEN I can go back and spray some filler on the pitted areas, or use Bondo like stuff.
Now sand out all the uglies with 320, or 220 for the real grinding.
Clean with wax & grease remover.
Final complete primer. Sand with 800 if needed, and re-clean.
Go on to color & clear.
5. Try again soon!
Thanks for the photo diary! Now make a paint stand like this & you'll be all set!
 10-08-08, 08:32 AM
#32
Senior Member
Join Date: Feb 2008
Posts: 95
Mentioned: 0 Post(s)
Tagged: 0 Thread(s)
Quoted: 0 Post(s)
Likes: 0
Liked 0 Times
in
0 Posts
next time just paint the whole thing white, let dry, mask off the lugs and spray color. it'll make your tube color more vibrant and save a hell of a lot of time
10-13-08, 03:18 PM
#34
Junior Member
Thread Starter
Join Date: Sep 2008
Location: Dallas
Posts: 16
Mentioned: 0 Post(s)
Tagged: 0 Thread(s)
Quoted: 0 Post(s)
Likes: 0
Liked 0 Times
in
0 Posts
I considered not even masking for the lugs originally; should have gone with my gut. I've been out of town for work for the last week, but when I get back home, I'll see if I can save the lugs. I might just have to start them over from scratch. From more than 5 or so feet, you really can't see the imperfections in the lugs, but I'm going to be riding it, and it'll probably drive me nuts.
How much different would it look if I took the lugs back down to the metal and redid them from scratch using basic automotive rattlecan primer/base/clear? It's not an ideal method, but I'd rather not bum the sprayer off the guy again just because of all the hassle.
How much different would it look if I took the lugs back down to the metal and redid them from scratch using basic automotive rattlecan primer/base/clear? It's not an ideal method, but I'd rather not bum the sprayer off the guy again just because of all the hassle.
10-16-08, 05:11 PM
#35
Junior Member
Join Date: Aug 2007
Posts: 15
Mentioned: 0 Post(s)
Tagged: 0 Thread(s)
Quoted: 0 Post(s)
Likes: 0
Liked 0 Times
in
0 Posts
How much different would it look if I took the lugs back down to the metal and redid them from scratch using basic automotive rattlecan primer/base/clear? It's not an ideal method, but I'd rather not bum the sprayer off the guy again just because of all the hassle.
Don't beat yerself up about the lugs! Looks like a pretty good job and in using proper spray equipment for the first time - not to mention the complexity of adding another colour, the fact that the job got done is good enough, and a few imperfections gives you something to improve on next time.
I've just resprayed my old mountain bike in plain blue and agree with Muttley that a rattlecan can produce good results. The biggest difference is in the spray pattern from the aerosol nozzle - it isn't a patch on a proper spraygun, but as you aren't respraying a black TransAm bonnet (or hood as you guys say in the US), that doesn't matter half as much as decent preparation and patience.
First job with mine was to get back to bare metal done by stripping off most of the old finish before getting it bead-blasted (the frame was getting scabby with rust. The bead-blasting cost �10 and left it looking like a new frame!) The paint used was Plasti-Kote bought from a local diy store. A 500ml can was enough for 2 coats & 4 cans were used overall:-
* 2 coats of Zinc Primer (good for etching to bare metal. Left overnight to thoroughly dry & just needed a wipe over with a tac-rag before applying the colour coats)
* 4 coats of colour (Gloss Super in pacific blue. 1 coat - left for a couple of hours, then the final 3 coats applied every half hour)
* 2 coats of clear (Gloss Super again. 1st coat applied just over an hour after the colour without any prep, 2nd half an hour later)
Its being left now for a couple of days to fully cure. The times left between coats wasn't scientific btw

The idea was just to let the paint go off so that the next coat didn't run, and a little longer left before applying the clear so that it sat on top.
The finish? Well chuffed so far (cameras flat so can't post a pic yet) and although not as flash as the metallic purple the frame was originally painted with, the finish looks far deeper - more like this one from Surly https://www.surlybikes.com/karatemonkey.html (i'd love one of their bikes
).Ian...
P.S:- A minus point for powdercoating can be that once water gets in via a few stonechips, rust can cause havoc as it can beneath paint - you can't do a localised repair on it though as you can with paint.
10-16-08, 06:09 PM
#36
Junior Member
Thread Starter
Join Date: Sep 2008
Location: Dallas
Posts: 16
Mentioned: 0 Post(s)
Tagged: 0 Thread(s)
Quoted: 0 Post(s)
Likes: 0
Liked 0 Times
in
0 Posts
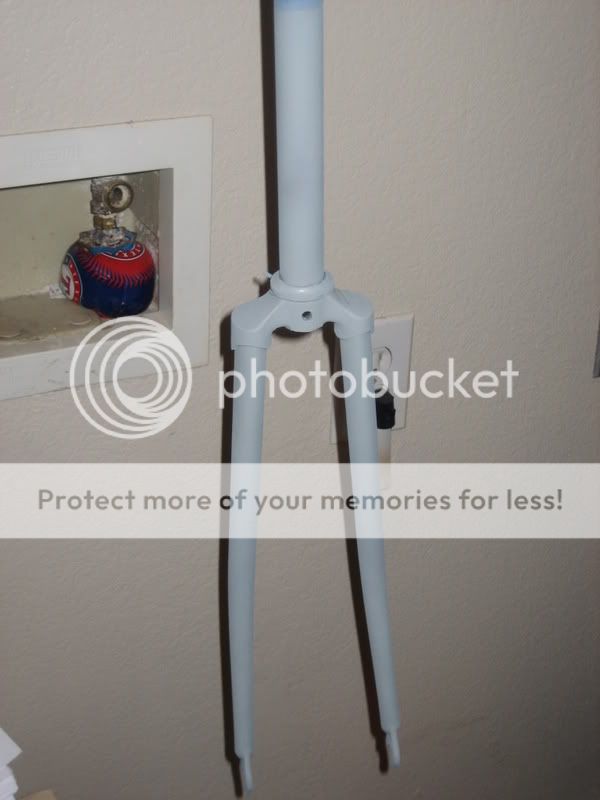
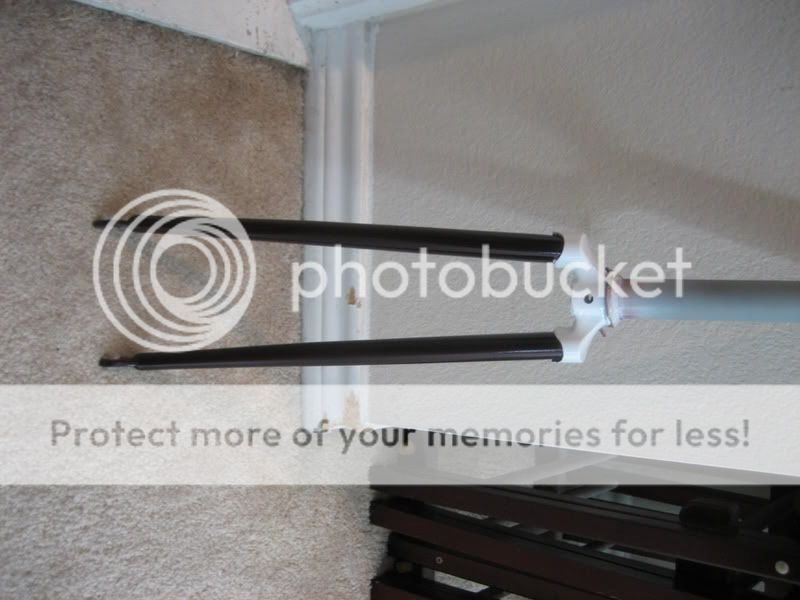
Looking at it again, I can get away with leaving the lugs at the seat tube and bottom bracket, but the lugs on the head tube really have to be redone. Somehow the paint peeled all the way down to the metal. The lug on the fork looks best of all of them, but I'm afraid if I redo the head tube lugs, the difference will be very noticeable.
Pics forthcoming on the final painting and when I finally get it built up.
Pics forthcoming on the final painting and when I finally get it built up.
