


Alignment block I made
 05-07-12, 09:47 PM
#1
is just a real cool dude
Thread Starter

Join Date: Aug 2010
Location: The Thumb, MI
Posts: 3,164
Mentioned: 12 Post(s)
Tagged: 0 Thread(s)
Quoted: 31 Post(s)
Likes: 0
Liked 31 Times
in
13 Posts
Alignment block I made
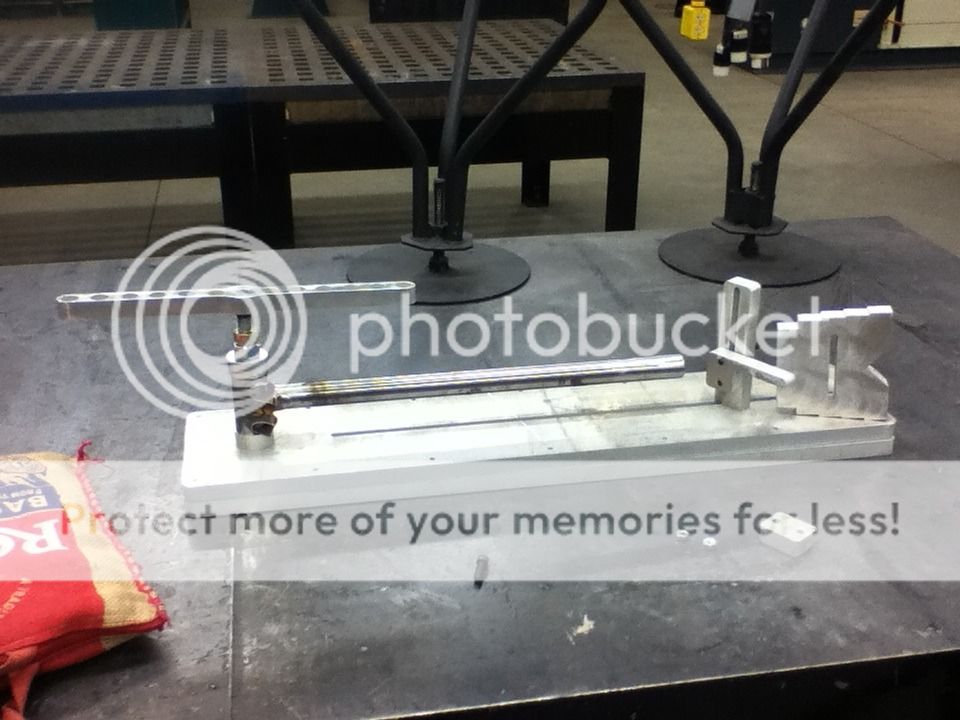
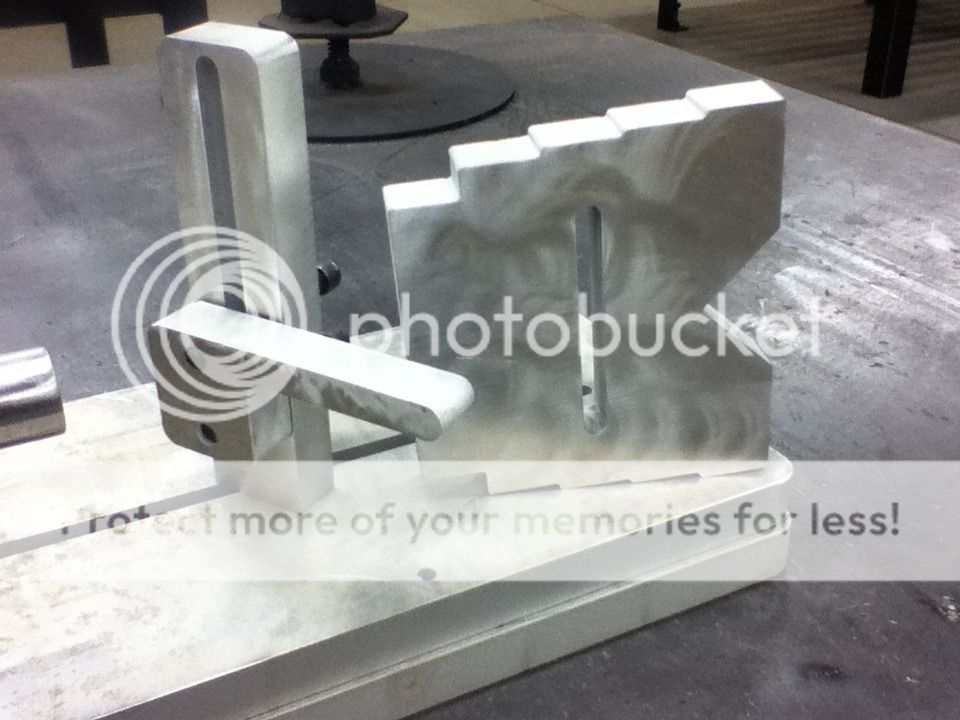
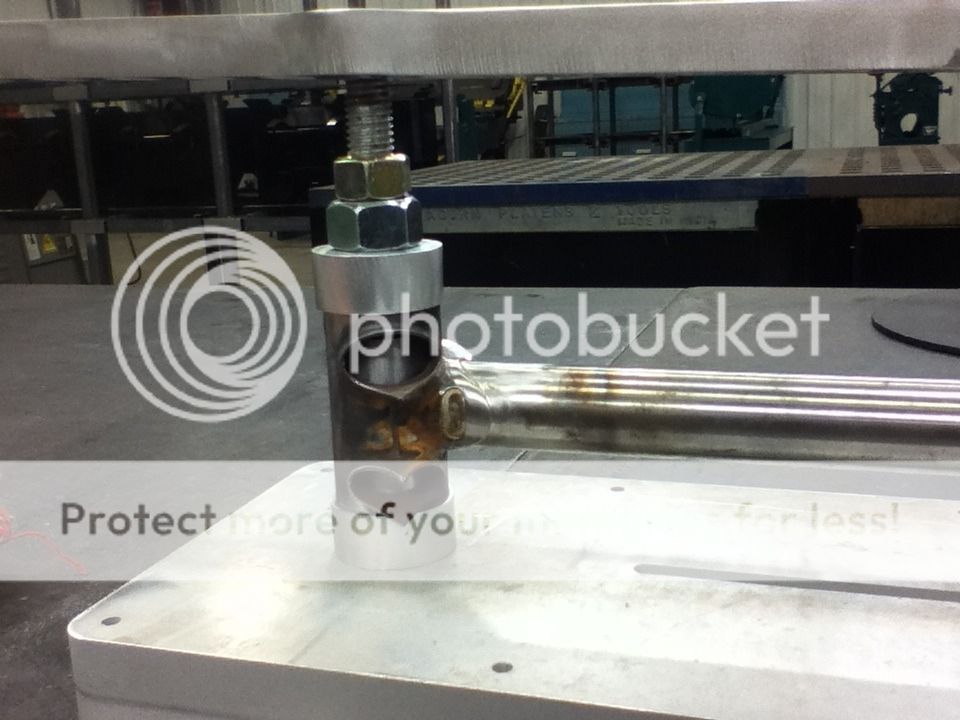
Well I'm finishing up my personal project for my fabrication course in my Production welding program. I was debating on doing a frame jig of some sorts but in the time frame we had left I dumbed down my project. So instead I just made a alignment block. It's two 3/4" pieces of 6061 aluminum that will get bolted together. The slot down the middle is to allow the dropout spacer or a surface gauge to slide back and forth and firmly bolted in place if needed. I still have to drill and tap some piece and counter sink the holes in the lower half of the block to allow the button head hex bolts to sit recessed. The BB post just slides right out so top block and be ground flat if needed. I made a simple block that I'll drill and tap to allow a bolt to be threaded in act as a surface gauge. It's the "P" shaped block that's quasi attached to the vertical slotted post. Overall I'm pretty happy with how it came out and should work fine as I designed everything myself up Autocad and cut out on the Water Jet.
 05-08-12, 02:14 AM
#2
Senior Member

Join Date: Apr 2010
Location: vermont
Posts: 3,081
Bikes: Many
Mentioned: 8 Post(s)
Tagged: 0 Thread(s)
Quoted: 5 Post(s)
Likes: 0
Liked 10 Times
in
10 Posts
That looks pretty nice! You may want to add some height so you can work under the drops. Awesome acorn plate..
05-08-12, 07:24 AM
#3
is just a real cool dude
Thread Starter
Join Date: Aug 2010
Location: The Thumb, MI
Posts: 3,164
Mentioned: 12 Post(s)
Tagged: 0 Thread(s)
Quoted: 31 Post(s)
Likes: 0
Liked 31 Times
in
13 Posts
Yeah once I threw on the seattube/bb shell onto it I noticed if I wanted to space and align the dropouts I'd need to raise it up some. So I'll cut out another spacer which will give me some more room. After looking at it I quickly noticed that I should of done the slot offset to utilize it completely. No biggie as it still works but not like it could with it offset.
I still have to stamp the spacing measurements on the acorn as the Water Jet couldn't handle cutting out smaller font through the 3/4" aluminum. Cutting out just this stuff took a little over two hours. Now it's time for drilling and tapping. Not to mention doing all the prints, routing sheet, etc.
I still have to stamp the spacing measurements on the acorn as the Water Jet couldn't handle cutting out smaller font through the 3/4" aluminum. Cutting out just this stuff took a little over two hours. Now it's time for drilling and tapping. Not to mention doing all the prints, routing sheet, etc.
05-08-12, 08:10 PM
#4

Senior Member
Join Date: Feb 2012
Location: Rochester, NY
Posts: 18,066
Bikes: Stewart S&S coupled sport tourer, Stewart Sunday light, Stewart Commuting, Stewart Touring, Co Motion Tandem, Stewart 3-Spd, Stewart Track, Fuji Finest, Mongoose Tomac ATB, GT Bravado ATB, JCP Folder, Stewart 650B ATB
Mentioned: 0 Post(s)
Tagged: 0 Thread(s)
Quoted: 4197 Post(s)
Liked 3,849 Times
in
2,300 Posts
The discovery process is an interesting study. i often get part way into a project and start tweaking things, sometimes a totally different approach comes towards the completion... Andy.

Thread
Thread Starter
Forum
Replies
Last Post
darukhan
Framebuilders
3
12-19-13 06:16 PM
joejeweler
Bicycle Mechanics
25
12-10-12 09:57 PM
