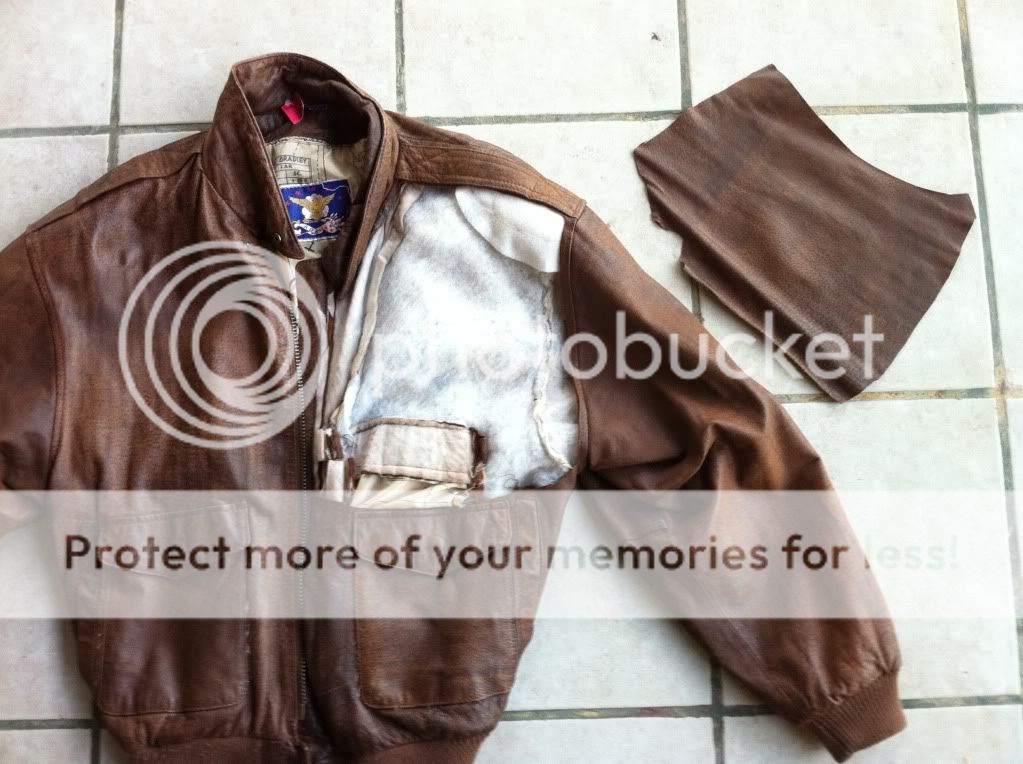
Here is the donor jacket and the material used:
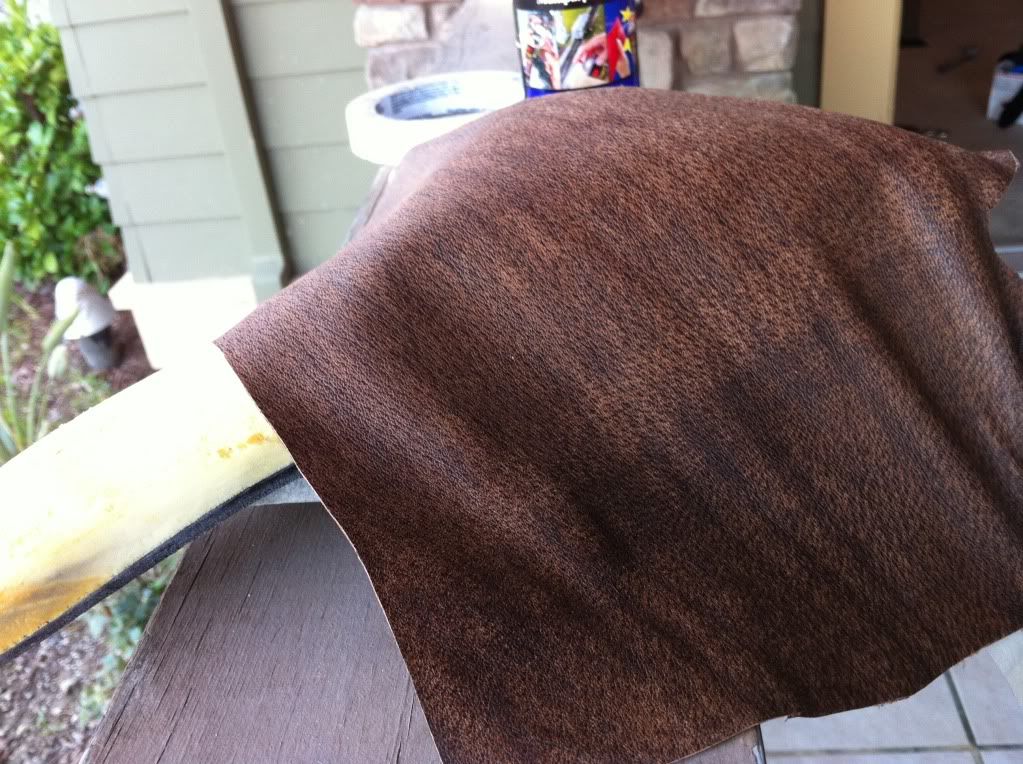
I gave myself at least 2" of excess material around all parts of the saddle, sometimes more. If this is your first time, you might need more. You can always trim later plus extra material can be used for leverage when stretching the cover onto the saddle.
The next step is to spray the adhesive! I do this in two parts.
Part one. First is the top of the saddle I placed the saddle topside up and generously sprayed the top and sides of the saddle. I then sprayed the material and let both sit for a few minutes. Now's the time to attach that seatpost. Secure the seatpost so that you can have the saddle topside up:
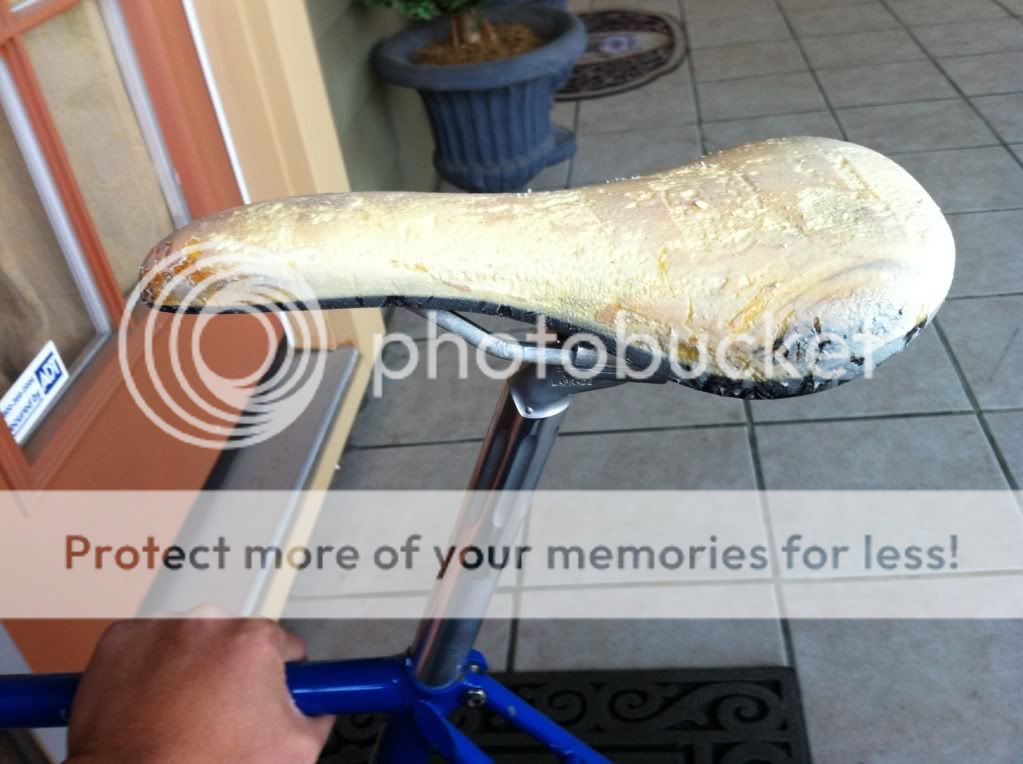
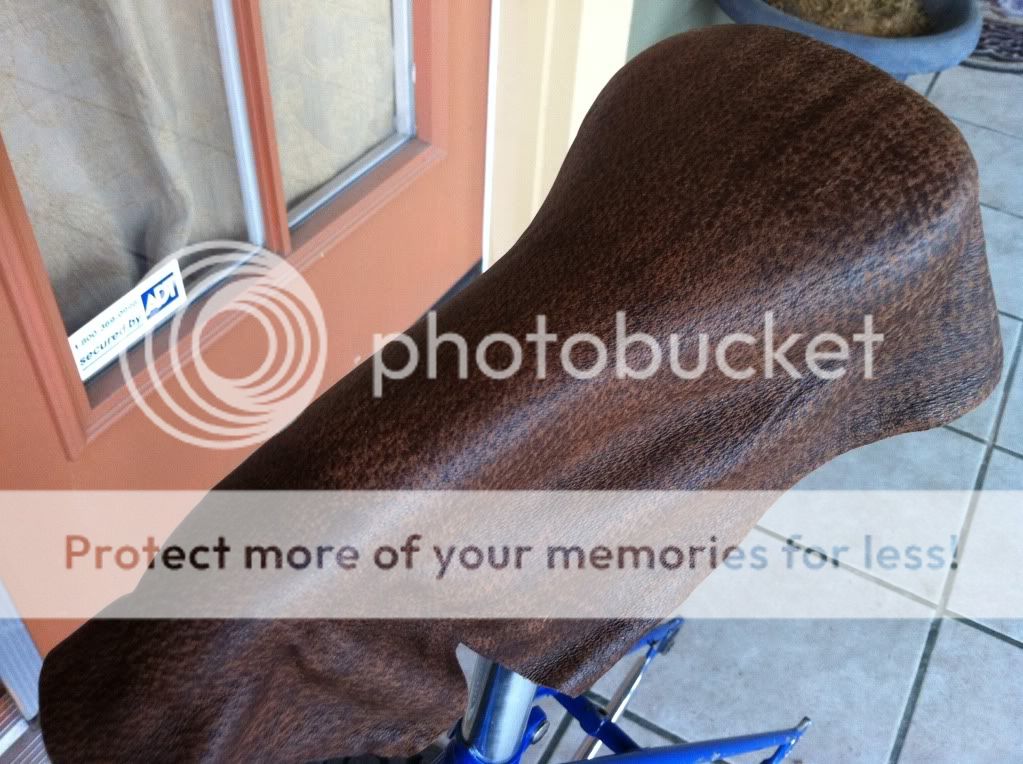
Take your cover and pull it onto the saddle while holding the sides. The adhesive isn't set yet so you can pull off the cover if you need to reposition it. Your goal is to have an even stretch all around the saddle. Avoid wrinkles by pulling up and re-stretching in that area. Here is how it looks after the first part of spraying and stretching:
Underside:
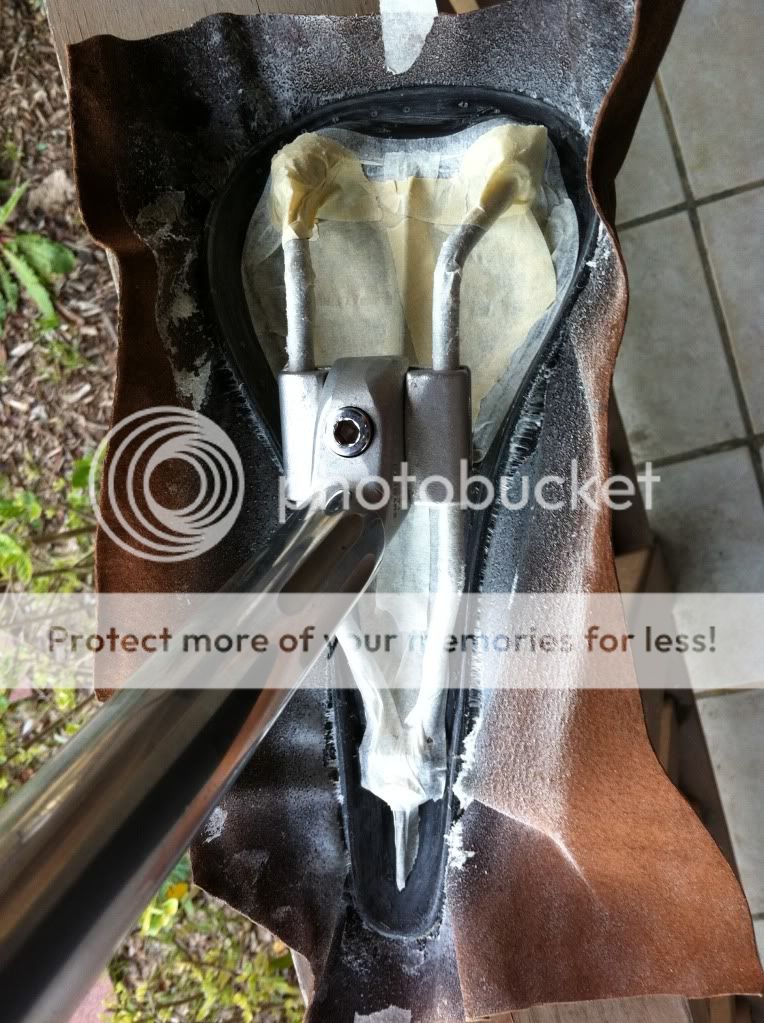
Now you can remove the seatpost. I like to trim the edges a little more now. I leave a little over an inch all around at this point:
Time to spray again.
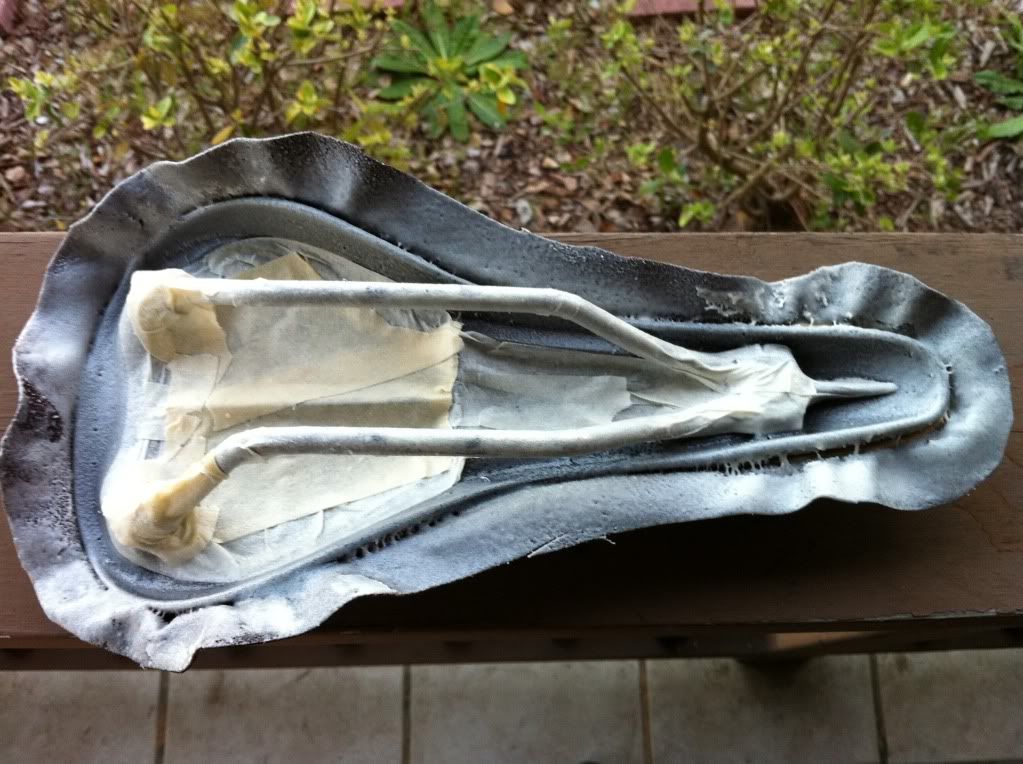
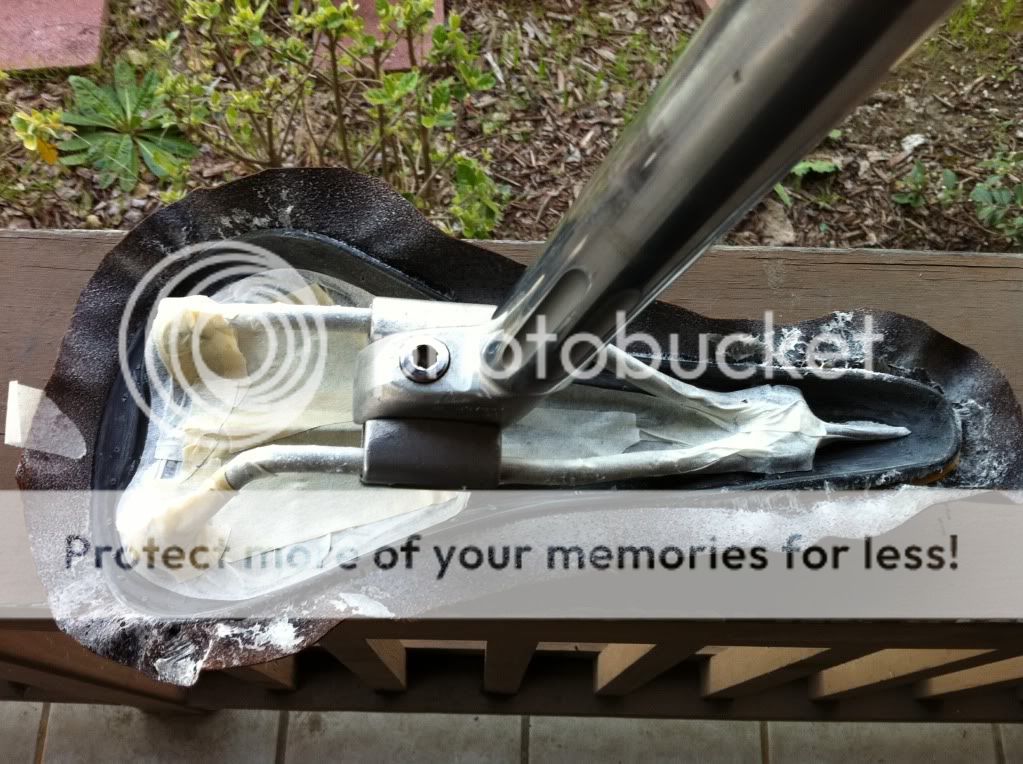
Part two. Lay the saddle topside down. Spray the inner-underside of the saddle as well as the edge of the cover. I use alot of adhesive here but it also gets very messy later. Here's how it looks: