


A Christmas Story......
 01-01-09, 04:07 PM
#1
Senior Member
Thread Starter
Join Date: Jul 2008
Location: UK
Posts: 1,757
Mentioned: 0 Post(s)
Tagged: 0 Thread(s)
Quoted: 0 Post(s)
Likes: 0
Liked 0 Times
in
0 Posts
A Christmas Story......
Once upon a time I found some interesting batteries:
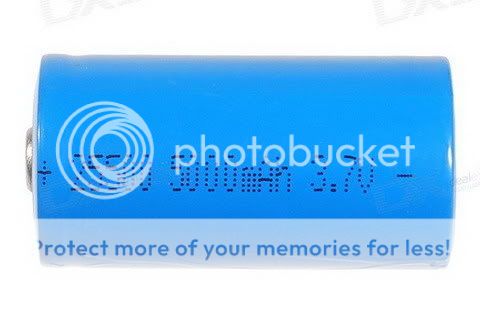
Specs:
25500 Rechargeable Lithium Battery (3.6V 5000mAh)
25500 = 25 mm dia. x 50.0 mm long (about the same size as a 'C' cell).
Specs:
25500 Rechargeable Lithium Battery (3.6V 5000mAh)
25500 = 25 mm dia. x 50.0 mm long (about the same size as a 'C' cell).
Last edited by Unknown Cyclist; 02-21-09 at 12:14 PM.
 01-01-09, 04:21 PM
#2
Senior Member
Thread Starter
Join Date: Jul 2008
Location: UK
Posts: 1,757
Mentioned: 0 Post(s)
Tagged: 0 Thread(s)
Quoted: 0 Post(s)
Likes: 0
Liked 0 Times
in
0 Posts
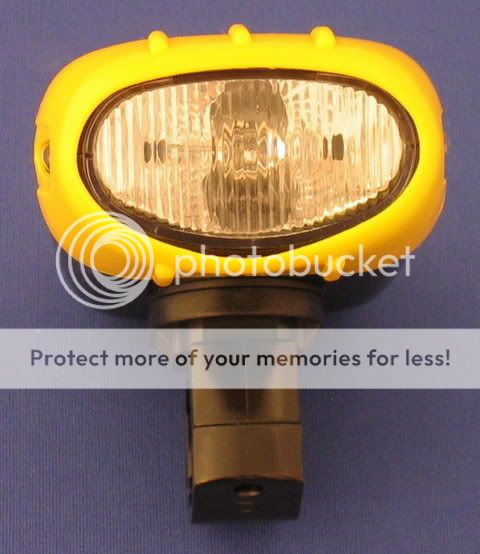
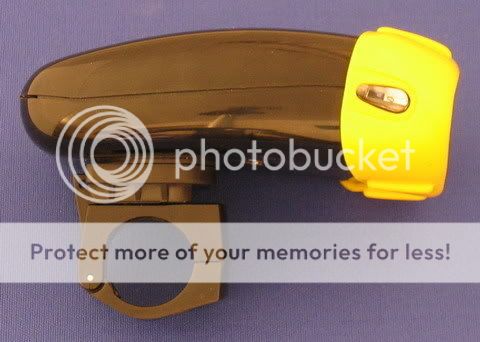
Anyway, sometime later I found these beauties (on ebay).....
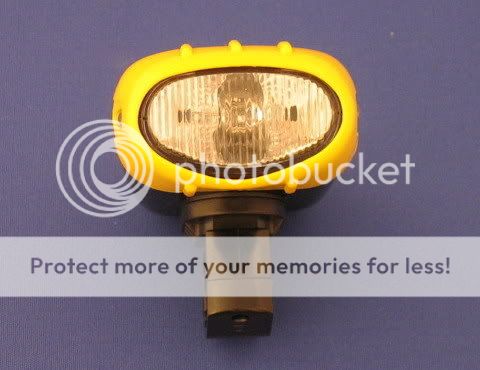
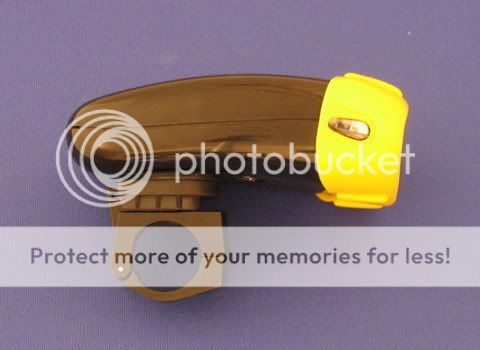
Specs:
2 x 'C' cells (3 volt)
Bulb, Halogen 2.4V - 0.85A = 2 Watts
Estimated Lumen output = several
And these (DX):

Specs:
2 x 'C' cells (3 volt)
Bulb, Halogen 2.4V - 0.85A = 2 Watts
Estimated Lumen output = several
And these (DX):
Last edited by Unknown Cyclist; 02-21-09 at 12:16 PM.
01-01-09, 04:47 PM
#3
Senior Member
Thread Starter
Join Date: Jul 2008
Location: UK
Posts: 1,757
Mentioned: 0 Post(s)
Tagged: 0 Thread(s)
Quoted: 0 Post(s)
Likes: 0
Liked 0 Times
in
0 Posts
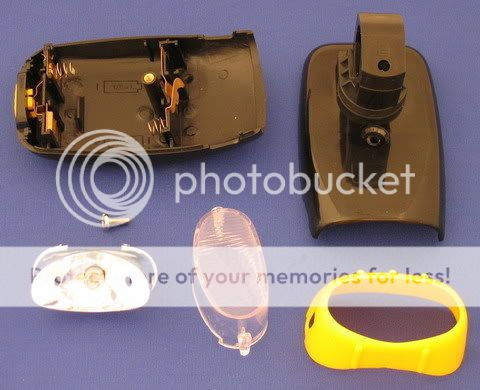
A plan began to form so at this point, I enlisted the help of Jan, a Professional Aeronautical Inventor.......
Here are his photos of the conversion:
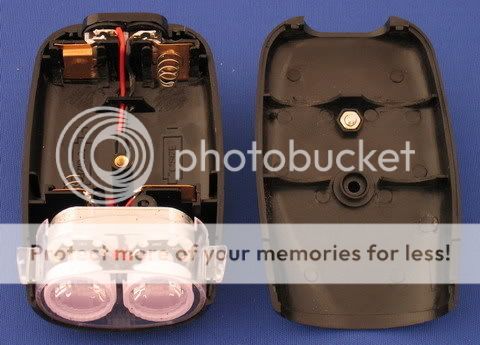
Disassembly...
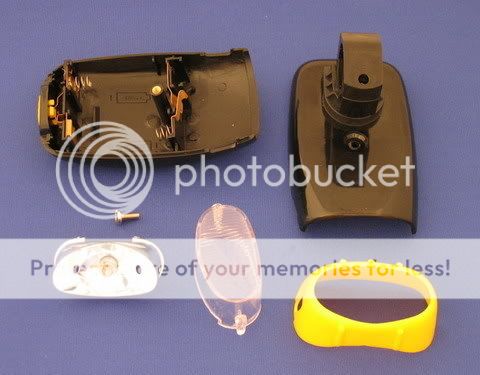
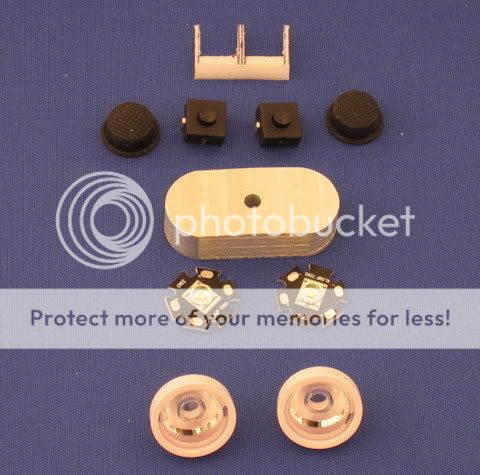
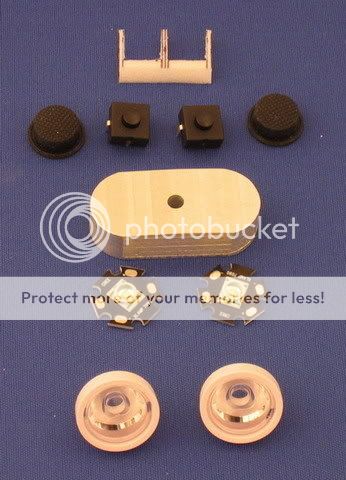
New Parts......
Here are his photos of the conversion:
Disassembly...
New Parts......
Last edited by Unknown Cyclist; 02-21-09 at 12:18 PM.
01-01-09, 05:18 PM
#4
Senior Member
Thread Starter
Join Date: Jul 2008
Location: UK
Posts: 1,757
Mentioned: 0 Post(s)
Tagged: 0 Thread(s)
Quoted: 0 Post(s)
Likes: 0
Liked 0 Times
in
0 Posts
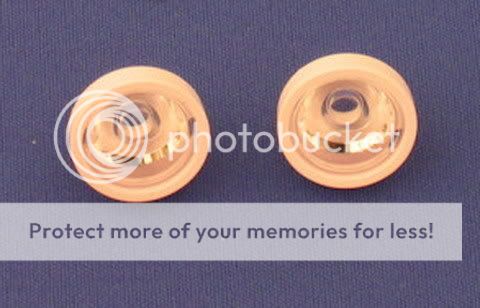
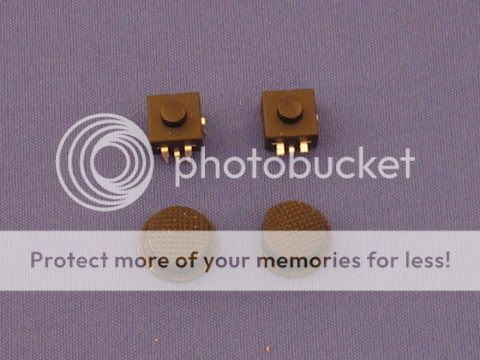
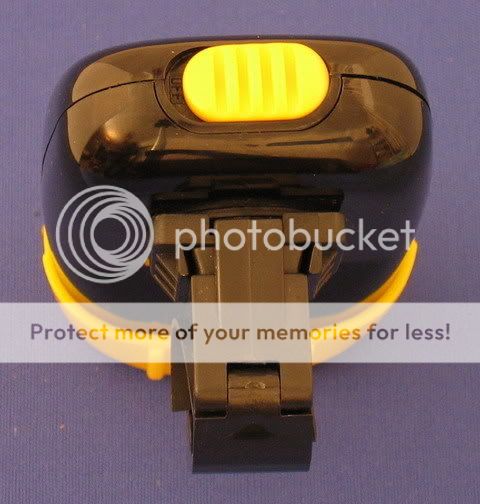
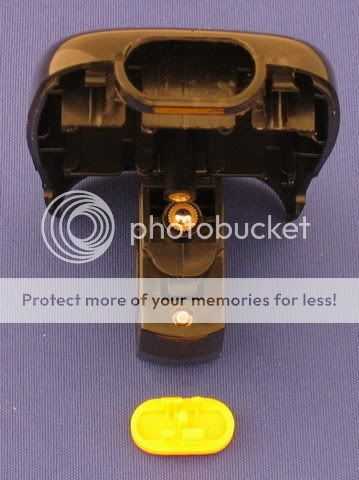
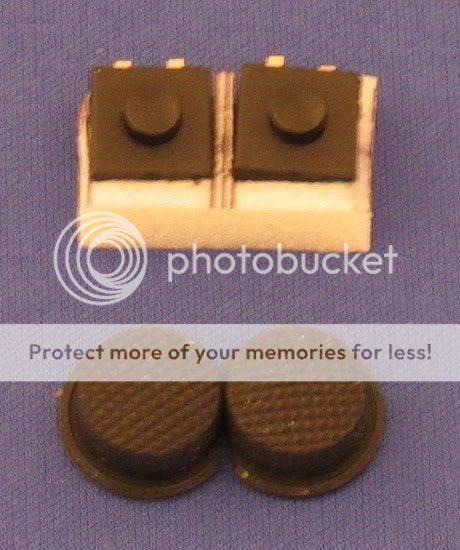
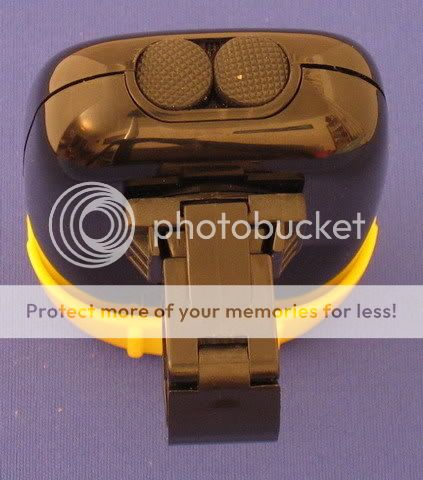
Original switch....

Dual Switch after conversion.....

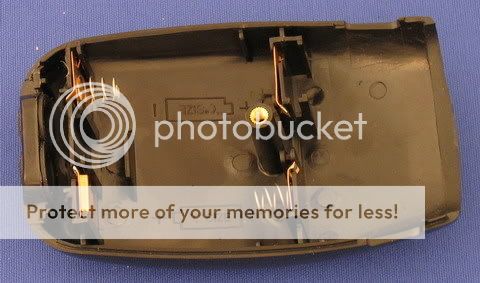
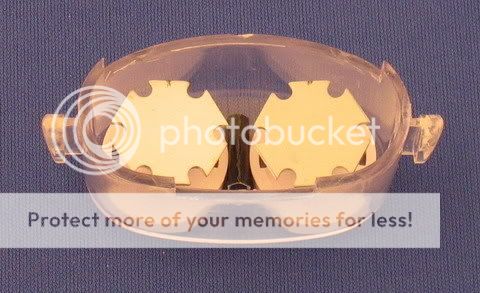
Lens before conversion......

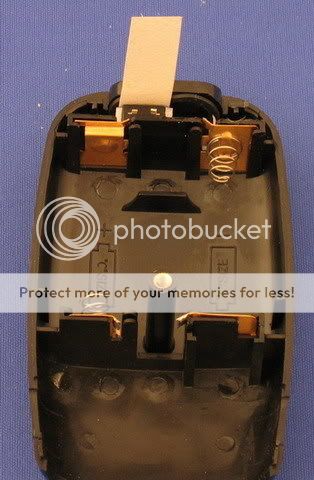
Lens after conversion......
Dual Switch after conversion.....
Lens before conversion......
Lens after conversion......
Last edited by Unknown Cyclist; 02-21-09 at 01:01 PM.
01-01-09, 06:03 PM
#5
Senior Member
Thread Starter
Join Date: Jul 2008
Location: UK
Posts: 1,757
Mentioned: 0 Post(s)
Tagged: 0 Thread(s)
Quoted: 0 Post(s)
Likes: 0
Liked 0 Times
in
0 Posts
Build Thread
As supplied - front view
As supplied - side view
As supplied - rear view
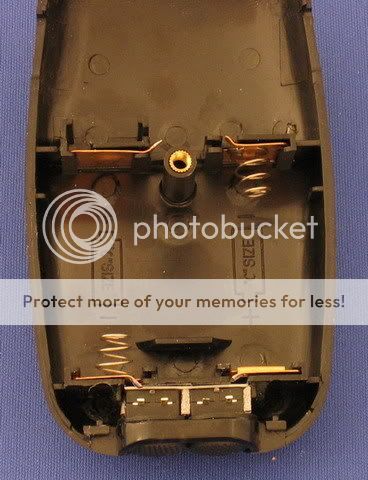
As supplied - disassembled
Kit of parts for the modification
Battery terminals removed

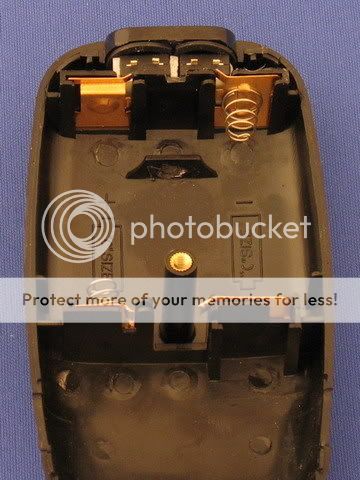
Rear switch removed
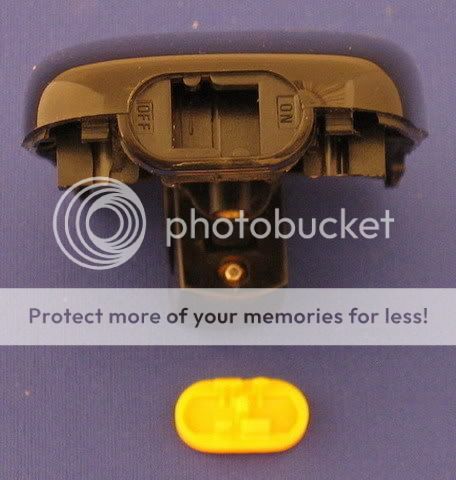
Unwanted material removed from switch hole
Battery terminals after removal of unwanted tabs

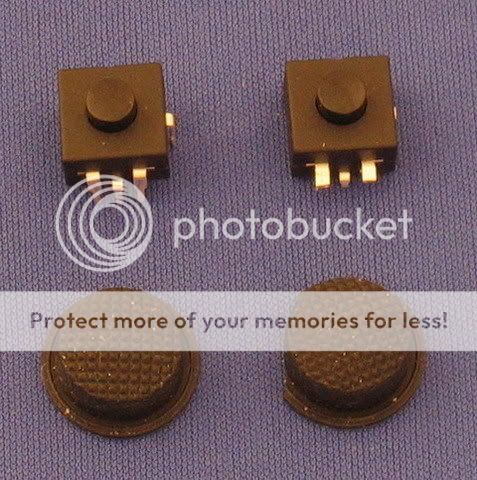
Switches and tailcaps; Left - original, Right - modified
As supplied - side view
As supplied - rear view
As supplied - disassembled
Kit of parts for the modification
Battery terminals removed
Rear switch removed
Unwanted material removed from switch hole
Battery terminals after removal of unwanted tabs
Switches and tailcaps; Left - original, Right - modified
Last edited by Unknown Cyclist; 02-21-09 at 01:03 PM.
01-01-09, 06:15 PM
#6
Senior Member
Thread Starter
Join Date: Jul 2008
Location: UK
Posts: 1,757
Mentioned: 0 Post(s)
Tagged: 0 Thread(s)
Quoted: 0 Post(s)
Likes: 0
Liked 0 Times
in
0 Posts
Switches in Depron holder, how the modified tailcaps sit together
Battery terminals reinstalled
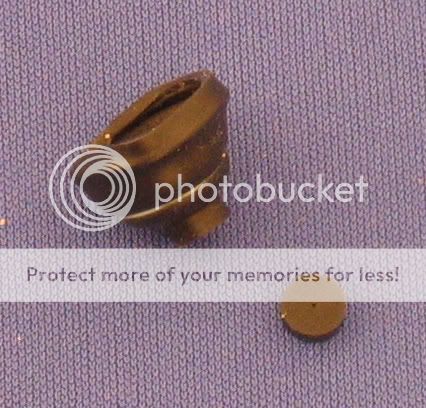
Tailcap inverted to remove some of the centre pip
Tailcaps inserted and the switches pushed in with the help of a plastic or card sheet
Switches in position, a small piece of plasticard added to ensure they don't move when pushed
Optics with Cree stars in place, small piece of card to keep them pushed outwards (removed once bonded)
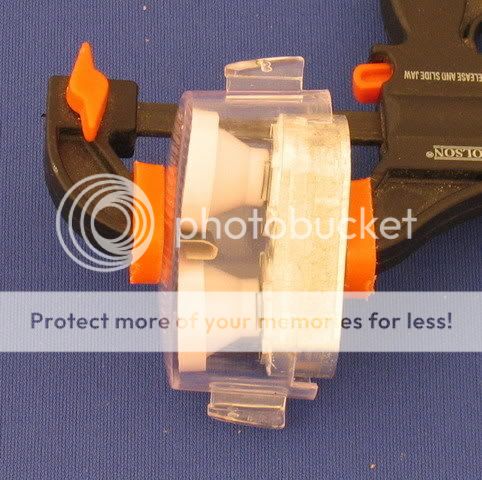
Aluminium block clamped to the stars after applying thermal epoxy
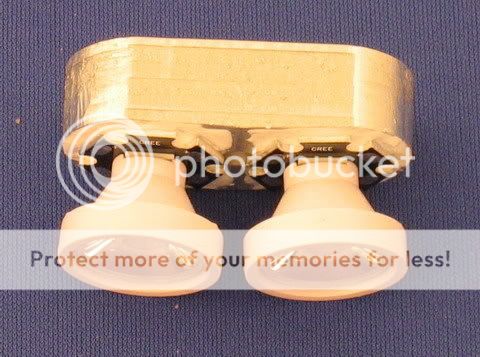
The lamp cluster - front
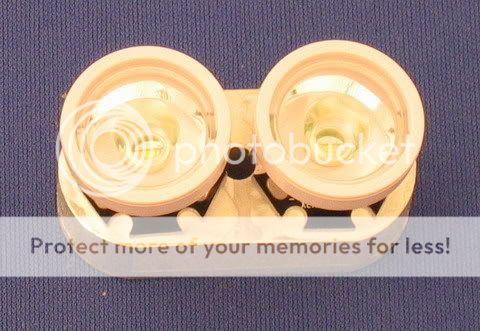
The lamp cluster - top
Slots cut in top of rear bulkhead and bottom of battery guide for wires
Battery terminals reinstalled
Tailcap inverted to remove some of the centre pip
Tailcaps inserted and the switches pushed in with the help of a plastic or card sheet
Switches in position, a small piece of plasticard added to ensure they don't move when pushed
Optics with Cree stars in place, small piece of card to keep them pushed outwards (removed once bonded)
Aluminium block clamped to the stars after applying thermal epoxy
The lamp cluster - front
The lamp cluster - top
Slots cut in top of rear bulkhead and bottom of battery guide for wires
Last edited by Unknown Cyclist; 02-21-09 at 01:24 PM.
01-01-09, 06:20 PM
#7
Senior Member
Thread Starter
Join Date: Jul 2008
Location: UK
Posts: 1,757
Mentioned: 0 Post(s)
Tagged: 0 Thread(s)
Quoted: 0 Post(s)
Likes: 0
Liked 0 Times
in
0 Posts
Wires soldered to stars
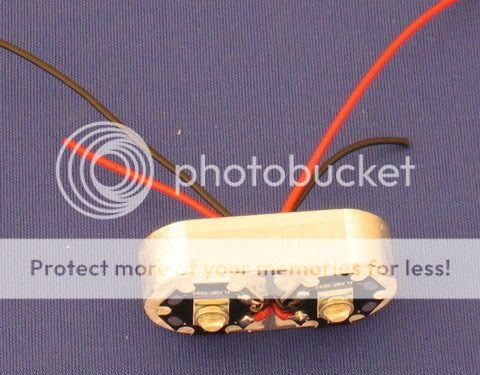
LEDs fitted and wired up
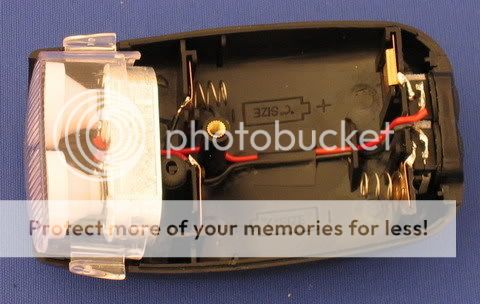
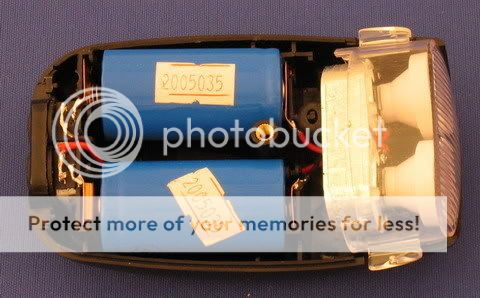
Material to be removed to ensure the batteries fit properly
Batteries in place
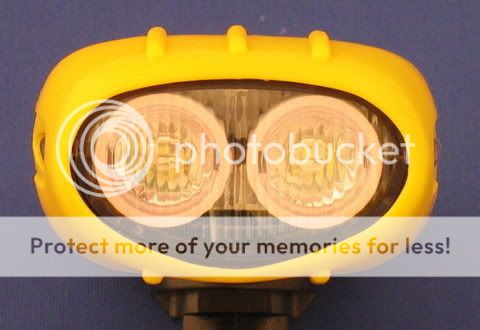
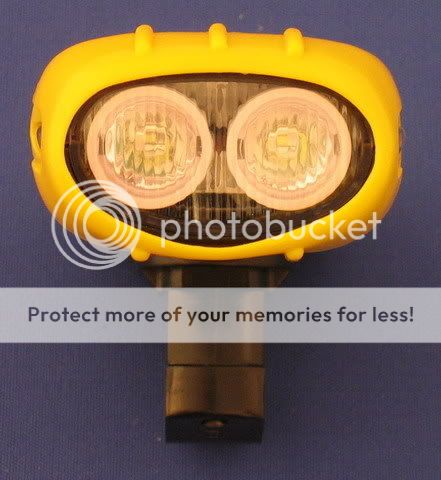
Finished light - front view
Finished light - side view
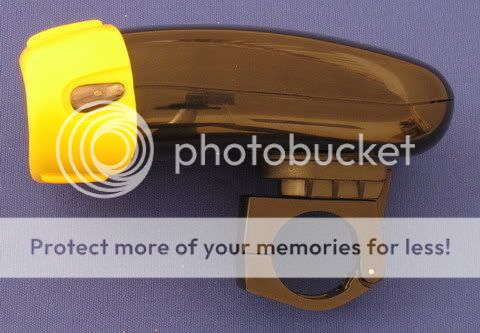
Finished light - rear view
LEDs fitted and wired up
Material to be removed to ensure the batteries fit properly
Batteries in place
Finished light - front view
Finished light - side view
Finished light - rear view
Last edited by Unknown Cyclist; 02-21-09 at 01:26 PM.
01-01-09, 06:29 PM
#8
Senior Member
Thread Starter
Join Date: Jul 2008
Location: UK
Posts: 1,757
Mentioned: 0 Post(s)
Tagged: 0 Thread(s)
Quoted: 0 Post(s)
Likes: 0
Liked 0 Times
in
0 Posts
And finally.....
Some beamshots at 5m (4s exposure at f8 with ISO200):
Original light at 5m - 4s exposure at f8 with ISO200

Modified light, 1 LED on, at 5m - 4s exposure at f8 with ISO200

Modified light, 2 LEDs on, at 5m - 4s exposure at f8 with ISO200

Same again...this time with the lights shining into some nearby woods.......
Original light into the woods - 8s exposure at f8 with ISO200

Modified light into the woods, 1 LED on - 8s exposure at f8 with ISO200

Modified light into the woods, 2 LEDs on - 8s exposure at f8 with ISO200

Some beamshots at 5m (4s exposure at f8 with ISO200):
Original light at 5m - 4s exposure at f8 with ISO200
Modified light, 1 LED on, at 5m - 4s exposure at f8 with ISO200
Modified light, 2 LEDs on, at 5m - 4s exposure at f8 with ISO200
Same again...this time with the lights shining into some nearby woods.......
Original light into the woods - 8s exposure at f8 with ISO200
Modified light into the woods, 1 LED on - 8s exposure at f8 with ISO200
Modified light into the woods, 2 LEDs on - 8s exposure at f8 with ISO200
Last edited by Unknown Cyclist; 02-21-09 at 01:39 PM.
01-01-09, 08:12 PM
#9
Got another new bike
Join Date: Nov 2007
Location: dundalk, md
Posts: 584
Bikes: pacific elite 3.1 w/upgrades and street slicks, got an iron horse maverick now, cannondale sr800, gt gtr pro rival
Mentioned: 0 Post(s)
Tagged: 0 Thread(s)
Quoted: 0 Post(s)
Likes: 0
Liked 0 Times
in
0 Posts
awesome all around, super compact!
are the leds direct drive, no driver/regulator, direct battery to led?
also how are you charging these?
are the leds direct drive, no driver/regulator, direct battery to led?
also how are you charging these?
01-01-09, 08:20 PM
#10
Beer and nachos today!
Join Date: Aug 2005
Location: Treaty Seven
Posts: 222
Bikes: Schwinn Peloton, Schwinn Prelude SS, Specialized Sequoia
Mentioned: 0 Post(s)
Tagged: 0 Thread(s)
Quoted: 2 Post(s)
Likes: 0
Liked 0 Times
in
0 Posts
Awesome
I've been considering doing something similar with an old Vetta 2C halogen light, but I'm worried about heat output (the fact that I know nothing about electronics is at the back of my mind, too ). How warm does your light get, and which LEDs specifically are you using?
I've been considering doing something similar with an old Vetta 2C halogen light, but I'm worried about heat output (the fact that I know nothing about electronics is at the back of my mind, too
). How warm does your light get, and which LEDs specifically are you using?
01-02-09, 07:07 AM
#11
Senior Member
Thread Starter
Join Date: Jul 2008
Location: UK
Posts: 1,757
Mentioned: 0 Post(s)
Tagged: 0 Thread(s)
Quoted: 0 Post(s)
Likes: 0
Liked 0 Times
in
0 Posts
Both LED, battery & switch circuits are completely independent.
Details of charger and runtime tests to follow shortly......
 01-02-09, 01:15 PM
#12
Senior Member
Thread Starter
Join Date: Jul 2008
Location: UK
Posts: 1,757
Mentioned: 0 Post(s)
Tagged: 0 Thread(s)
Quoted: 0 Post(s)
Likes: 0
Liked 0 Times
in
0 Posts
Awesome
I've been considering doing something similar with an old Vetta 2C halogen light, but I'm worried about heat output (the fact that I know nothing about electronics is at the back of my mind, too). How warm does your light get, and which LEDs specifically are you using?
I've been considering doing something similar with an old Vetta 2C halogen light, but I'm worried about heat output (the fact that I know nothing about electronics is at the back of my mind, too
). How warm does your light get, and which LEDs specifically are you using?The LEDs are mounted with thermal epoxy to the aluminium heatsink.
The LEDs are Cree R2s.
Just doing some run tests and checking the temperature atm.
