


Carbon Fiber Frame Repair
 01-01-24, 10:36 PM
#1
Newbie
Thread Starter
Carbon Fiber Frame Repair
I’ve been semi-serious about bikes for a long time… I bought my first decent bike when I was 15 years old… I’m 67 now… Still have it and ride it primarily… A 1970 Peugeot PX-10, set up in the mid eighties as a single speed… It’s my around town bike and fine for our rural rolling county roads…

My other bikes are a 1992 Cousin It Tandem …
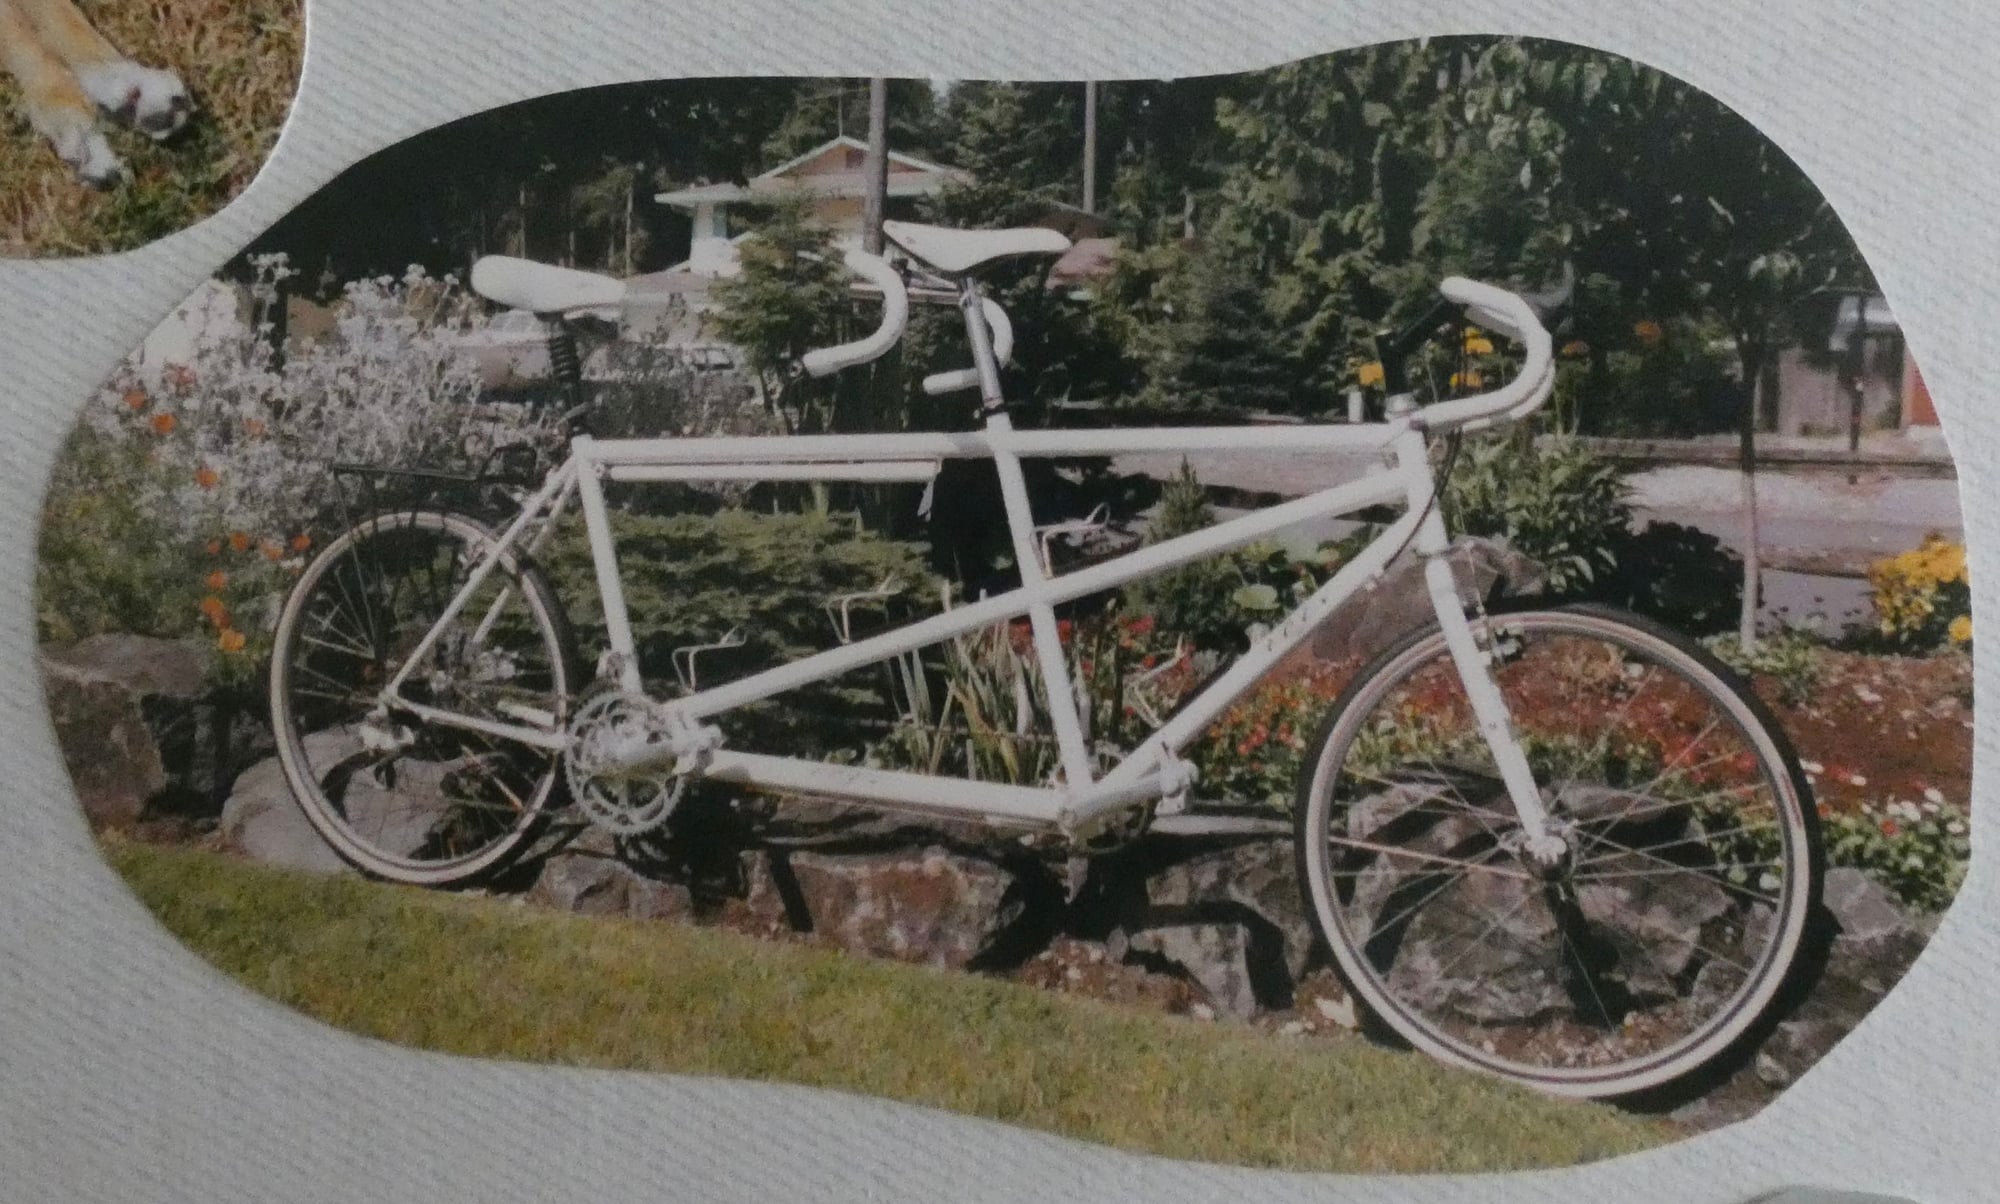
and a 2020 Zizzo Liberte Folder…
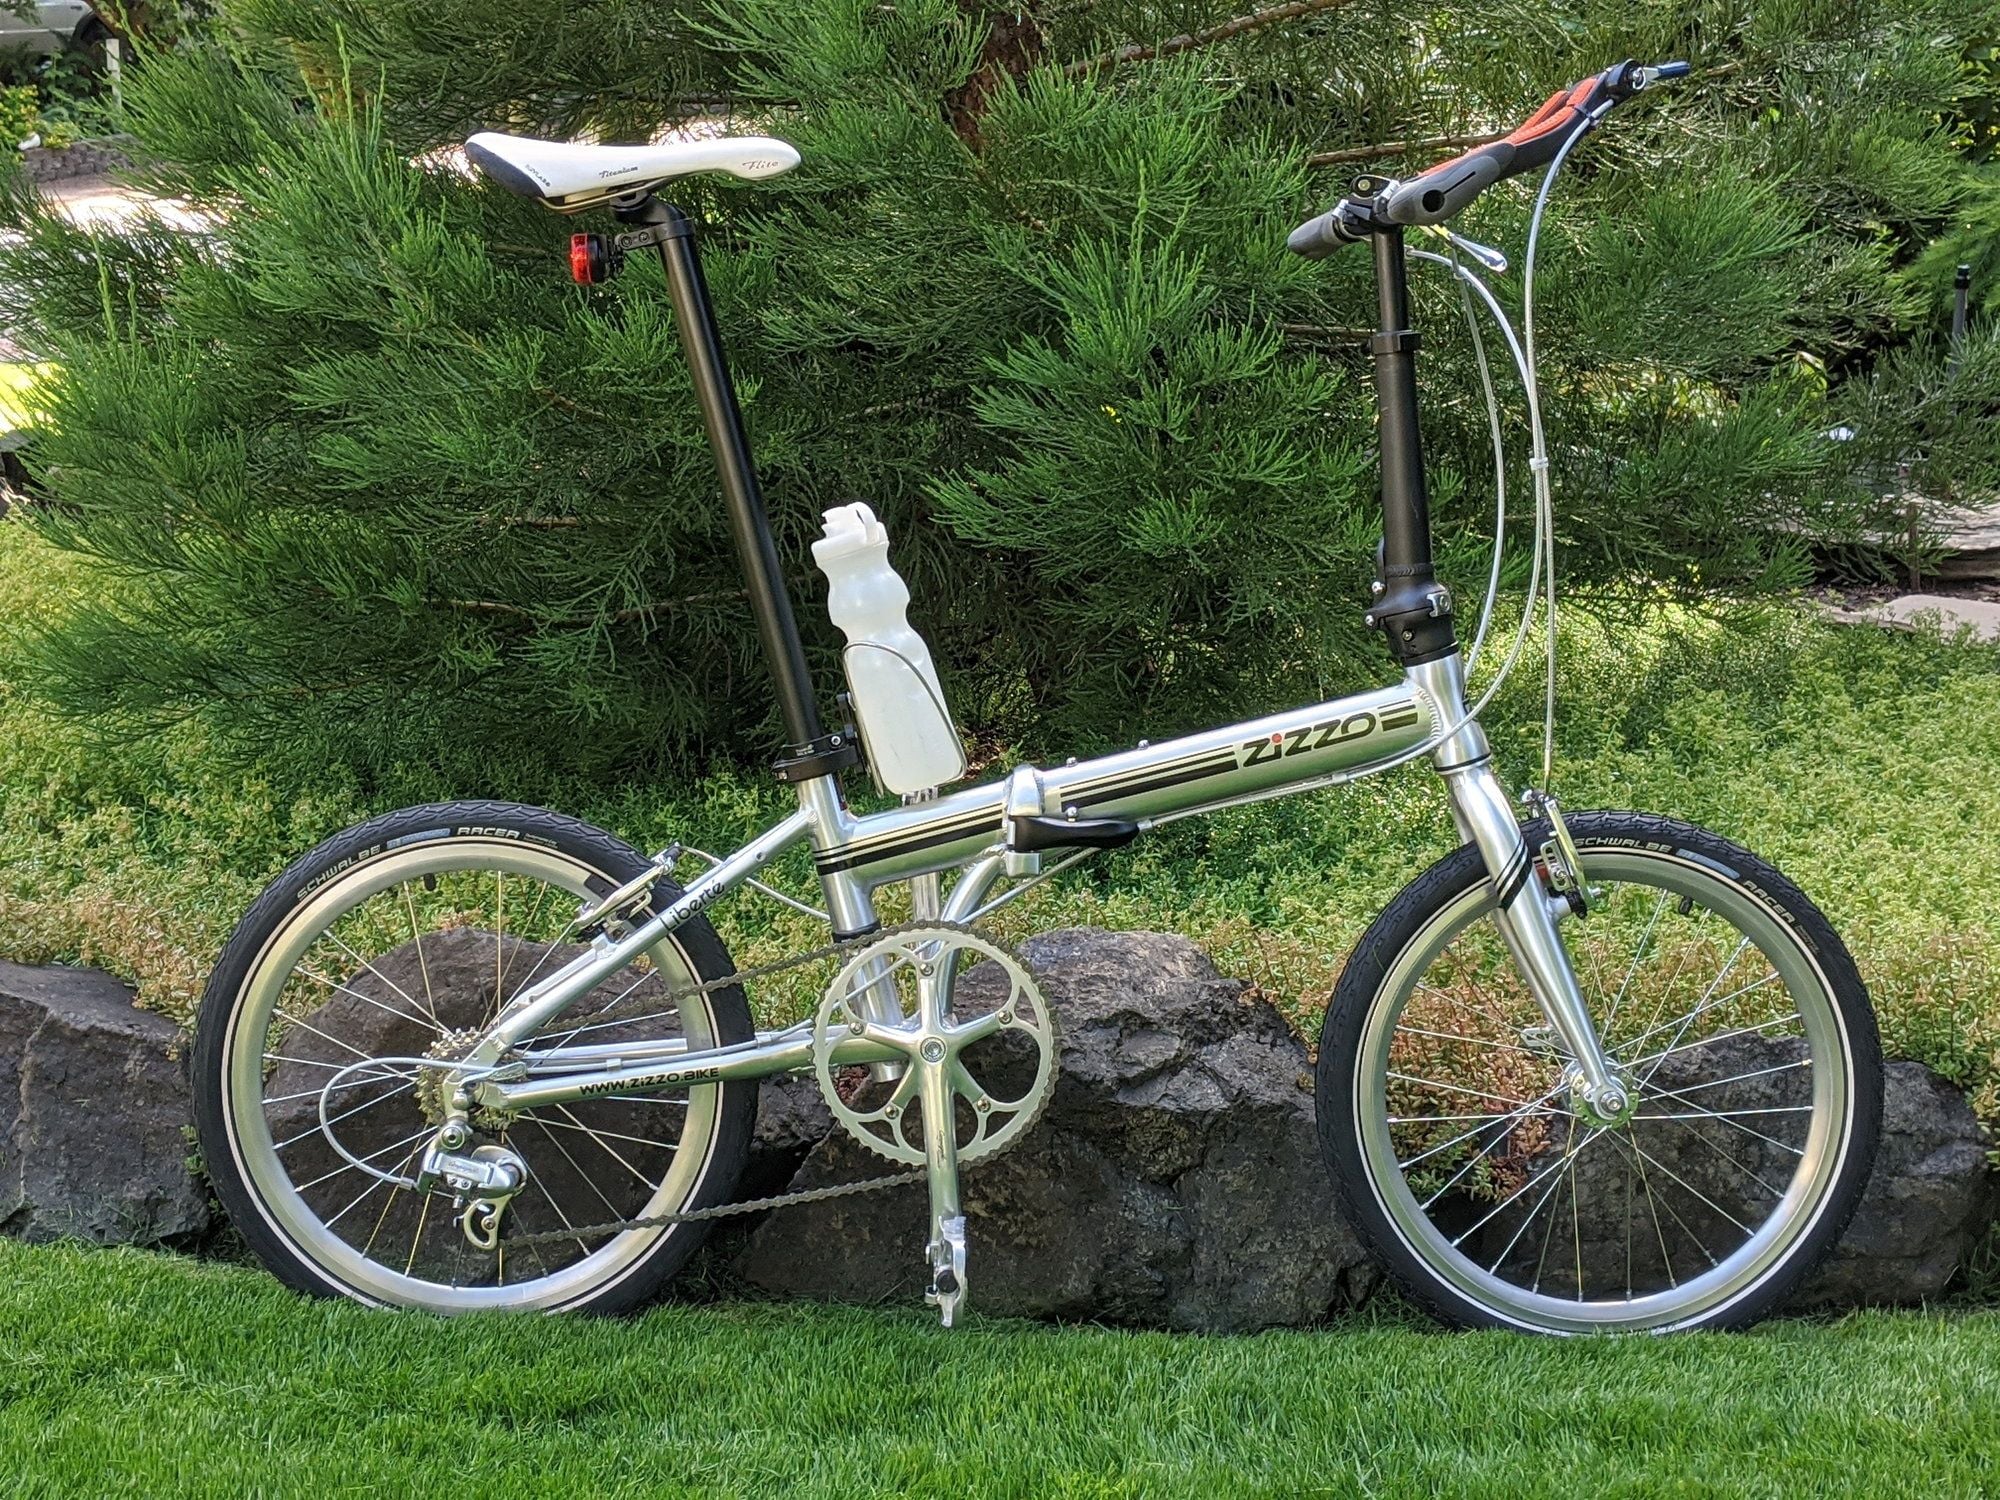
Both are mostly Campy equipped… It’s what I grew up on…
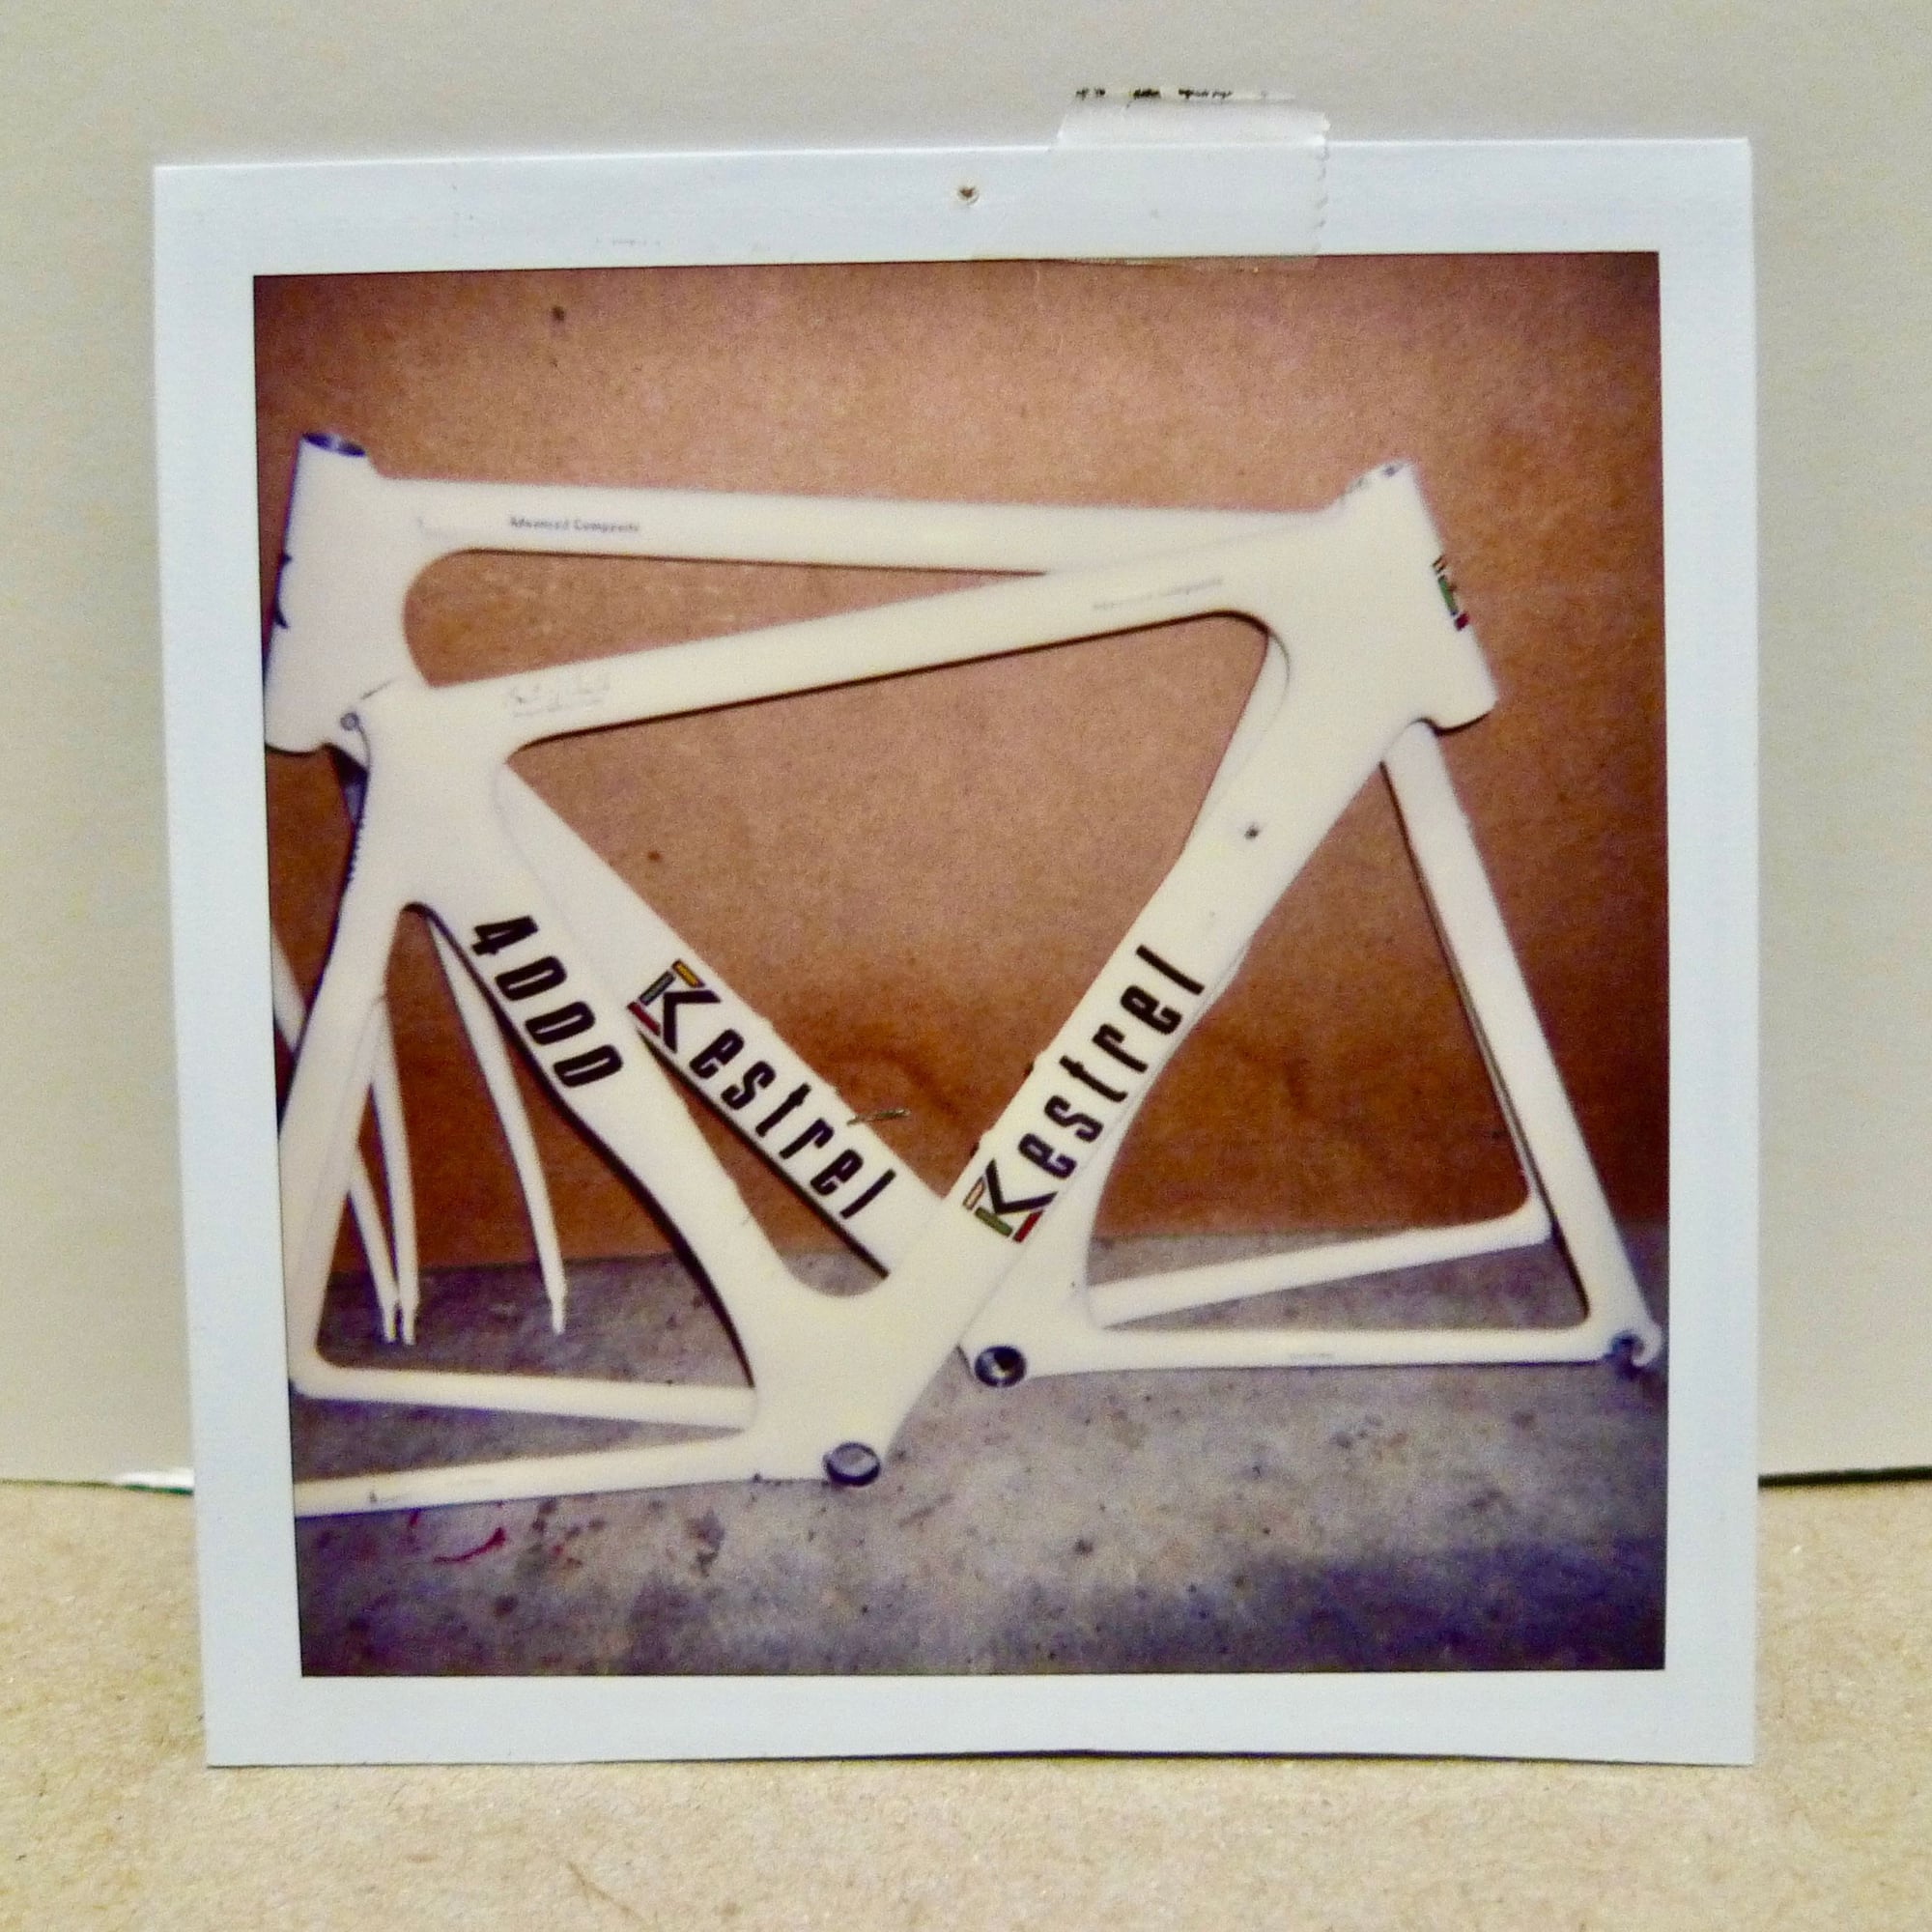
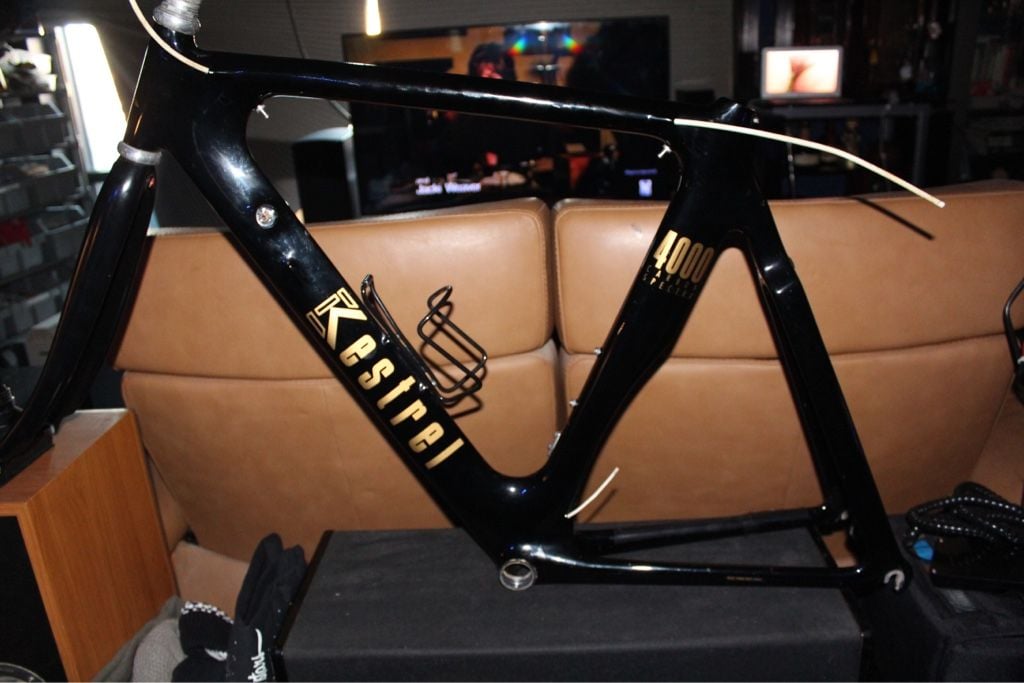
In the late 1980’s my wife and I got into triathlons… We were living in Monterey California and once we got started with triathlons, we joined the Monterey Bay Triathlon Club and connected to a really fun group of serious amateurs… This was right around the time that Kestrel Bikes in Watsonville, not far from Monterey, debuted their first bike the Kestrel 4000… I had a guy working for me (building construction) who had a friend at the Kestrel factory…Though that guy I was able to get a factory second frame for $650… Later that year i saw an ad in the local newspaper a complete bike for my wife, bike built out with Shimano Ultegra for $1,000… My frame was just that, a bare frame with the standard aluminum fork, later to be replaced with the first series Kestrel EMS forks…
My Kestrel got a lot of use… Training rides, races up to Ironman length, Centuries, Double Centuries, STP, Ramrod, long multi day tours etc… We rode a lot… In the early 90’s we moved from Central California to Olympia Washington……
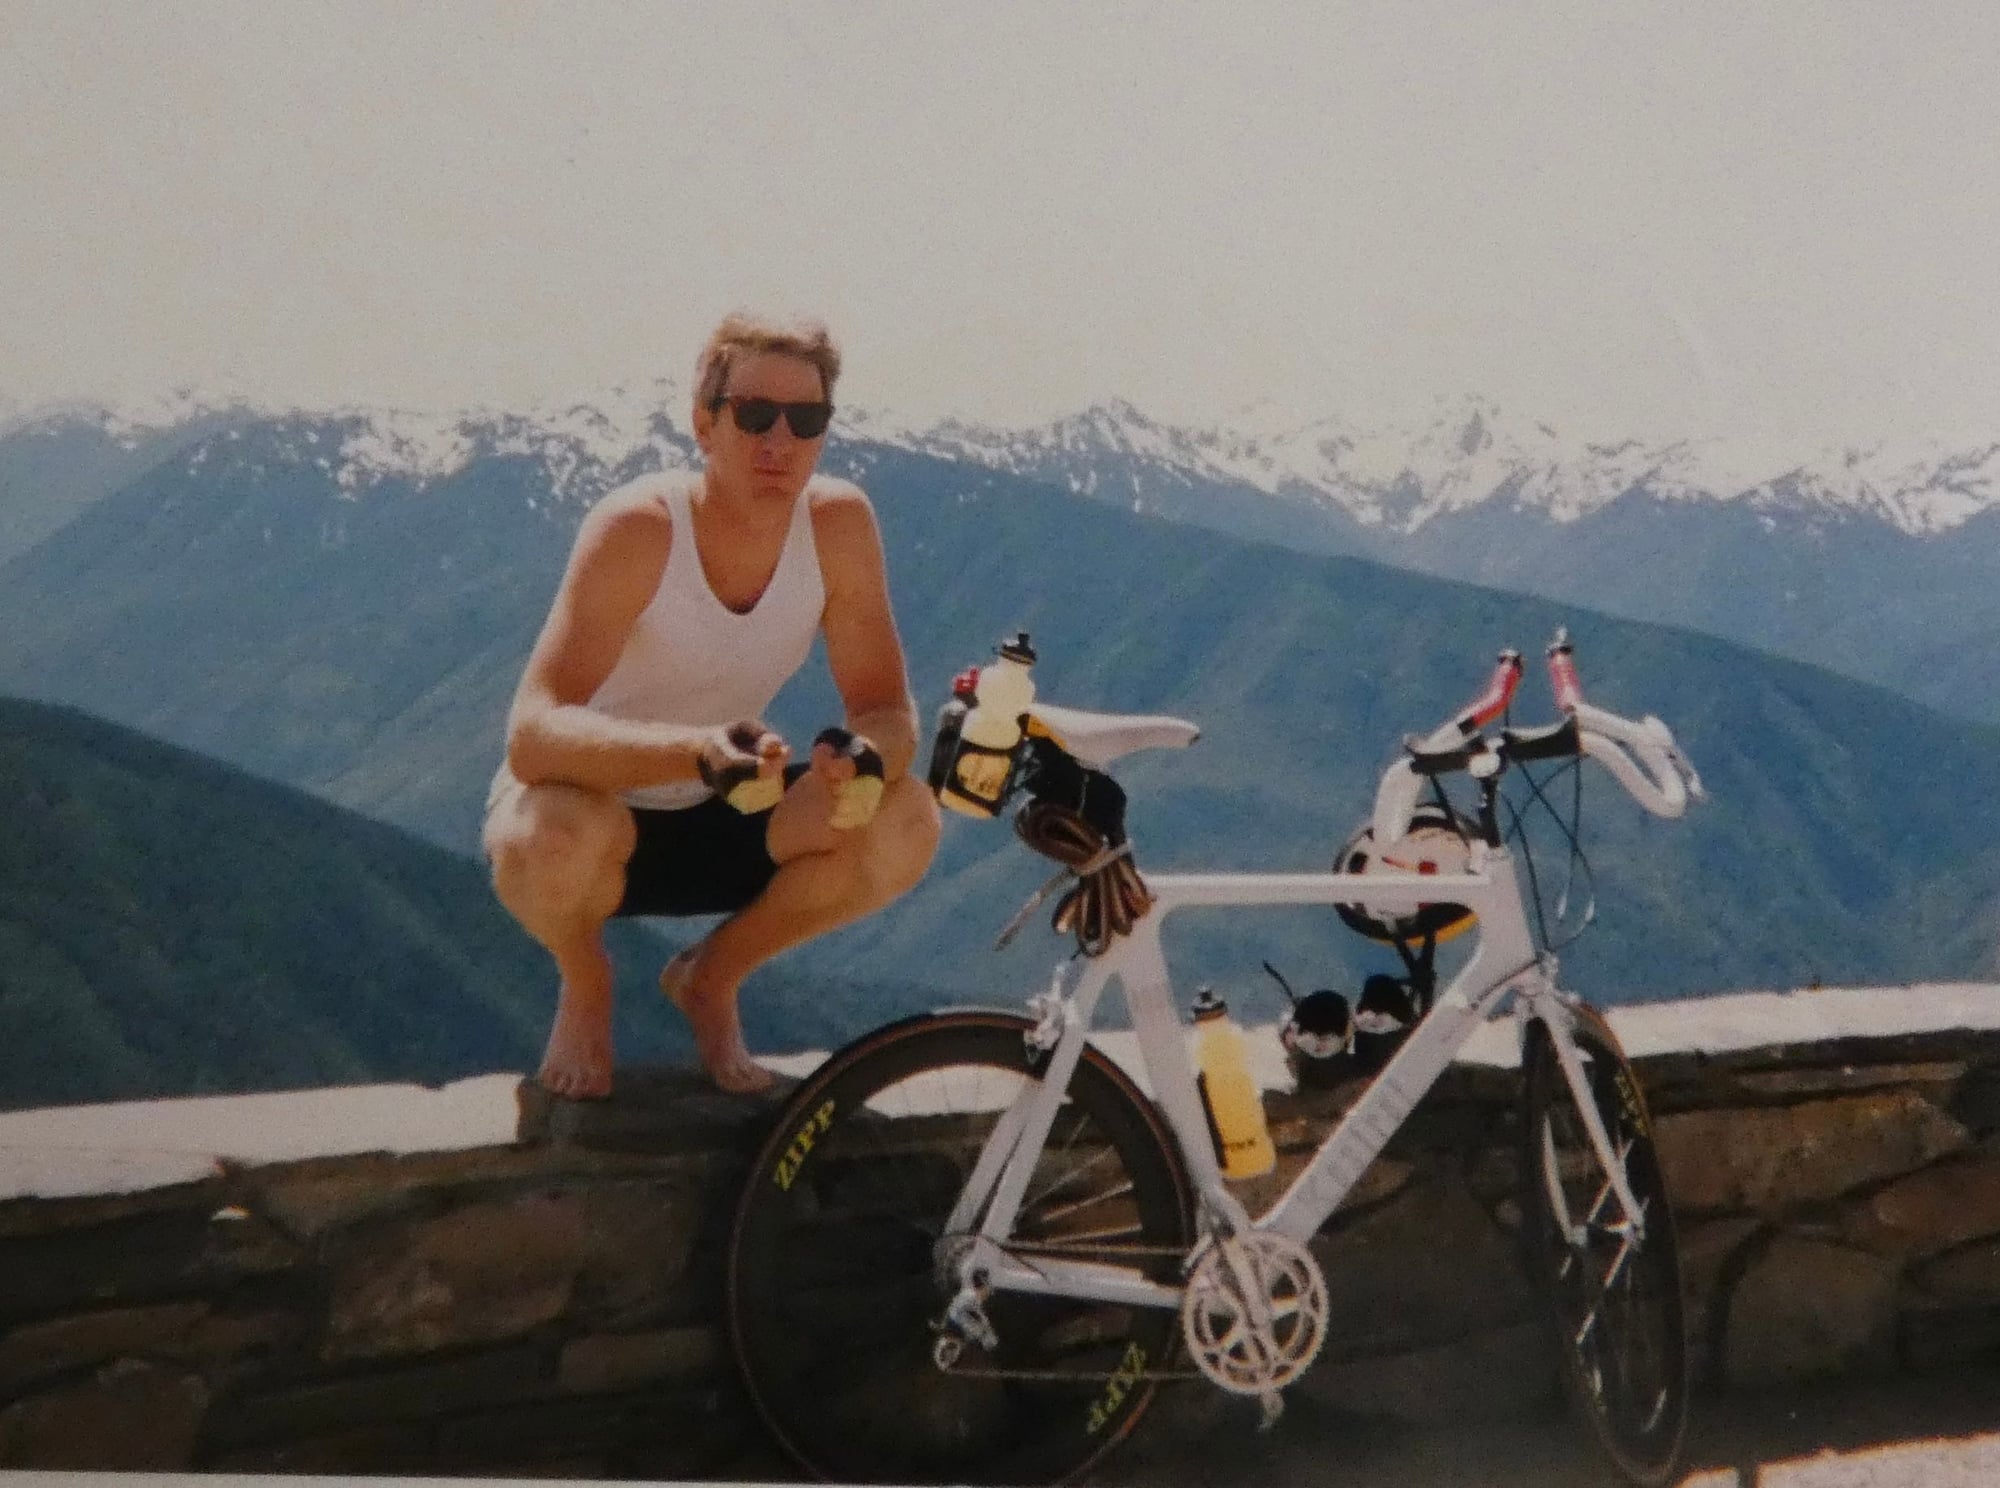
We still rode a lot but did fewer triathlons, and by then we were on our tandem more… Eventually I needed to thin my bike collection for space, so I gave my Kesrtel to a bike collector friend, and we sold my wife’s bike…We still rode a a lot, but we didn’t need our go fast bikes…
A couple years ago we moved north and bought a home in the border town of Blaine to be closer to our daughter and her family in Vancouver BC… Blaine is a wonderful town to ride in… Flat, little traffic,very scenic and quiet… The Whatcom County roads are rural, rolling, with beautiful views… Last year I started riding further and further from home… I’ve been riding exclusively my single speed Peugeot with about a 66 gear inch drivetrain… Works great, I get on and mostly spin nice and easy… The rolling hills are not bad, not impossible, but it’s work… The more I ride them he stronger I get…
Now I’m looking forward to next year… I want to go further and higher, with Mount Baker being a goal… With that in mind I retrieved my Kestrel from my collector friend and recently set about stripping it down, sanding the frame, checking for cracks, fixing any, repainting and rebuilding it…
Onward…
My other bikes are a 1992 Cousin It Tandem …
and a 2020 Zizzo Liberte Folder…
Both are mostly Campy equipped… It’s what I grew up on…
In the late 1980’s my wife and I got into triathlons… We were living in Monterey California and once we got started with triathlons, we joined the Monterey Bay Triathlon Club and connected to a really fun group of serious amateurs… This was right around the time that Kestrel Bikes in Watsonville, not far from Monterey, debuted their first bike the Kestrel 4000… I had a guy working for me (building construction) who had a friend at the Kestrel factory…Though that guy I was able to get a factory second frame for $650… Later that year i saw an ad in the local newspaper a complete bike for my wife, bike built out with Shimano Ultegra for $1,000… My frame was just that, a bare frame with the standard aluminum fork, later to be replaced with the first series Kestrel EMS forks…
My Kestrel got a lot of use… Training rides, races up to Ironman length, Centuries, Double Centuries, STP, Ramrod, long multi day tours etc… We rode a lot… In the early 90’s we moved from Central California to Olympia Washington……
We still rode a lot but did fewer triathlons, and by then we were on our tandem more… Eventually I needed to thin my bike collection for space, so I gave my Kesrtel to a bike collector friend, and we sold my wife’s bike…We still rode a a lot, but we didn’t need our go fast bikes…
A couple years ago we moved north and bought a home in the border town of Blaine to be closer to our daughter and her family in Vancouver BC… Blaine is a wonderful town to ride in… Flat, little traffic,very scenic and quiet… The Whatcom County roads are rural, rolling, with beautiful views… Last year I started riding further and further from home… I’ve been riding exclusively my single speed Peugeot with about a 66 gear inch drivetrain… Works great, I get on and mostly spin nice and easy… The rolling hills are not bad, not impossible, but it’s work… The more I ride them he stronger I get…
Now I’m looking forward to next year… I want to go further and higher, with Mount Baker being a goal… With that in mind I retrieved my Kestrel from my collector friend and recently set about stripping it down, sanding the frame, checking for cracks, fixing any, repainting and rebuilding it…
Onward…

Likes For PaulJensen:
01-01-24, 10:40 PM
#2
Newbie
Thread Starter
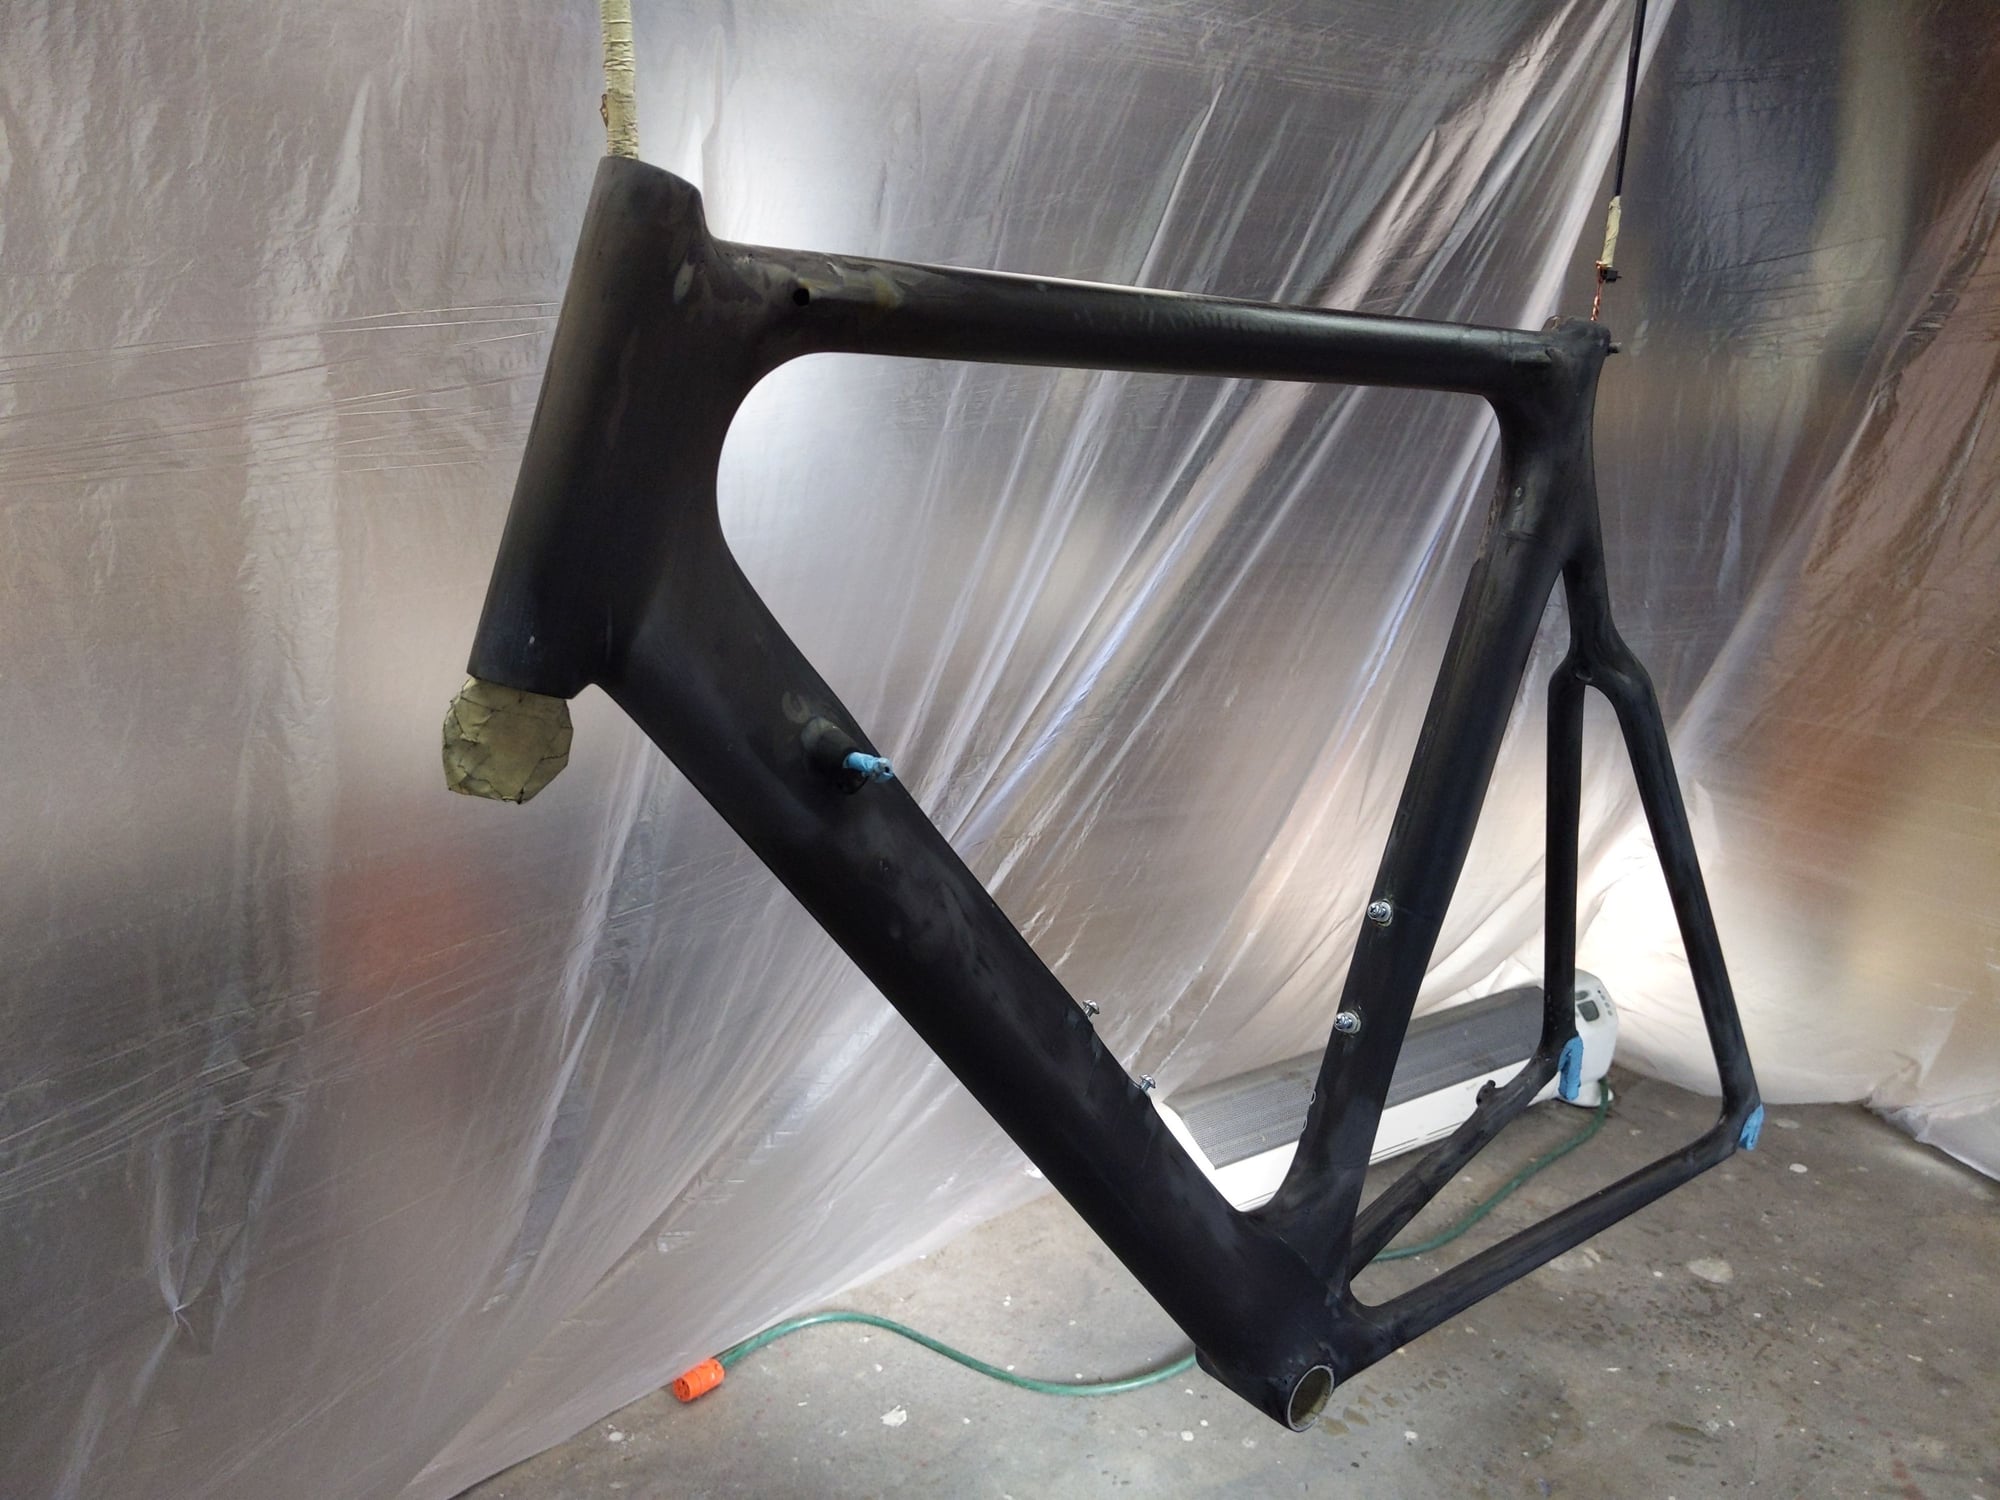
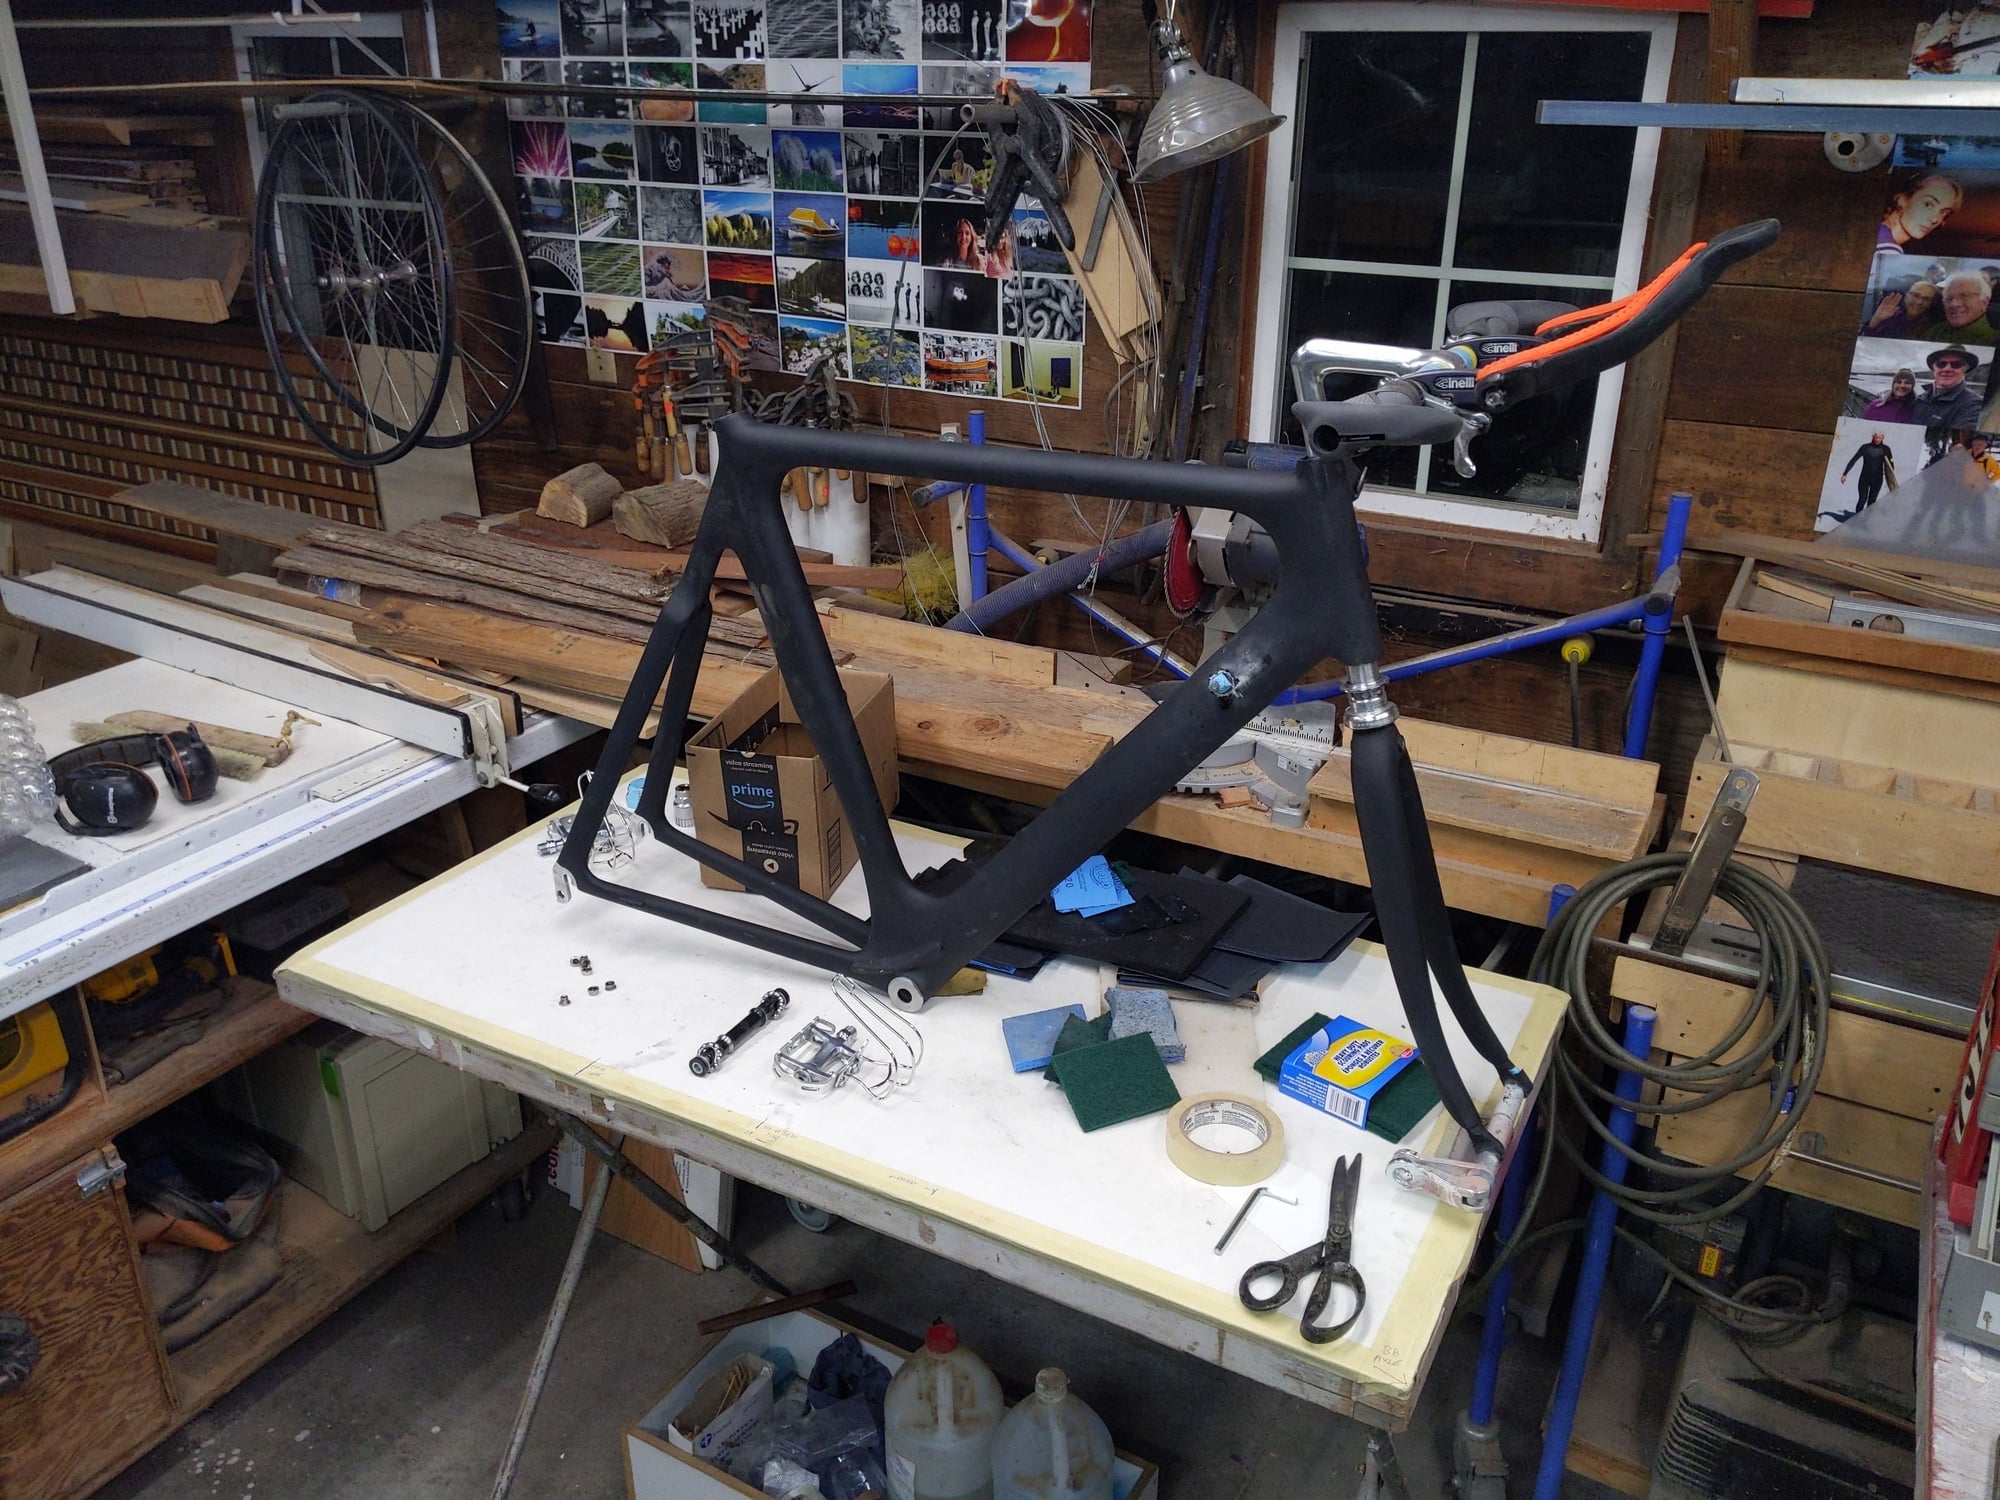
(above) After a complete disassembly it was time to sand off the shiny black Imron that I repainted it with last century… Under that was my primer and the factory white and the factory primer… I wanted to get all to old underlying paint off… All hand sanded with dedication to not going too far…
(above) Still a long way to go, but I need to be sure the carbon frame has zero areas of compromised structural integrity…
Likes For PaulJensen:
01-01-24, 10:47 PM
#3
Newbie
Thread Starter
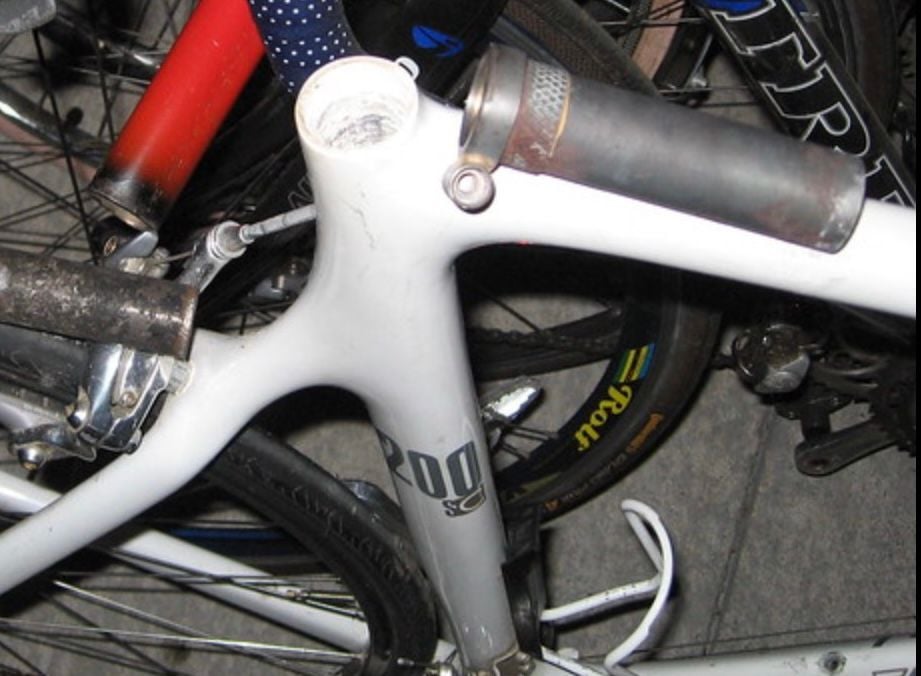
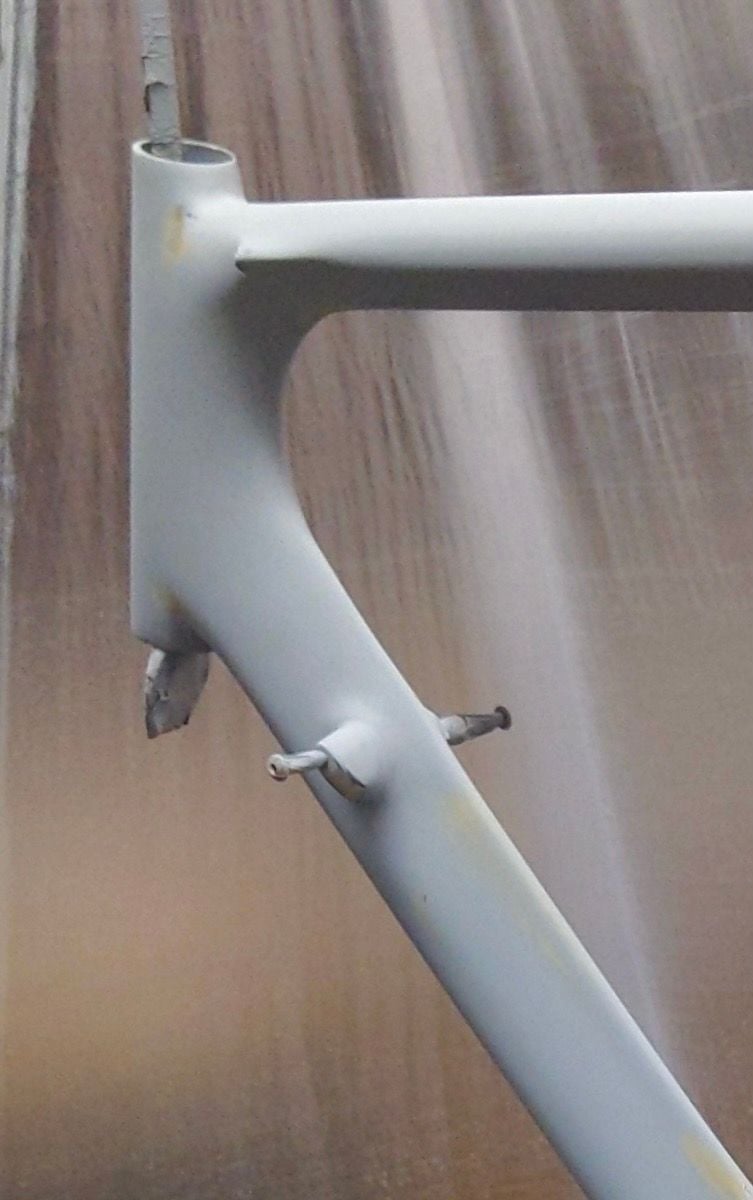
(above) One of the reasons for the repaint / rebuild was the previous carbon fiber (over aluminum) seatpost was fused in the seat tube.. I needed big pliers and I don’t give a **** attitude to break it free, and fortunately the steel insert, like the one in the picture, didn’t come loose at all… But there were a pair of minor epoxy cracks on both sides of the seatpost clamp… (The photo above is not my bike… I’m using it here for reference)…
(above) … SoI chiseled out any epoxy that wasn’t carbon fiber.. Pretty easy with a small sharp chisel… Then I fortified those side gaps with carbon fiber *yarn* and epoxy… There is a sacrificial layer of fiberglass to smooth out the carbon fills… Once set up a lot of sanding leaves the very small amount of new carbon fiber where it needs to be…
01-01-24, 10:59 PM
#4
Newbie
Thread Starter

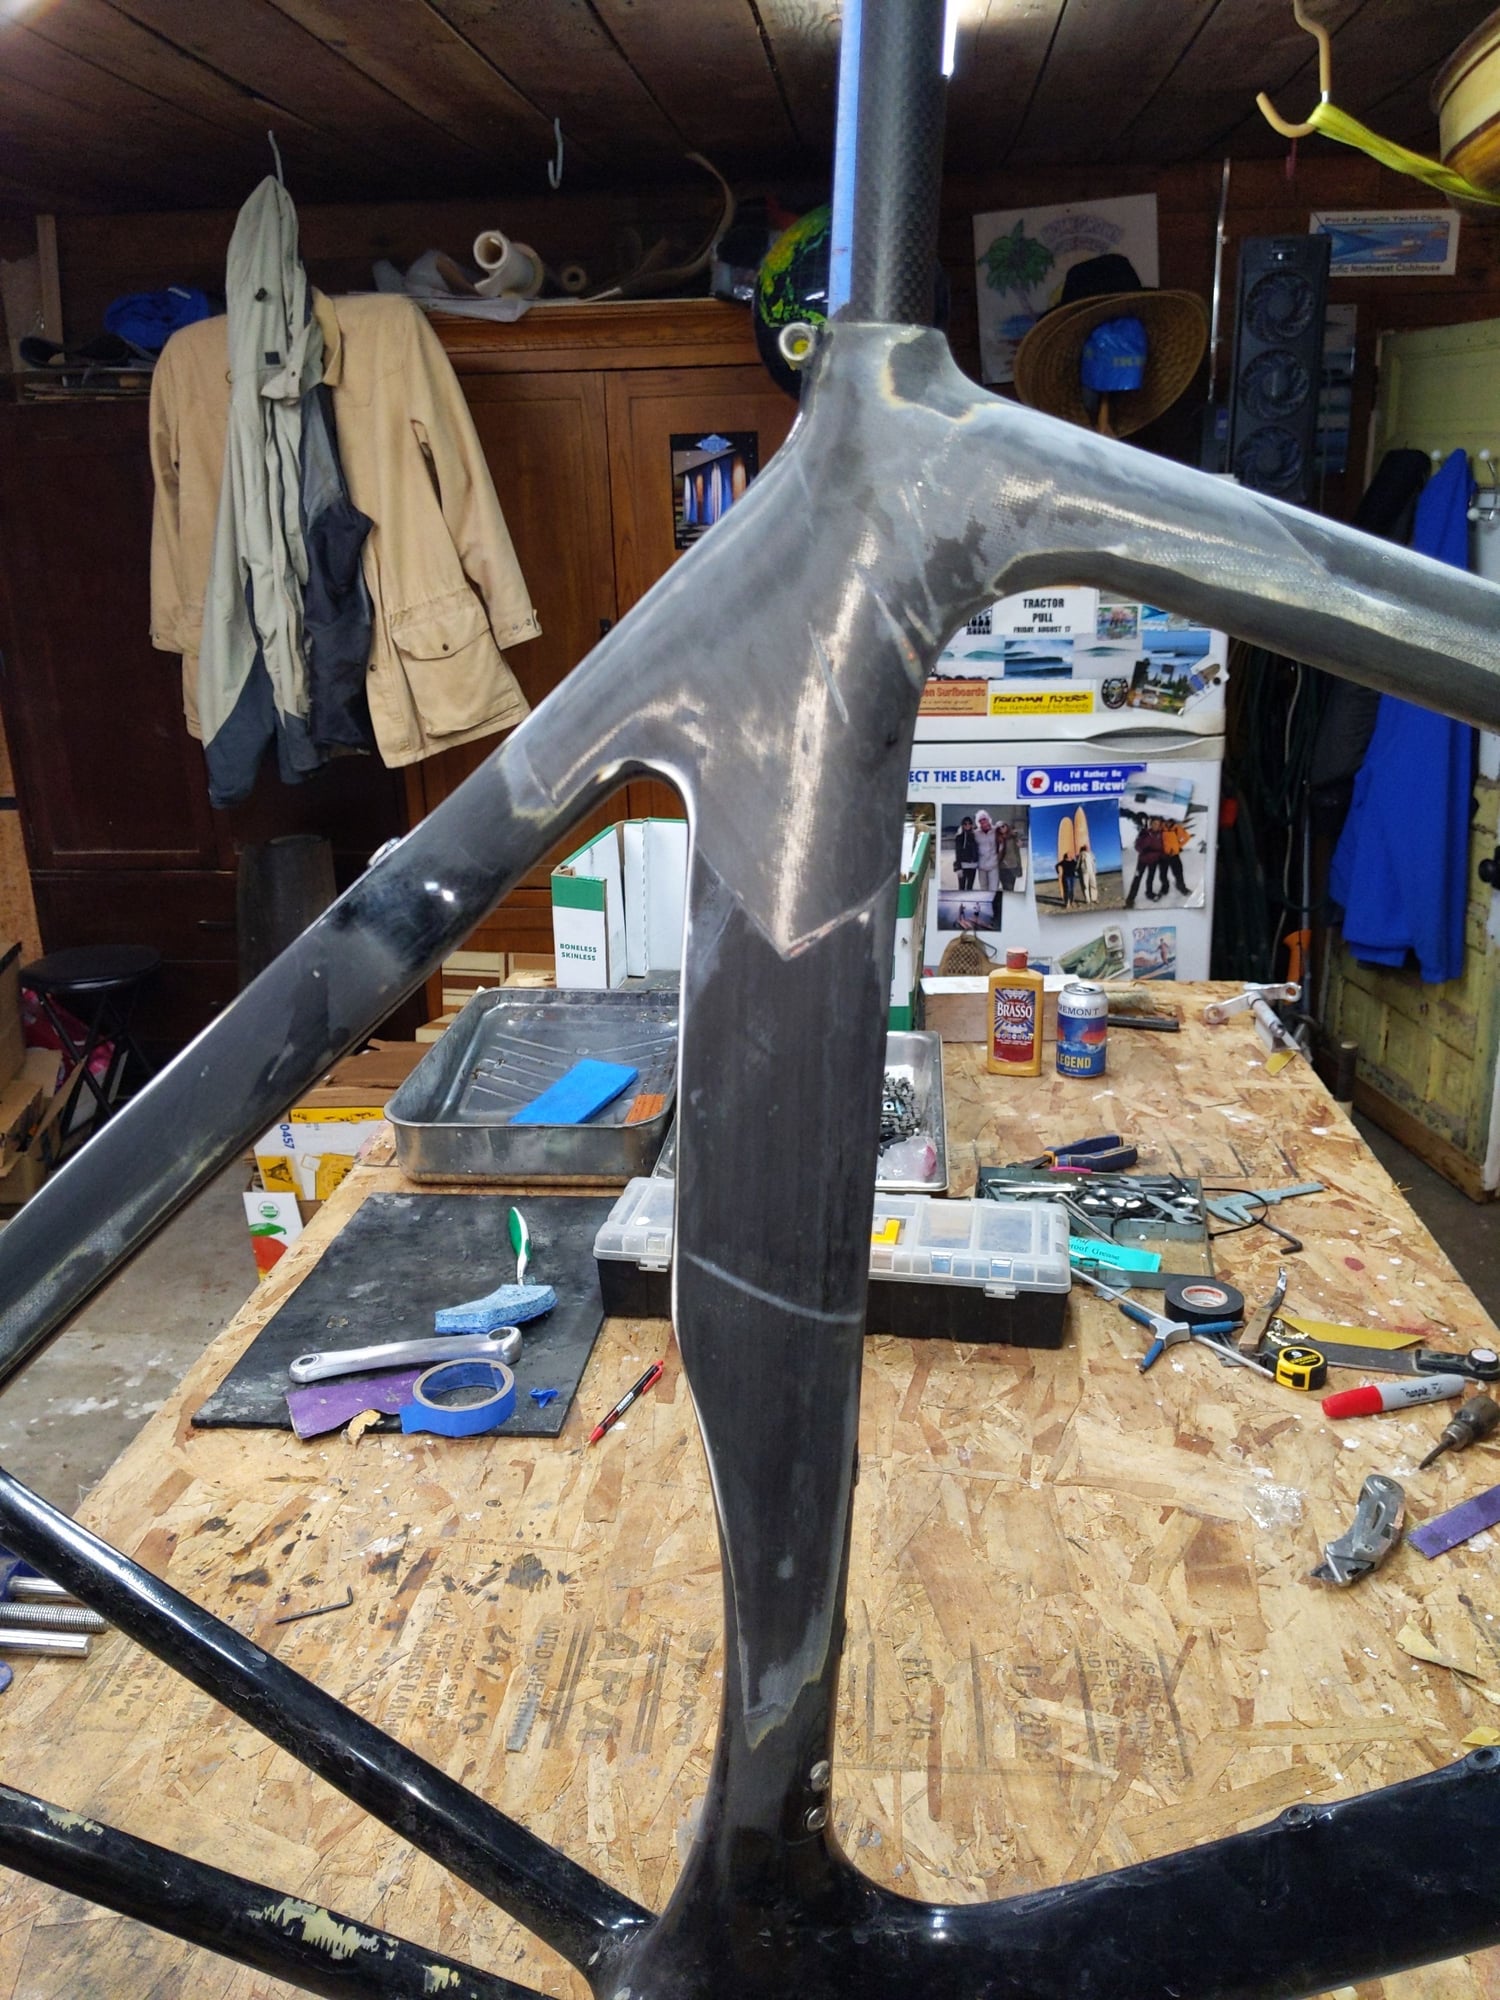
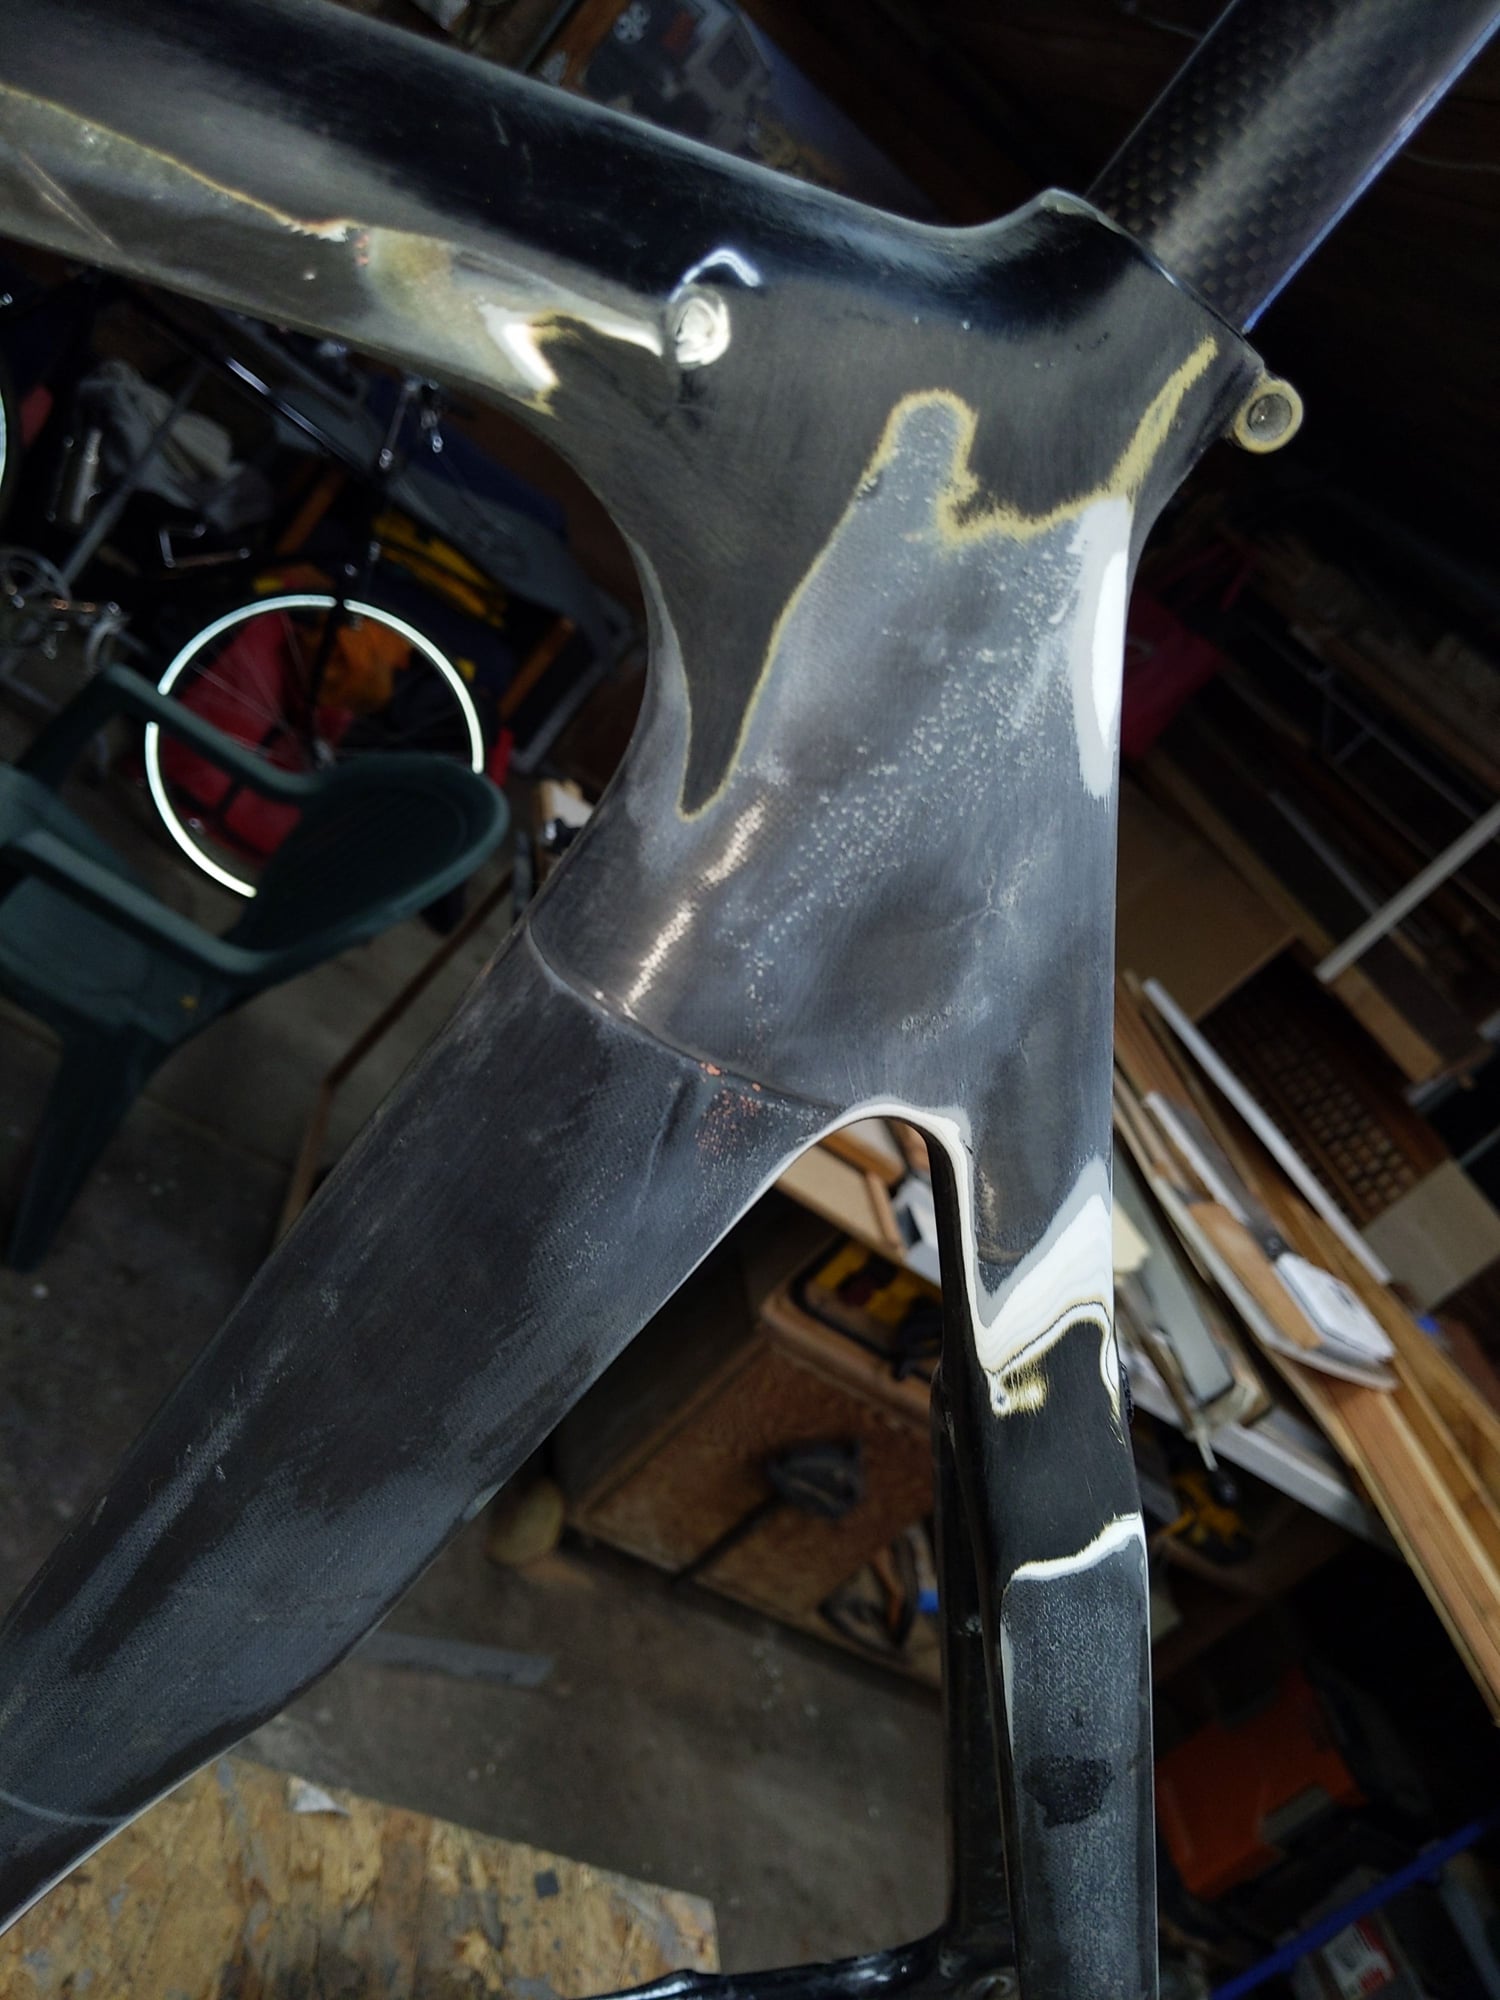
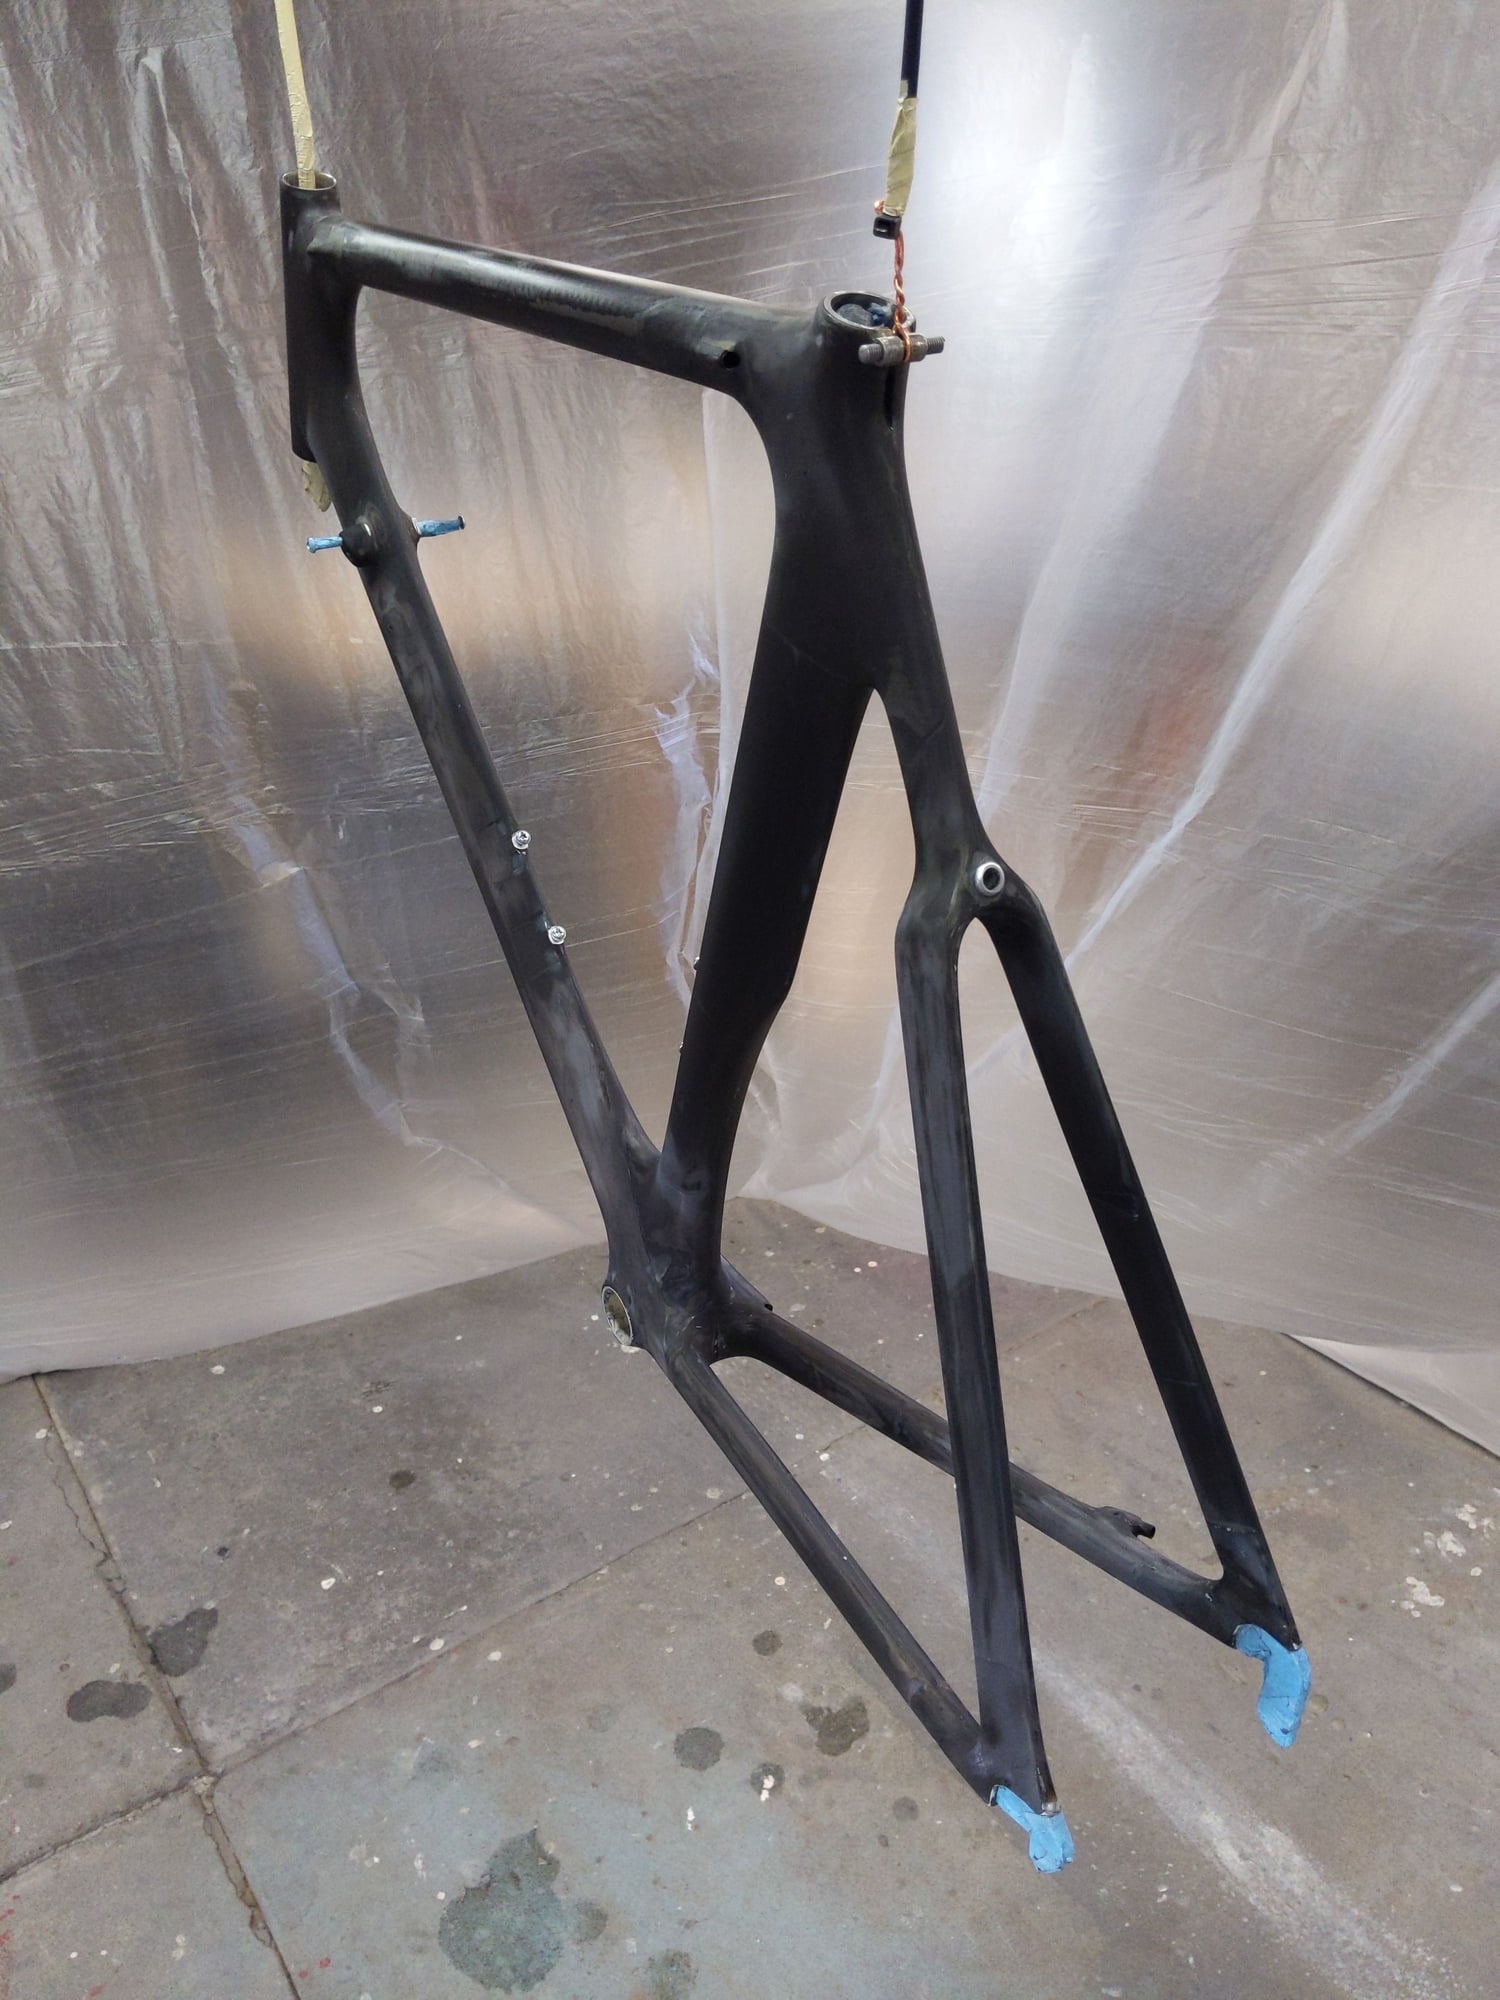
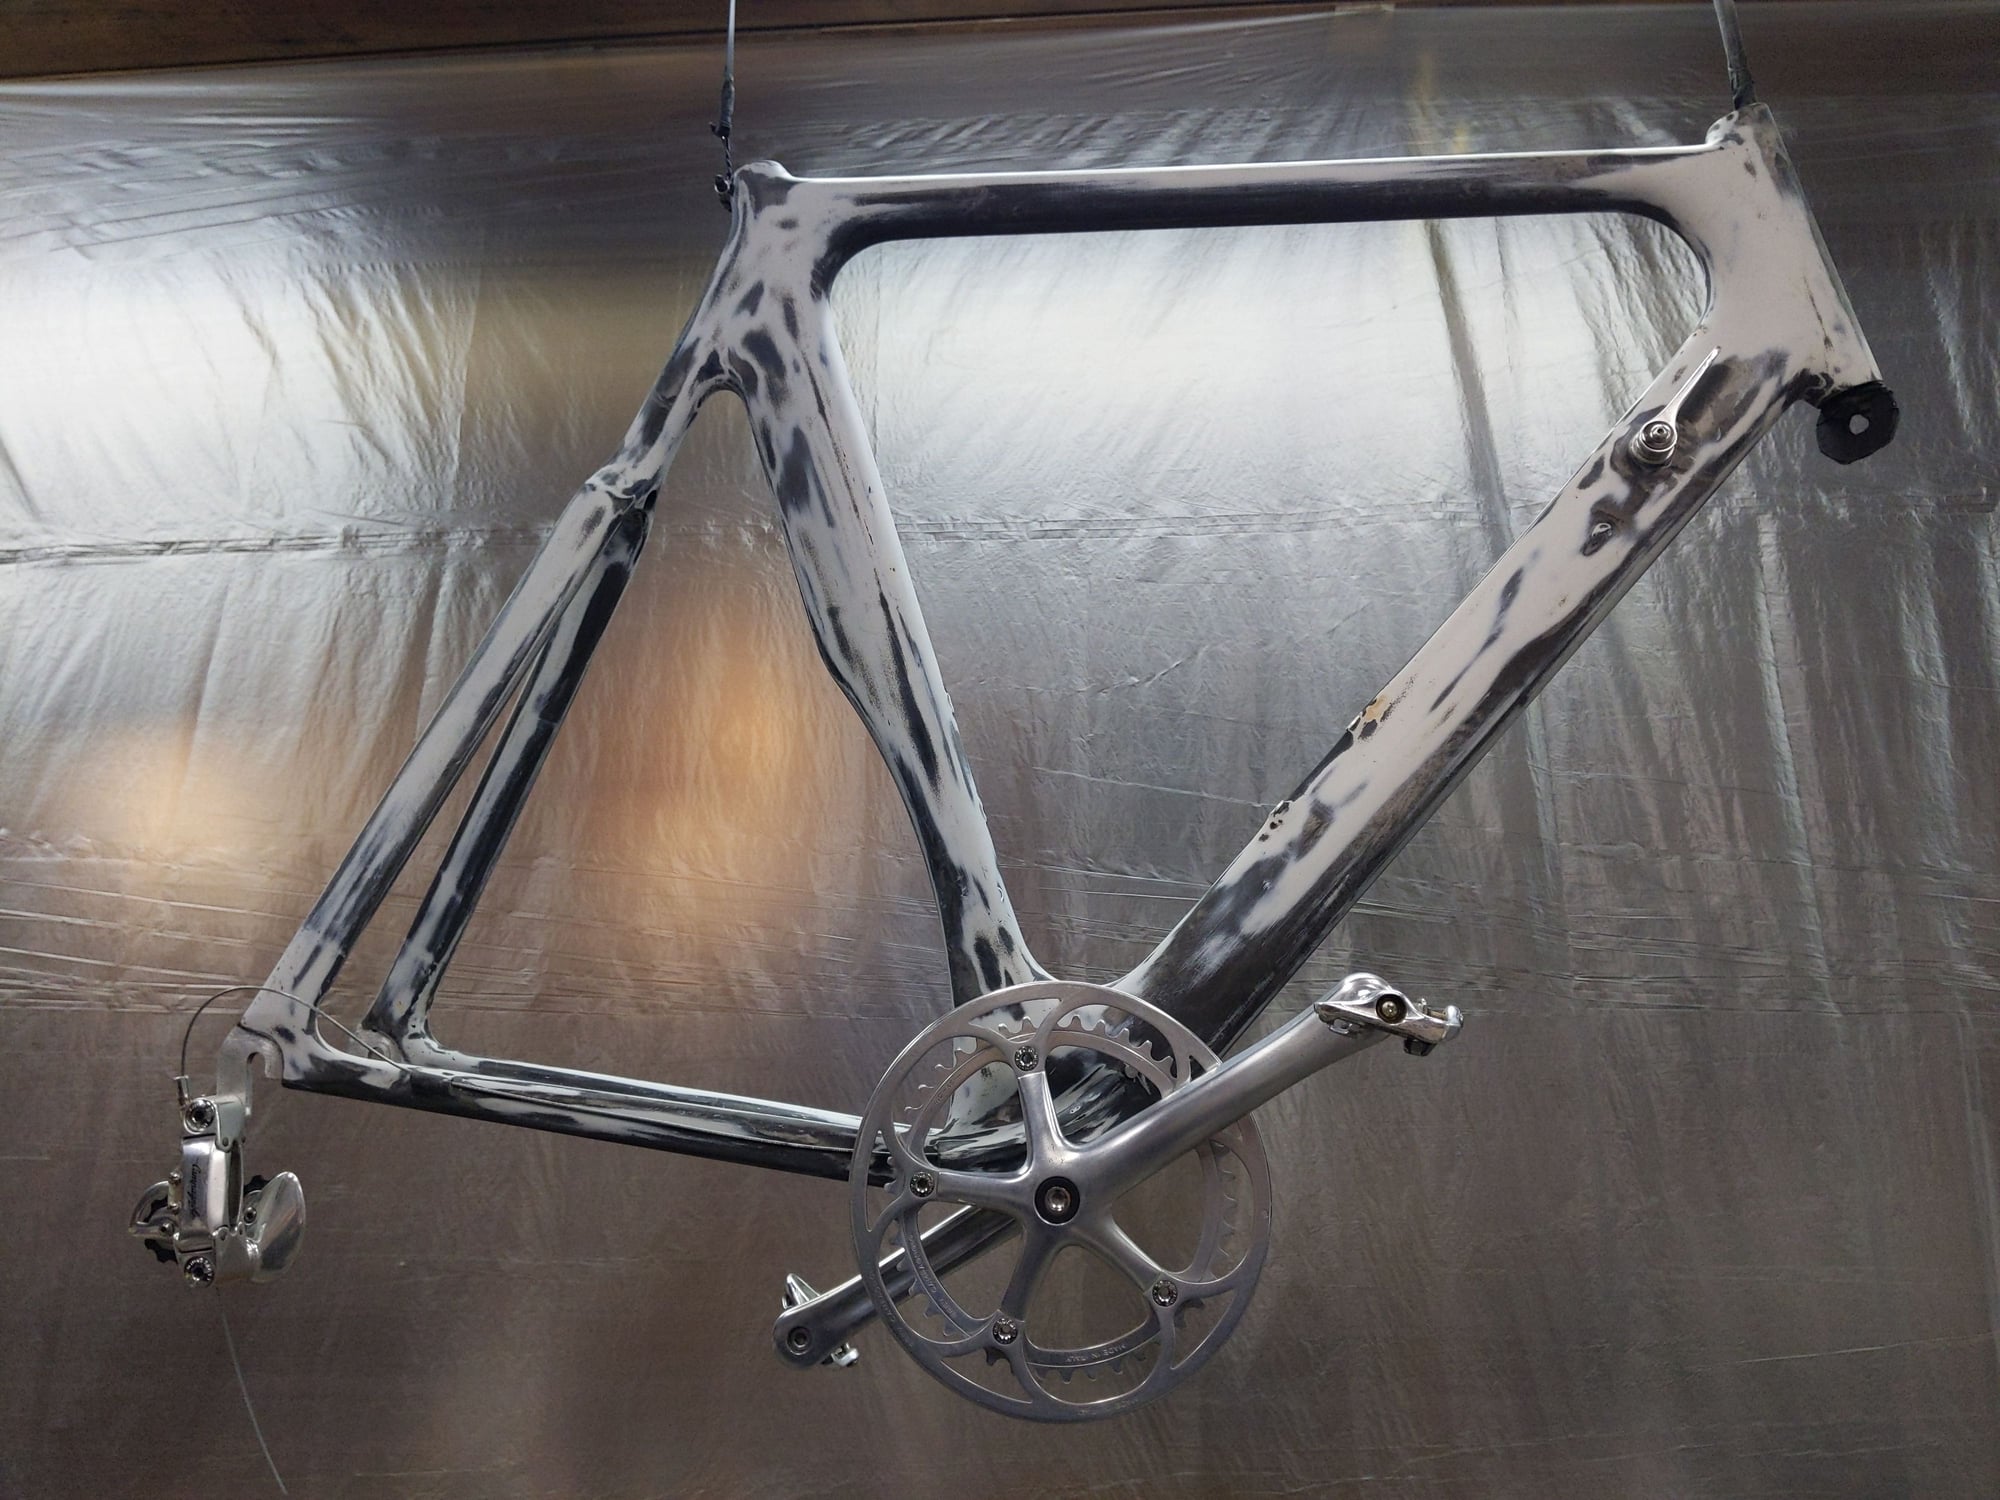
(above) TA DA…!!!… In the makeshift paint booth… All sanded… Down to 220 grit… The sanding took a ridiculously long time… Under the factory primer, a fill coat of 4oz. fiberglass and epoxy went over the carbon fiber… I sanded that off too… Fiberglass just doesn’t have the strength of carbon fiber, and as I see it, dead weight, so it too was sanded off.. The fiberglass layer from the factory is a pretty easy way to the frame to next step, paint prep…

(above) Another angle of the frame… The layup of the carbon fiber is interesting…The CF is mostly uni-directional, with bias CF diagonal at the tube intersections… Sanded, you can see how the molding took place… These frames are very well made and the finish of the frame out of the mold was of a much higher quality than what I was expecting… Someone really took the time to get the molds perfect…
I found it interesting just how “steel like” the carbon fiber felt when sanding…. Not plasticky at all.. It must be the aerospace carbon fiber, the specific epoxy for that CF, the process and heat curing.. Kestrel really got it right…
(above) I keep going back and forth with, leave it natural or paint it…???… Days of going back and forth… Still not settled…???…
(above) Another angle of the frame… The layup of the carbon fiber is interesting…The CF is mostly uni-directional, with bias CF diagonal at the tube intersections… Sanded, you can see how the molding took place… These frames are very well made and the finish of the frame out of the mold was of a much higher quality than what I was expecting… Someone really took the time to get the molds perfect…
I found it interesting just how “steel like” the carbon fiber felt when sanding…. Not plasticky at all.. It must be the aerospace carbon fiber, the specific epoxy for that CF, the process and heat curing.. Kestrel really got it right…
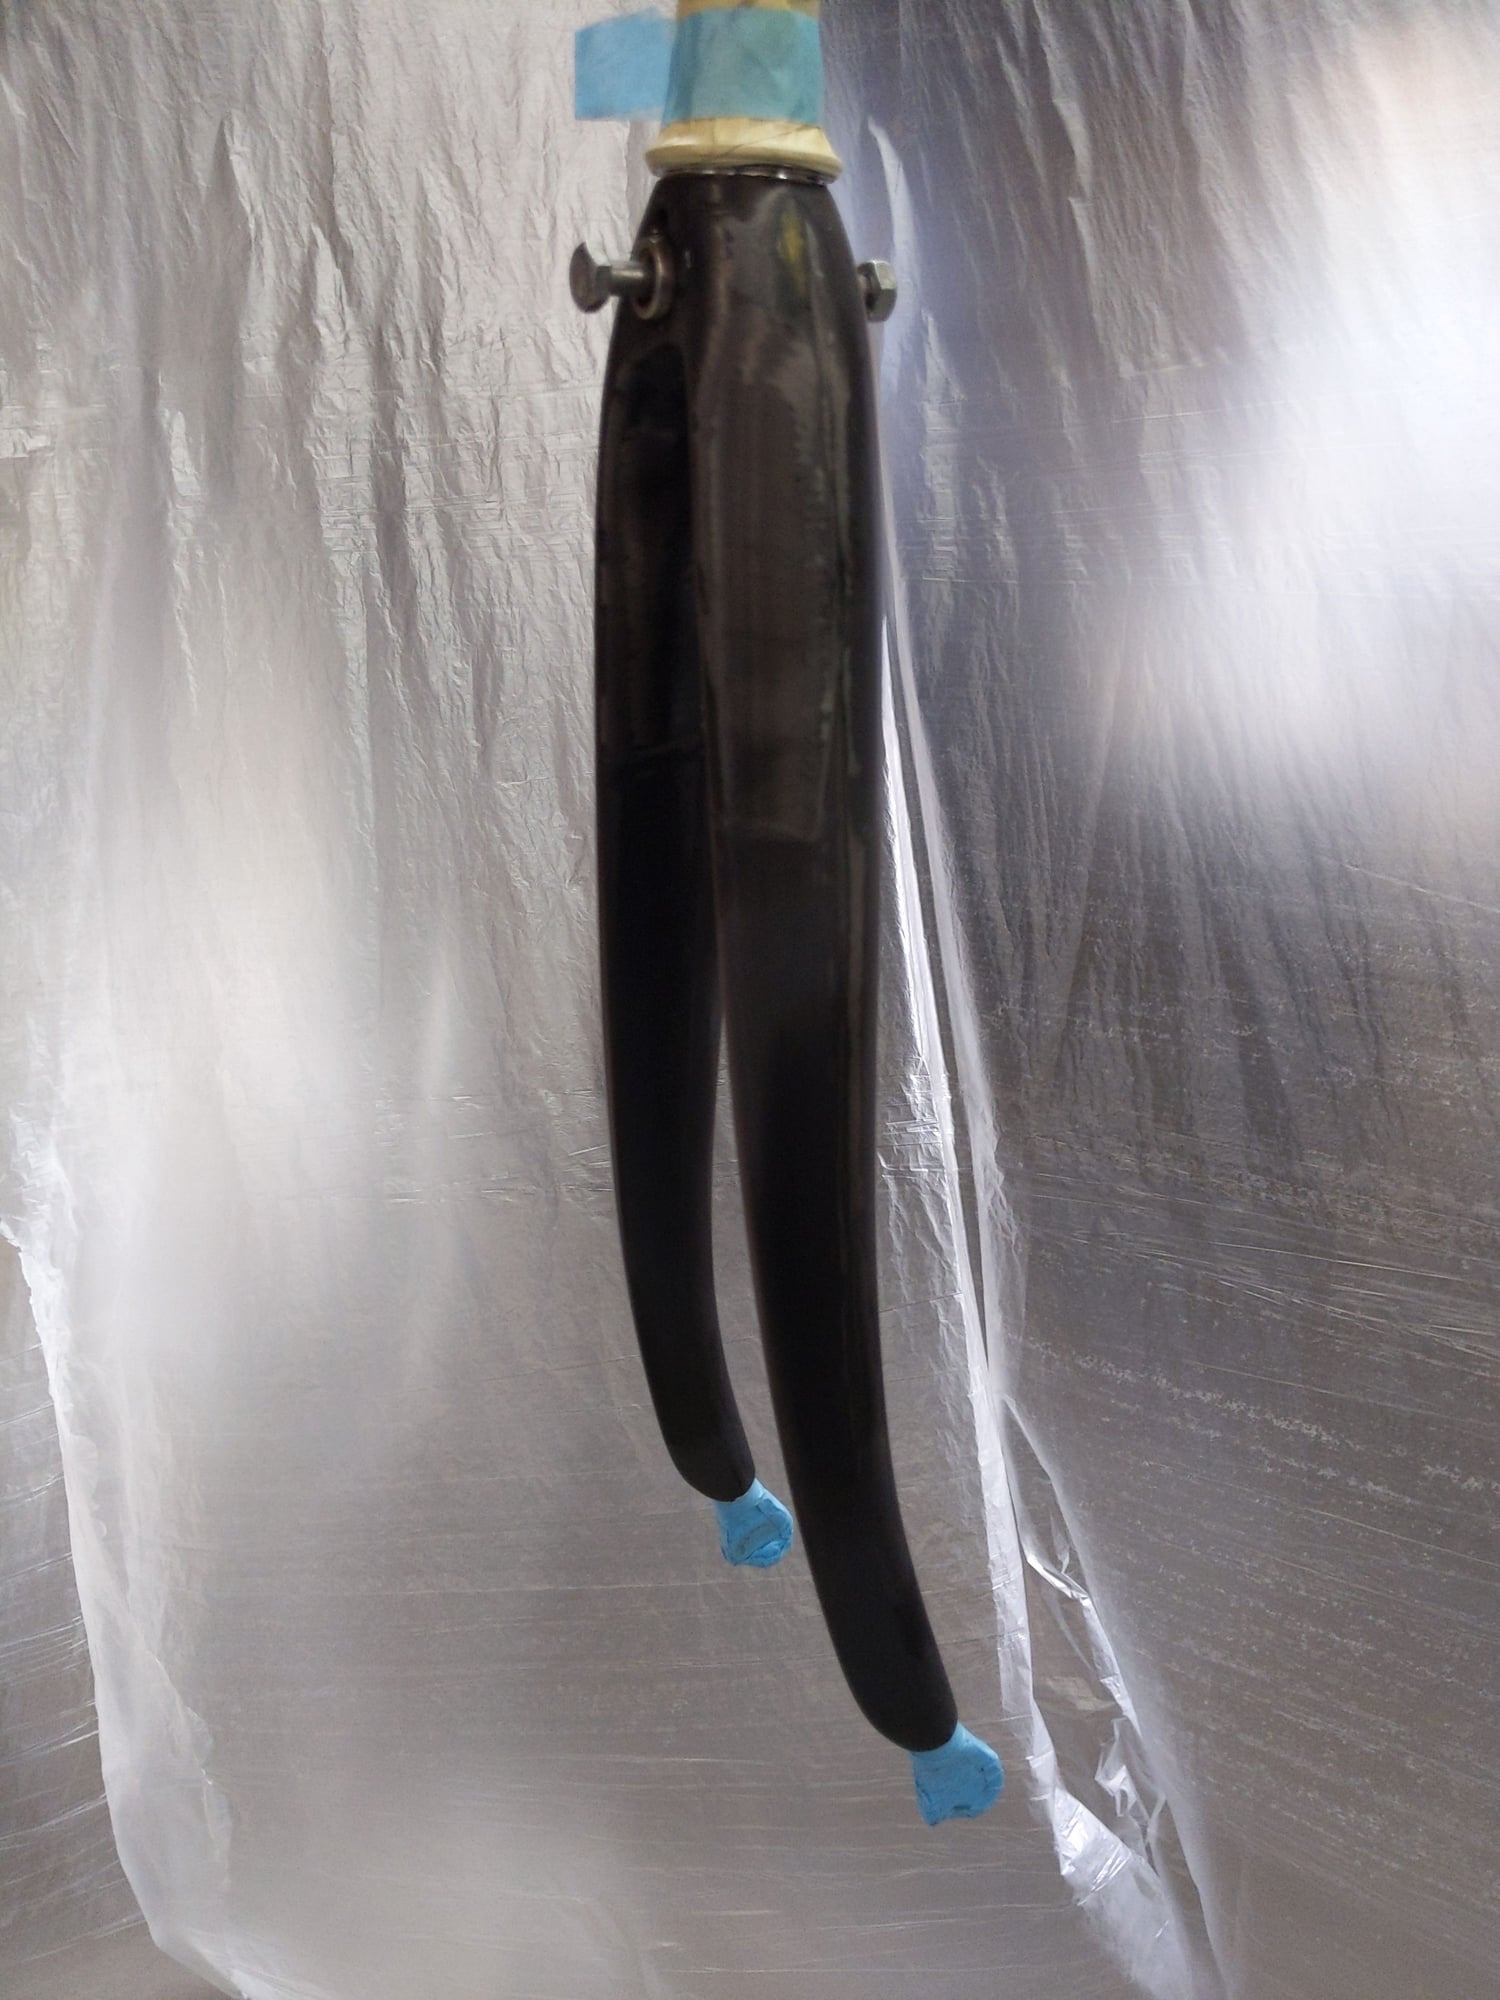
(above) The first production road bike carbon fiber fork… A masterpiece from the get-go… As good as it looks, it rides even better..
01-01-24, 11:16 PM
#5
Newbie
Thread Starter

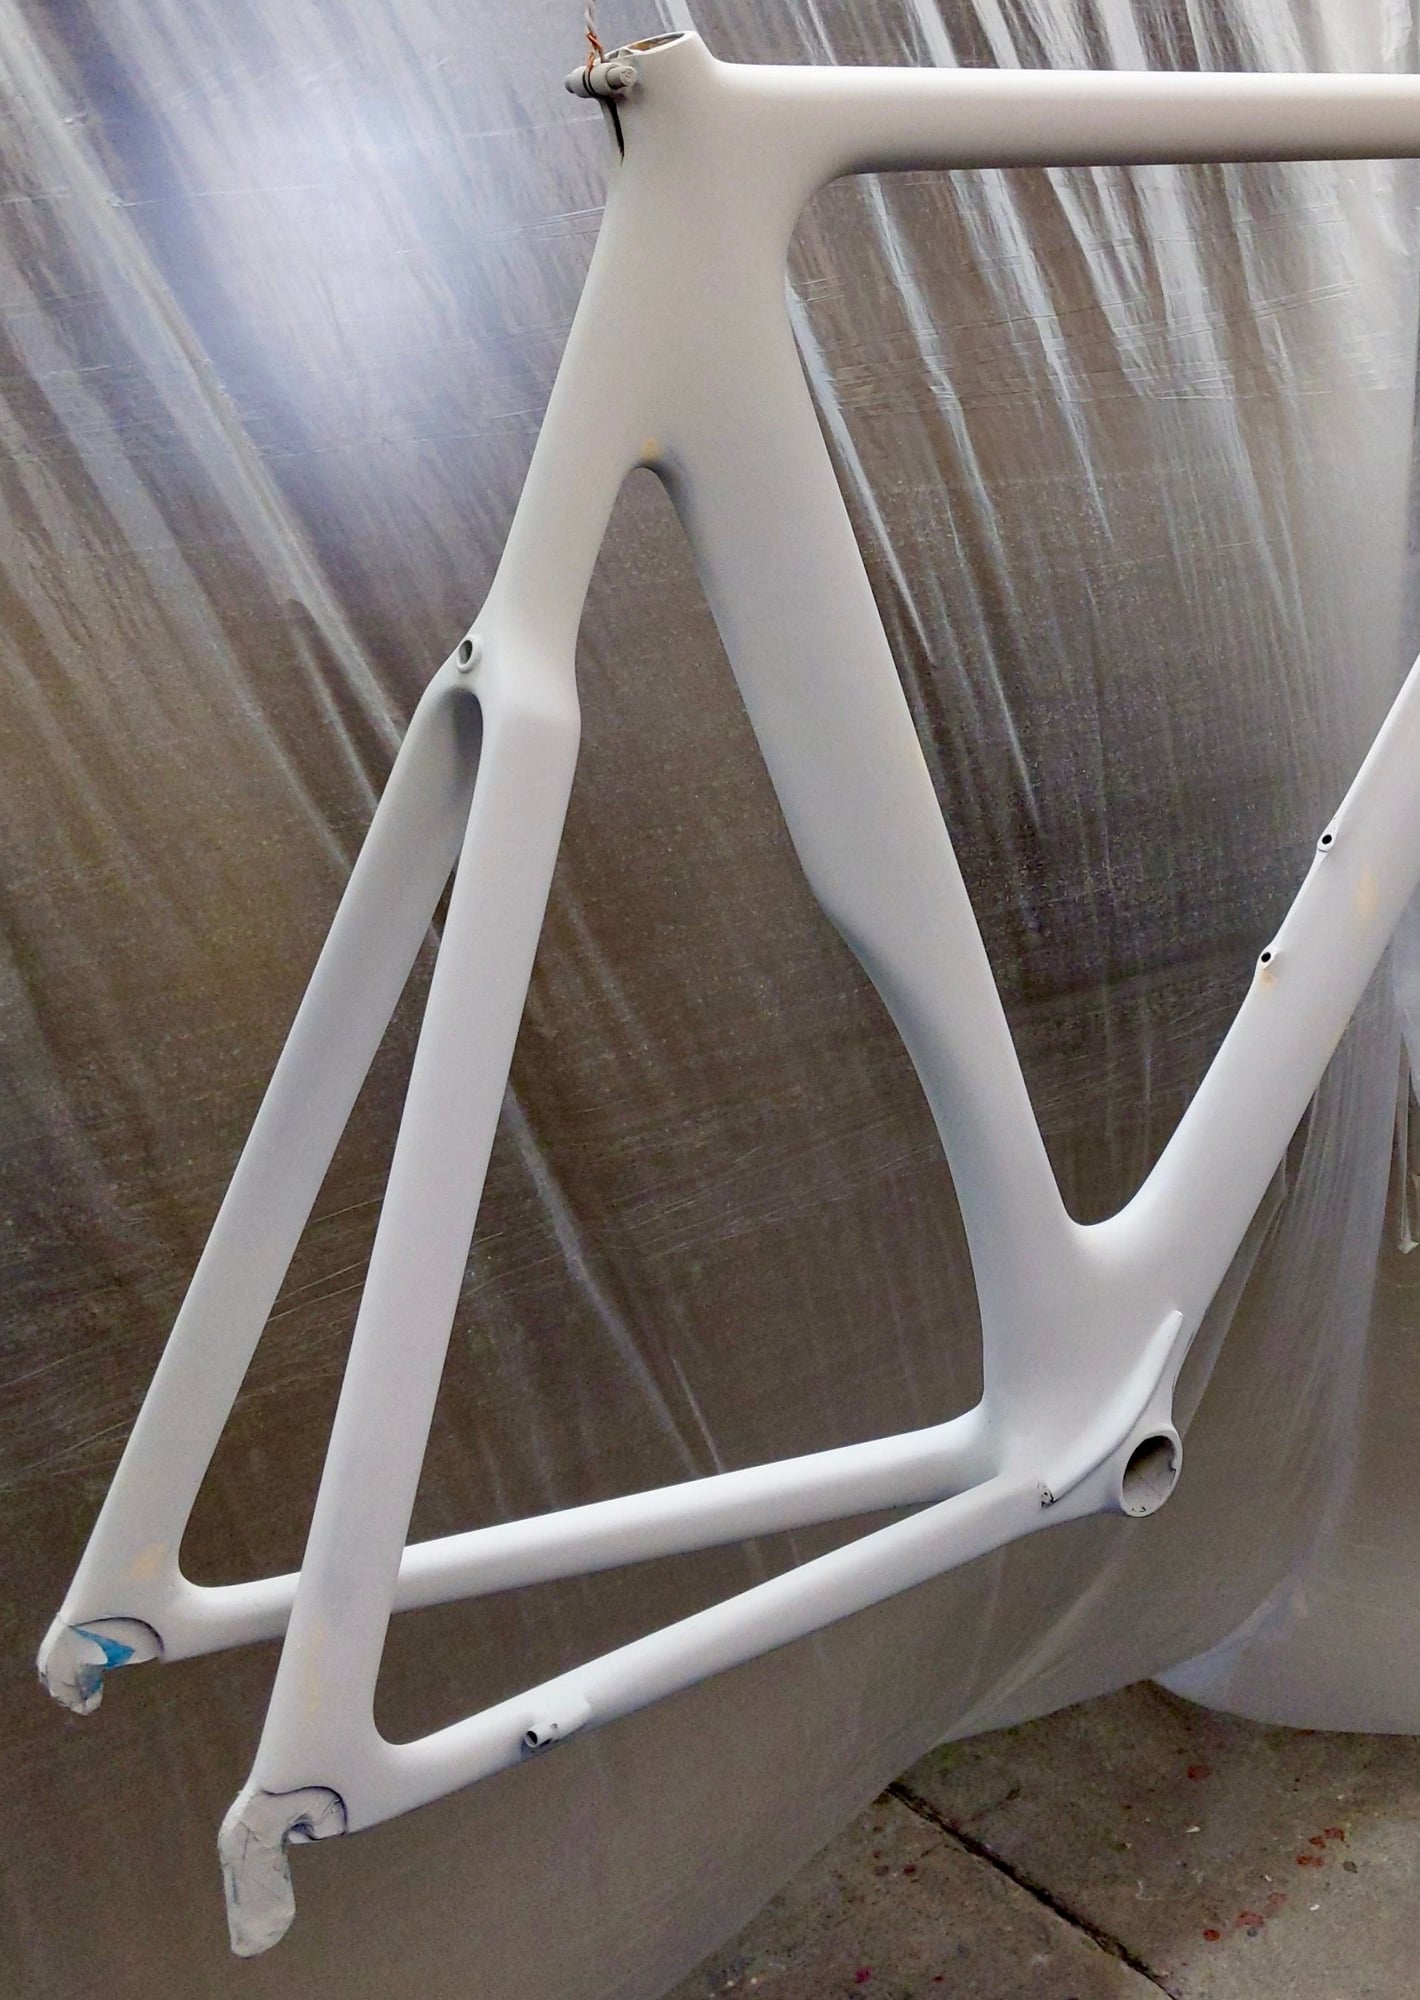
(above) 2k rattle can epoxy primer in a compact, heated, zone in my shop…

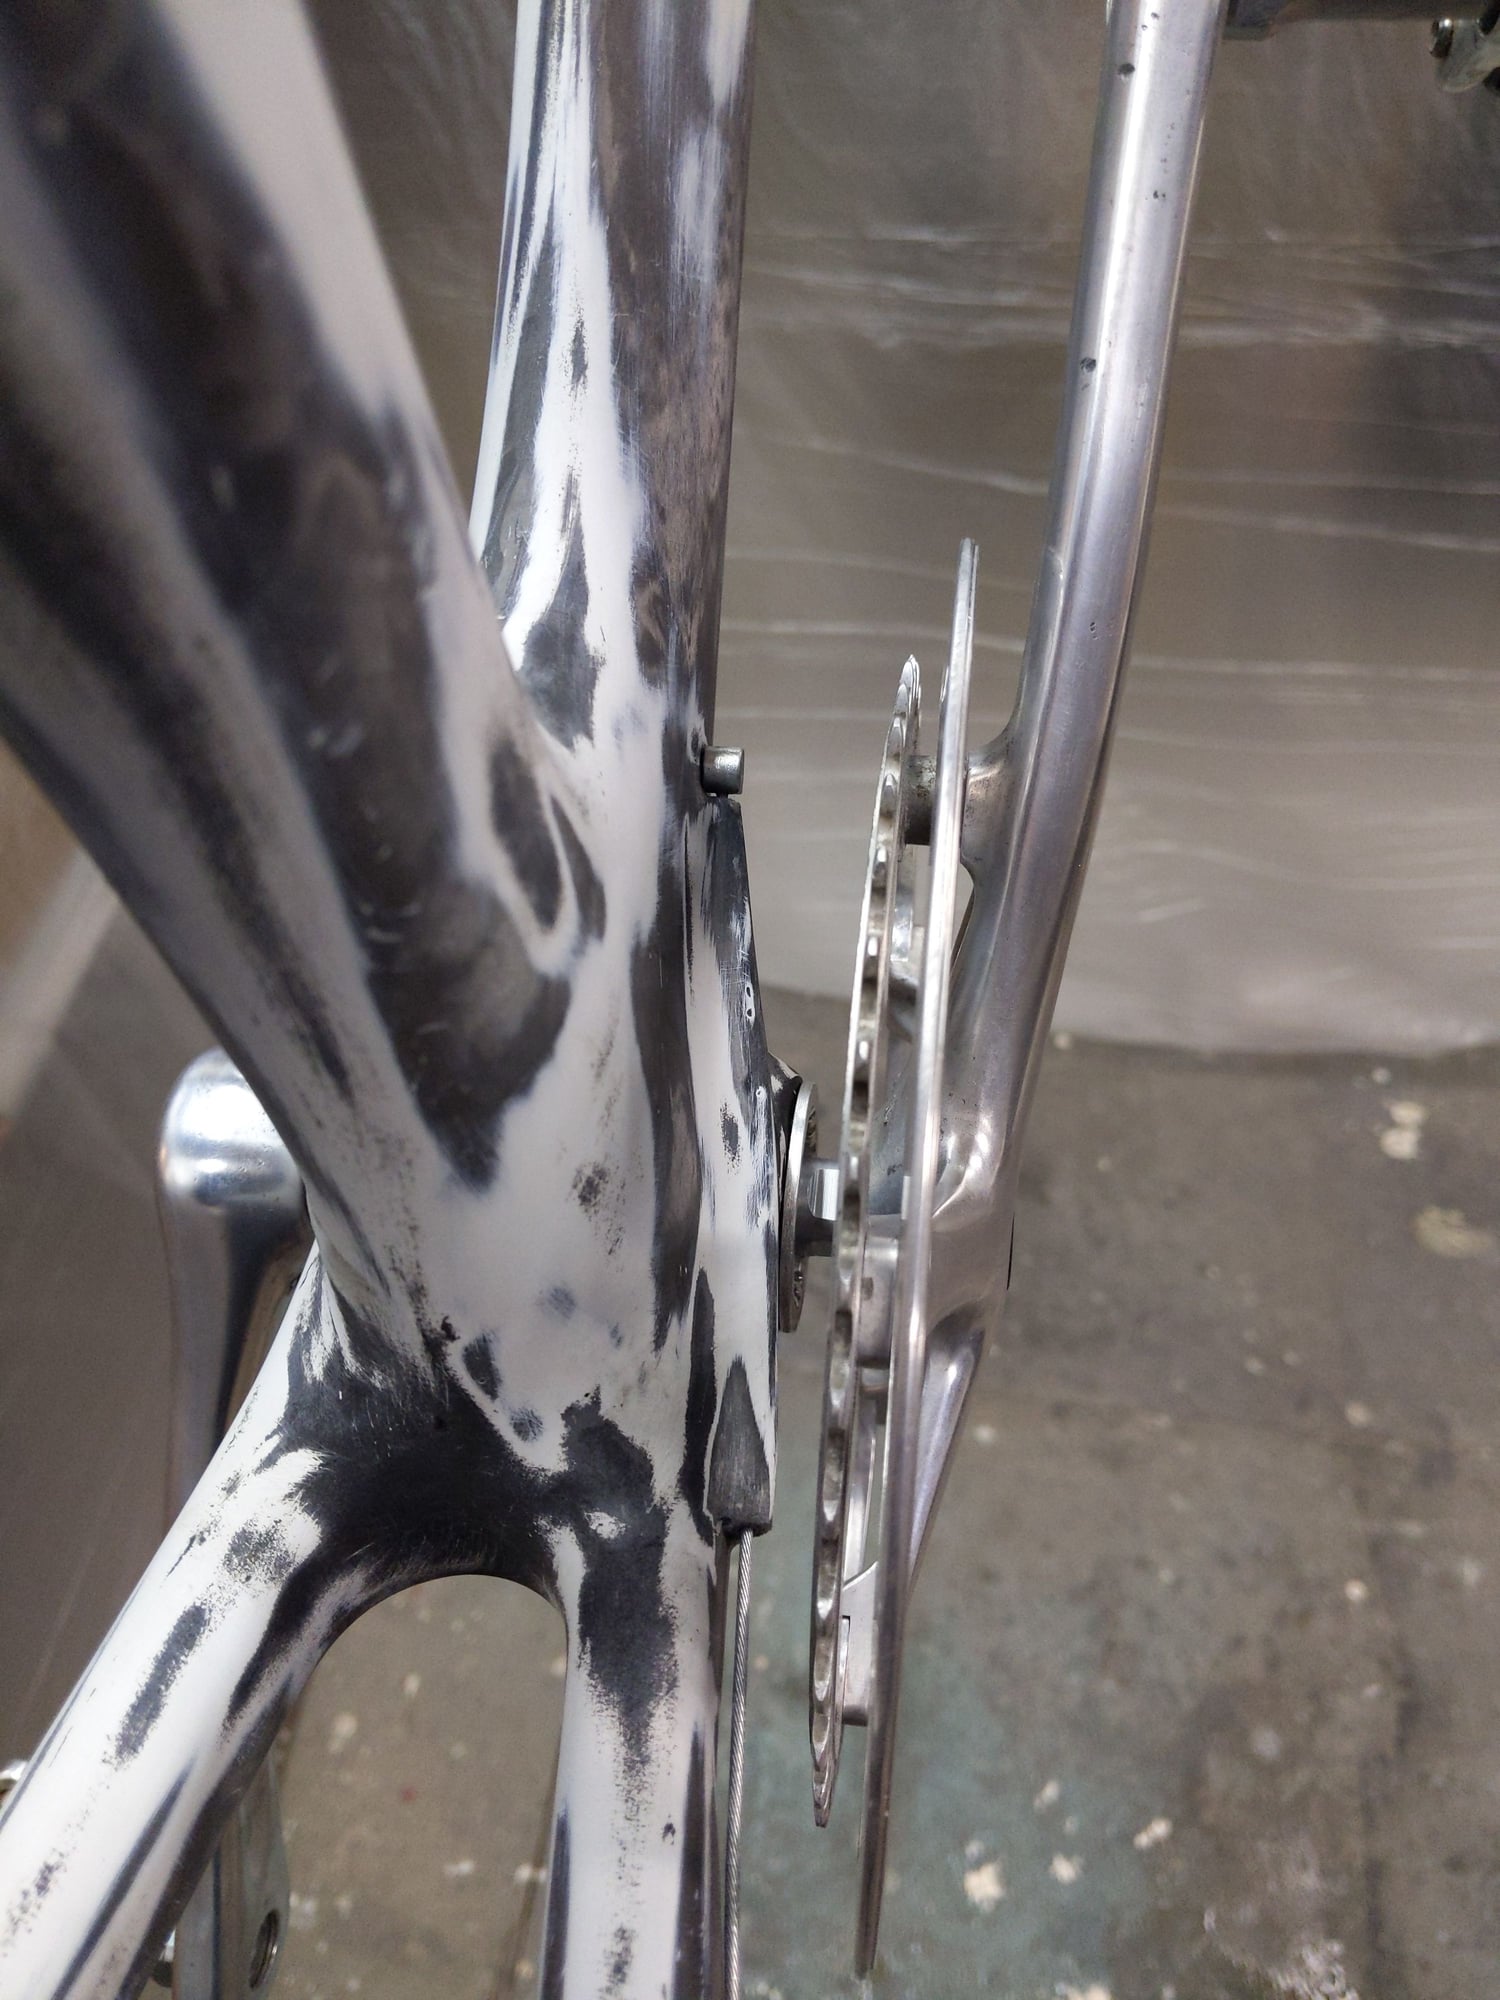
(above) I sanded and epoxy filled over the exit point for the front derailleur cable since I’m not going to use one… That is one solid piece of bike down there…
(above) I will have a rear derailleur… The internal cable routing was blocked, so I epoxied and carbon fiber end a short curved piece of cable housing at the bottom bracket… Never again a worry about internal routing for the shifter… I also modified the cable housing stop along the chain stay to be compatible with the new external routing…Details, details…
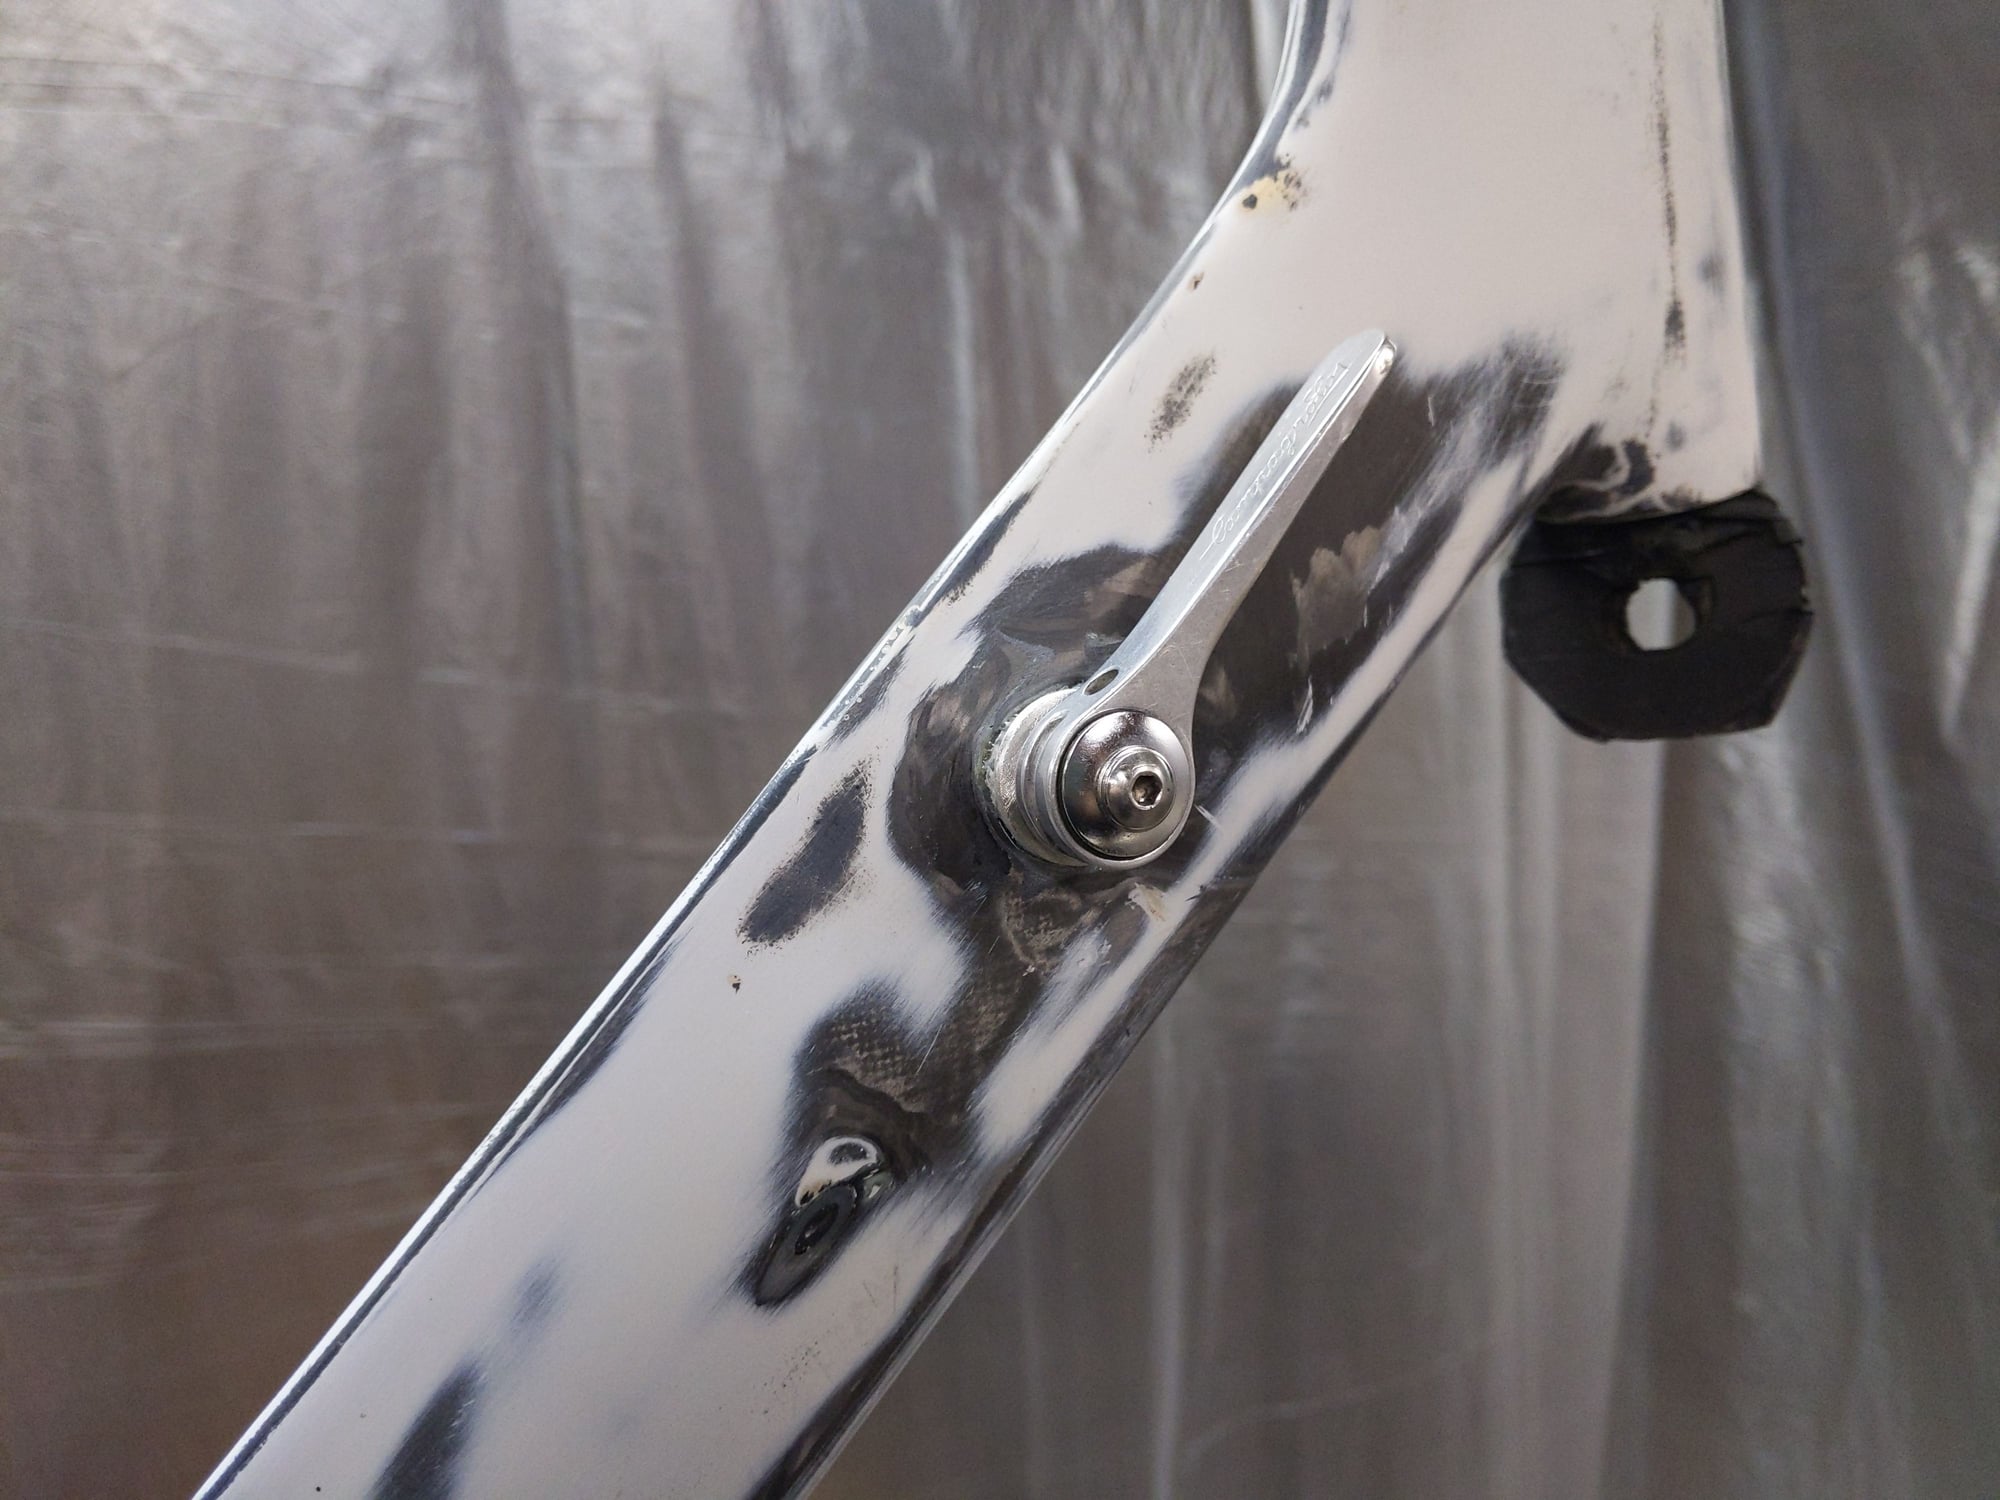
(above) Over the front derailleur shifter post, which will be unused, I epoxied a plastic cap over it.. Not exactly stoked, but what else can you do…???.. No, I don’t want a front derailleur…

(above) It just screams “TOUCH ME…!!!…
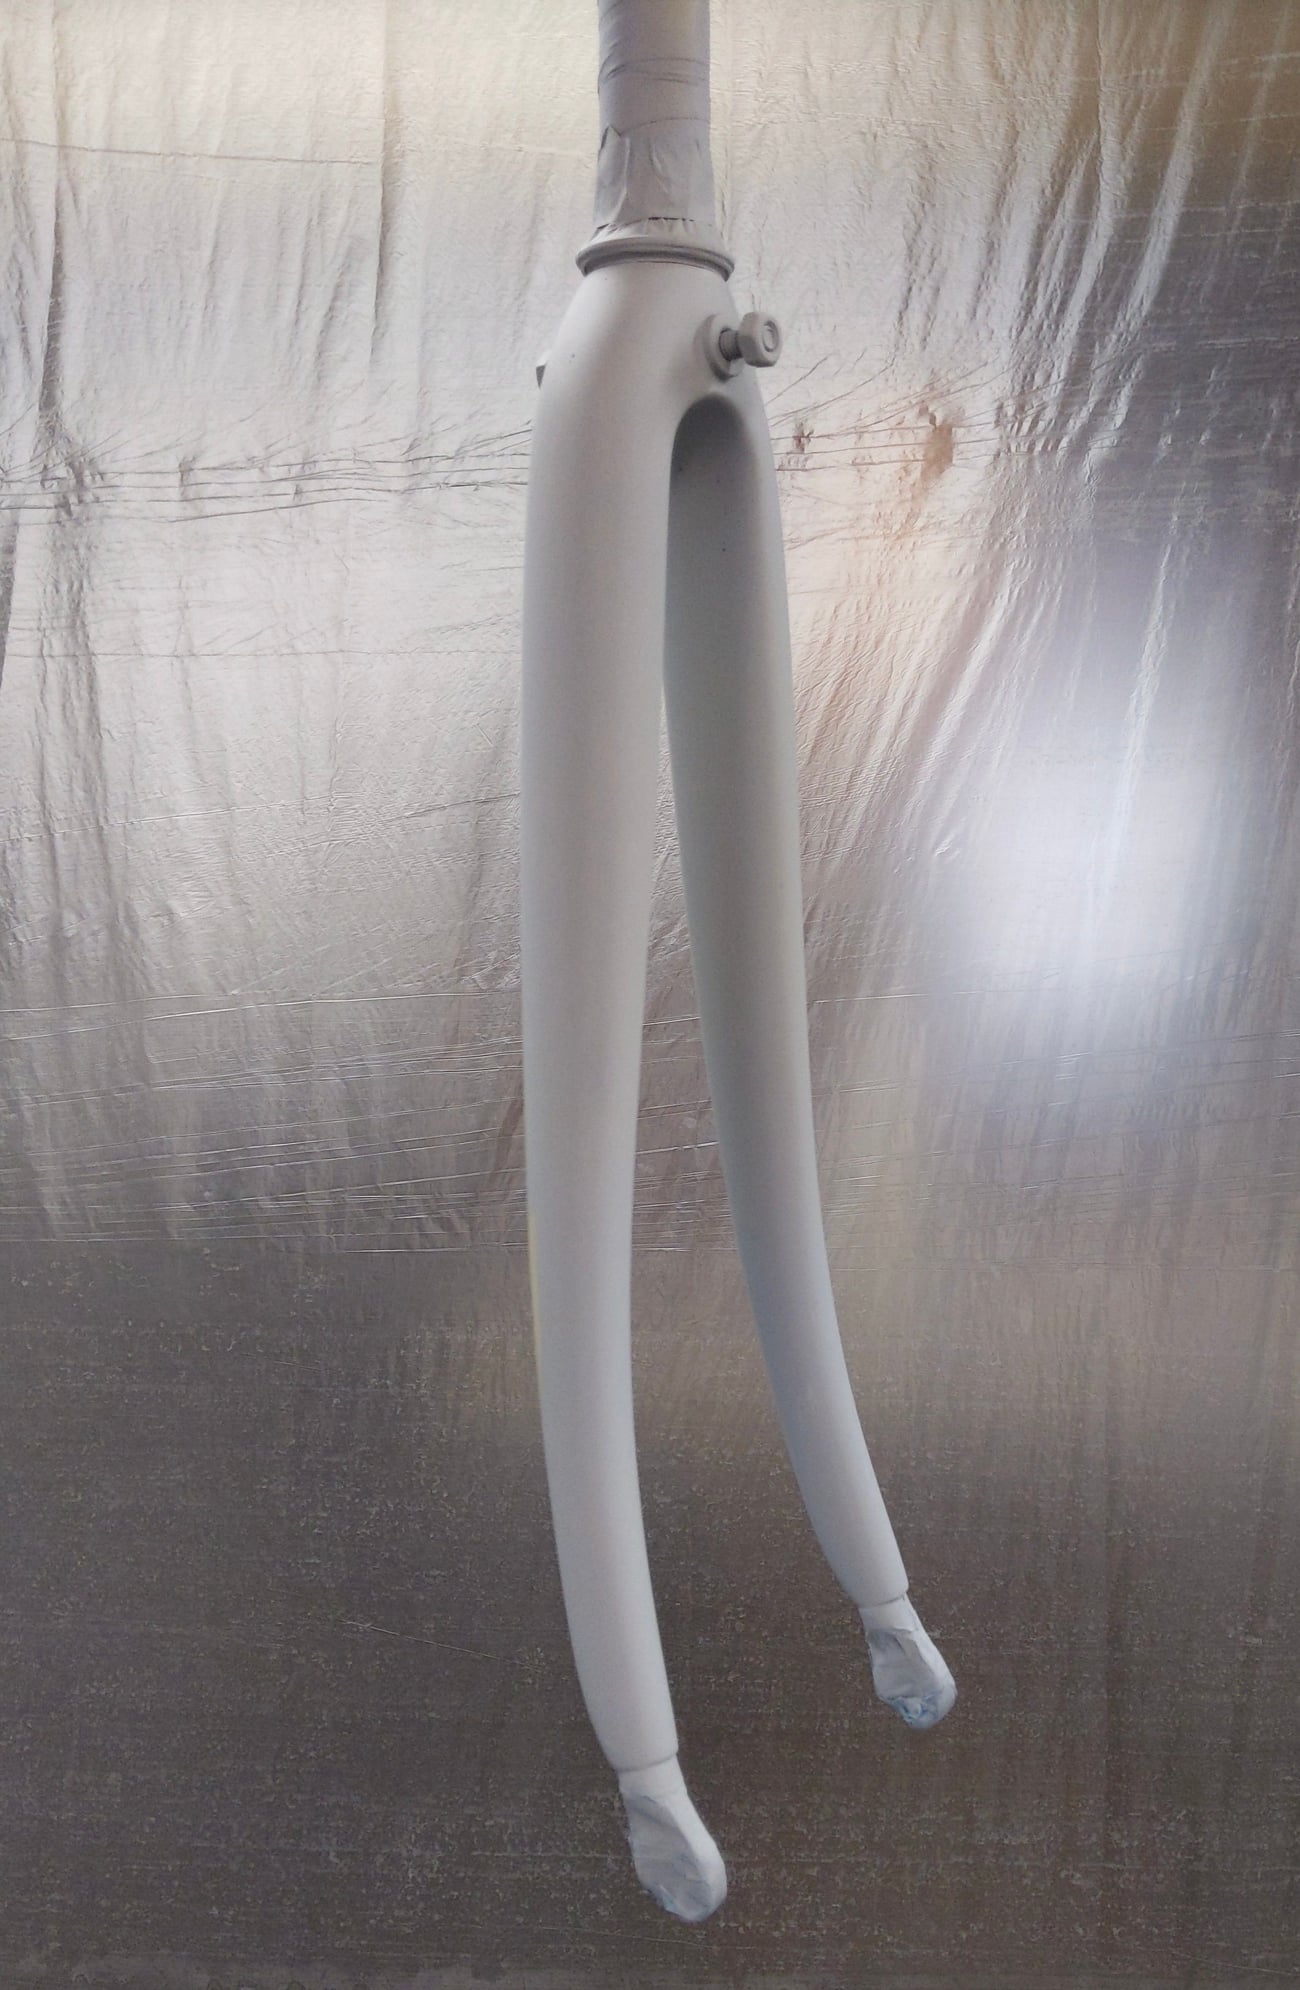
(above) The fork got the full treatment as well...
01-01-24, 11:37 PM
#6
Newbie
Thread Starter
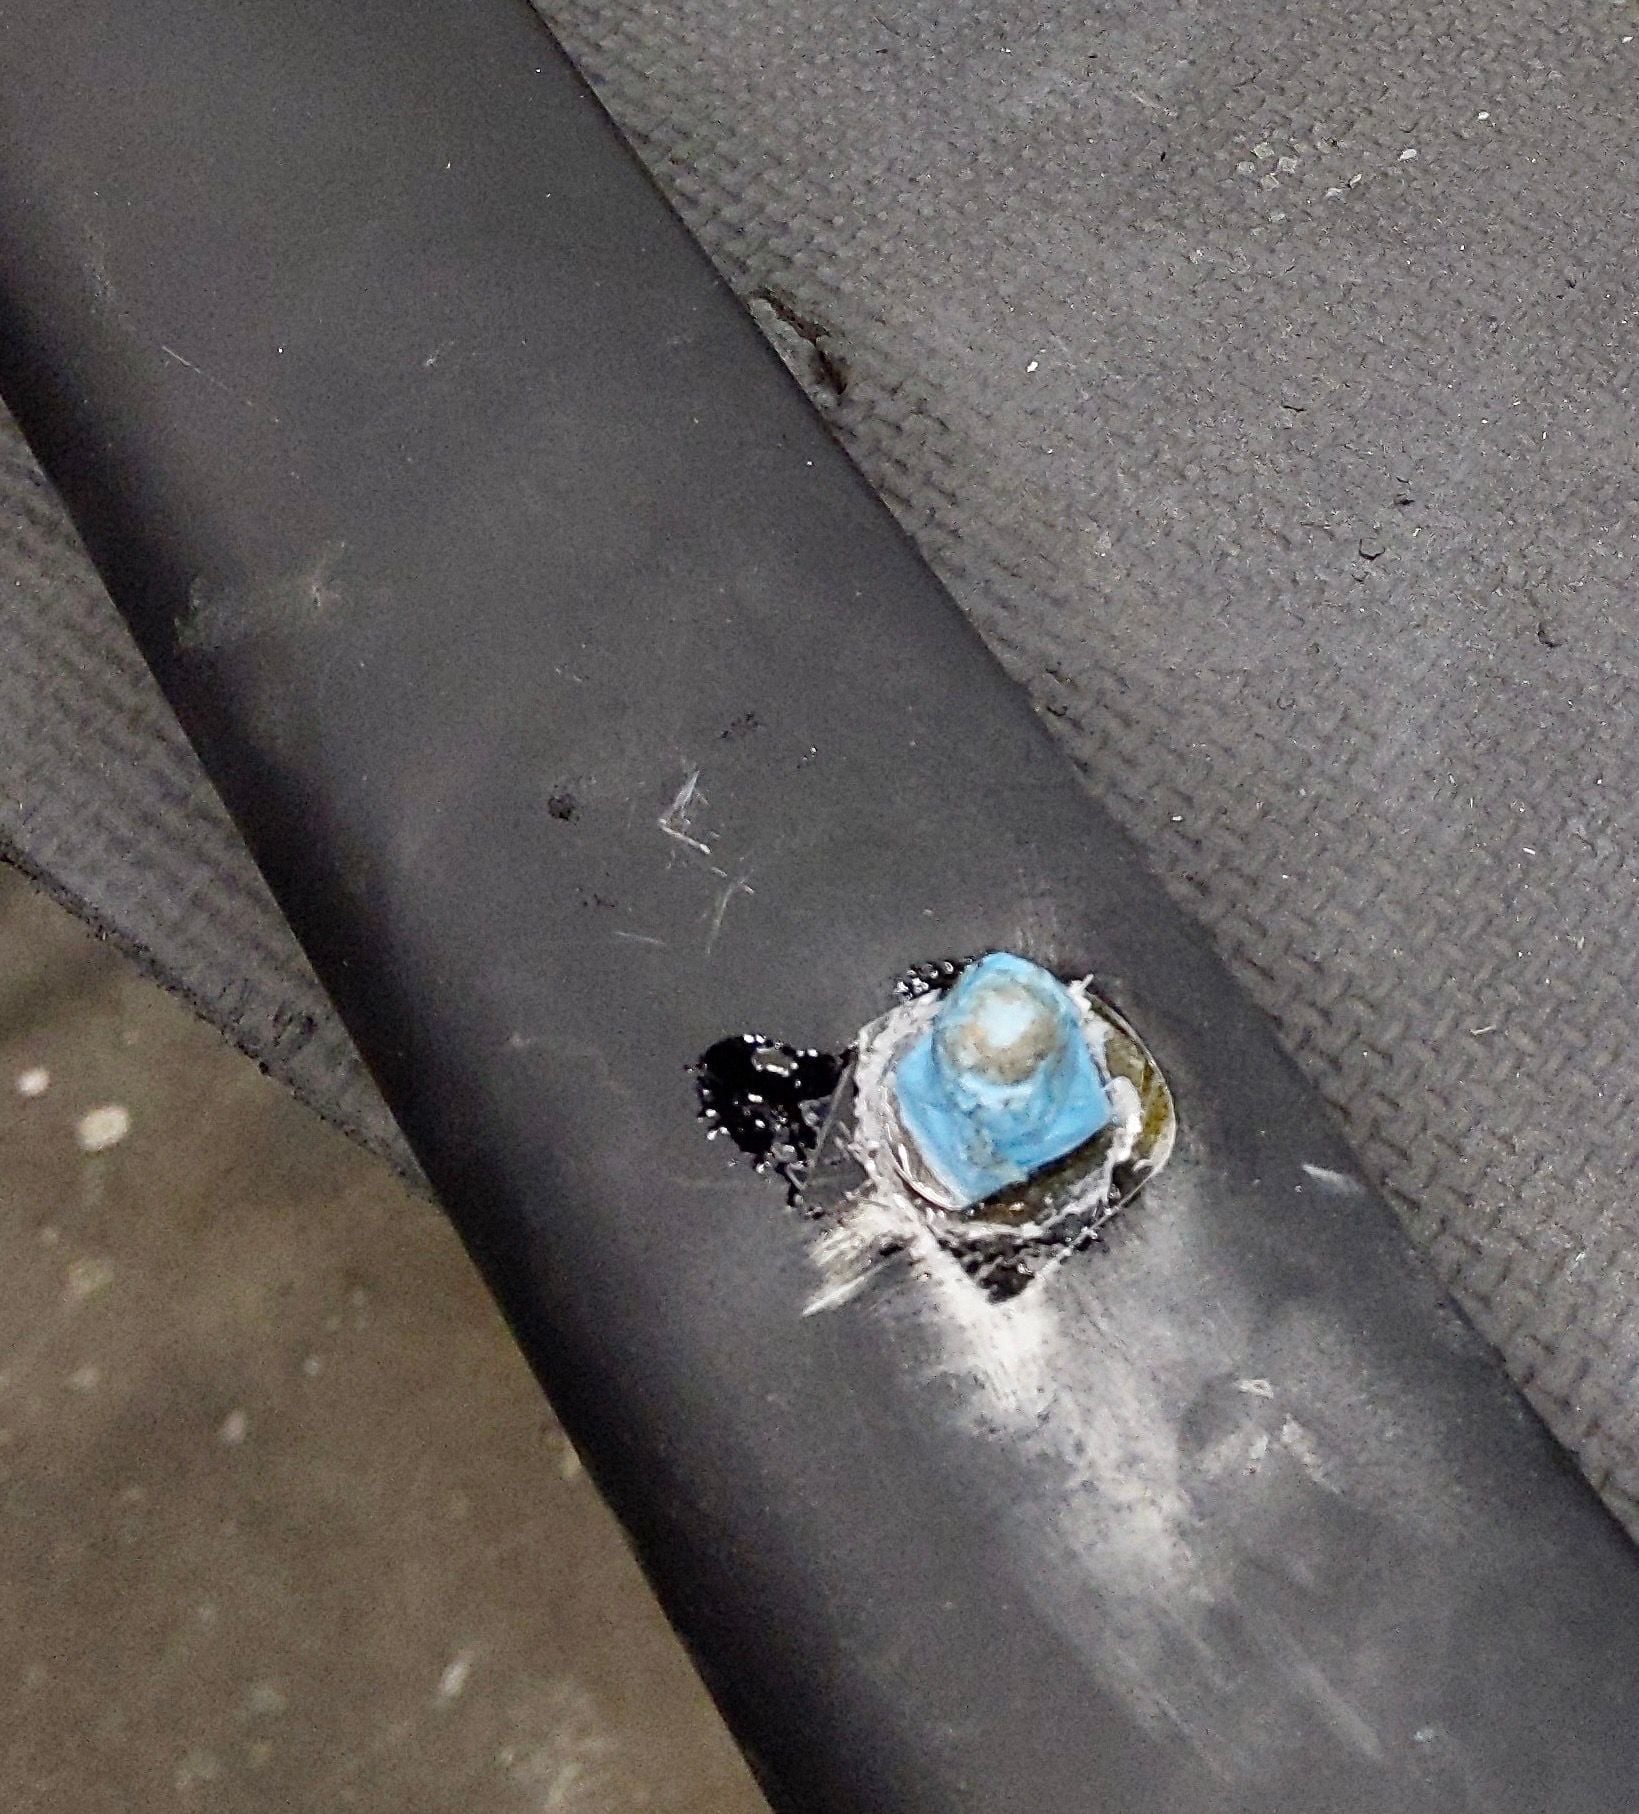
(above) Over the 2K epoxy primer I sprayed 2K rattle can *Rat Rod Black* … After the paint cured, I went to check on the down tube shifter screw threads… Without a lot of effort, while chasing the treads the metal shifter boss , the epoxied on frame fitting twisted off… Noooooo…!!!… Sorry, no photo of the broken off boss and the frame…
What seems to have happened is there was 36 years of slow galvanic corrosion that weakened the bond between the carbon frame and steel stud… So, I read a lot about galvanic corrosion and to prevent the corrosion, there should be a simple fiberglass layer between the metal and the carbon… So that’s what I did…
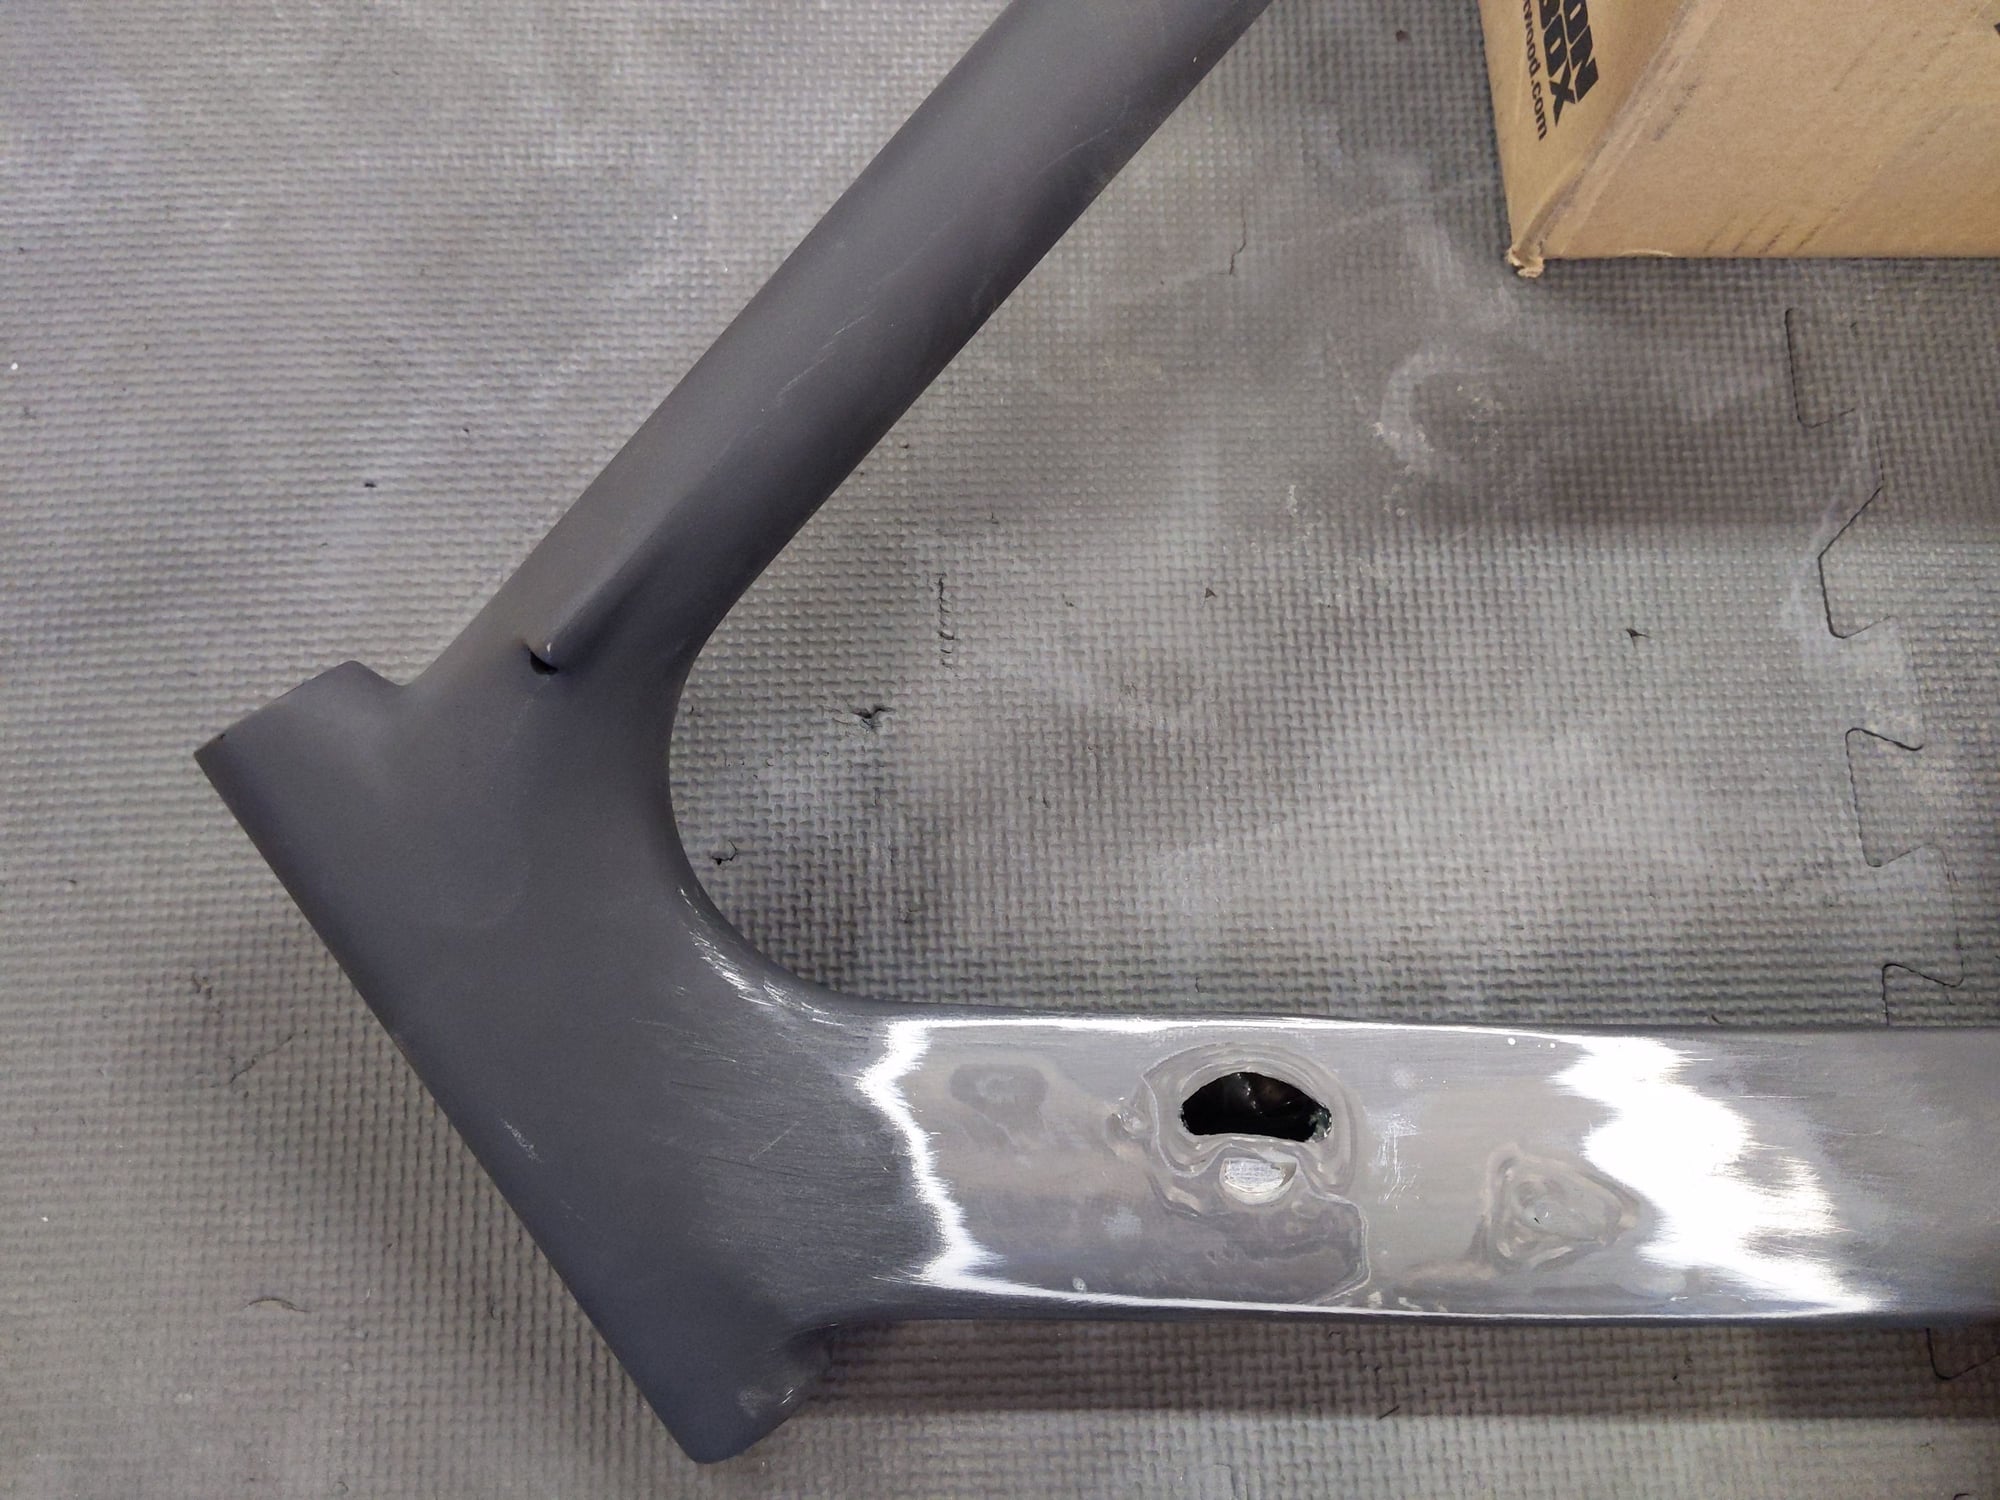
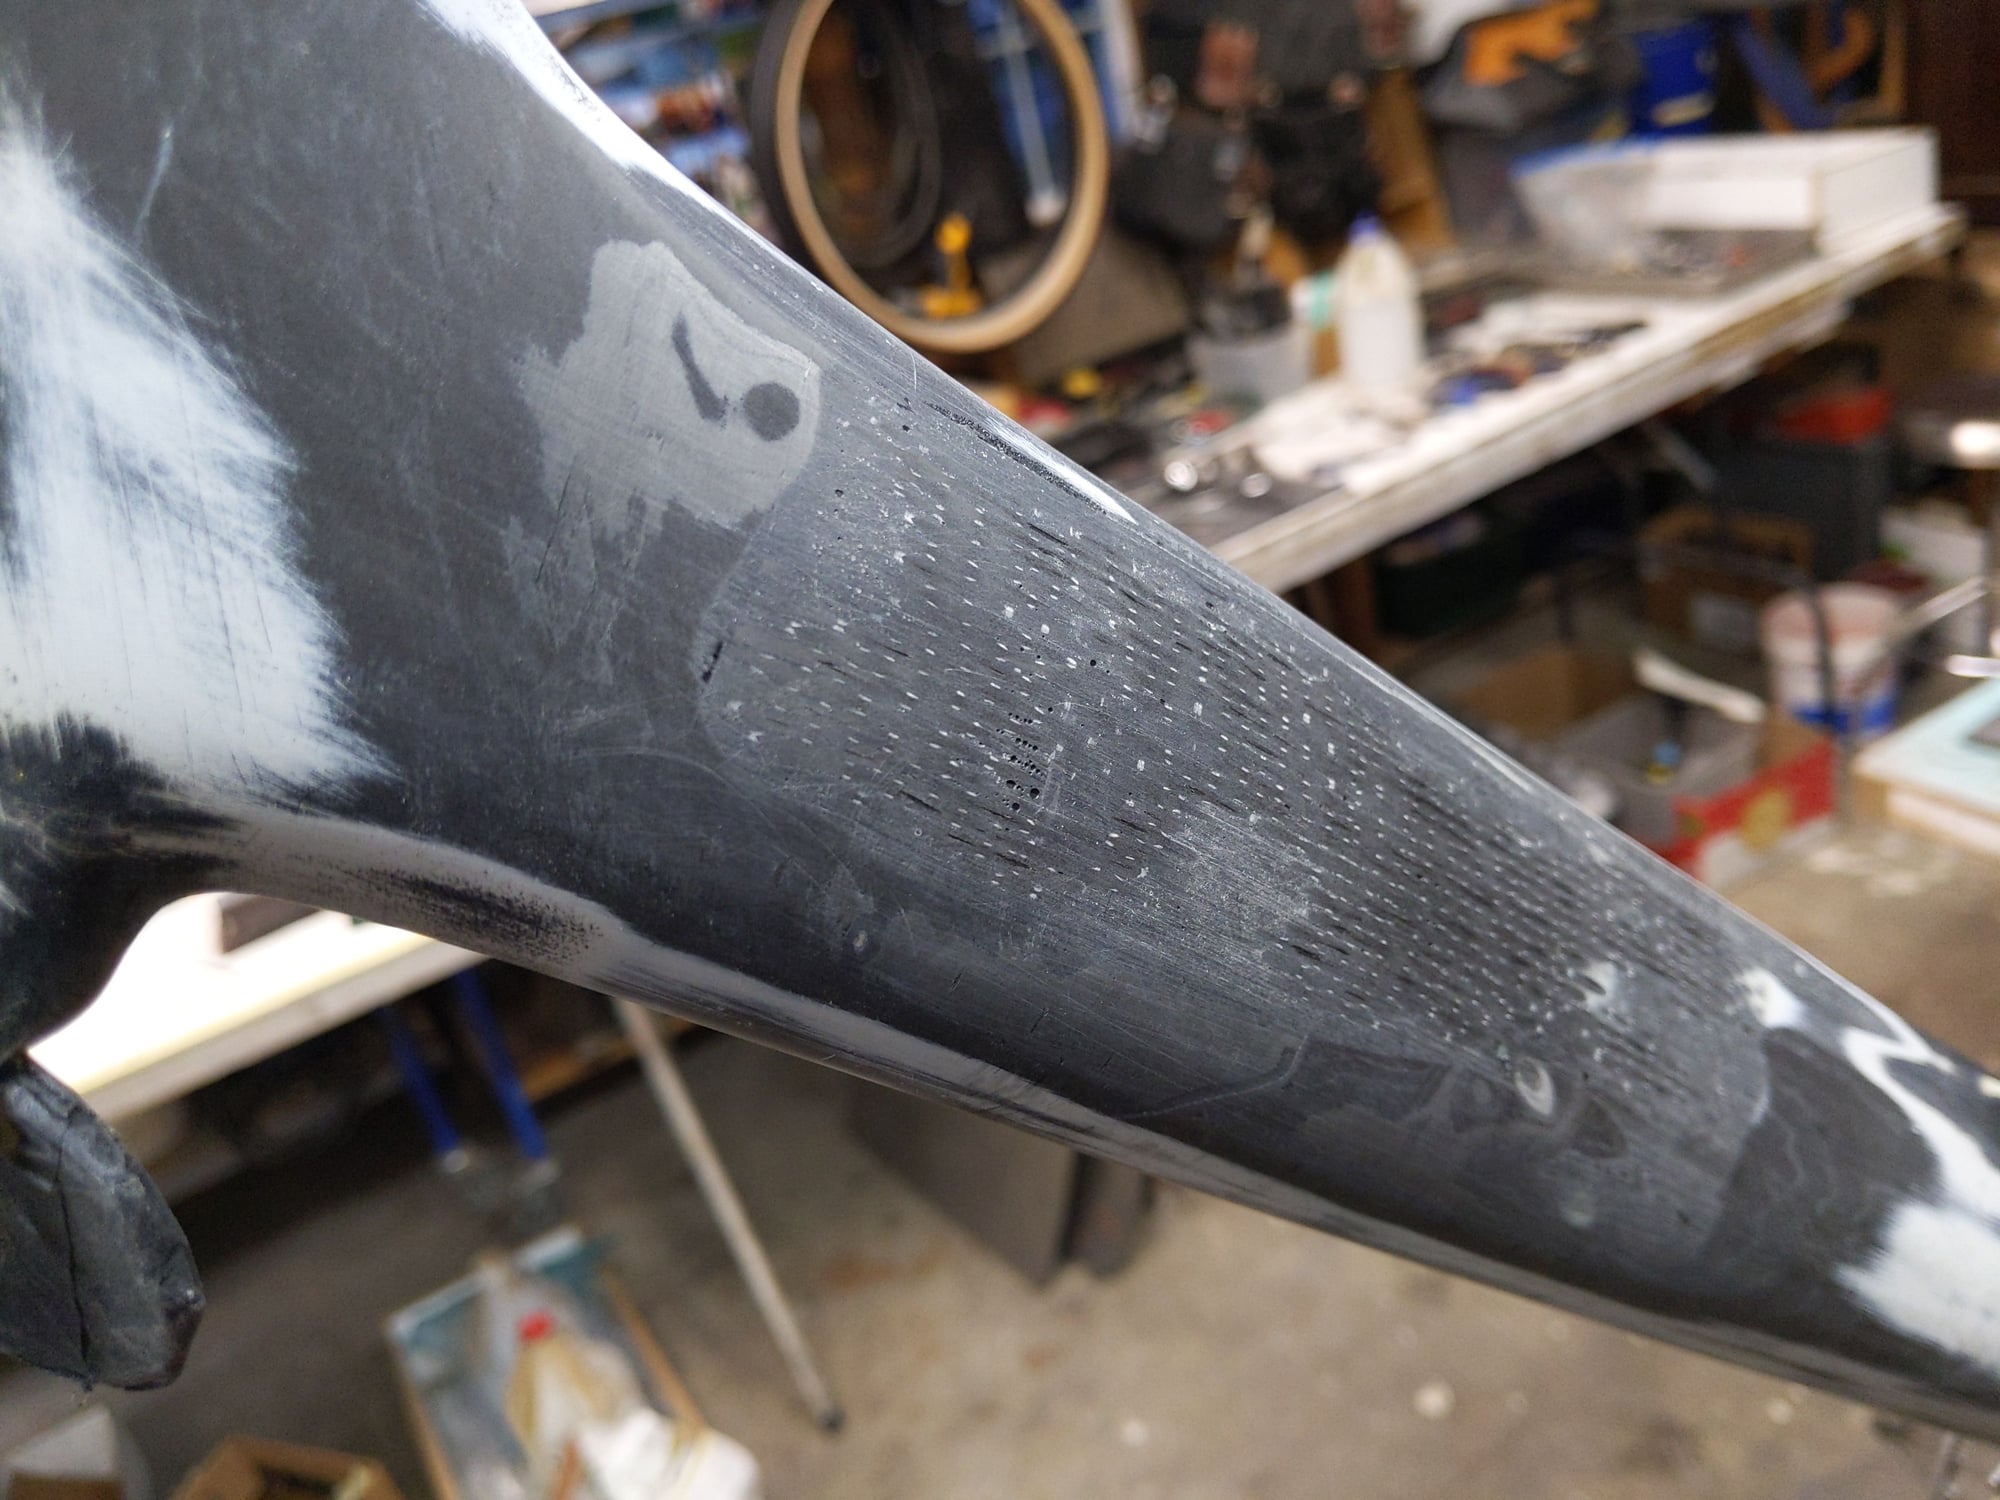
(above) So, if the right side boss came off so easy, let’s see what happens if I lightly tap on the left side shifter boss that is useless to me… Bingo, it popped off easy… What remained was a hump of epoxy and CF , so I sanded the hump off and accidentally found out how many layers of carbon fiber are on the down tube… Oh yeah, I sanded though to air… Oops…
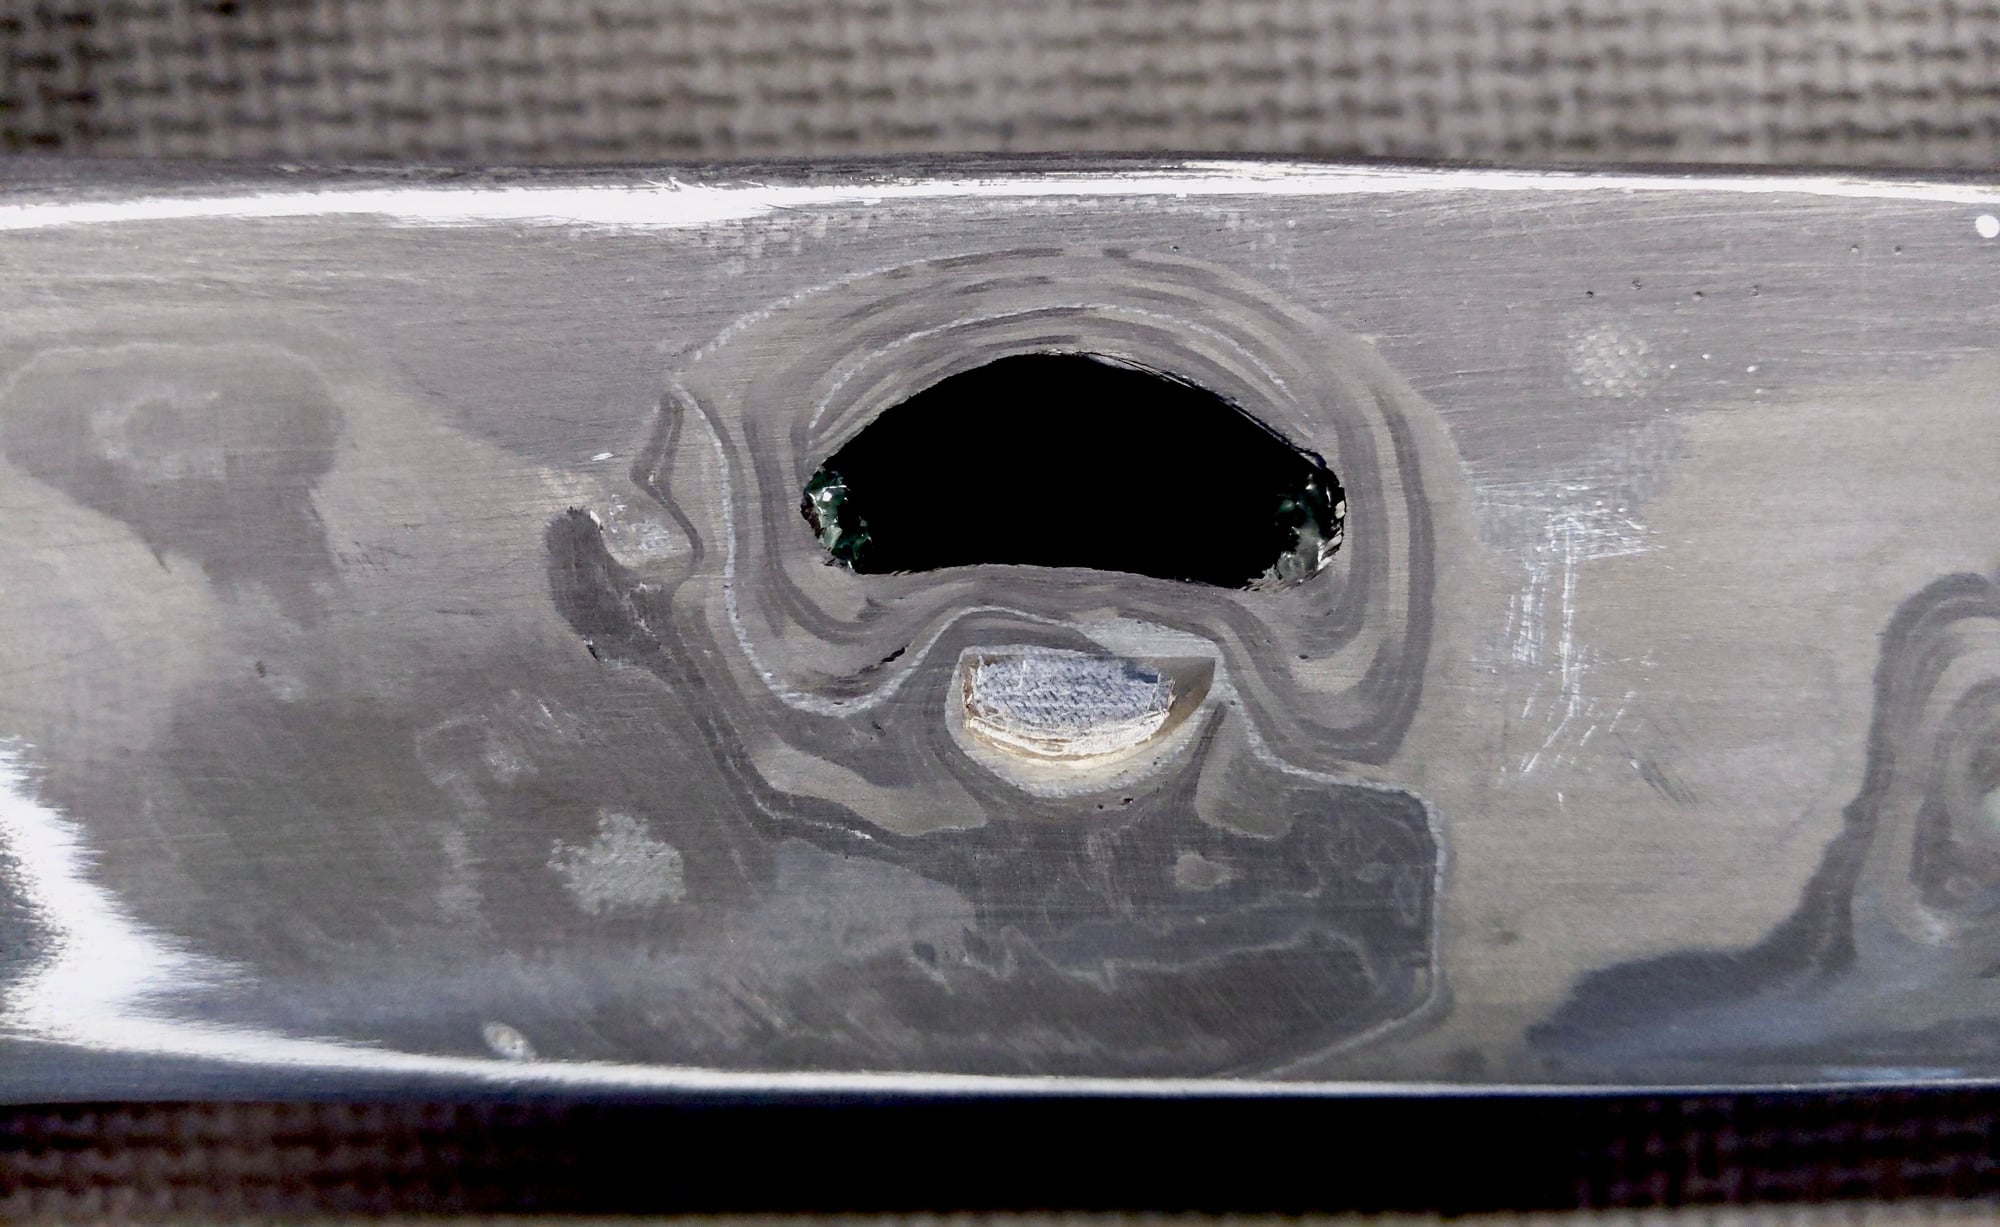
(above) Oh yeah, there’s about five to seven layers…
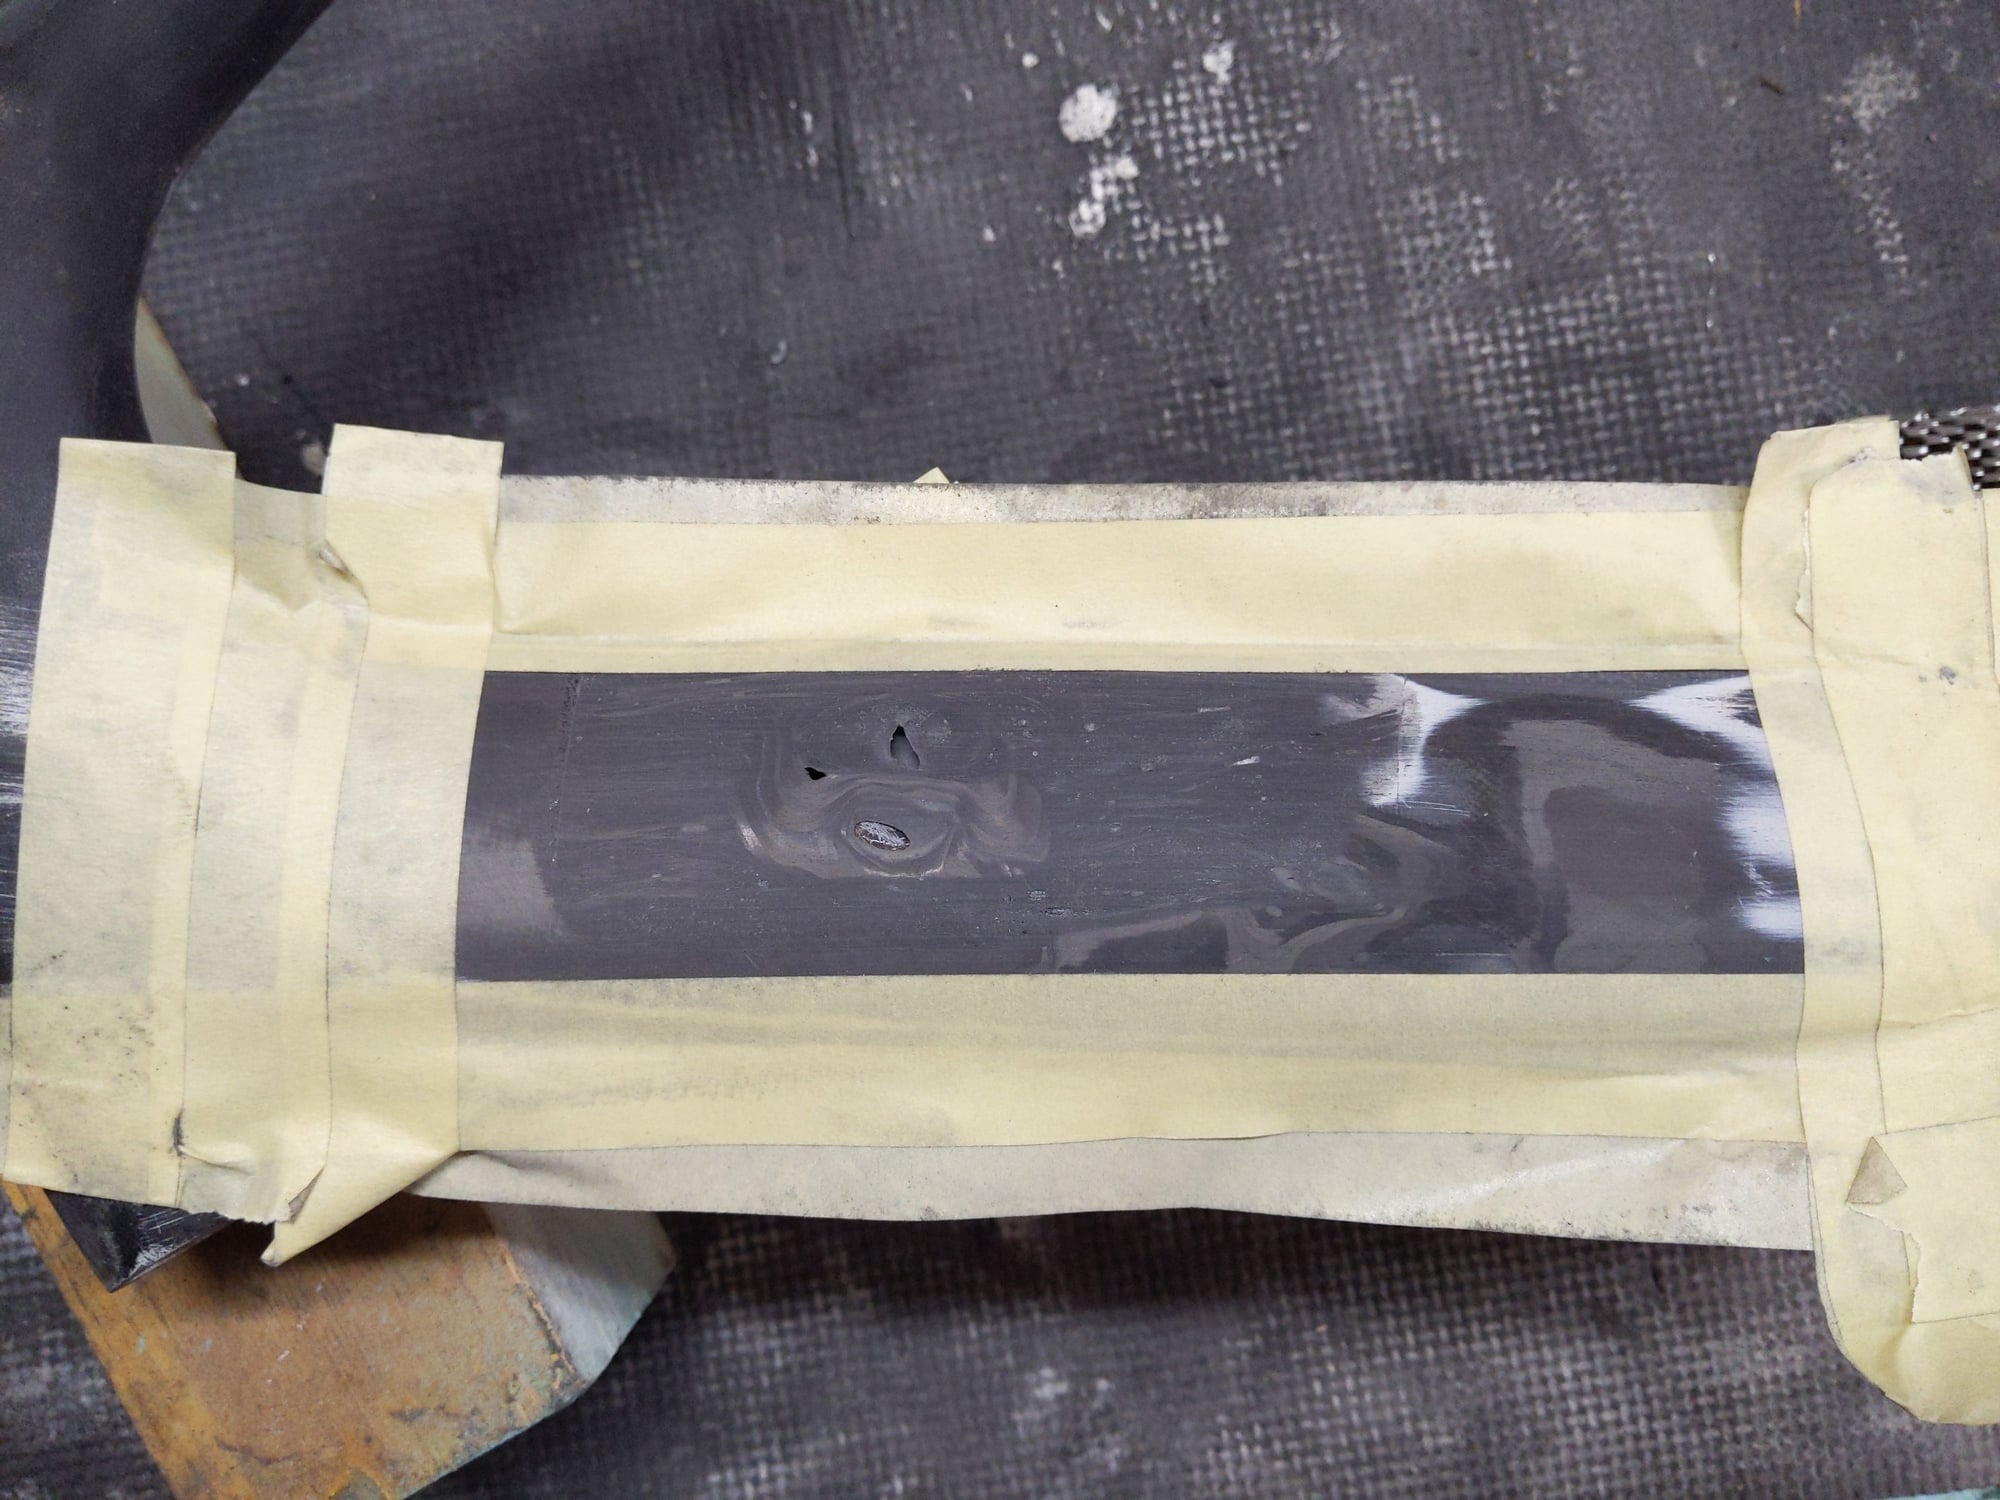
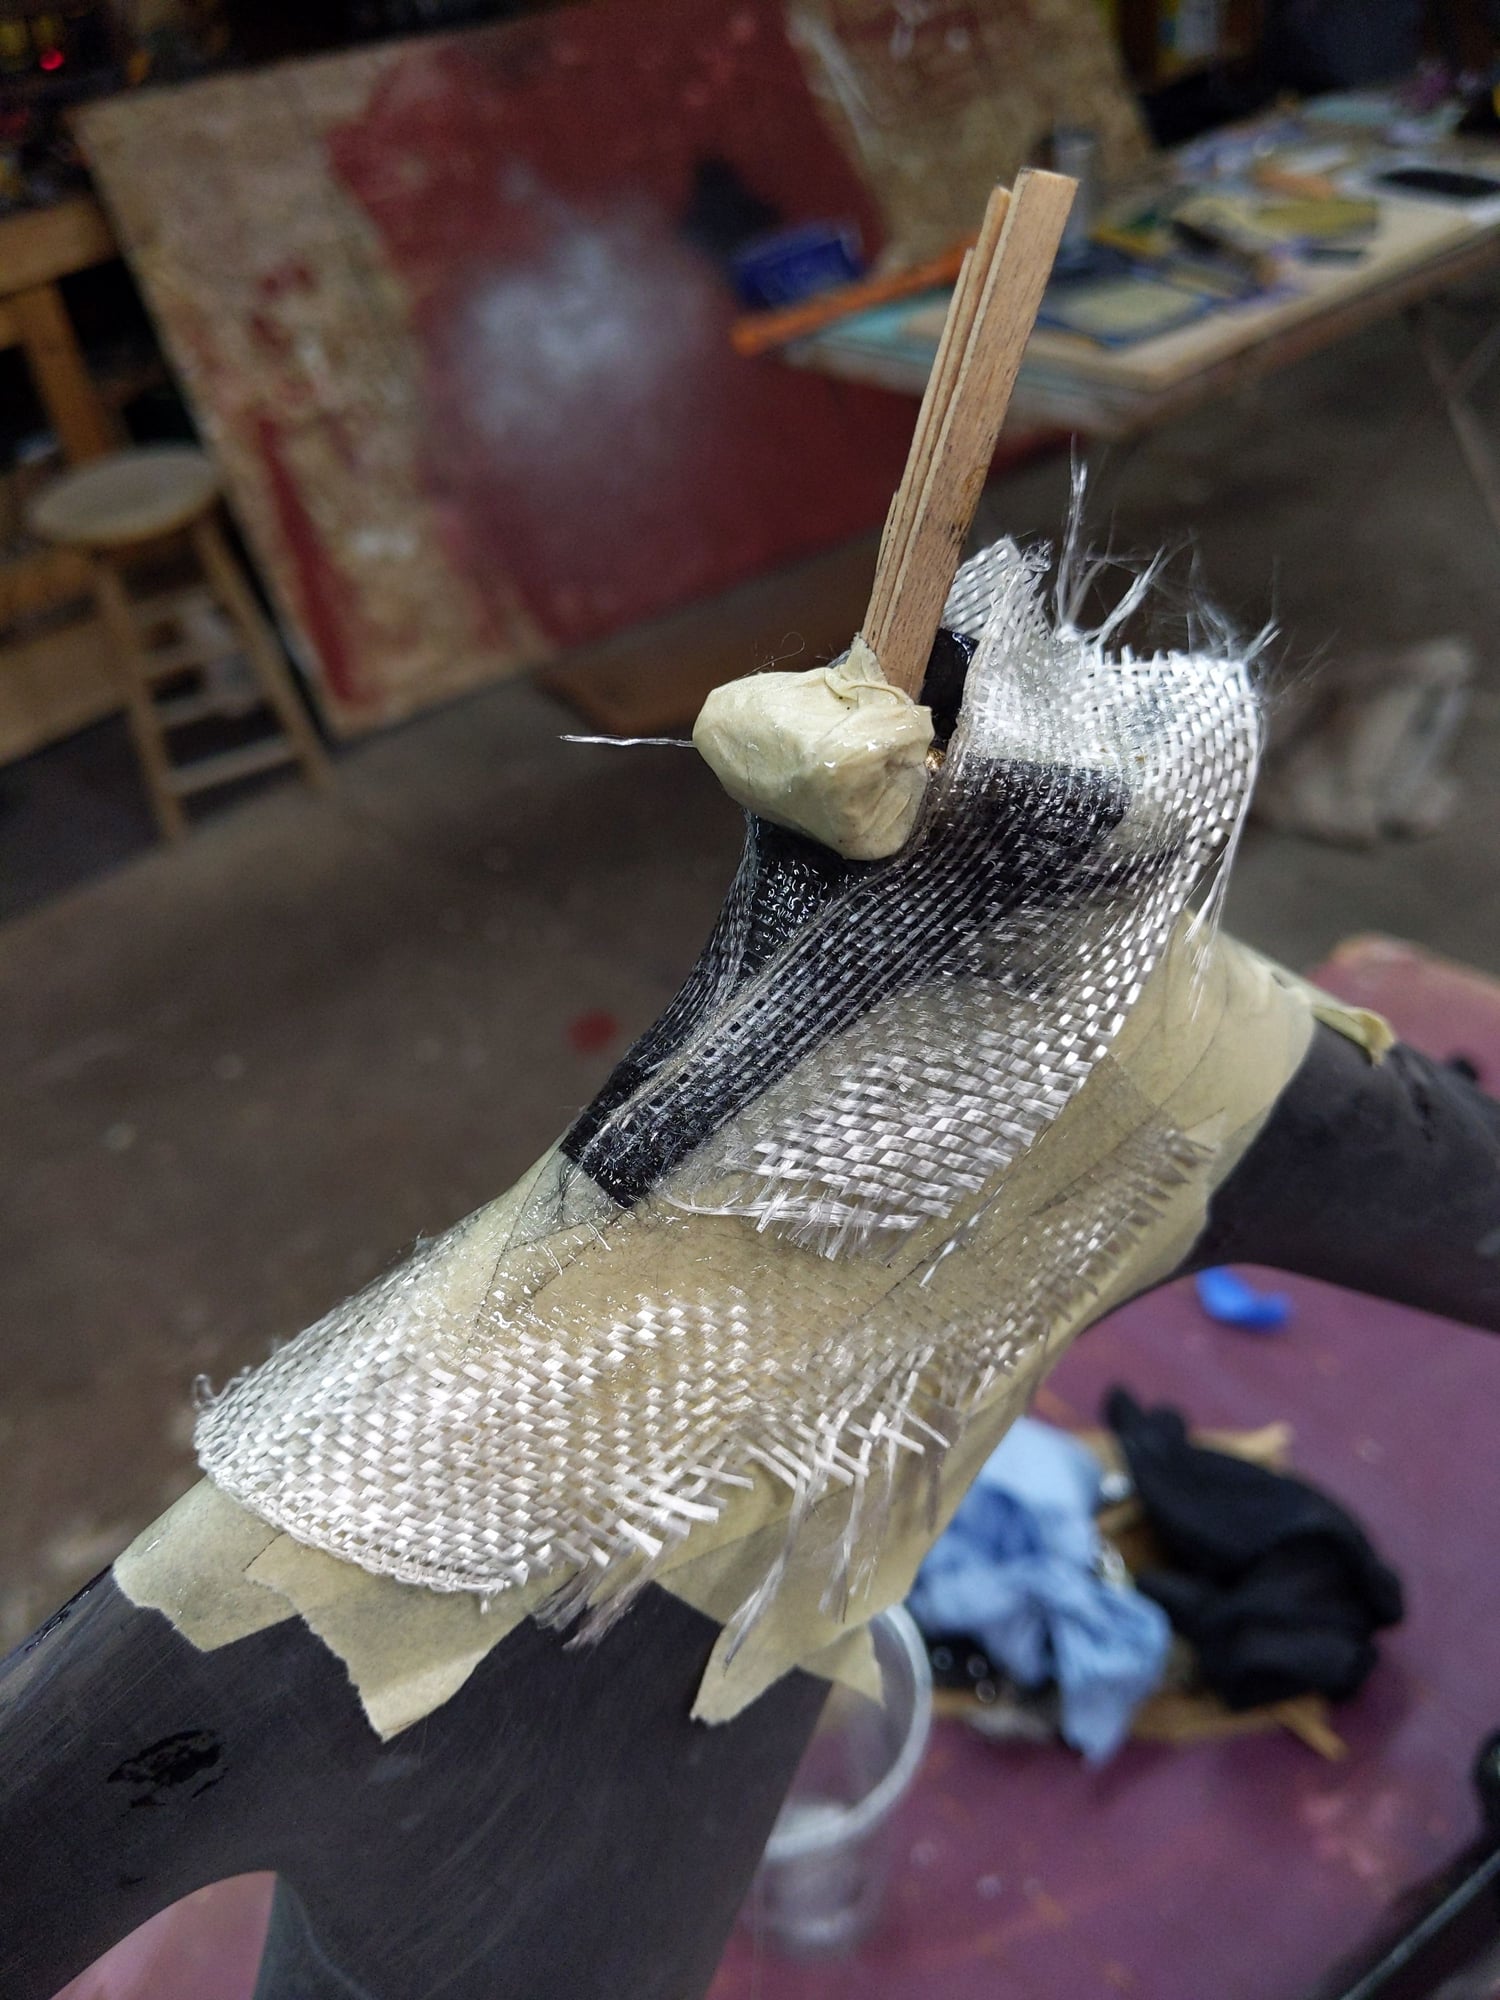
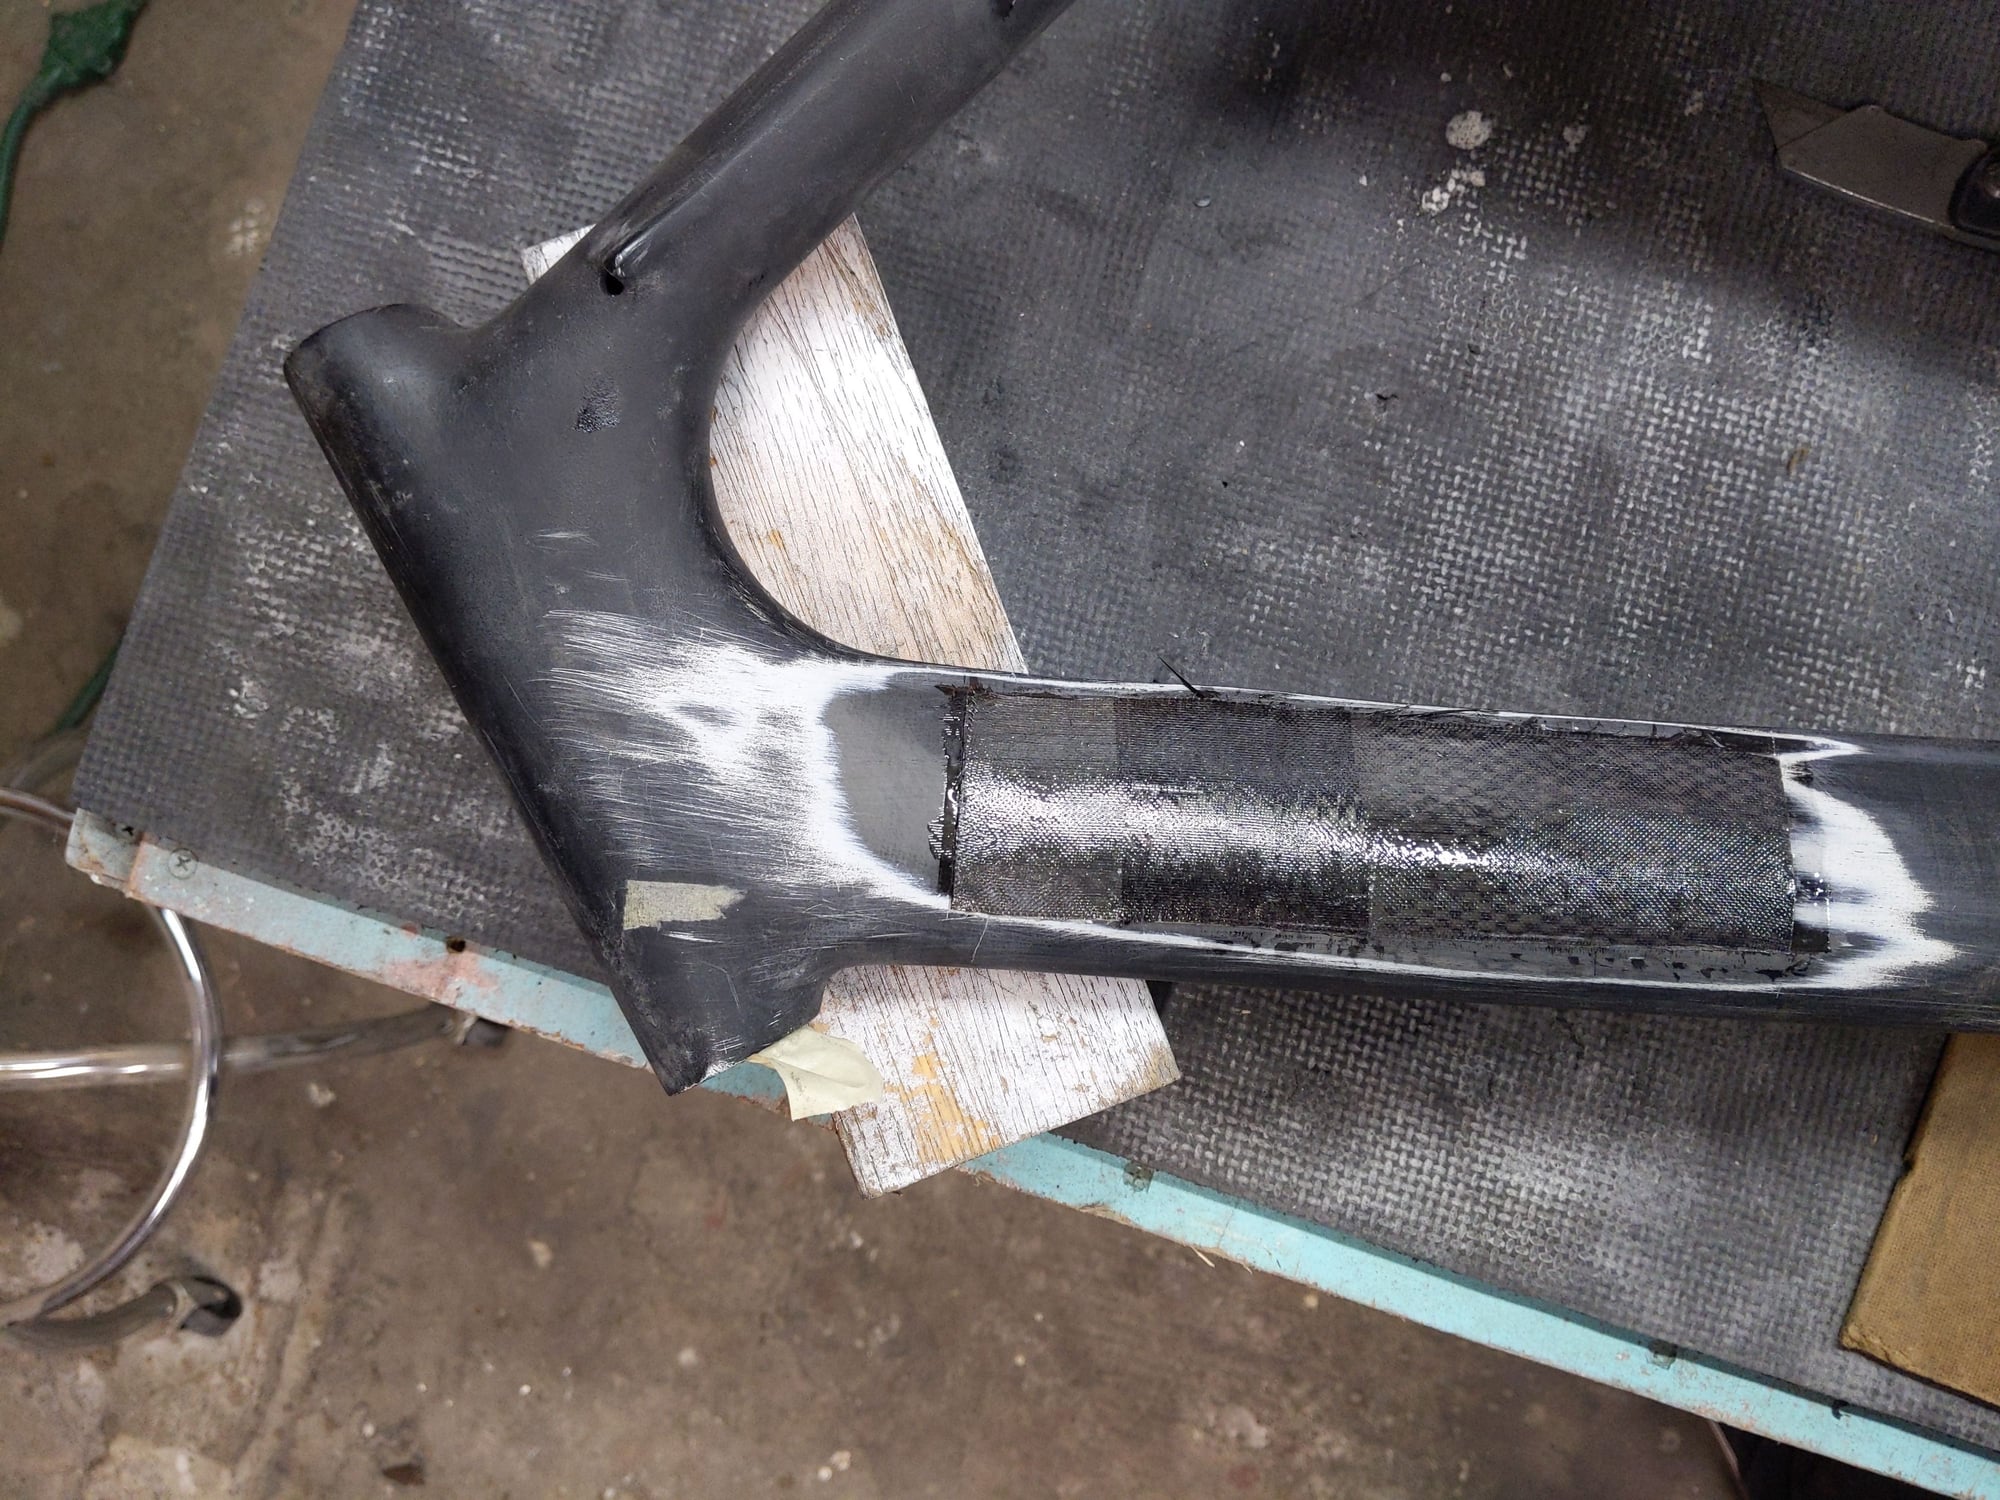
(above) Fortunately I have a lot of experience with fiberglass, epoxy, carbon fiber, Kevlar, etc… I’m also a surfboard builder and have scraps of those things here in my shop… So over the hole I laid long, yarn diameter carbon fiber *tow*, all along the down tube opening, then went over that with a sacrificial sandable layer of fiberglass…
What you see here is after sanding that combination listed above…
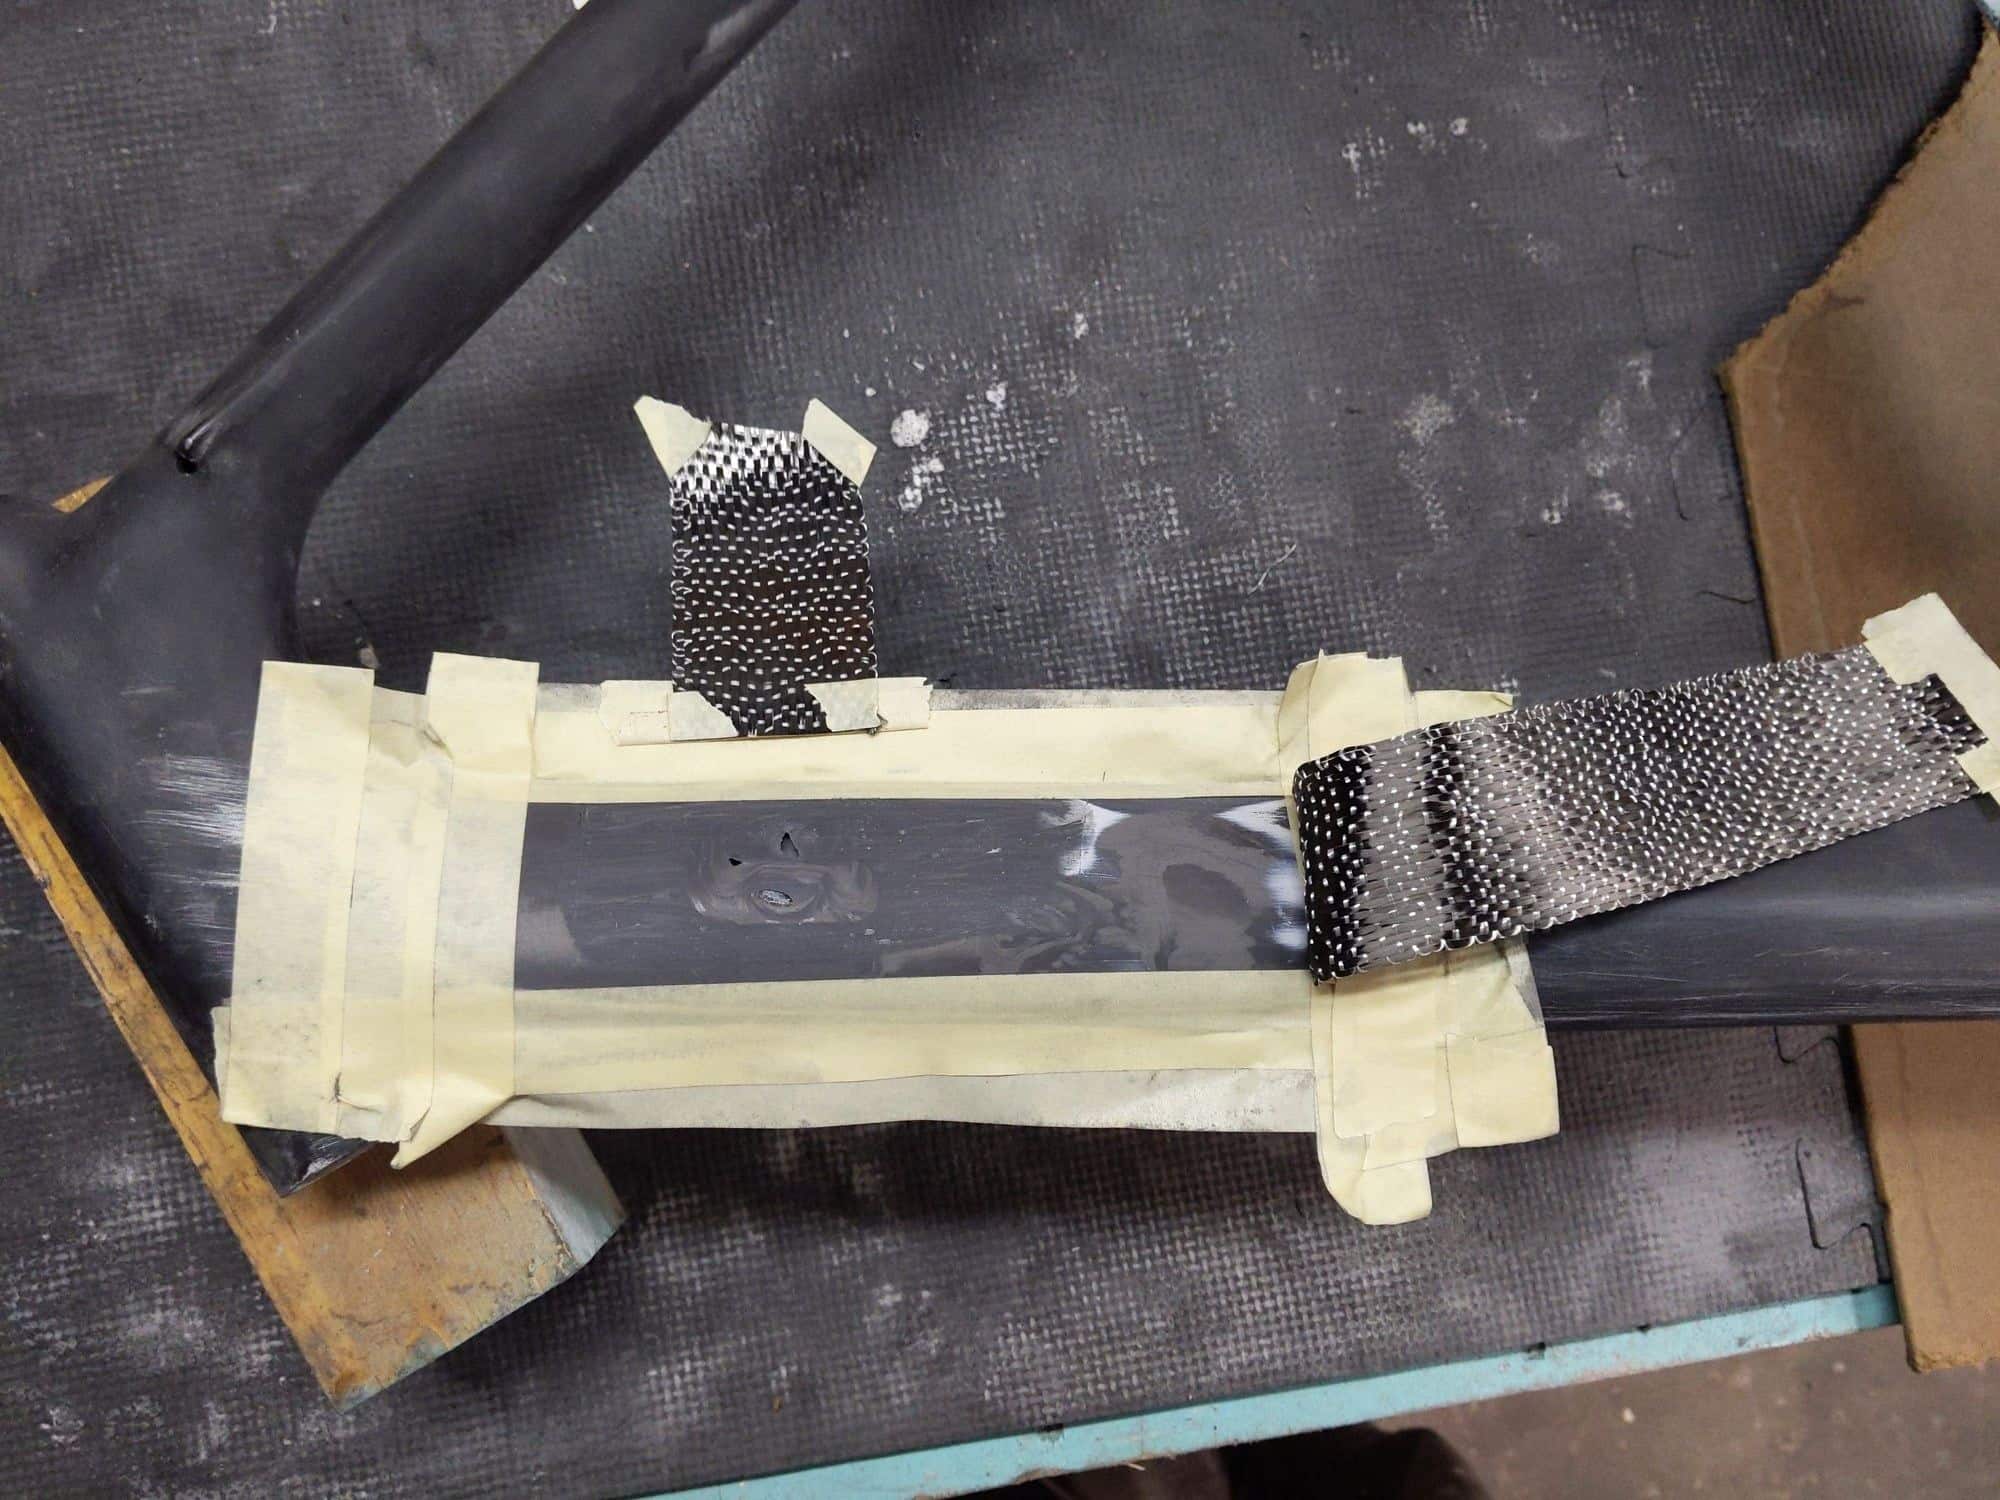
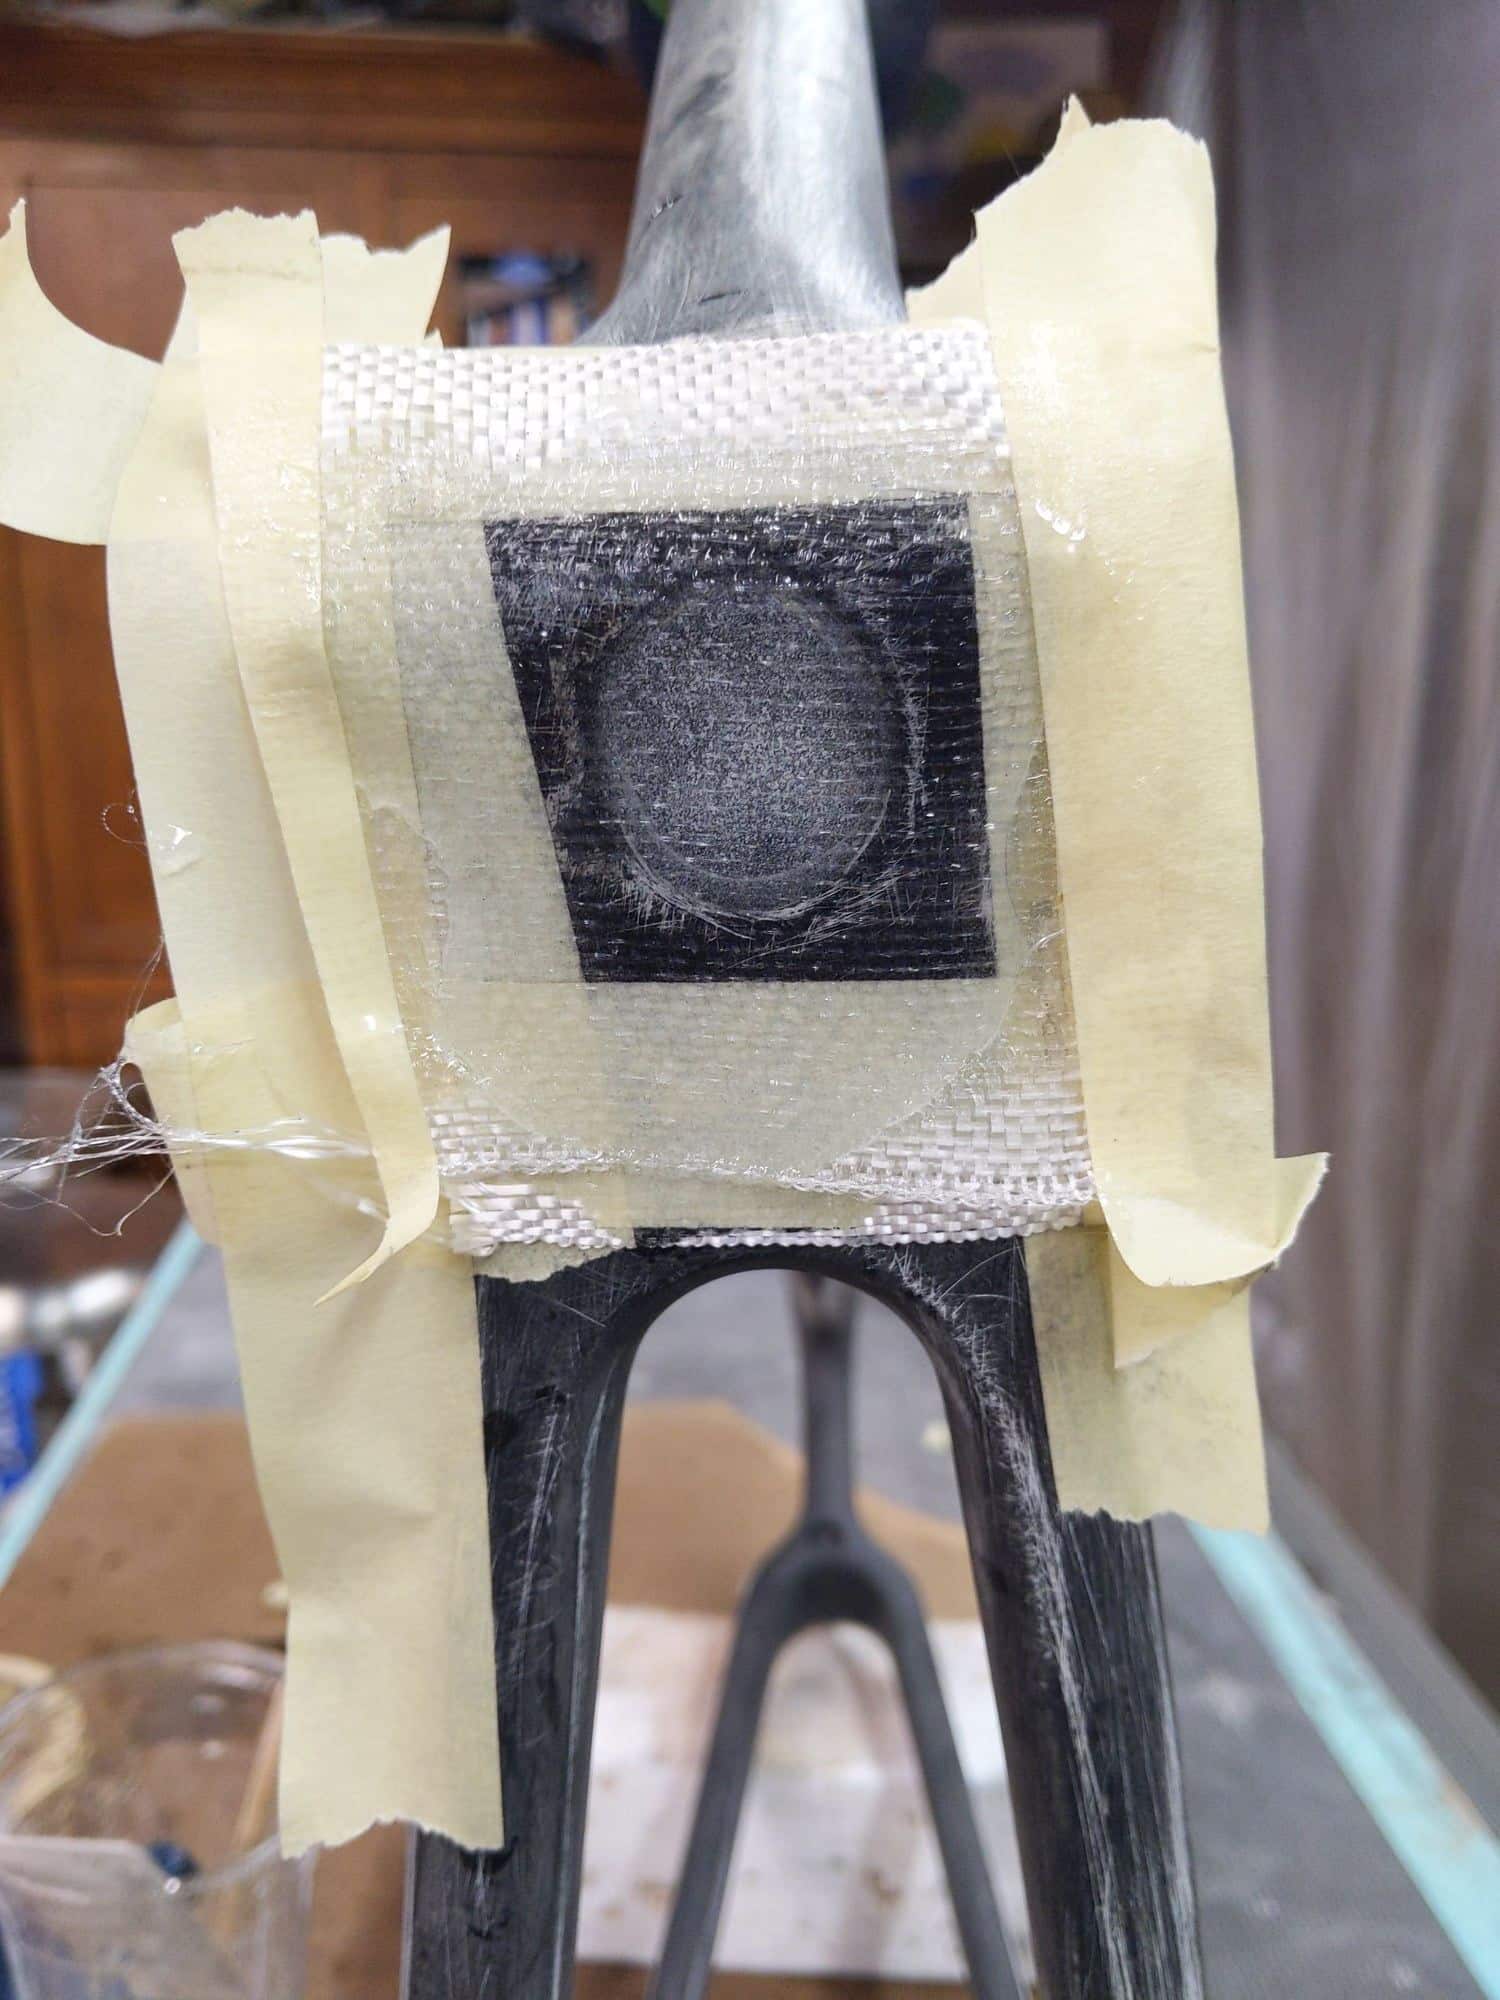
(above) Usng uni-directional carbon here over the hole… All the strands are aligned in the same direction… You want the strength along that axis… I added a small sandable CF patch over the uni tape… With that, when you are sanding, you can see if you go into the primary CF layer…
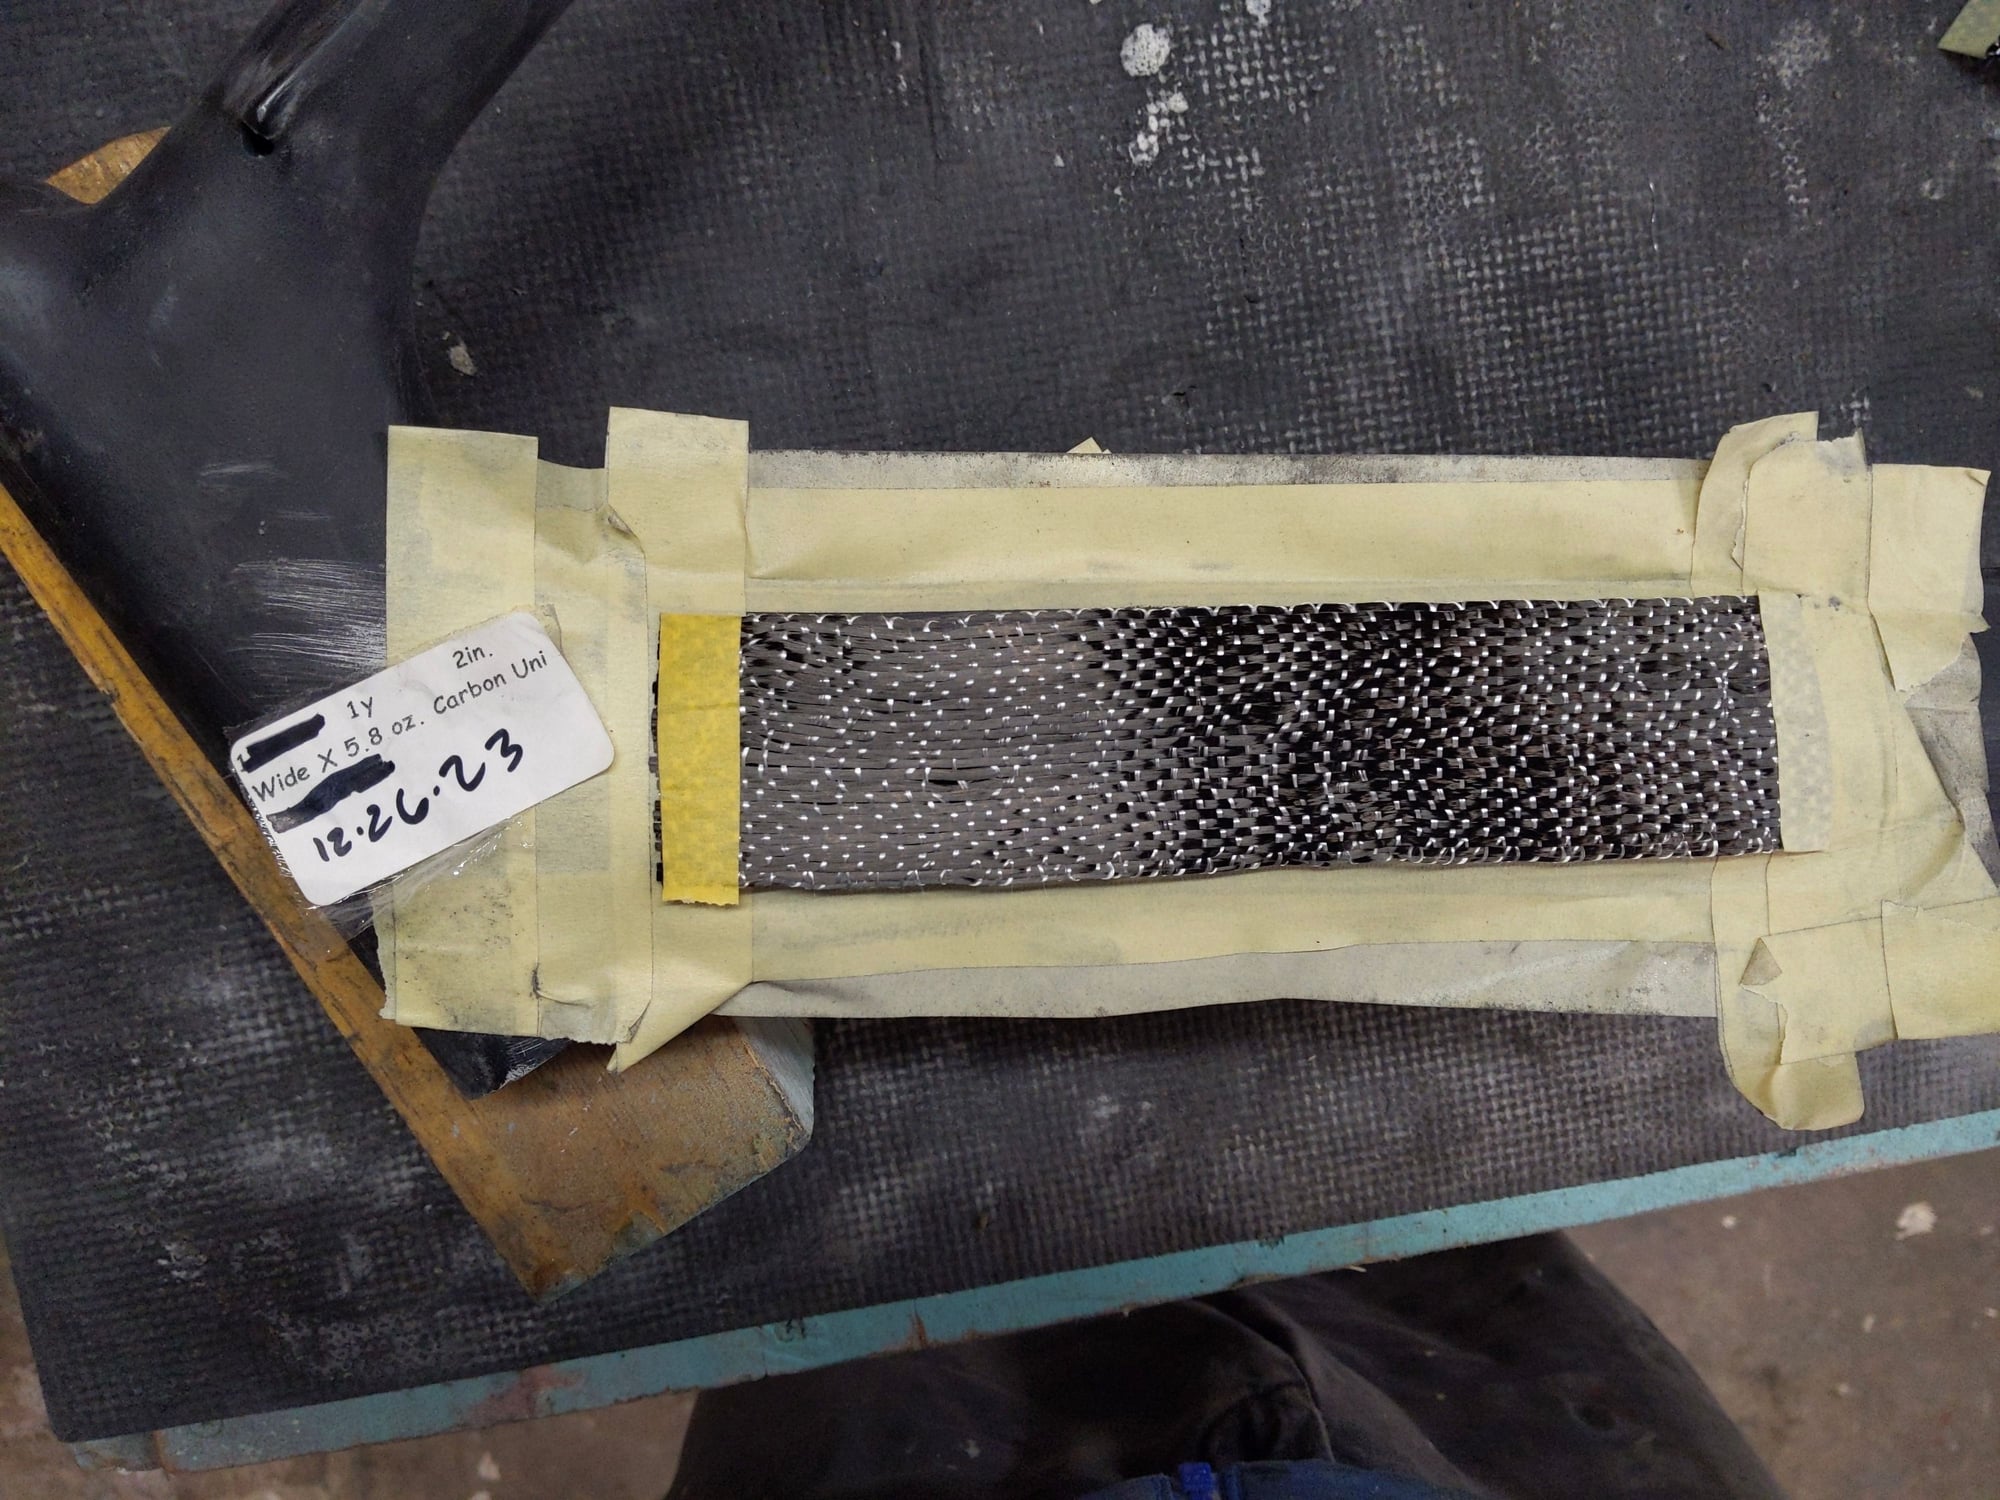
(above) Over the CF on the downtube I laminated.. Super thin 2 oz. layer of fiberglass to smooth out the uni-carbon… Most of that fiberglass will be sanded off…
(above) Resin getting hard, razor cut the tape away, wait for it to get hard enough to sand… So simple, so easy…
Last edited by PaulJensen; 01-01-24 at 11:48 PM.
01-02-24, 12:02 AM
#7
Newbie
Thread Starter
(above) From the factory, there was an access hole to where the mold inflation bladder went in… Here there are two layers of fiberglass tape over the hole…
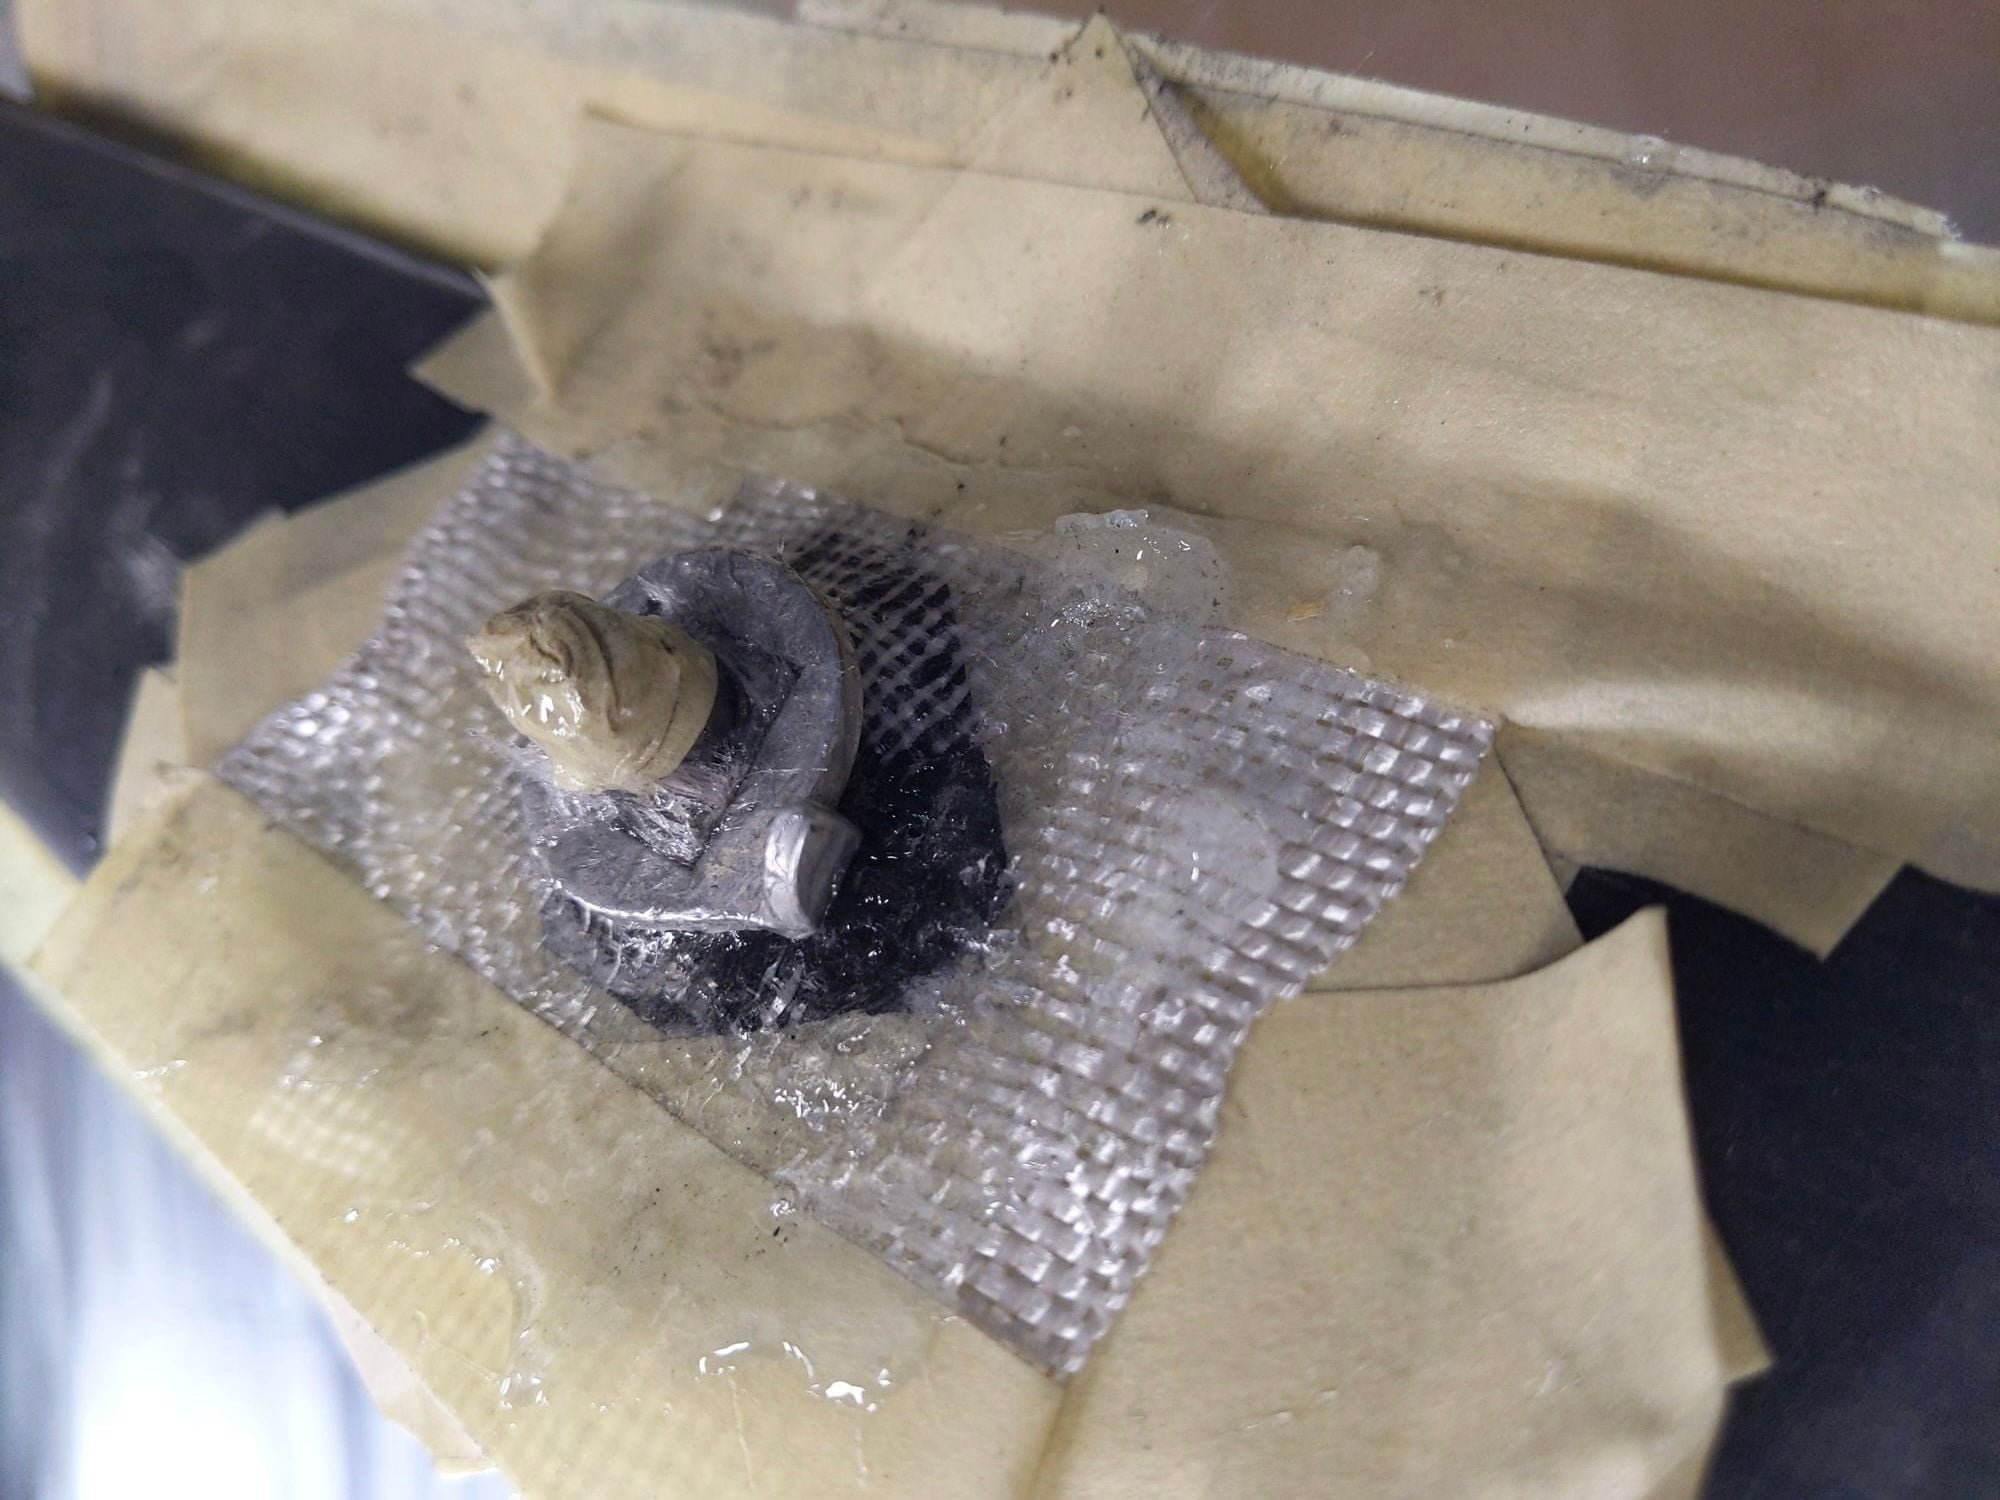
(above) The shifter boss gets a small patch of fiberglass between the shifter boss and the shift limit stop base plate … It will all get sanded before primer…
Last edited by PaulJensen; 01-02-24 at 12:03 AM. Reason: Speling
01-02-24, 12:08 AM
#8
Newbie
Thread Starter
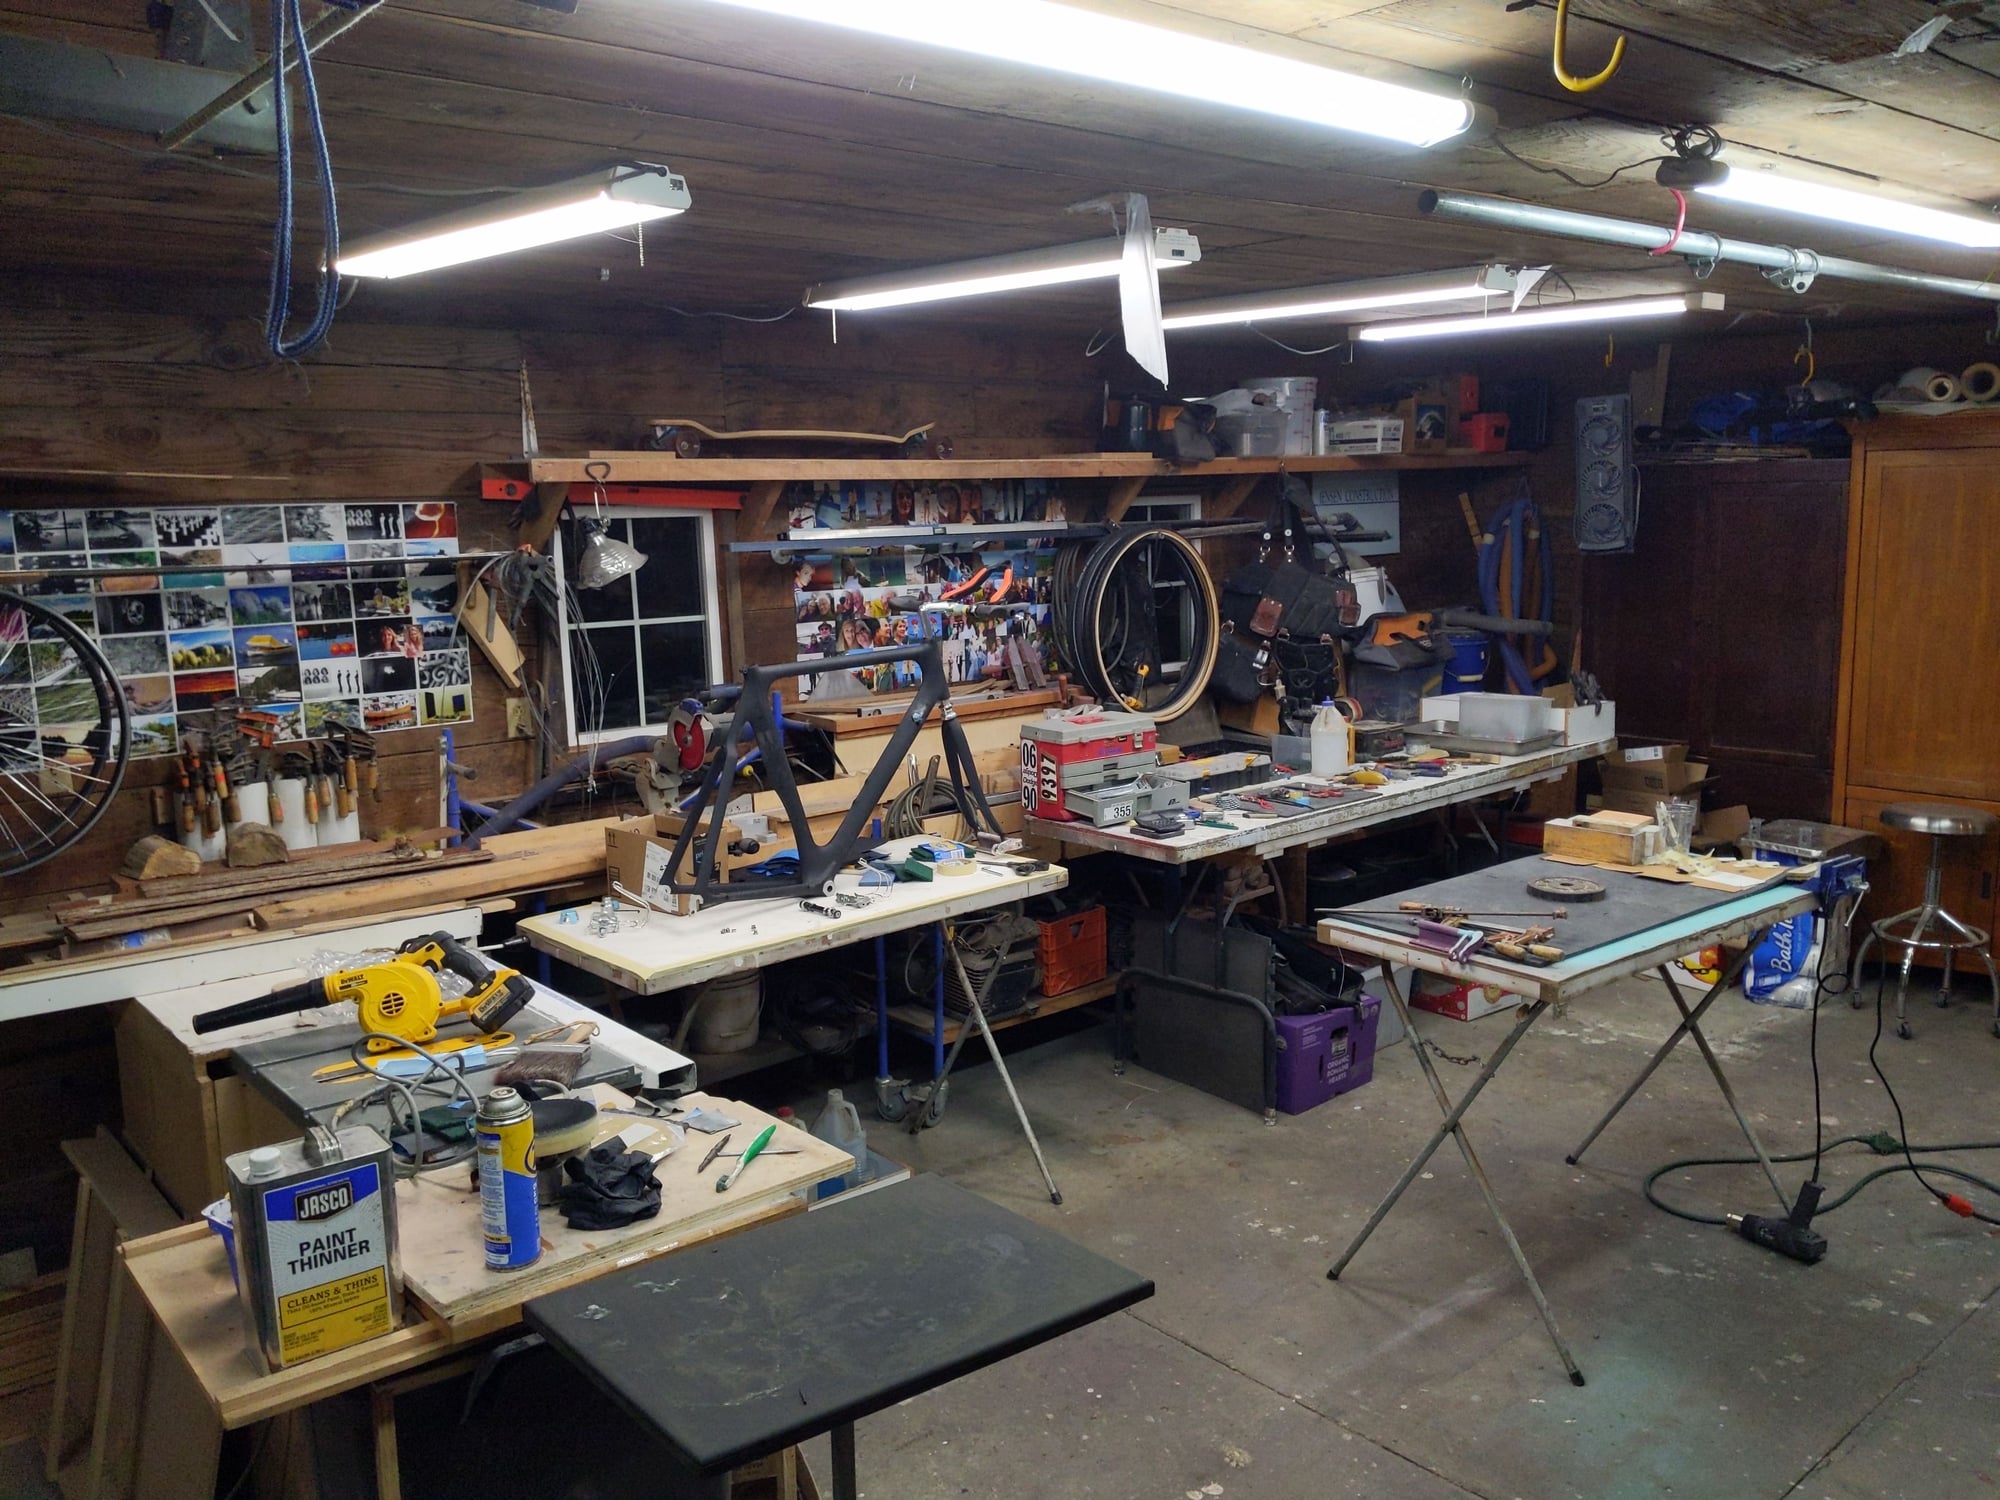
(above) Whre the stuff gets done…
(above) Not a pro shop, not even close, not even trying…
Likes For PaulJensen:
01-02-24, 06:59 AM
#9
Expired Member

Join Date: Jun 2007
Location: TN
Posts: 11,652
Mentioned: 41 Post(s)
Tagged: 0 Thread(s)
Quoted: 3711 Post(s)
Liked 5,557 Times
in
2,812 Posts
Duplicate of thread in Early Brifter? 
01-02-24, 07:18 AM
#10
Senior Member
Paul, I have a true appreciation for people who are unafraid to dive into some unfamiliar territory to build or fix things. More of us need to "just do it." Very much enjoy reading and seeing your journey.
Likes For TiHabanero:
01-02-24, 07:48 AM
#11
Senior Member
Join Date: Apr 2011
Posts: 7,182
Mentioned: 43 Post(s)
Tagged: 0 Thread(s)
Quoted: 4475 Post(s)
Liked 1,619 Times
in
1,064 Posts
I hope you are wet sanding this. Carbon fiber particulate is super dangerous to your health.
Likes For Kontact:
01-02-24, 11:20 AM
#12
Newbie
Thread Starter
01-02-24, 11:52 AM
#13
Newbie
Thread Starter
Among other things, I’m also a surfboard builder… In 2001 I pioneered a method of building hollow wood surfboards that was ground-zero for all other hollow boards to come… I’ve taught over thirty ‘Build Your Own’ workshops worldwide… It’s been a great ride…
The ability to travel and teach is the best… You learn as much as you teach… The relationships and greater sense of community is immeasurable…
If I haven’t retired, I could see a parallel ‘career’ traveling and teaching Build Your Own Wood Bike… I know how… Somebody will someday and they will also enjoy the satisfaction of creating a new-normal way… Let the critics criticize and judge… It will happen and others will have new careers building and teaching… All it takes is an open mind and the ability to ignore the toxic critics… Results matter…
Last edited by PaulJensen; 01-02-24 at 01:23 PM.
01-02-24, 12:01 PM
#14
Newbie
Thread Starter
01-02-24, 12:23 PM
#15
Expired Member
Join Date: Jun 2007
Location: TN
Posts: 11,652
Mentioned: 41 Post(s)
Tagged: 0 Thread(s)
Quoted: 3711 Post(s)
Liked 5,557 Times
in
2,812 Posts
Obviously many wooden bikes have been built through the years but there haven't been enough on BF that they've become boring. If you do build one, please post about it. 
Likes For shelbyfv:

Likes For wheelreason:
01-02-24, 01:18 PM
#17
Newbie
Thread Starter
Likes For PaulJensen:
01-03-24, 04:17 AM
#18
Full Member
Paul, this is truly amazing! As someone who cannot pound a nail straight, I have great admiration for folks who are talented, let alone visionaries. Can't wait to see the bike when it's ready to ride!
01-03-24, 05:54 AM
#19
Senior Member
I visited your website this morning (hollowsurfboards.com) and enjoyed seeing those beautiful boards. Many years ago I lived in the Bay Area of California and the surf scene was there, but limited. Very unlike southern Cali. Moved to Michigan a long time ago and was surprised to find a small surf community here. Surfing the Great Lakes is similar to surfing in a bathtub, but one does what one needs!
How long ago did you retire from building and concentrate on only instructing others?
How long ago did you retire from building and concentrate on only instructing others?
01-03-24, 06:14 AM
#20
Newbie
Thread Starter
That visionaries thing, some of my friends, and I do too, have always mentally disassembled everything we look at and in our minds rearrange how they go back together… Blessing and a curse…
01-03-24, 06:21 AM
#21
Newbie
Thread Starter
I visited your website this morning (hollowsurfboards.com) and enjoyed seeing those beautiful boards. Many years ago I lived in the Bay Area of California and the surf scene was there, but limited. Very unlike southern Cali. Moved to Michigan a long time ago and was surprised to find a small surf community here. Surfing the Great Lakes is similar to surfing in a bathtub, but one does what one needs!
How long ago did you retire from building and concentrate on only instructing others?
How long ago did you retire from building and concentrate on only instructing others?
I’m a Hayward refugee… Out on the coast I explored north mostly… Landed up here in Washington in the early nineties… Truly the best of times… Pick the right day and it’s pretty much all yours… I’ve got photos…
You’re in Michigan… Check out my friend Jason’s boards… He’s in Petosky, Little Bay Boards … Cool guy who has left me behind with what he can do….
The board thing never was a business to me… Spare change yeah, but never looked at as a primary thing… The teaching and travel was never a business plan, but I figured it out pretty fast… The teaching eventually dwindled off, I still get requests… Once I was the only one in the world doing what I was doing and it sure was fun…Others saw what I was doing and recognized the possibilities for them to teach, make pretty good money and have a blast, drew potential workshop opportunities from me… No worries, never a business…
I retired from getting paid to do things, about a year into COVID… We never got it… I had a lot of cool work, but we bought a motor home and a house closer to our daughter… No regrets… As busy as ever…
Oh yeah, Go Huskies…!!!!…
Last edited by PaulJensen; 01-03-24 at 07:20 AM.
01-03-24, 06:54 AM
#22
Newbie
Thread Starter
(above) Wet sanded the repaired area… I’m stoked…!!!…
(above) Last test fitting… It’s going to work…
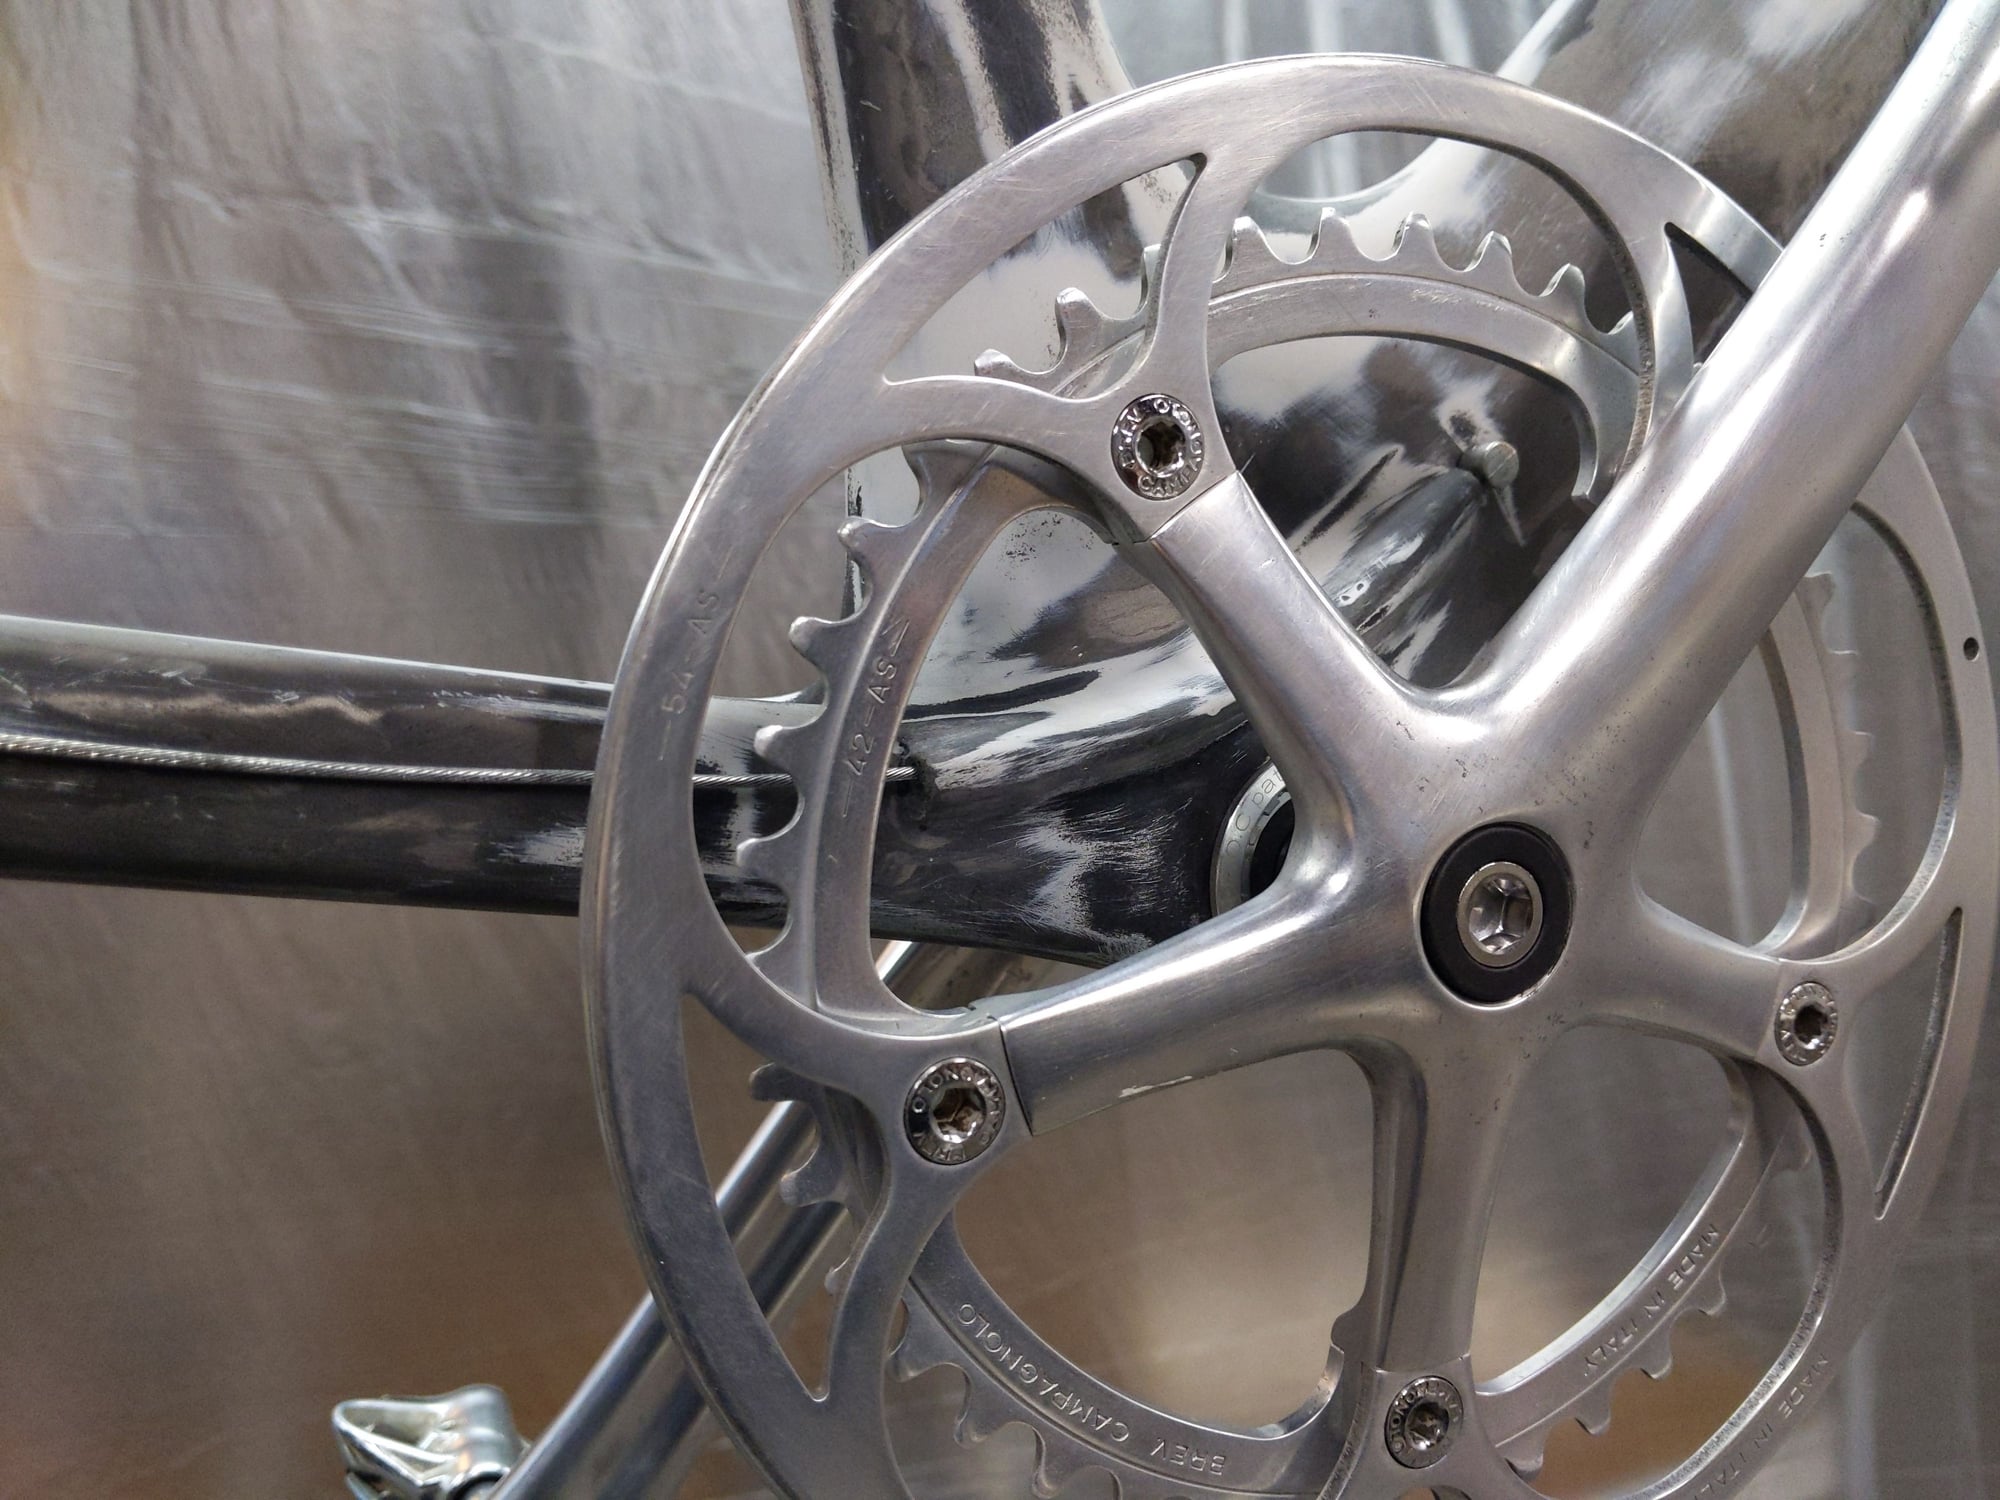
(above) Test fit the bottom end.. Behind the crank and rings, the replacement derailleur cable guide worked out ok…Maintenance and replacement of the cable is easy from here on…
(above) Cable alignment looks good…
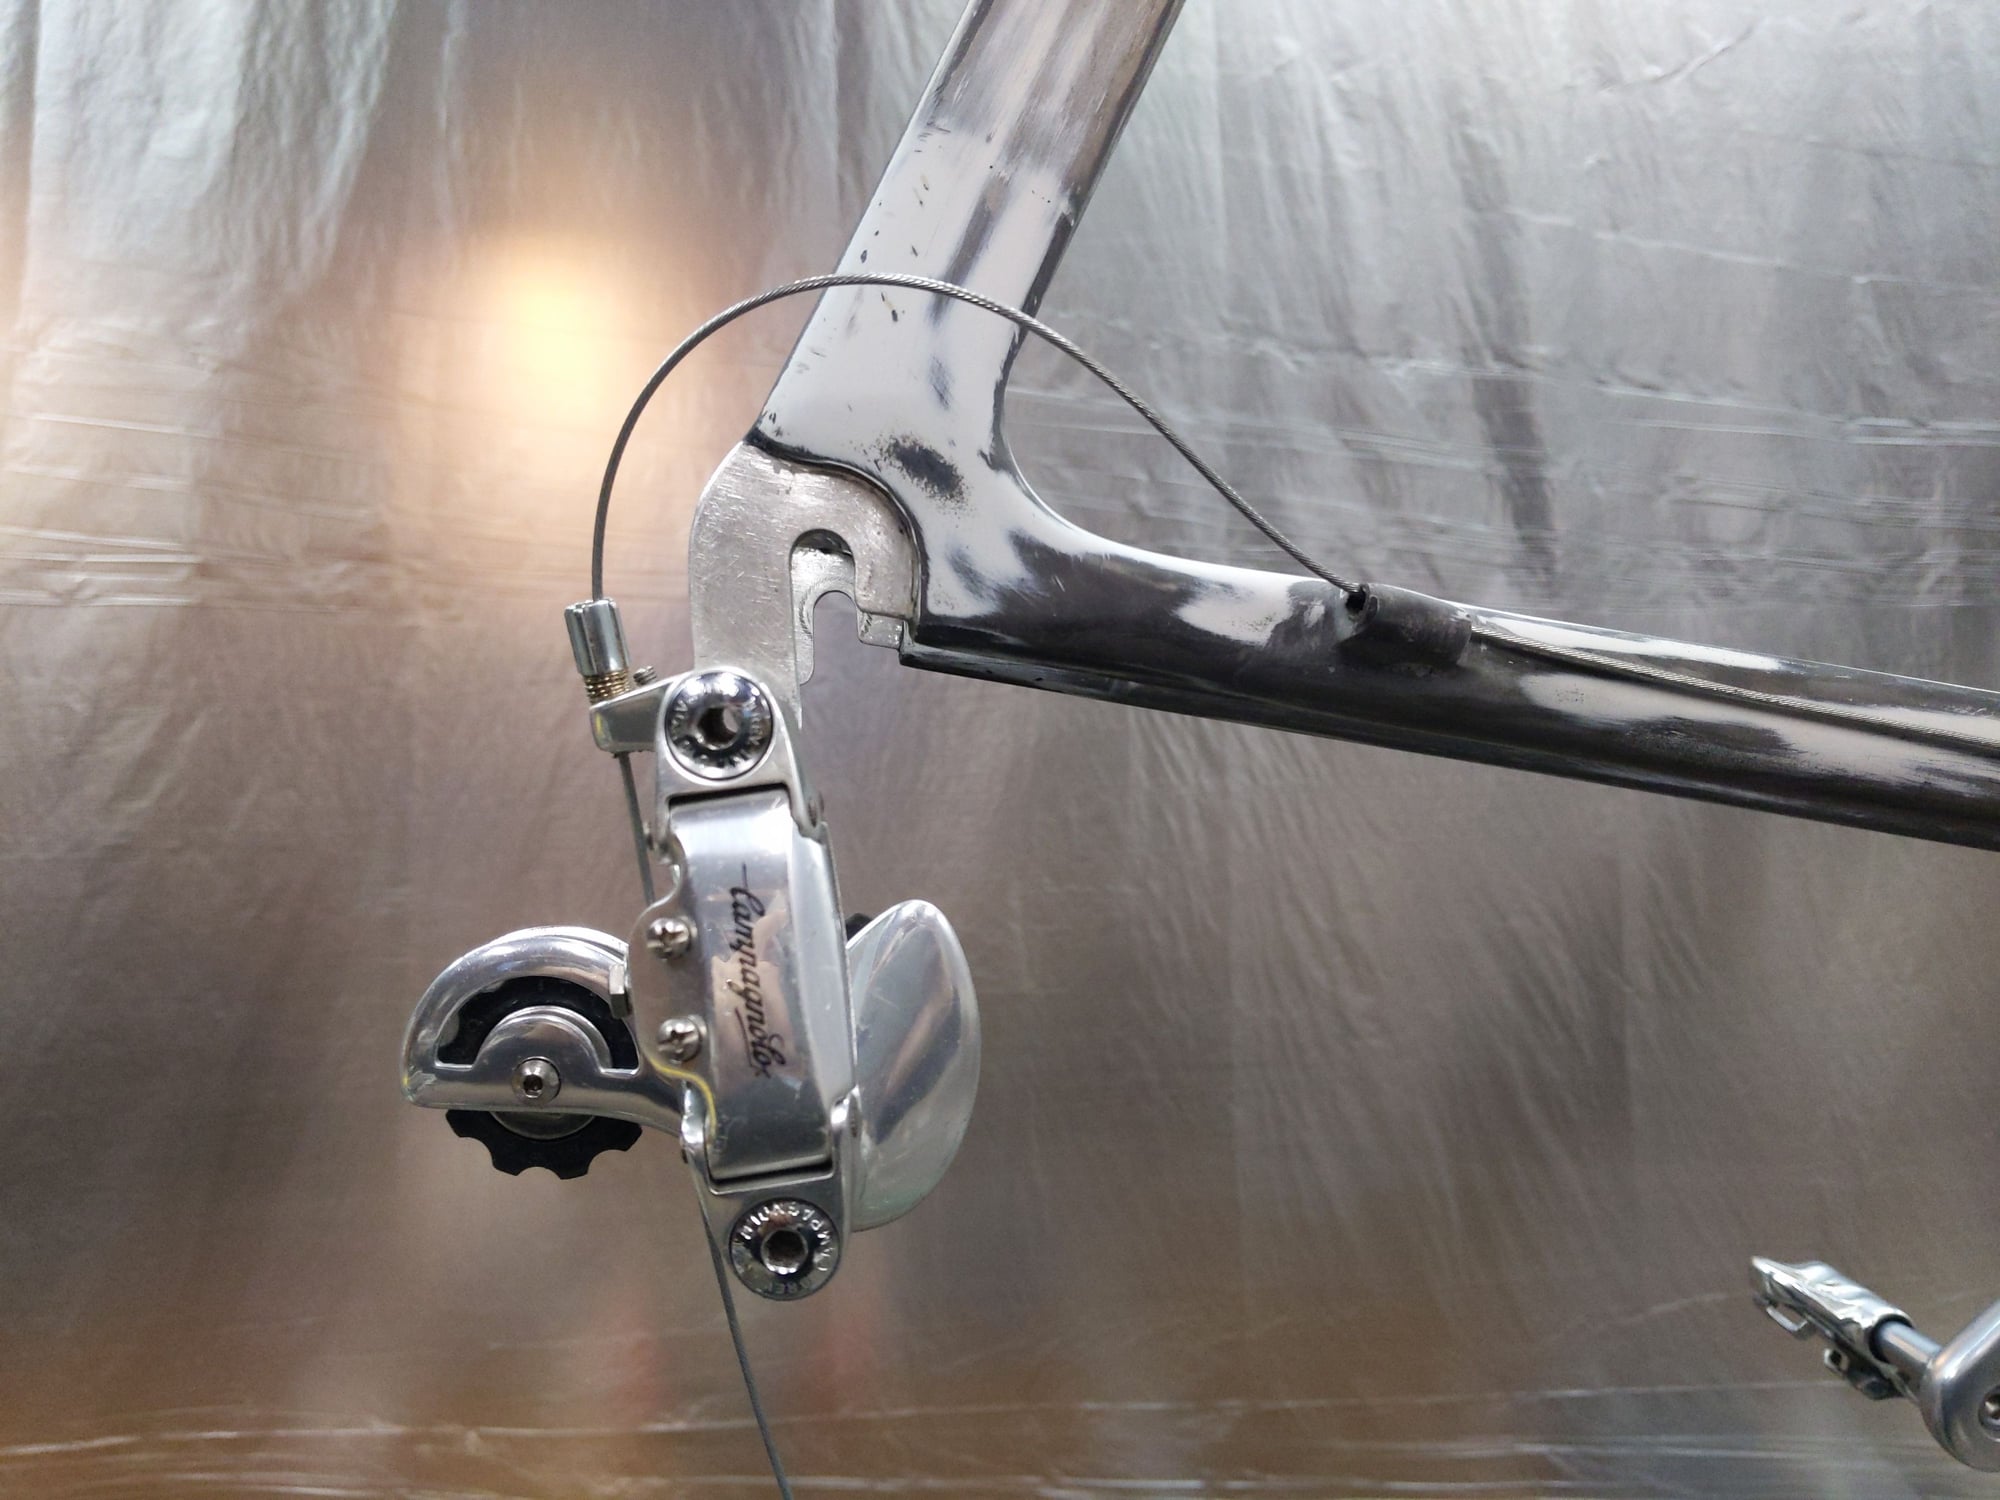
(above) Rear derailleur test fit… The modified cable stop…
(above) Weirdly, I like the look… Your thoughts…???… Colors…???…
(above) I have a set of silver factory water slide decals…
(above) Yes or No…???…
…
Last edited by PaulJensen; 01-03-24 at 07:02 AM.
01-03-24, 07:44 AM
#23
Newbie
Thread Starter
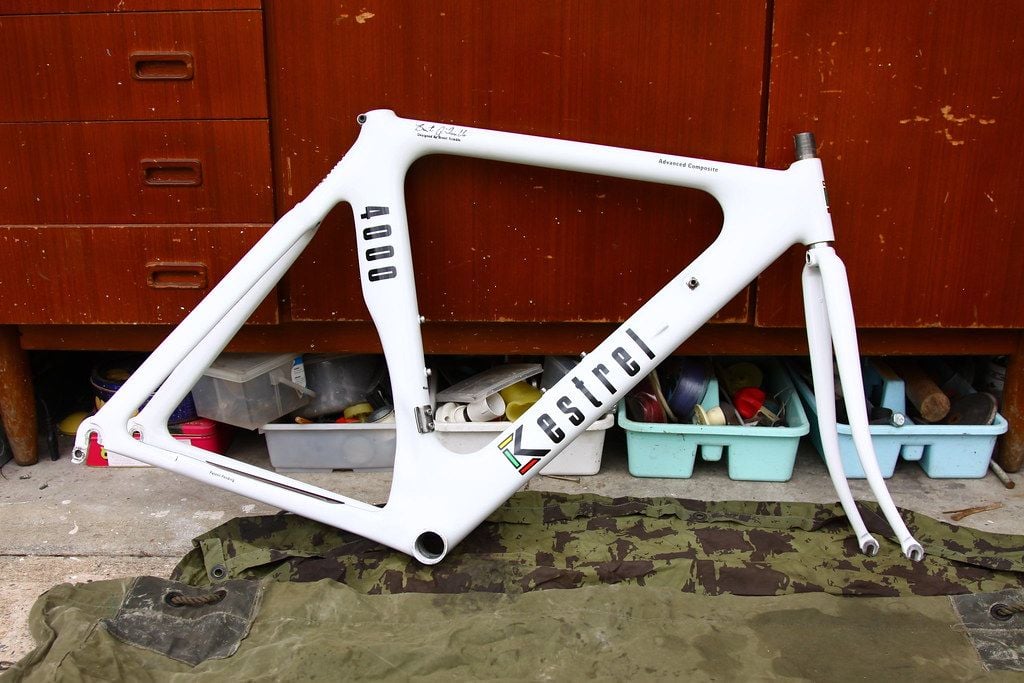
(above) Original factory finish…
(above) Glossy black…
(above) Rat Rod Black…
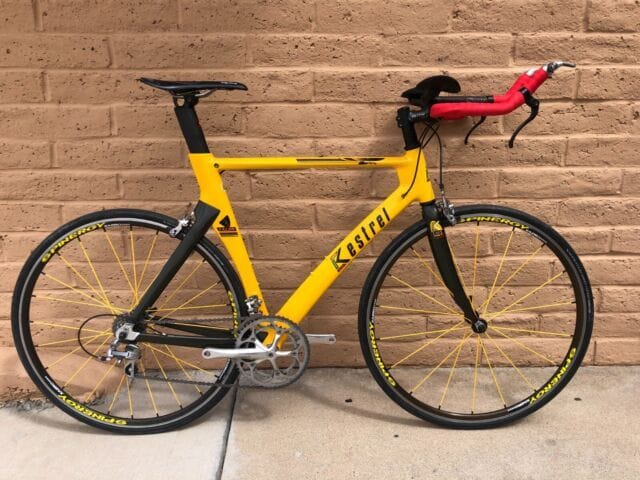
(above) Yellow…
Ideas please…???…
01-03-24, 11:52 AM
#25

I'm good to go!
Join Date: Jul 2017
Location: Mississippi
Posts: 15,094
Bikes: Tarmac Disc Comp Di2 - 2020
Mentioned: 51 Post(s)
Tagged: 0 Thread(s)
Quoted: 6255 Post(s)
Liked 4,857 Times
in
3,347 Posts
Most bicycle mechanics don't repair frames no matter what they are made of. Shouldn't this be more appropriate to the Framebuilders sub-forum?
Though I was impressed by your dedication to fix something I'd just throw away. And you sharing some of the things you did.
Though I was impressed by your dedication to fix something I'd just throw away. And you sharing some of the things you did.