


Blasptwenty: Overdone, over-complicated mod build for video rig
 09-09-20, 11:11 PM
#226

www.theheadbadge.com
Thread Starter

Join Date: Sep 2005
Location: Southern Florida
Posts: 28,514
Bikes: https://www.theheadbadge.com
Mentioned: 124 Post(s)
Tagged: 0 Thread(s)
Quoted: 2422 Post(s)
Liked 4,398 Times
in
2,093 Posts
Are those really laser-cut? Or did they use a waterjet? Just curious, I know a few lasers do aluminum but not many, and those parts kind of look waterjet cut.
That little pip that goes inside the spring? Easy to turn on a lathe. PM me the dimensions if 3D printing doesn't work.
That little pip that goes inside the spring? Easy to turn on a lathe. PM me the dimensions if 3D printing doesn't work.
PM incoming on the collar/pip.
-Kurt
__________________


 05-17-21, 05:58 PM
#227
www.theheadbadge.com
Thread Starter
Join Date: Sep 2005
Location: Southern Florida
Posts: 28,514
Bikes: https://www.theheadbadge.com
Mentioned: 124 Post(s)
Tagged: 0 Thread(s)
Quoted: 2422 Post(s)
Liked 4,398 Times
in
2,093 Posts
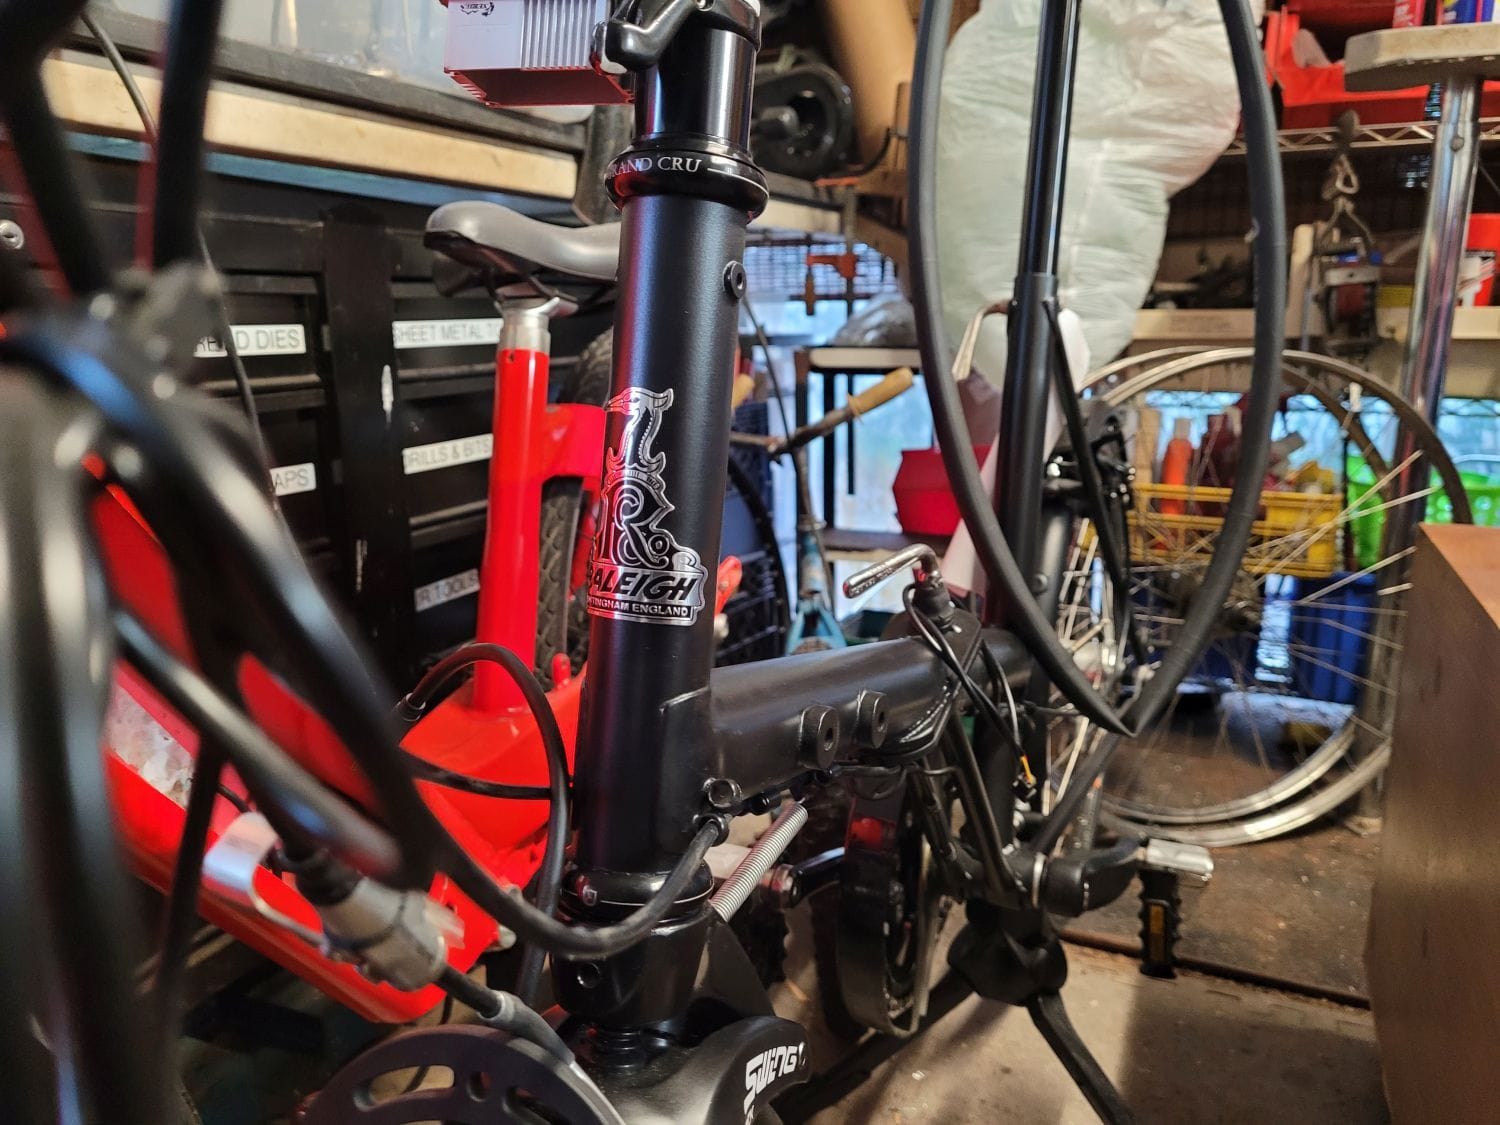
I've barely touched this thing - but I was able to score one of these modern Raleigh headbadges off eBay. It's irritatingly oversized in comparison to the originals, but the scheme fits, and it's marked Nottingham, England instead of Cycle Company USA, so...on it went:
-Kurt
-Kurt
__________________
07-04-21, 03:27 PM
#228
www.theheadbadge.com
Thread Starter
Join Date: Sep 2005
Location: Southern Florida
Posts: 28,514
Bikes: https://www.theheadbadge.com
Mentioned: 124 Post(s)
Tagged: 0 Thread(s)
Quoted: 2422 Post(s)
Liked 4,398 Times
in
2,093 Posts
Update time.
First off, I wasn't thrilled about running the electric assist on a simple PAS hall sensor and had lost interest because of this.
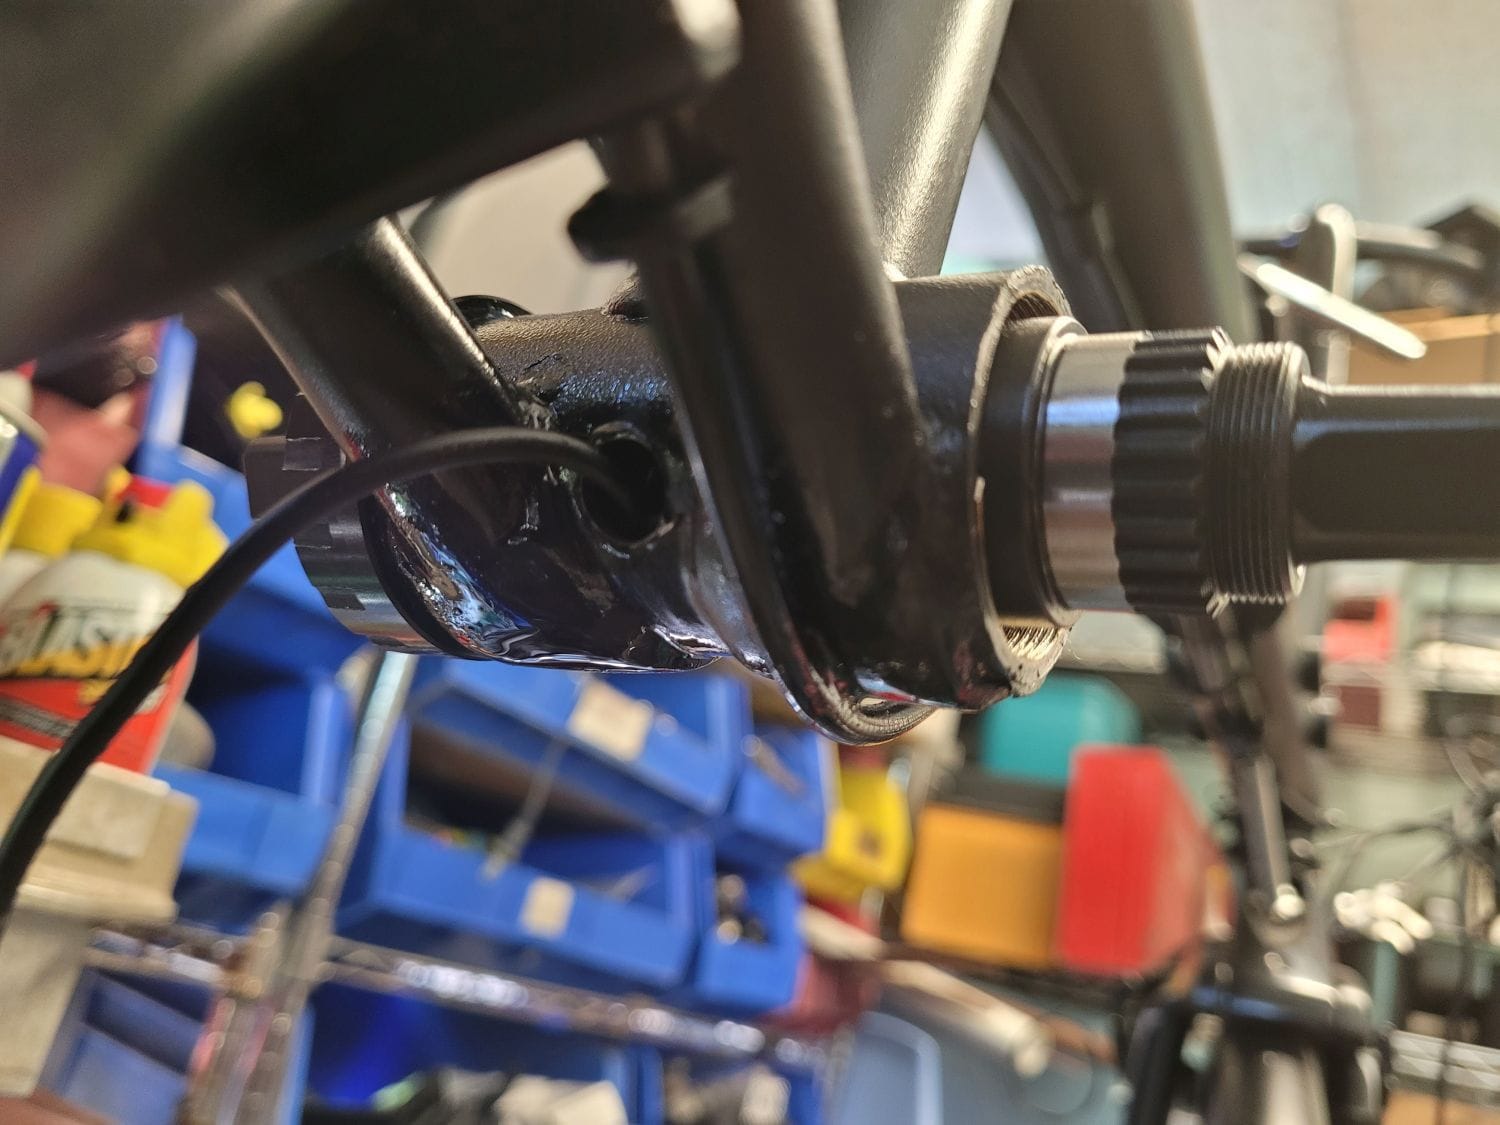
In the meantime, brand-new service parts for JUMP 5.5 and 5.0 shared bikes have hit eBay, which means for $38, I was able to snag one of these - a torque-sensing Bafang bottom bracket.
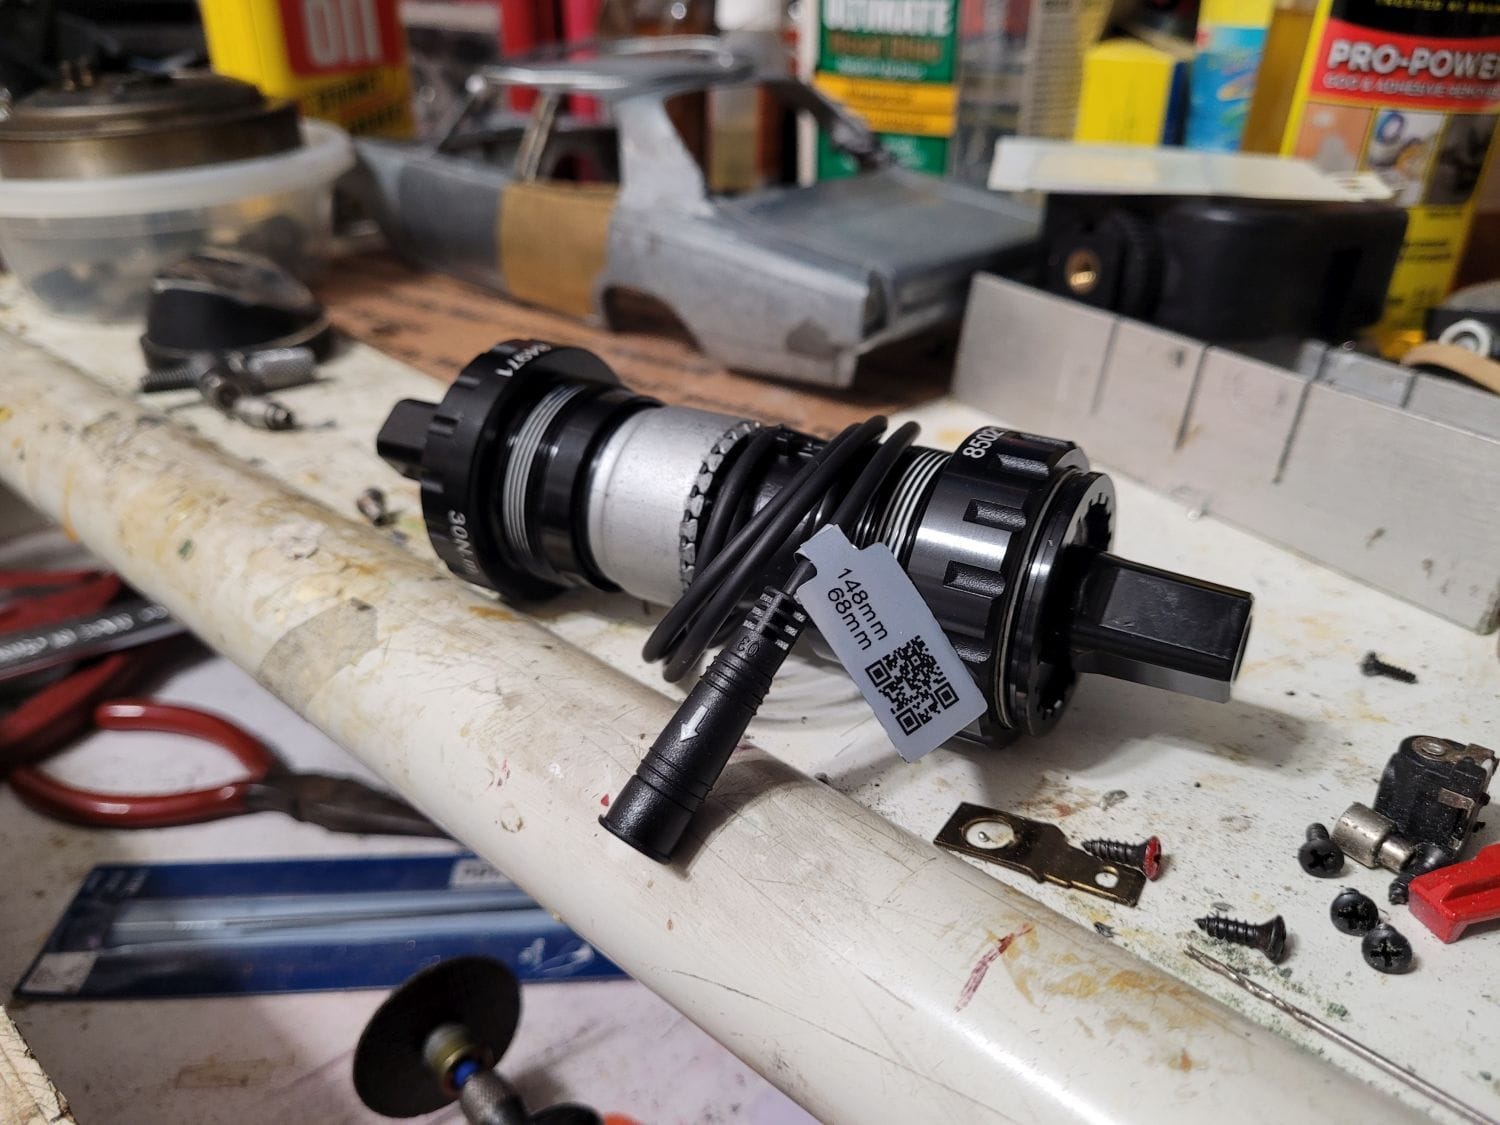
These are notorious for the wiring pigtail getting wrecked in disassembly, because the bottom bracket unit indexes to a spline in the left cup (the left cup has an additional threaded insert with the actual BB shaft support bearing; you can see it backed out in the picture). If you turn the left cup to disassemble the BB, you tear the wire. As such, it's next to impossible find these used.
So out came the PAS sensor:
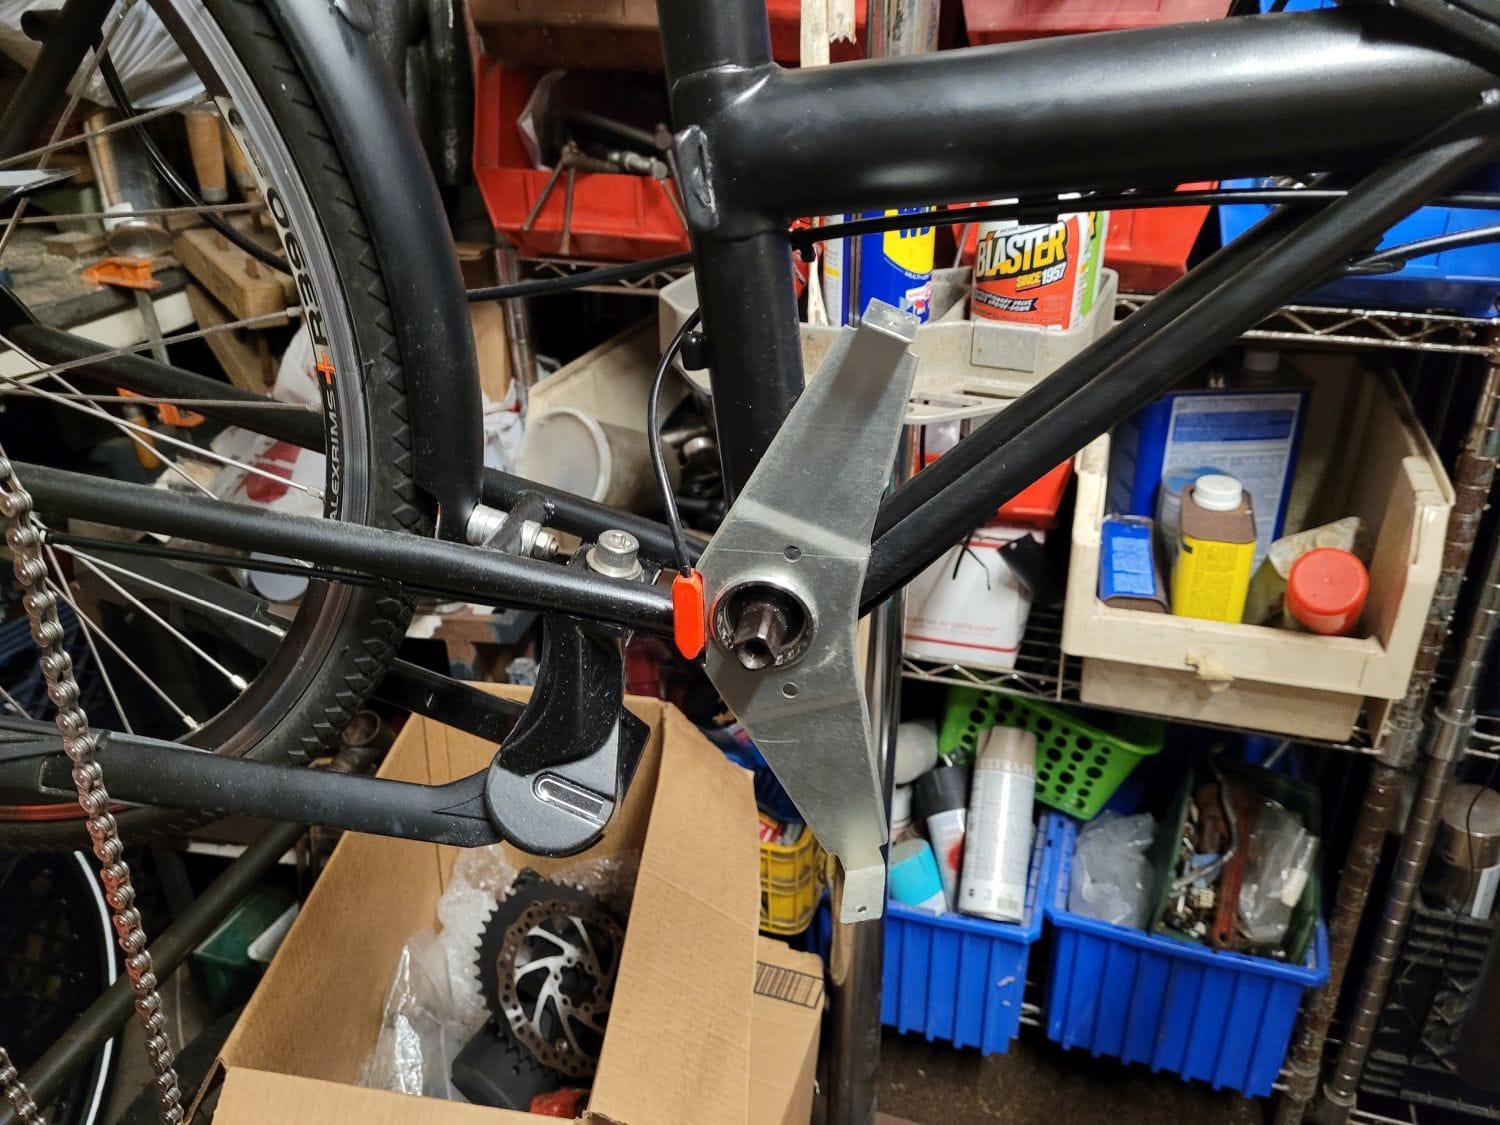
...and that's when I discovered I had refaced the BB to 73mm, not 68mm. Enter the BB facer. I brought it down to 65mm so I'd have freedom to adjust the chainline with spacers.
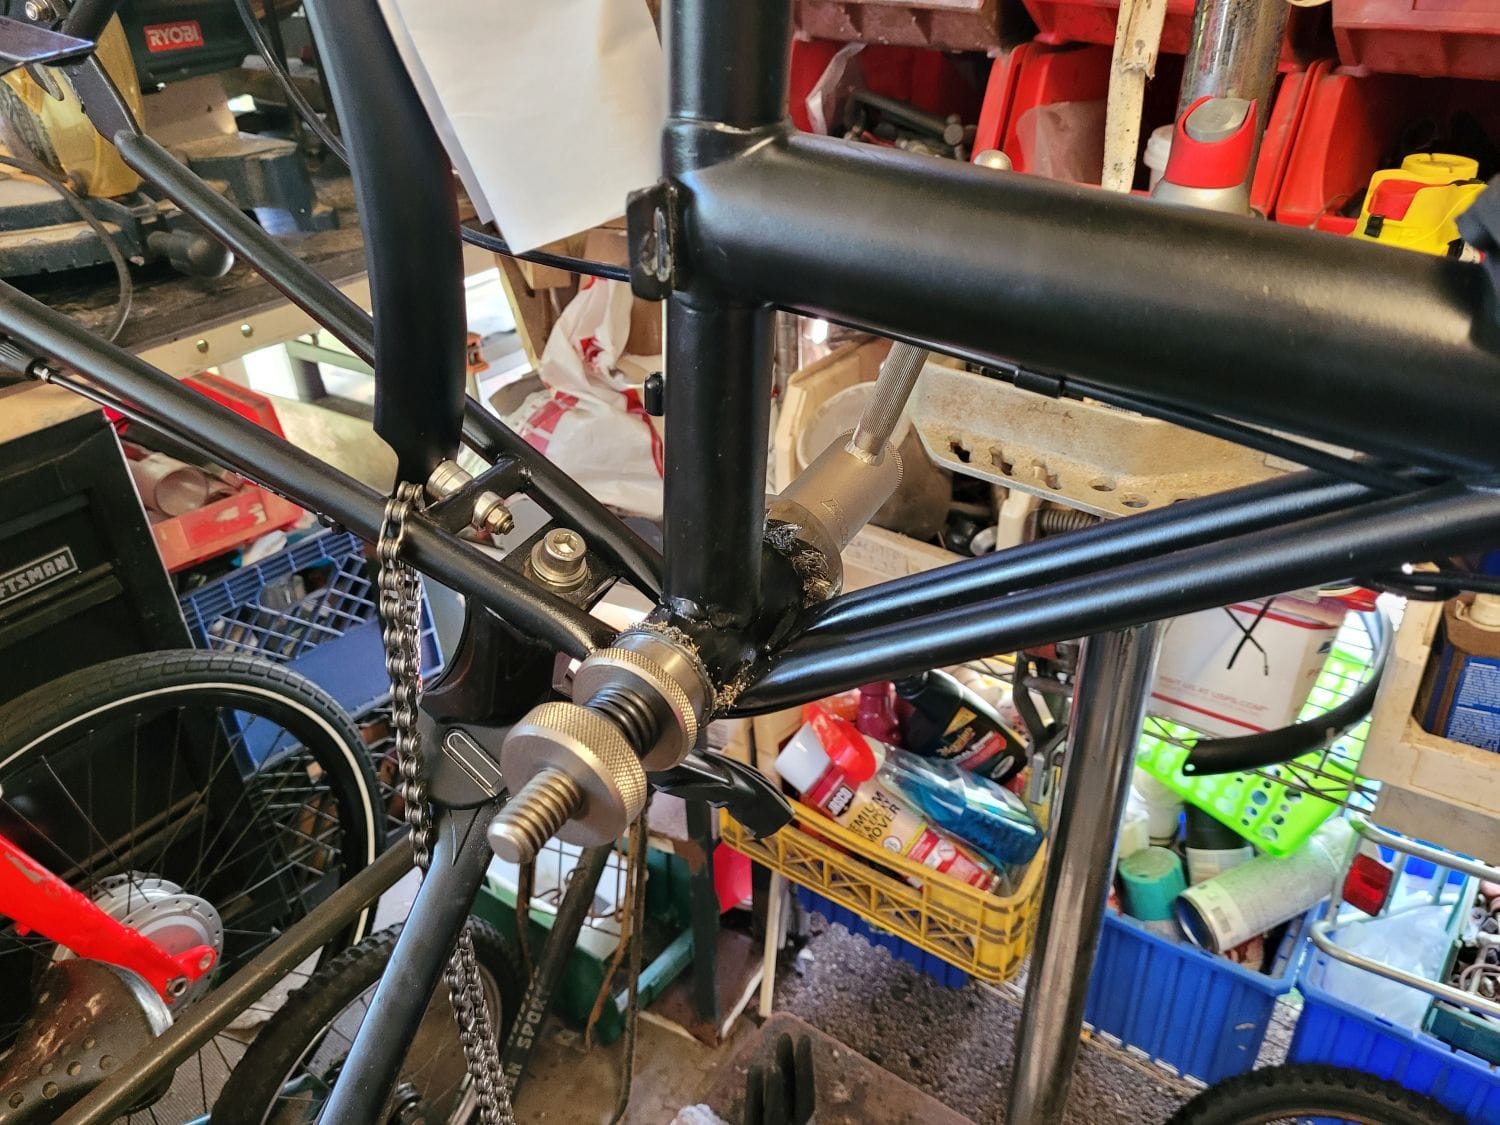
Checking the new hole for the PAS wire. I'll probably have to hit this with silicone to prevent the BB from filling up with water. I really don't want to drill another hole at the absolute bottom.
BB installed. 1.5mm spacer on each side plus the chainguard mount. Roughly 1.5mm drive side offset.
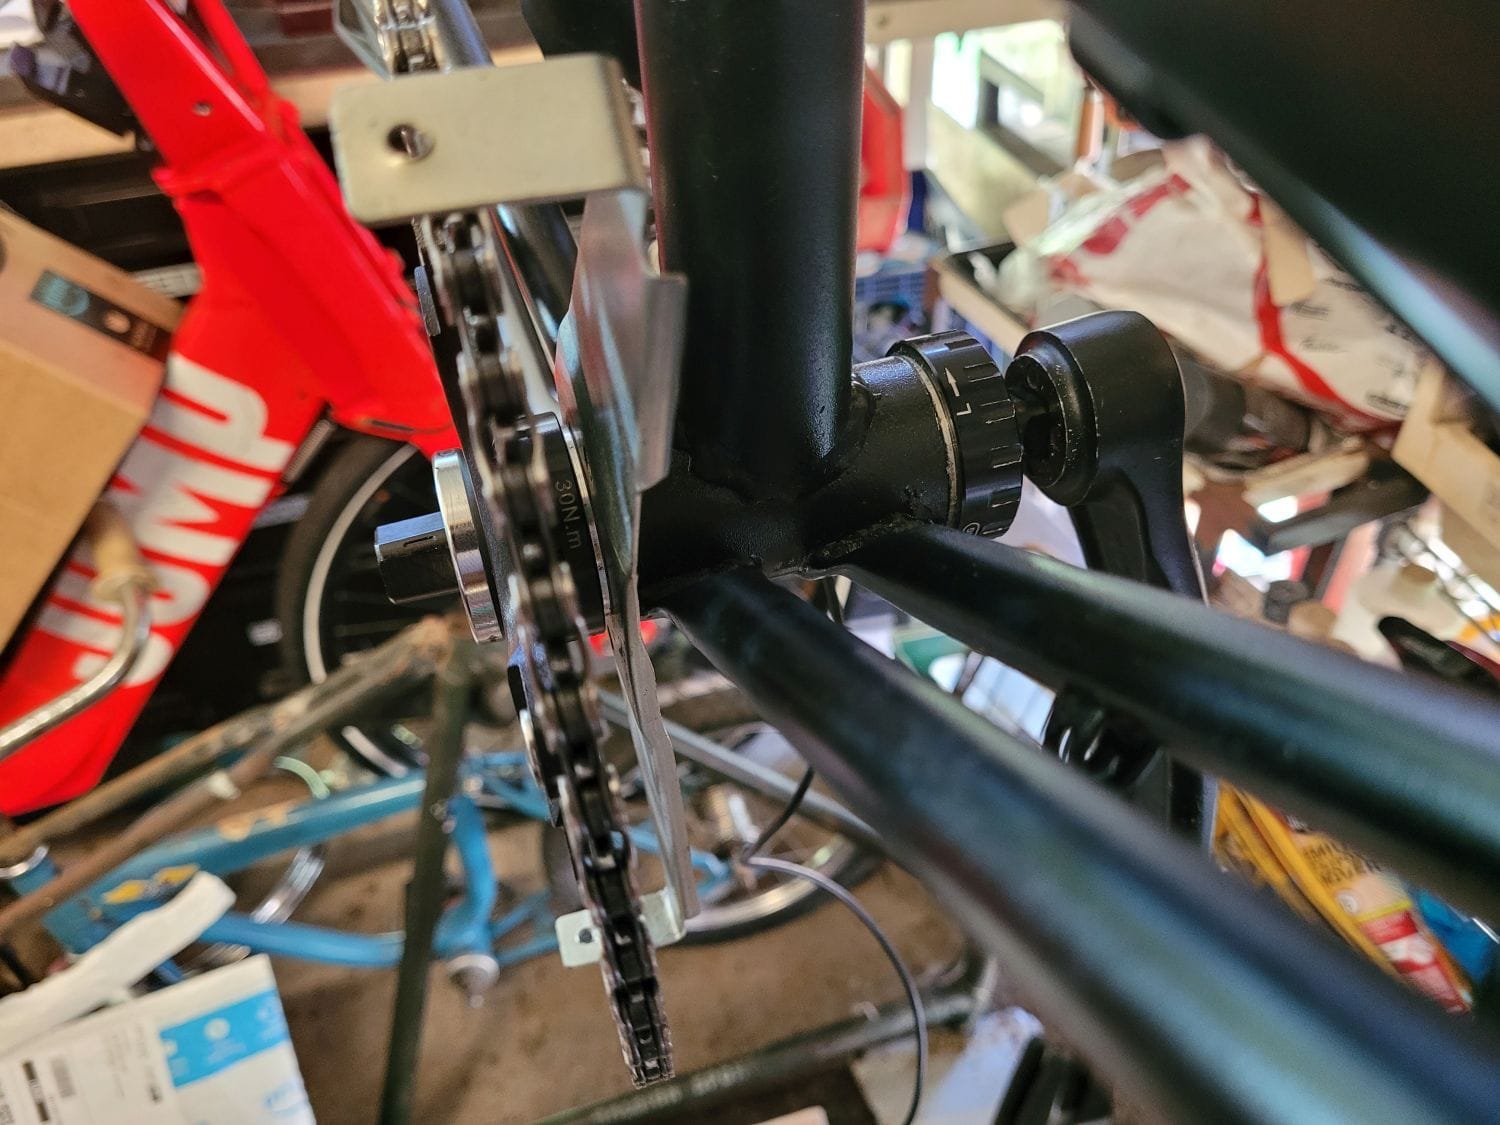
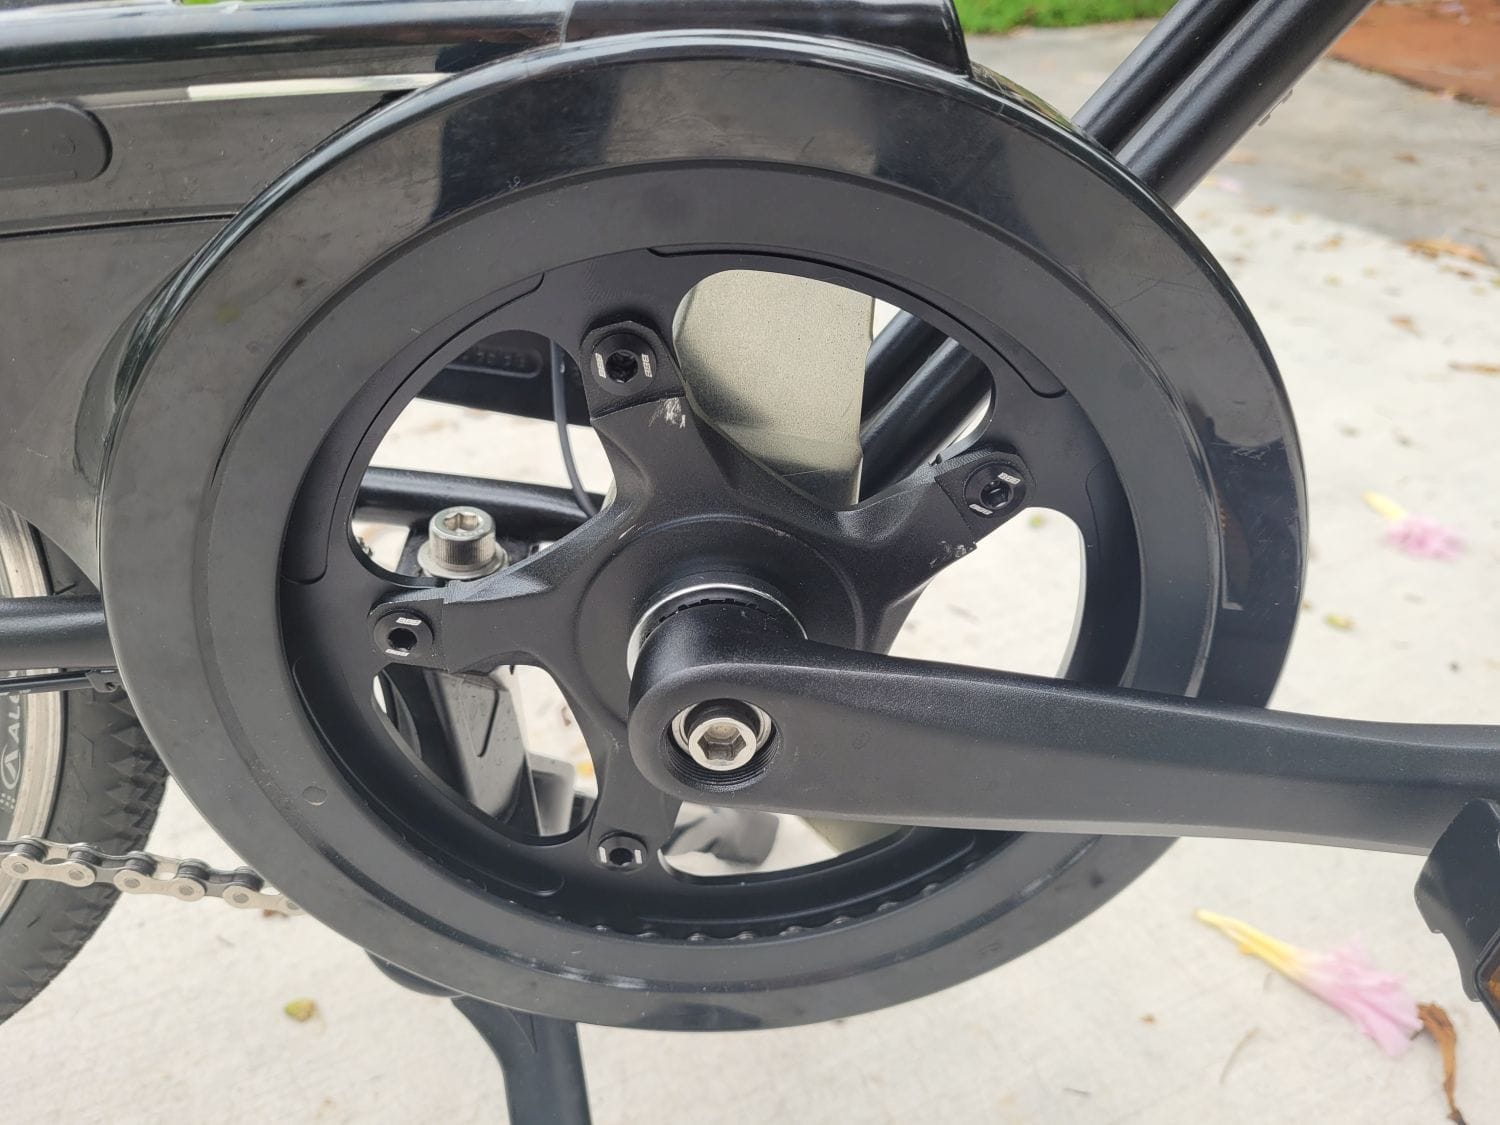
This is the result. Unfortunately, I don't have a 50T 130bcd chainring yet, so I hung everything - temporarily - on a sinfully UGLY dual BCD 48t ring. The spiderless crankarm is available as a set from Amazon for Bafang mid-drive kits.
The spider sits separate of the crank on its own spline (which is cinched down using a ring that has Shimano's standard - and IMHO, lousy - sealed BB pattern):


Today, I also found out that the aluminum SRF-3 hub shells are narrower than an AW shell. As a result, FW innards will NOT fit. Looks as if I'll have to re-lace the rear or make do with the SRF-3 (which, honestly, should do just fine).
-Kurt
First off, I wasn't thrilled about running the electric assist on a simple PAS hall sensor and had lost interest because of this.
In the meantime, brand-new service parts for JUMP 5.5 and 5.0 shared bikes have hit eBay, which means for $38, I was able to snag one of these - a torque-sensing Bafang bottom bracket.
These are notorious for the wiring pigtail getting wrecked in disassembly, because the bottom bracket unit indexes to a spline in the left cup (the left cup has an additional threaded insert with the actual BB shaft support bearing; you can see it backed out in the picture). If you turn the left cup to disassemble the BB, you tear the wire. As such, it's next to impossible find these used.
So out came the PAS sensor:
...and that's when I discovered I had refaced the BB to 73mm, not 68mm. Enter the BB facer. I brought it down to 65mm so I'd have freedom to adjust the chainline with spacers.
Checking the new hole for the PAS wire. I'll probably have to hit this with silicone to prevent the BB from filling up with water. I really don't want to drill another hole at the absolute bottom.
BB installed. 1.5mm spacer on each side plus the chainguard mount. Roughly 1.5mm drive side offset.
This is the result. Unfortunately, I don't have a 50T 130bcd chainring yet, so I hung everything - temporarily - on a sinfully UGLY dual BCD 48t ring. The spiderless crankarm is available as a set from Amazon for Bafang mid-drive kits.
The spider sits separate of the crank on its own spline (which is cinched down using a ring that has Shimano's standard - and IMHO, lousy - sealed BB pattern):
Today, I also found out that the aluminum SRF-3 hub shells are narrower than an AW shell. As a result, FW innards will NOT fit. Looks as if I'll have to re-lace the rear or make do with the SRF-3 (which, honestly, should do just fine).
-Kurt
__________________
Likes For cudak888:
07-10-21, 07:00 PM
#229
www.theheadbadge.com
Thread Starter
Join Date: Sep 2005
Location: Southern Florida
Posts: 28,514
Bikes: https://www.theheadbadge.com
Mentioned: 124 Post(s)
Tagged: 0 Thread(s)
Quoted: 2422 Post(s)
Liked 4,398 Times
in
2,093 Posts
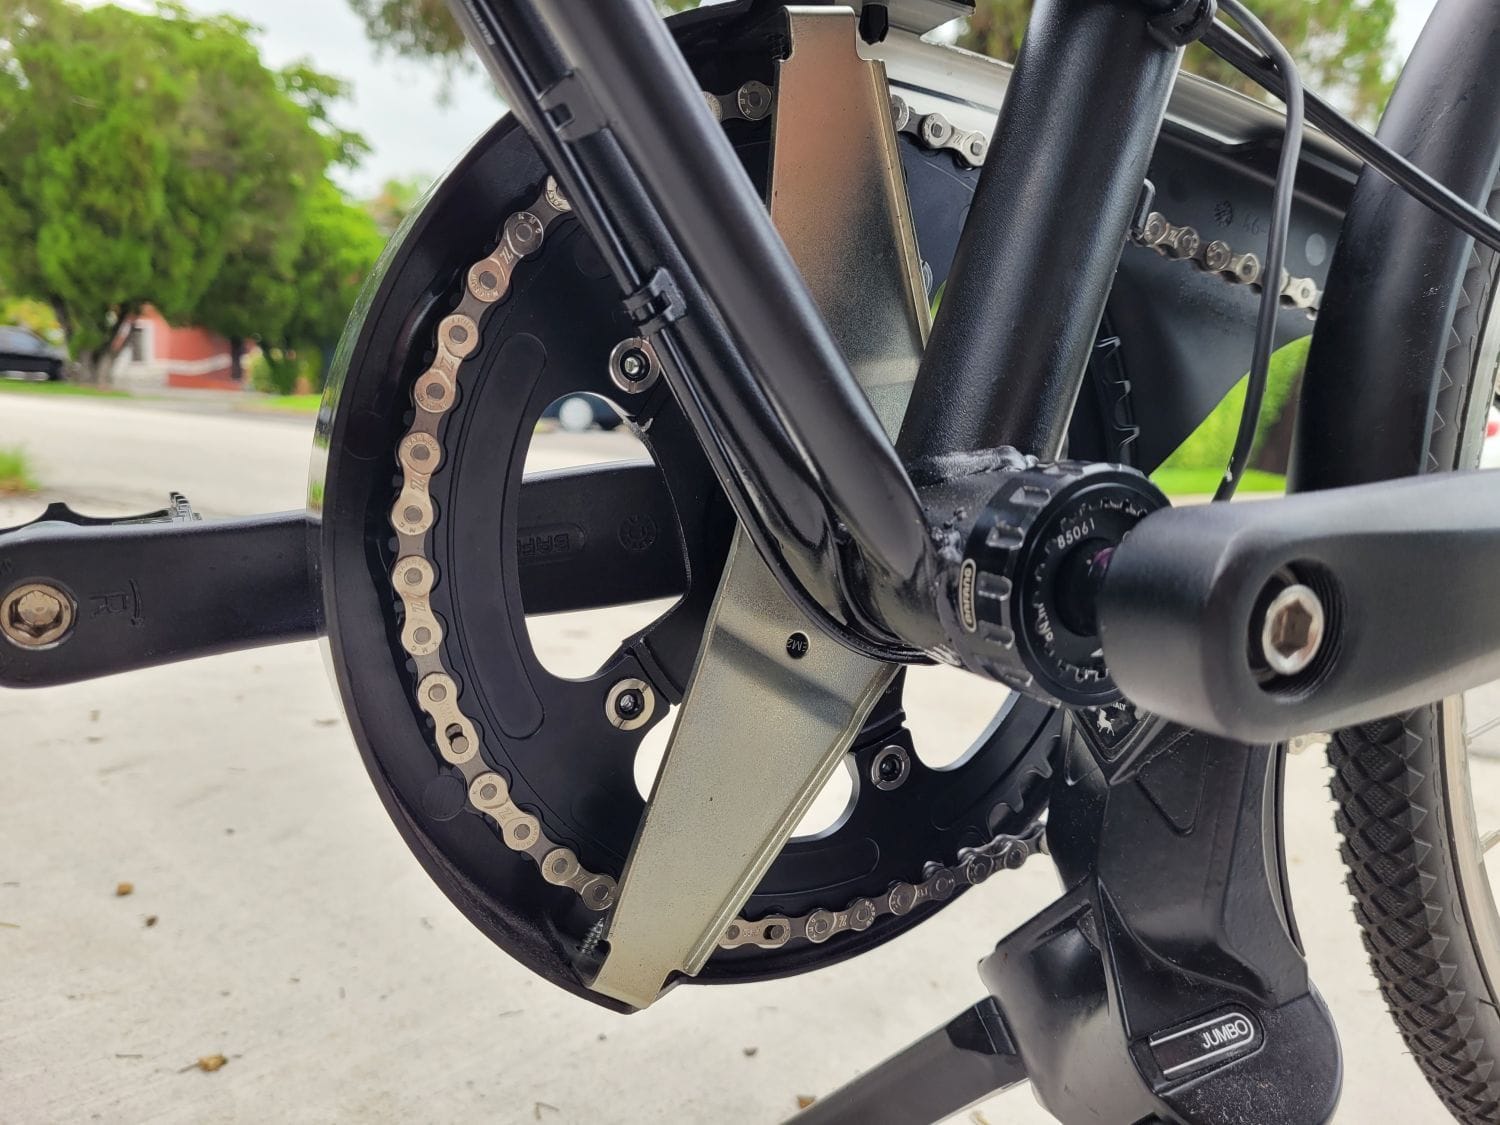
The new chainring arrived, which allowed me to button up the entire crankset. I was also able to use some 1X chainring bolts I had bought for this project and subsequently didn't use.
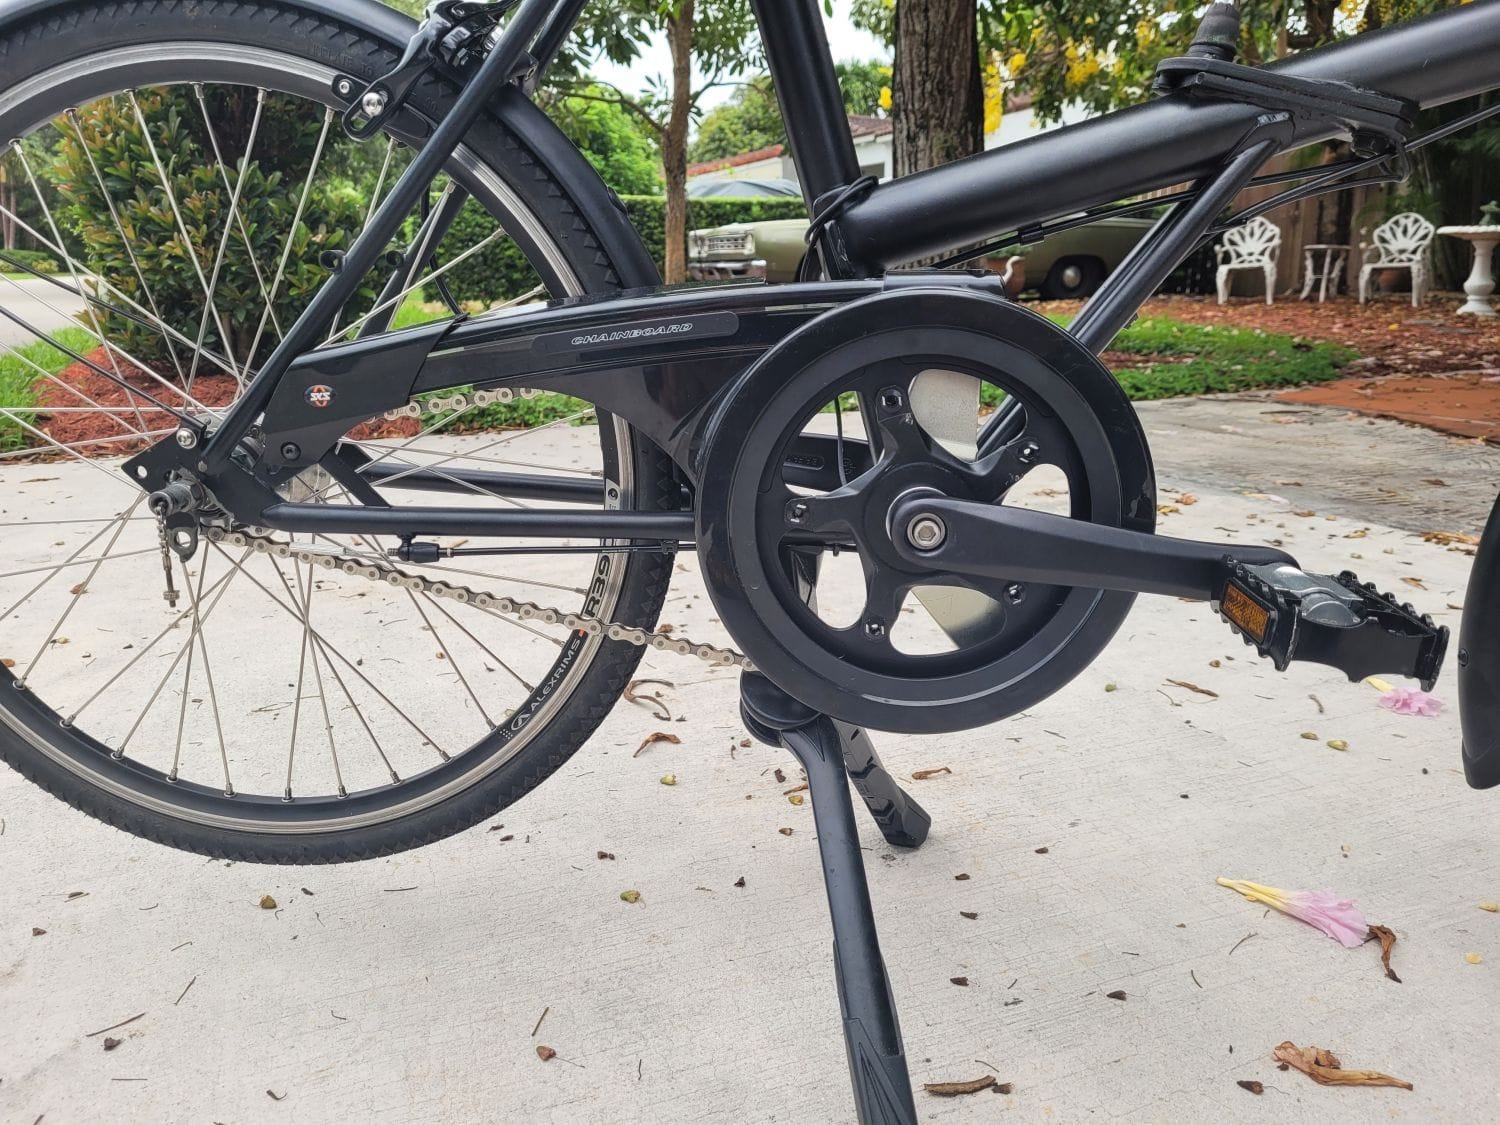
It isn't as good looking as it was before, but the new crank does fit a bit better than the Crack Brothers piece.
This baby has some serious Q factor now, but my knees tend to prefer the wider stance, so I'm not complaining.

The chainring is one of those modern narrow/wide setups designed to keep 1X drivetrains from popping off. This also meant the half link had to come out and - for lack of spare cogs - I reinstalled the 16t that was on the Sturmey hub before so the axle wouldn't be hanging mostly out of the dropout slot.

I also re-bent one of the spare fender stays for the front edge of the front fender, making use of a fairly odd, but effective mounting point:
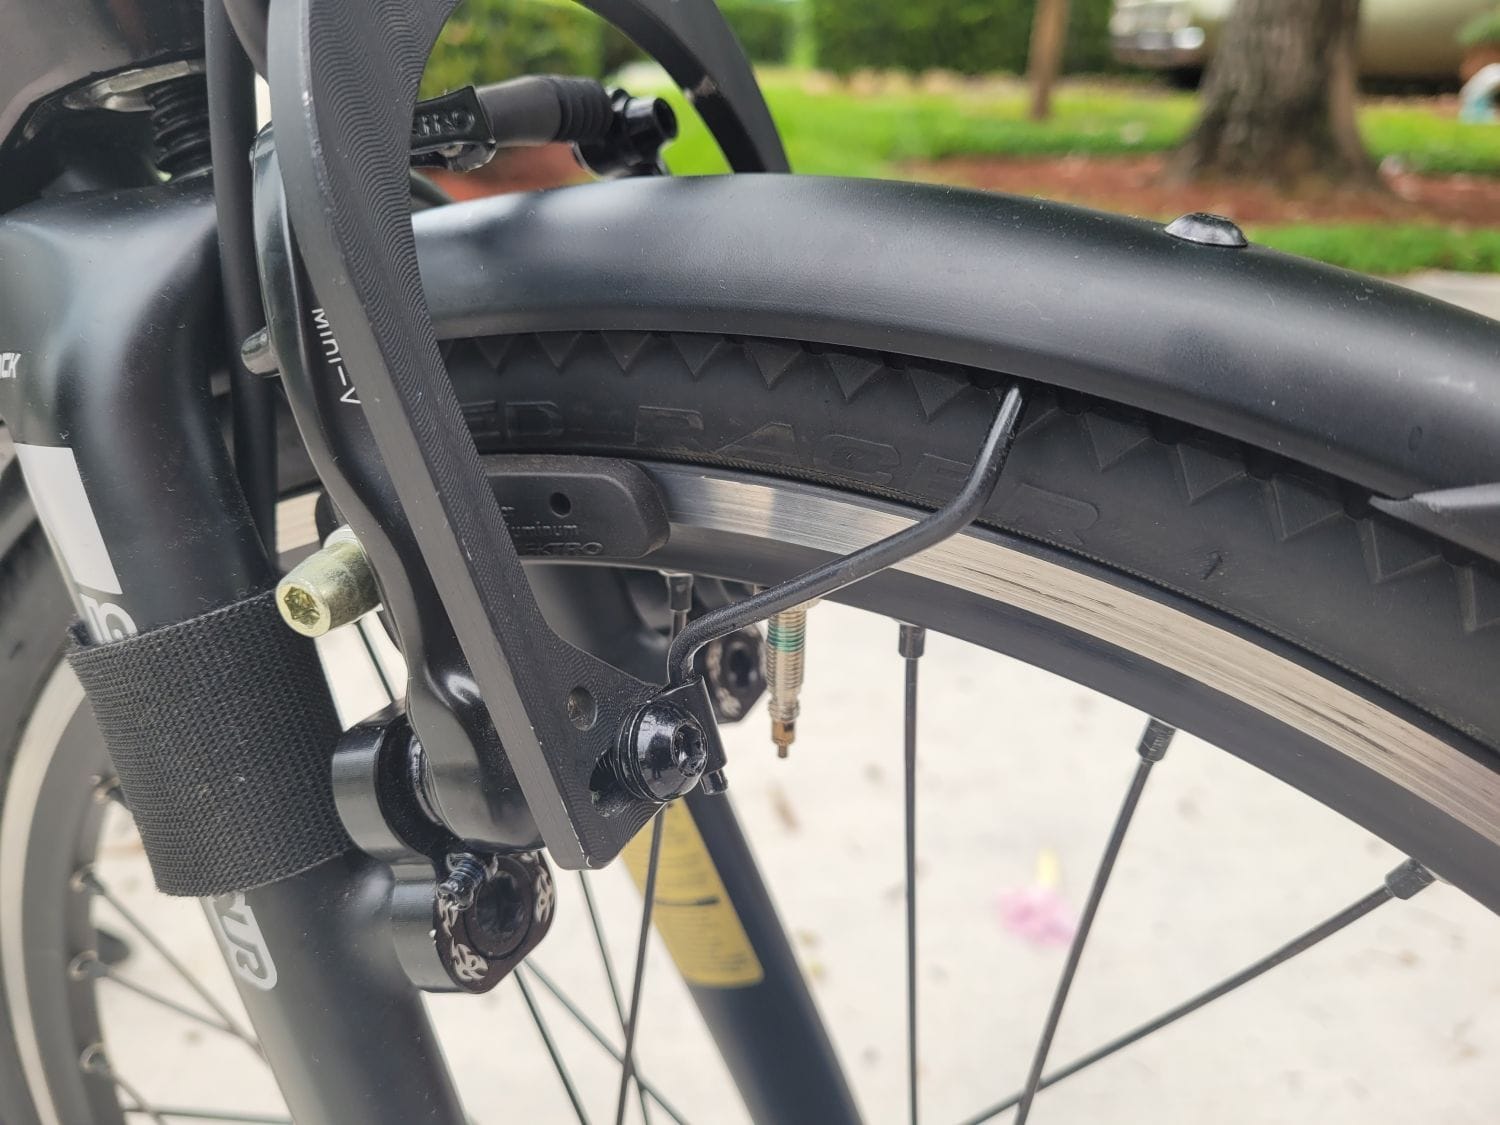
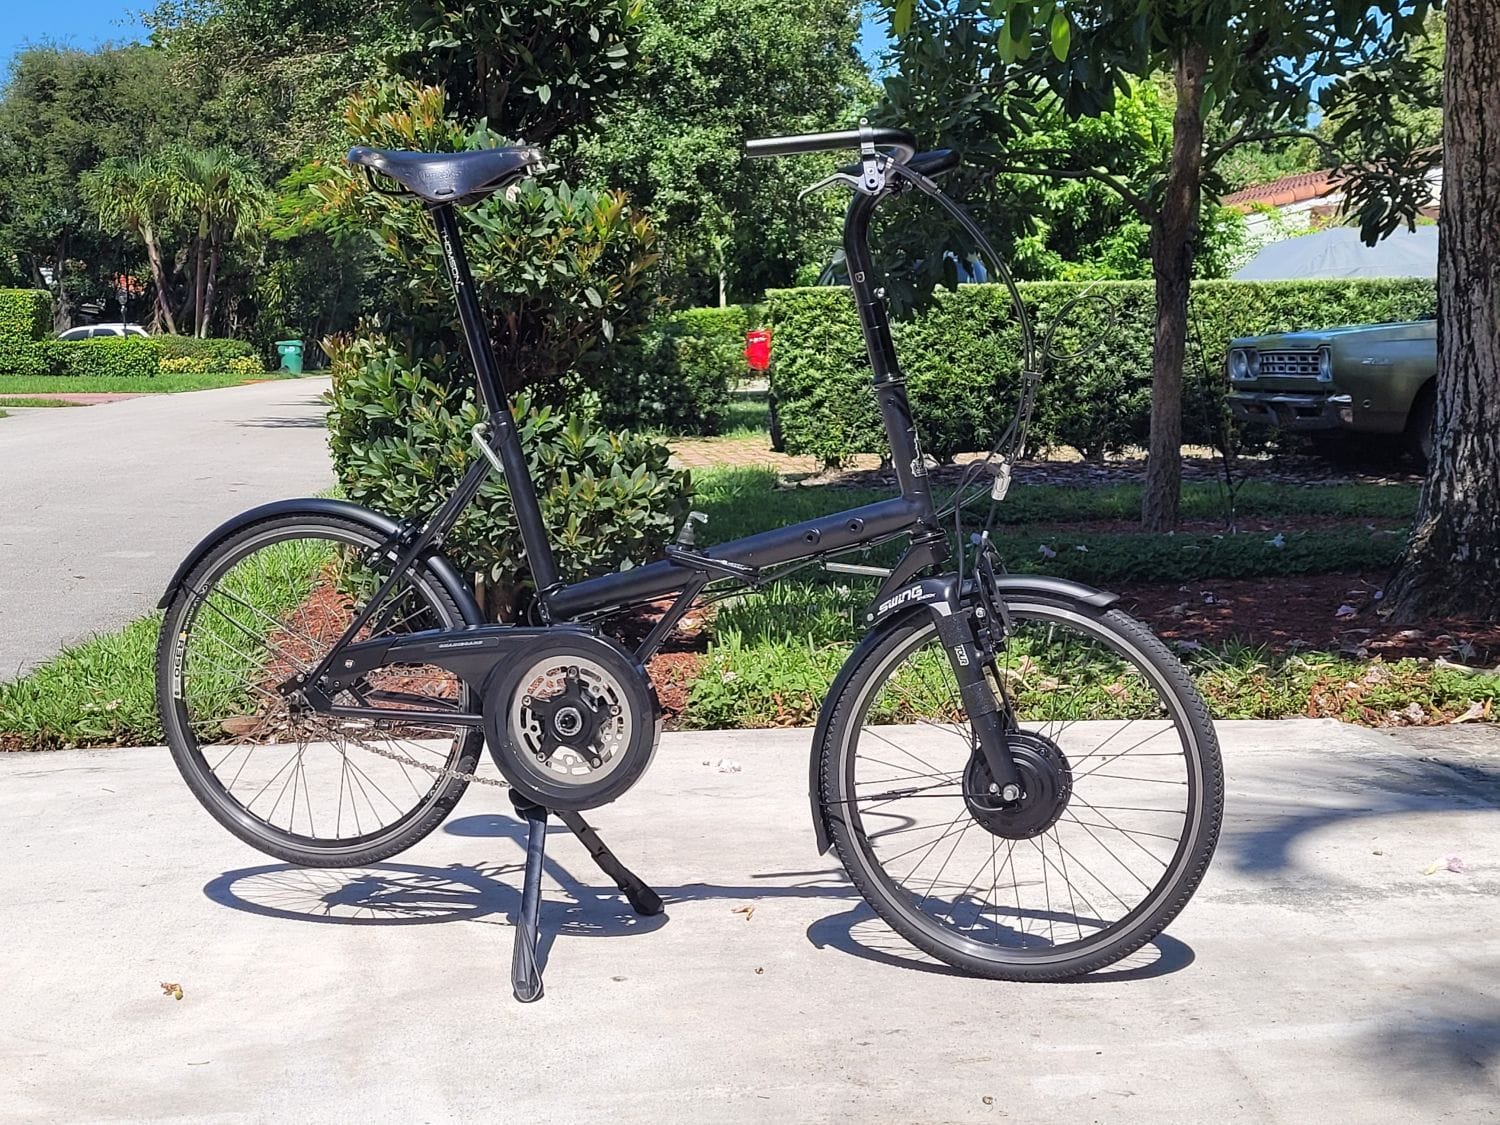
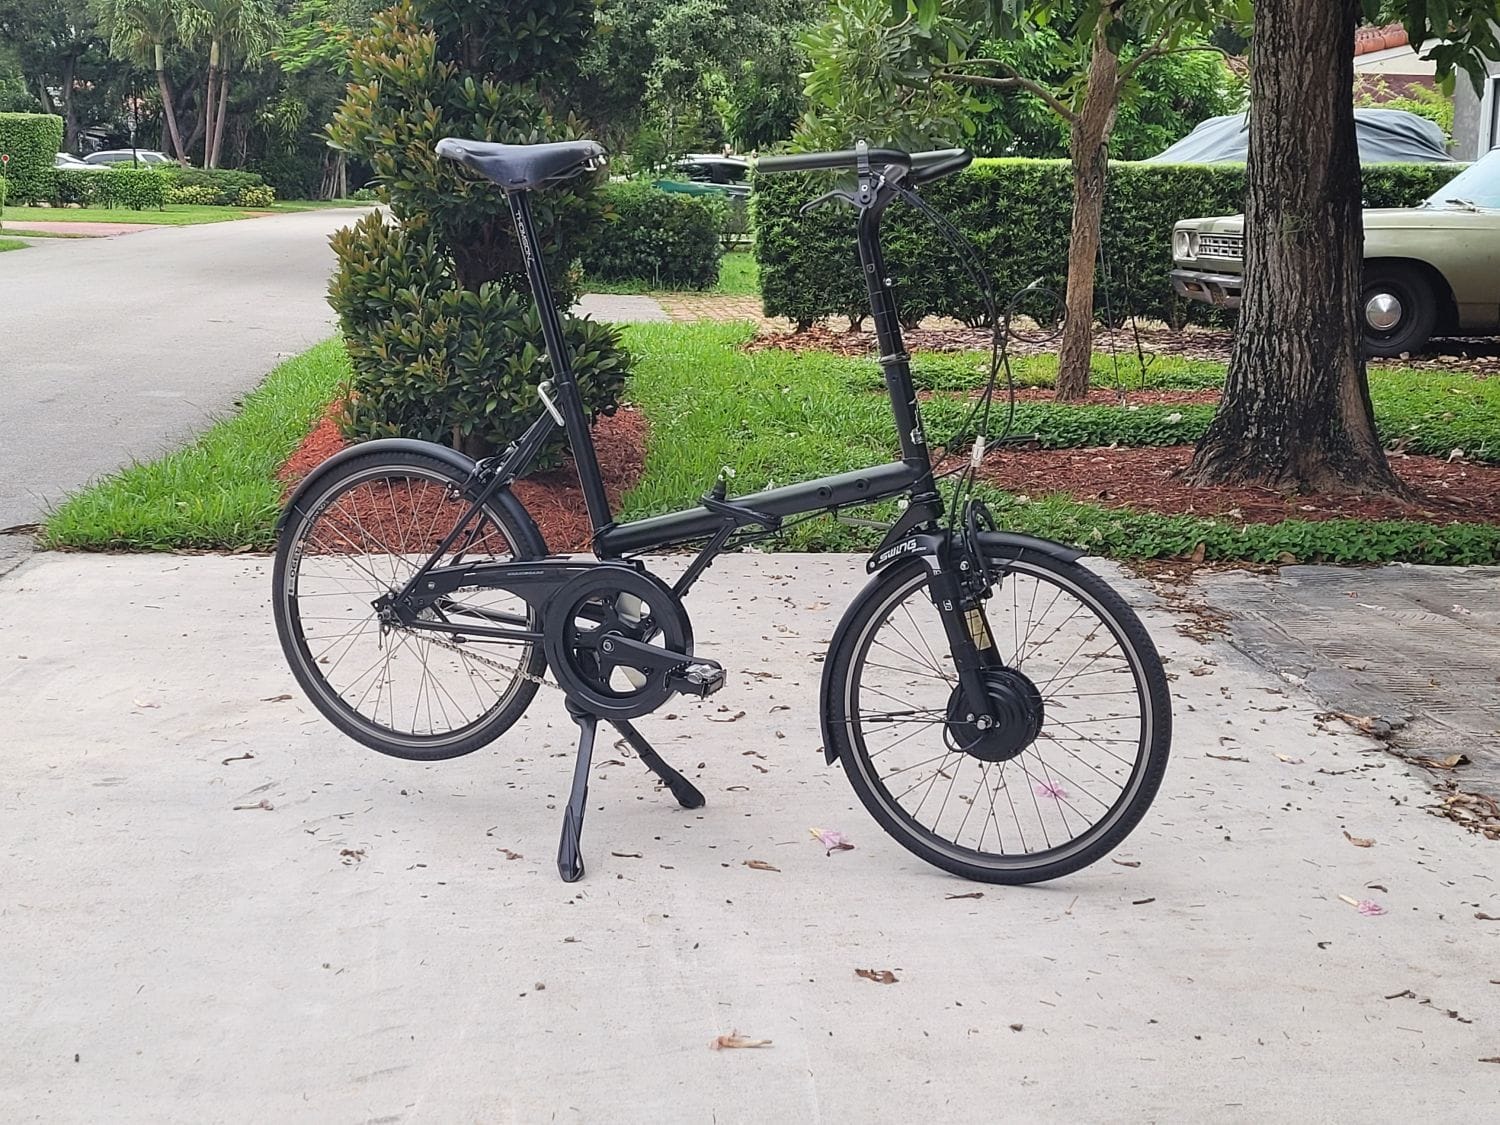
Some overall pictures:

-Kurt
It isn't as good looking as it was before, but the new crank does fit a bit better than the Crack Brothers piece.
This baby has some serious Q factor now, but my knees tend to prefer the wider stance, so I'm not complaining.
The chainring is one of those modern narrow/wide setups designed to keep 1X drivetrains from popping off. This also meant the half link had to come out and - for lack of spare cogs - I reinstalled the 16t that was on the Sturmey hub before so the axle wouldn't be hanging mostly out of the dropout slot.
I also re-bent one of the spare fender stays for the front edge of the front fender, making use of a fairly odd, but effective mounting point:
Some overall pictures:
-Kurt
__________________
Likes For cudak888:
06-03-22, 09:13 AM
#230
Junior Member

Join Date: May 2017
Location: Saint Paul, MN
Posts: 176
Bikes: 1969 Raleigh Twenty, 1975 Raleigh DL-1, 1984 Specialized Stumpjumper Sport, 1989 Schwinn Voyageur
Mentioned: 1 Post(s)
Tagged: 0 Thread(s)
Quoted: 86 Post(s)
Liked 78 Times
in
43 Posts
Any updates on this bike? Have you been able to use it for its custom purpose? I enjoyed following the progress and seeing all the modifications.
04-20-23, 10:40 PM
#231
The Huffmeister

Join Date: Jul 2008
Location: The Le Grande HQ
Posts: 2,752
Bikes: '79 Trek 938, '86 Jim Merz Allez SE, '90 Miyata 1000, '68 PX-10, '80 PXN-10, '73 Super Course, '87 Guerciotti, '83 Trek 600, '80 Huffy Le Grande
Mentioned: 45 Post(s)
Tagged: 0 Thread(s)
Quoted: 1233 Post(s)
Liked 3,576 Times
in
1,420 Posts
I've thought of it. It also has mounting surfaces built in too.
Thing is, I have no experience with them, nor do I want to rip one apart (especially since I've never had an experience to own a good one). Fact is, I would be more readily willing to add suspension to the rear of the Twenty (especially since I have a wrecked ProFlex kicking about that I can use for inspiration + parts) - not that I want to - before I'd want to desecrate a Moulton.
I also don't know just how soft the Moulton suspension is. Then again, I don't really know what I'd get out of anything modern either. Toying with the idea of one of those ill-advised, mad scientist homebrews.
-Kurt
How times have changed!
Any plans to make a 'Marinated Moulton mount'?
__________________
There were 135 Confentes, but only one...Huffente!

There were 135 Confentes, but only one...Huffente!

Thread
Thread Starter
Forum
Replies
Last Post
invisiblehand
Electronics, Lighting, & Gadgets
29
06-11-10 12:09 PM
