 IMG_3755
 by
barnstormerbikes, on Flickr
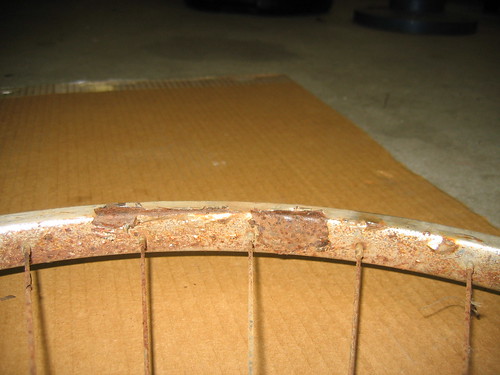
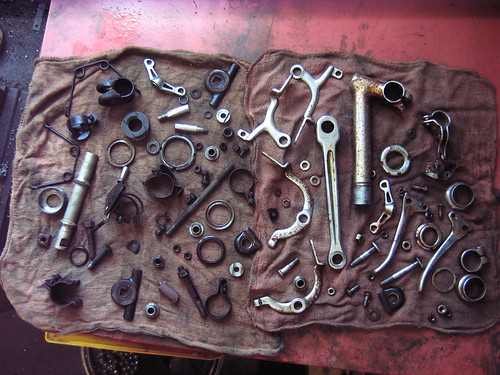
I had little difficulty getting the bike apart. I have a full set of Whitworth spanners as well as taps and dies. The only mechanical damage was some wear on the brake pads, shot cables and a buggered bolt on the seat works. I also replaced the handlebar clamp bolt. The post and stem were both free and straight. It was amazing seeing the original off-white paint in pristine condition under the rear reflector. Although this bike would be a good candidate for a proper restoration due to it's poor condition, I decided quickly that it would only be refurbished. There was plenty to work with.
You may notice in the first image of this series the wingnut in the upper left corner. I had tested Oxalic acid on that part and was instantly sold on that process. Here are the bulk of the parts ready for cleaning and reconditioning.
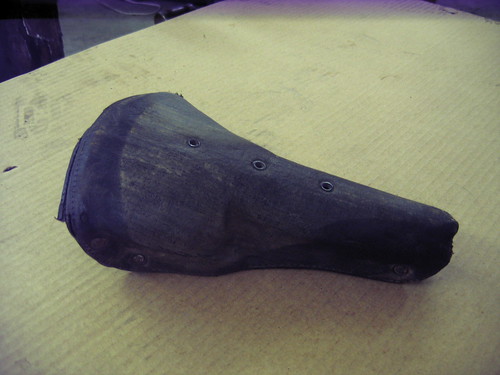
 IMG_3775
 by
barnstormerbikes, on Flickr
The saddle had the remains of a cheap plastic cover that melted and disolved leaving a tan tint on the black synthetic cover. The saddle in a Brooks "S 25/N" with single standard rails, steel springs, horsehair padding,leather liner with this odd cover that looks like modern ripstop ballistic fabric.
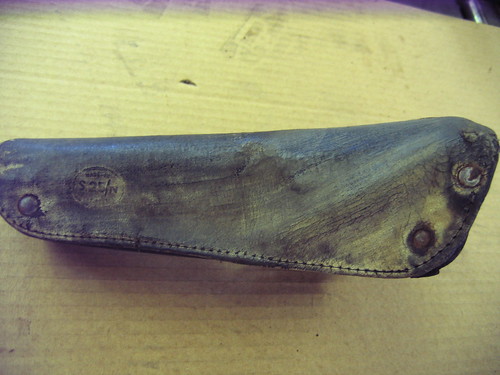
 IMG_3776
 by
barnstormerbikes, on Flickr
 IMG_3779
 by
barnstormerbikes, on Flickr
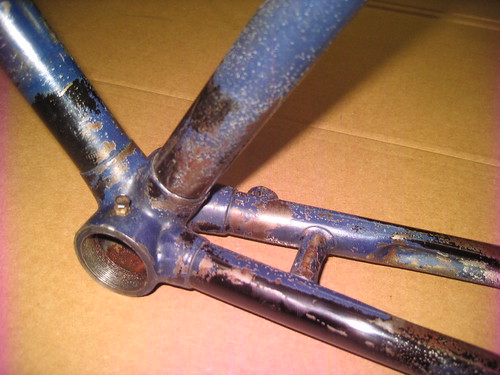
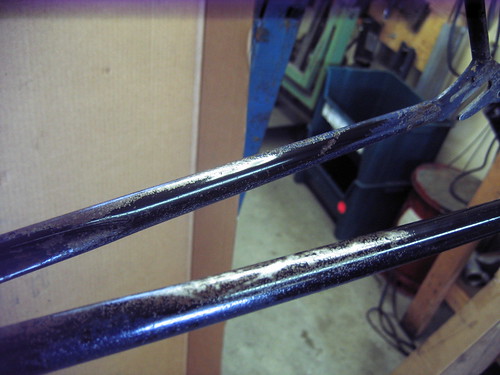
At this point the parts were being soaked and I began polishing the frame and fork. My objective was to try to preserve what remained of the graphics and at the same time level out the surface and make it smooth to the touch. I started by carefully washing the frame.
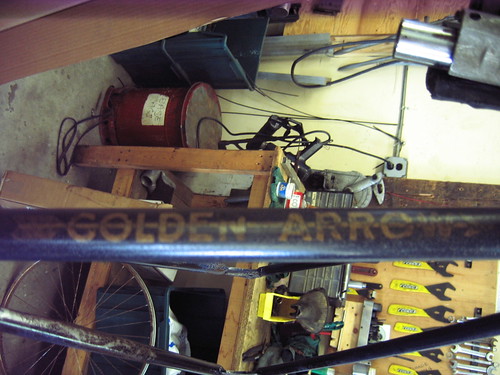
I had read that the waterslide graphics were very fragile when it came to water but I figured after what it had been though the decals were going to come off like dust anyway. I already had allowed solvent to come in contact with the graphics and nothing had come loose so I proceeded with using a kerosene after testing a small area with a white cloth dampened with the solution to make sure it wouldn't disolve the paint. I should mention that there was a very small amount of motor oil in the kerosene.
I washed the frame inside and out and removed a few chunks of flux that was stuck in the ends of the tubes. I used an engine block brush to get everywhere I could. I washed everywhere except the transfers which got wet anyway.
I usually like to start with the most intimidating part of a project but opted to try to learn more about the durability of the paint before attacking the transfers. I started with small areas with a very fine paint liquid polishing compound that an auto detailing friend provided me with and if nothing happened, I went to something more course. I quickly realized that the ash was very thick but in many areas there was still plenty of paint or beautiful black base coat. Most of the frame ended up requiring scotchbrite 7447 maroon handpads to cut through the crud. It took many hours working my way through from fine to course then back again. Some areas required 2-3 passes like the tops of the chainstays. I had to go at least .002" into the steel to get it clean. Areas like the bottom bracket shell had lost large chips of paint. In those areas I polished the metal with only the tip of my finger, feathering the edges of the paint to a smooth finish.
 IMG_3782
 by
barnstormerbikes, on Flickr
 IMG_3773
 by
barnstormerbikes, on Flickr
 IMG_3772
 by
barnstormerbikes, on Flickr
............................................