Originally Posted by
BFisher
Haven't experienced anything that indicates deterioration due to grinding the ends, or cutting with a Dremel. It doesn't concern me, and if it was good enough for Sheldon, it's good enough for me.
"Even when the housing is cut cleanly, the end is not square and perpendicular, due to the pitch of the helix. Careful mechanics will grind or file the end of the housing so that it is flat and flush. The best tool for this is a grinding wheel, but it can be done with a file if you don't have access to a grinding wheel.When you cut the housing, the end of the plastic liner also gets cut, and often gets squashed flat. You can use a scriber or a sharp awl to open it up and round it out. If you use a grinding wheel to dress the end of the housing, have your scriber right at hand so that you can open up the plastic liner immediately after grinding. The heat from the grinding will partially melt the liner. By sticking the scriber in before the liner cools off, you can not only round out the end, but the shape of the scriber will actually flare the end a bit for a smoother transition." - Sheldon Brown
Ok, sorry, I must have forgotten that we were in church.
No worries, I was just asking. And I did (long ago) try cutting a few housings using a Dremel with the thin wheel. I myself would then dip the end of the housing into a tiny jar of solvent, and literally watch the grit storm fall out where it then sank in the cup. This was before the days of pre-lubricated housing though.
In most cases I was re-using discarded housing anyway, so I developed a method of scrubbing out the old housings using a bent-up piece of cable wire with ptfe spray , then spraying it out yet a second time with the dry-lube ptfe solvent spray, and finally blasting it out with compressed air. I then apply Grip-Shift Jonnisnot ptfe/teflon cable grease to the inner wire upon installation. Almost as much effort as cutting a piece of housing to length using the dremel!
This was all by trial and error you could say, worked good enough (as in "wow, that's smooth!") that I still often do the same today.

Poor 1st cut:

Better first cut:
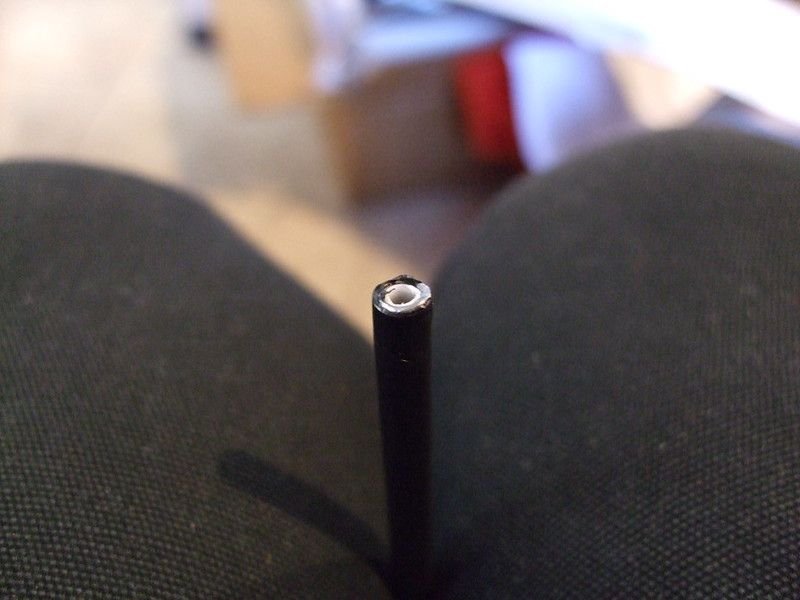
After second cut:

I don't notice any improvement in braking when I follow a second cut with a bit of filing (done with the housing end pointed down).
Where there is not much length of ferrule, the slight tilt of an un-finished end might,
might, slightly improve aesthetic entry angle in a few rare instances, but I wouldn't waste much time on it since it might as likely slightly improve the entry angle (where the cable perhaps curves to the side anyhow?).
But yeah, it
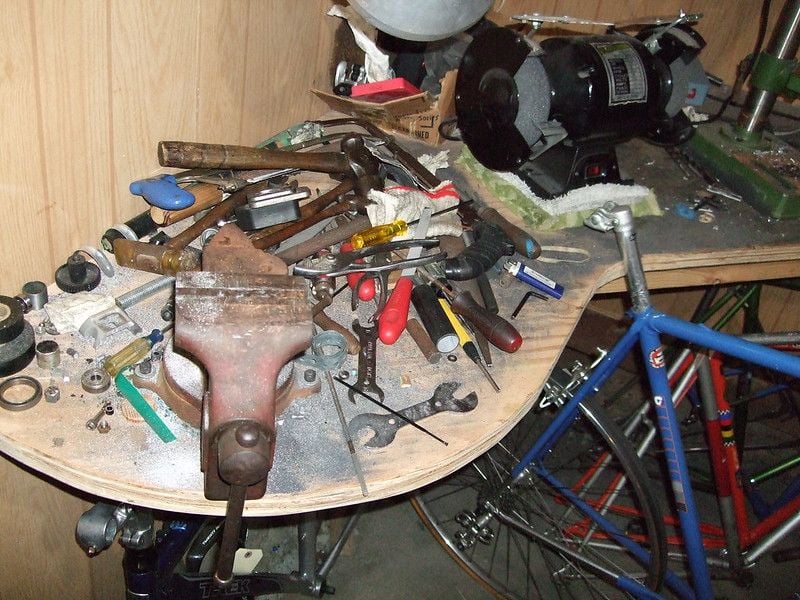
sometimes just feels good to accurately square the end of the housing, so if the grinder (and a tin of solvent!) are actually at hand (mine is unfortunately way down in the defined "dirty" half of my basement workshop), then why not go for it!
(Well, it did look
this clean six years ago, shown here maybe a couple of weeks after I built it)
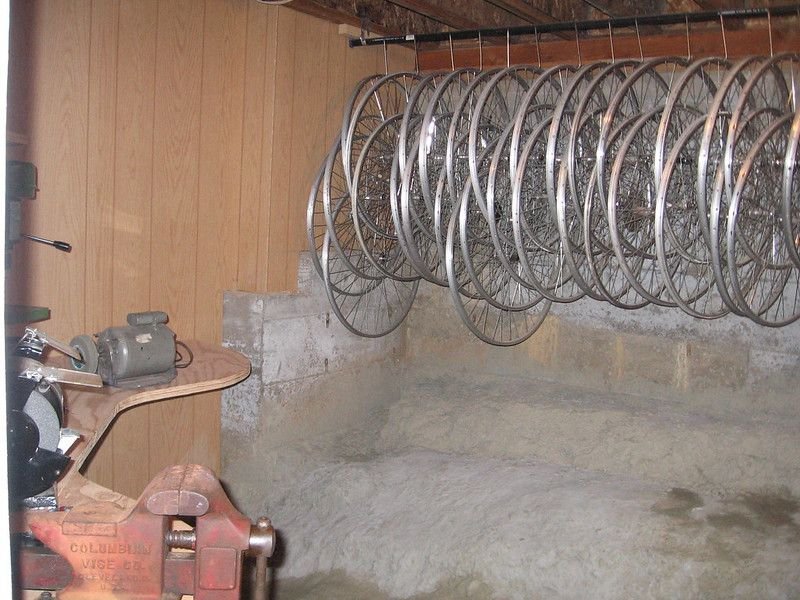
Interesting BEFORE/AFTER, this is about how it normally looks six years later: