I've reached the point where everything I do to the paint is making it worse. So, I think I need to accept that I don't have the patience or skill to get this perfect. It looks pretty good, and I might come back to it from time to time, but for now I'm moving on to the build and ride phase of the project.
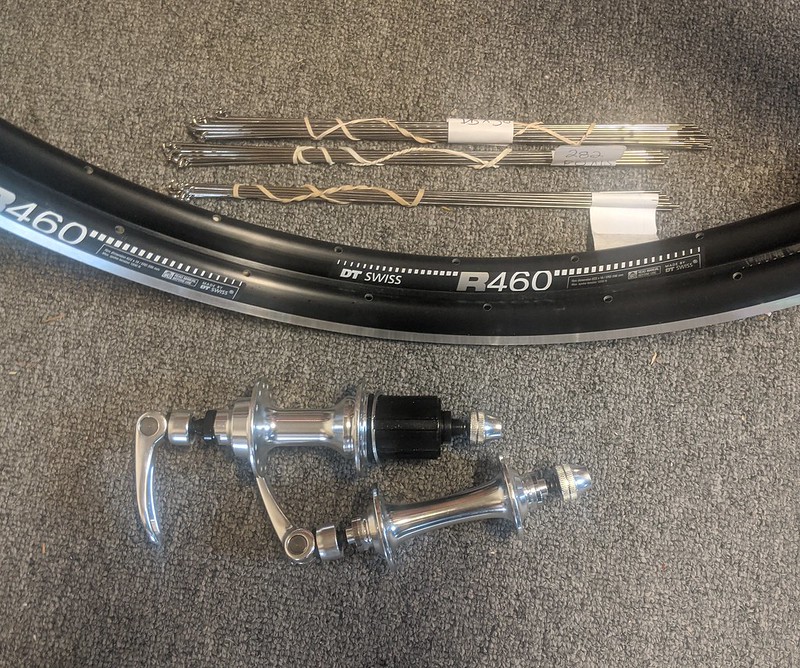
This weekend, I built the wheels.
Today I installed the headset. Usually I borrow a proper headset press from [MENTION=381793]gugie[/MENTION] for nice bikes like this. I was feeling impatient today, so I used my DIY headset press. The problem with the DIY tool is that 90% of the time at least one of the cups wants to go in crooked. I added a few more bits to my tool today to try to fix that. The copper reduction fitting serves pretty well as a drift, but I needed something to keep it centered on the threaded rod. Using what I had on hand, I added an extra nut as a guide for the smaller section and a couple of washers with some pipe insulation for the wider section. The washers are a close fit to keep it centered, and the pipe insulation fills space so the washer don't get crooked. All of this still leaves about a millimeter of wiggle. It's not as good as a proper tool, but it worked much better than the DIY tool without these additions. As a MacGuyver modification to a DIY tool, I'm pretty happy with it. The second picture below shows the upper cup slightly angled, but this was before I started tightening the nuts. Once I got it started it straightened itself out reasonably well.


The headset, BTW, is a Specialized bit that I had on another bike and reclaimed for this project. It's different from the Speciailized headset listed on VeloBase in that it doesn't have O-ring seals. There are no grooves for them, so they aren't just missing. It says "Specialized" on the lock ring and inside the upper race.

Finally, the current state of the bike.

Next up, I need to buy a bottom bracket and start installing the drivetrain.