Thank You All Very Much For Helping!
This has turned in to quite an enjoyable project. Any time I can learn something new, it's an enjoyable project!)
I apologize that I haven't been back to the thread for some time. It's rained every day for a couple of weeks. (This is an outdoor project)
Regarding the seat post- Oy Vey!
First, it got more penetrating oi, a few vibration taps & was allowed to sit for days of rain. Still no luck.
Then I tried CliffordK's plan of an adjustable wrench. Even with my 24" I could not budge the stubborn thing. (For the record, I have an old Schwinn with a stuck post. CliffordK's wrench idea worked great!)
A Side Note- I have anti-oxidation paste on the seat tube on one of my bikes that is aluminum into steel. I tried it to see if it would slip down. It's been working great for years. I use the anti-ox paste when I connect aluminum to steel wiring devices. It comes in brand names such as No-Alox, Penetrox and others. Basically it's zinc flakes in castor oil.
For this bike, I tried putting a junk seat on & twisting. Nope. In the vise it went. Still, I could not budge it.
This next trick I tired killed the seat post. It's death was not a quite and peaceful one.
Since I'm a skinny old guy, my strength isn't what it used to be, so I got out the big guns. I put the padded jaws I use for stainless steel rigid conduit on a B.A.P.W. (Big Amazing Pipe Wrench).
The wrench went on the seat clamp. I straddled the frame. The 18" wrench didn't work. Next were the 24" and the 36. Nope. Finally I got the Big Daddy out- 48")
The locating pin that holds the seat clamp perch in the tube tore the seat tube. I think it is hardened steel, since I couldn't drill it with cobalt. I was able to heat & punch it out.
If the frame is to be saved, I'll treat it as if it were a seized conduit nipple. I'll cut it close to the top of the seat tube, leaving a couple of inches. Next, a hacksaw blade will be inserted in the tube and a series of vertical cuts will be made through the tube, stopping before scratching the inside of the seat tube. One of the slices is grabbed with linesman's pliers and pulled inwards until it's free. Then the other two will fall free. Then a wire brush on a twisted stem will be sent in on a drill motor and the bore of seat tube cleaned. Next is normal paint prep & paint inside (or perhaps bare metal and oil).
For identifying, I spent a lot of time searching the serial number look-up, for components to see if I could find a manufacturer who used that combination, etc. I also went to Mr. Brown's site that Dan was kind enough to mention, but could not find the serial number look up tool. (I enjoy that site. I've spent hours on it over the years learning & learning.) The best I came up with is it is (maybe) a mountain bike. (Based on components)
The numbers were, indeed, on the bottom bracket, as Dan & T-Mar mentioned. I just did not look hard enough or not in the right light (old guy eyes). They were obscured by paint & rust.
The Numbers Are: 6051356 in the forward row & GC286 in the rearward row. (I learned from Mr. Brown's site that the GC number might be the frame builder's personal mark.)
From T-Mar:
Additional photos might provide some clues to the answers that you are seeking. I very much appreciate your offer to look at the photos & help identify. Hopefully my upload worked.
Here are some component details:
Derailleurs- Shimano Deore XT
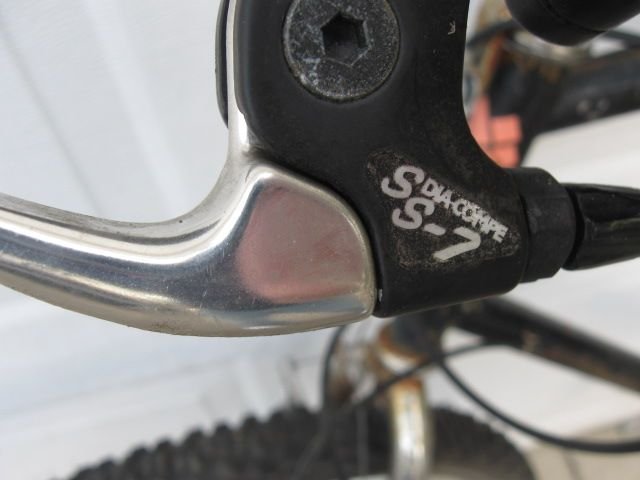
Brake Levers- Dia Compe MPE S-7
Shifters- Shimano Deore XT Light Action 515
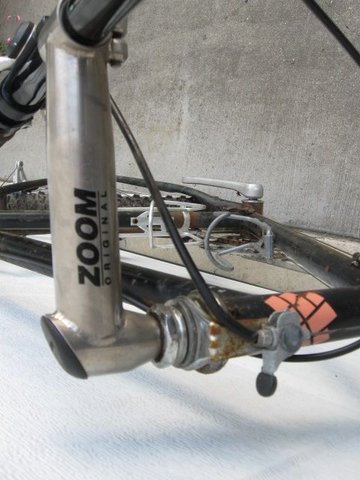
Crankset- Sugino VP
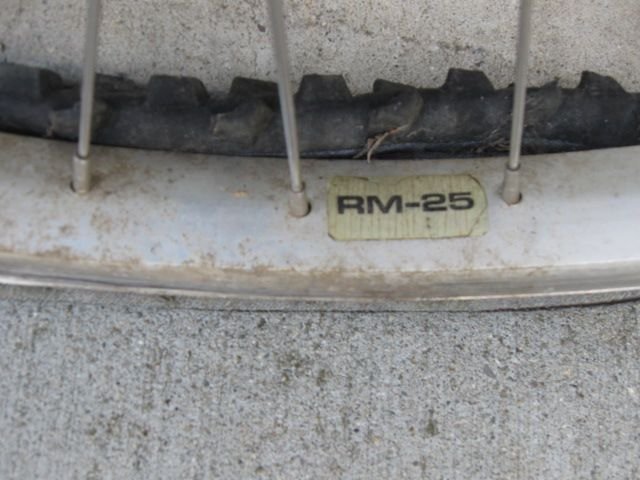
Wheel Tag- RM-25 (Maybe Araya?)
Pedals- VP 722 on cages. Nothing found on pedals
Seat- Wilderness Trail Bikes WTB Pro Gel Comfort One
Size- It is 58 cm from the center of the bottom bracket to the top of the seat tube.
Sorry the list is messy. I couldn't get it spaced properly (Me
plus Computers
equals Disaster
There are more components I forgot to identify. It's raining again, so I'll try later.
Thank You Again everyone for helping. I hope some of the details can help identify this bicycle.
Please Enjoy Today's Ride!
Paul