I began fender work yesterday, starting with the hardest (the rear) as the front would be, theoretically, easier. That was mostly true. Or perhaps one could say, they presented a different set of challenges.
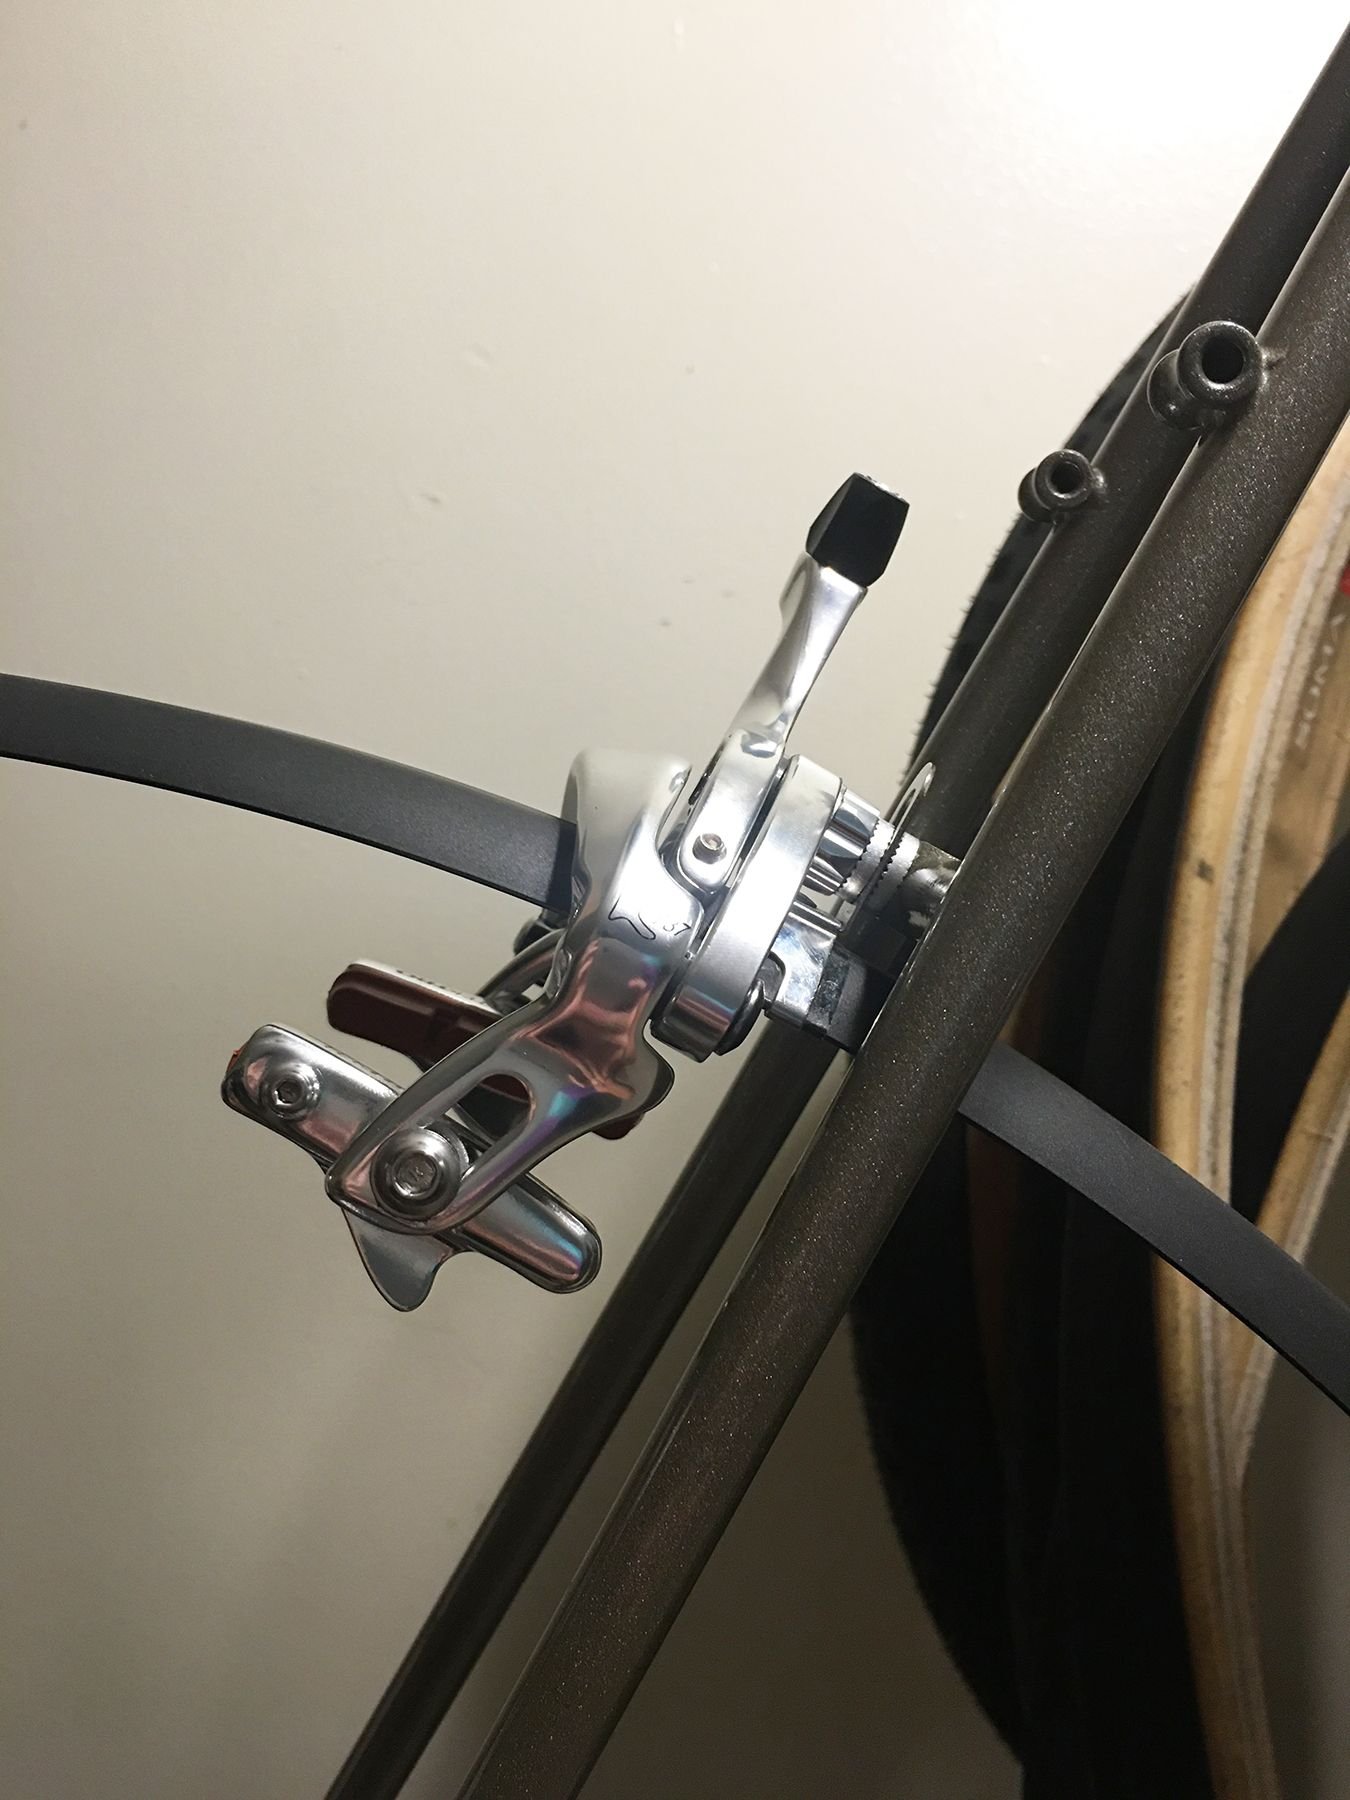
After some initial hardware fitment checking (regarding the rear brake bridge fender mounting position, which can be changed), I mounted the fender semi-snugly with the rear brake caliper. The dropout eyelet mounts would come next, and lastly, the chain stay bridge mounting.

With the fender in its highest position (lowest in the slot, as you can see just behind the caliper), it gave the Tektro caliper complete room to splay or "open up." Great news for tire installation and removal.

Squeezing the calipers to simulate a fully cabled up brake setup, you can see the additional space available.
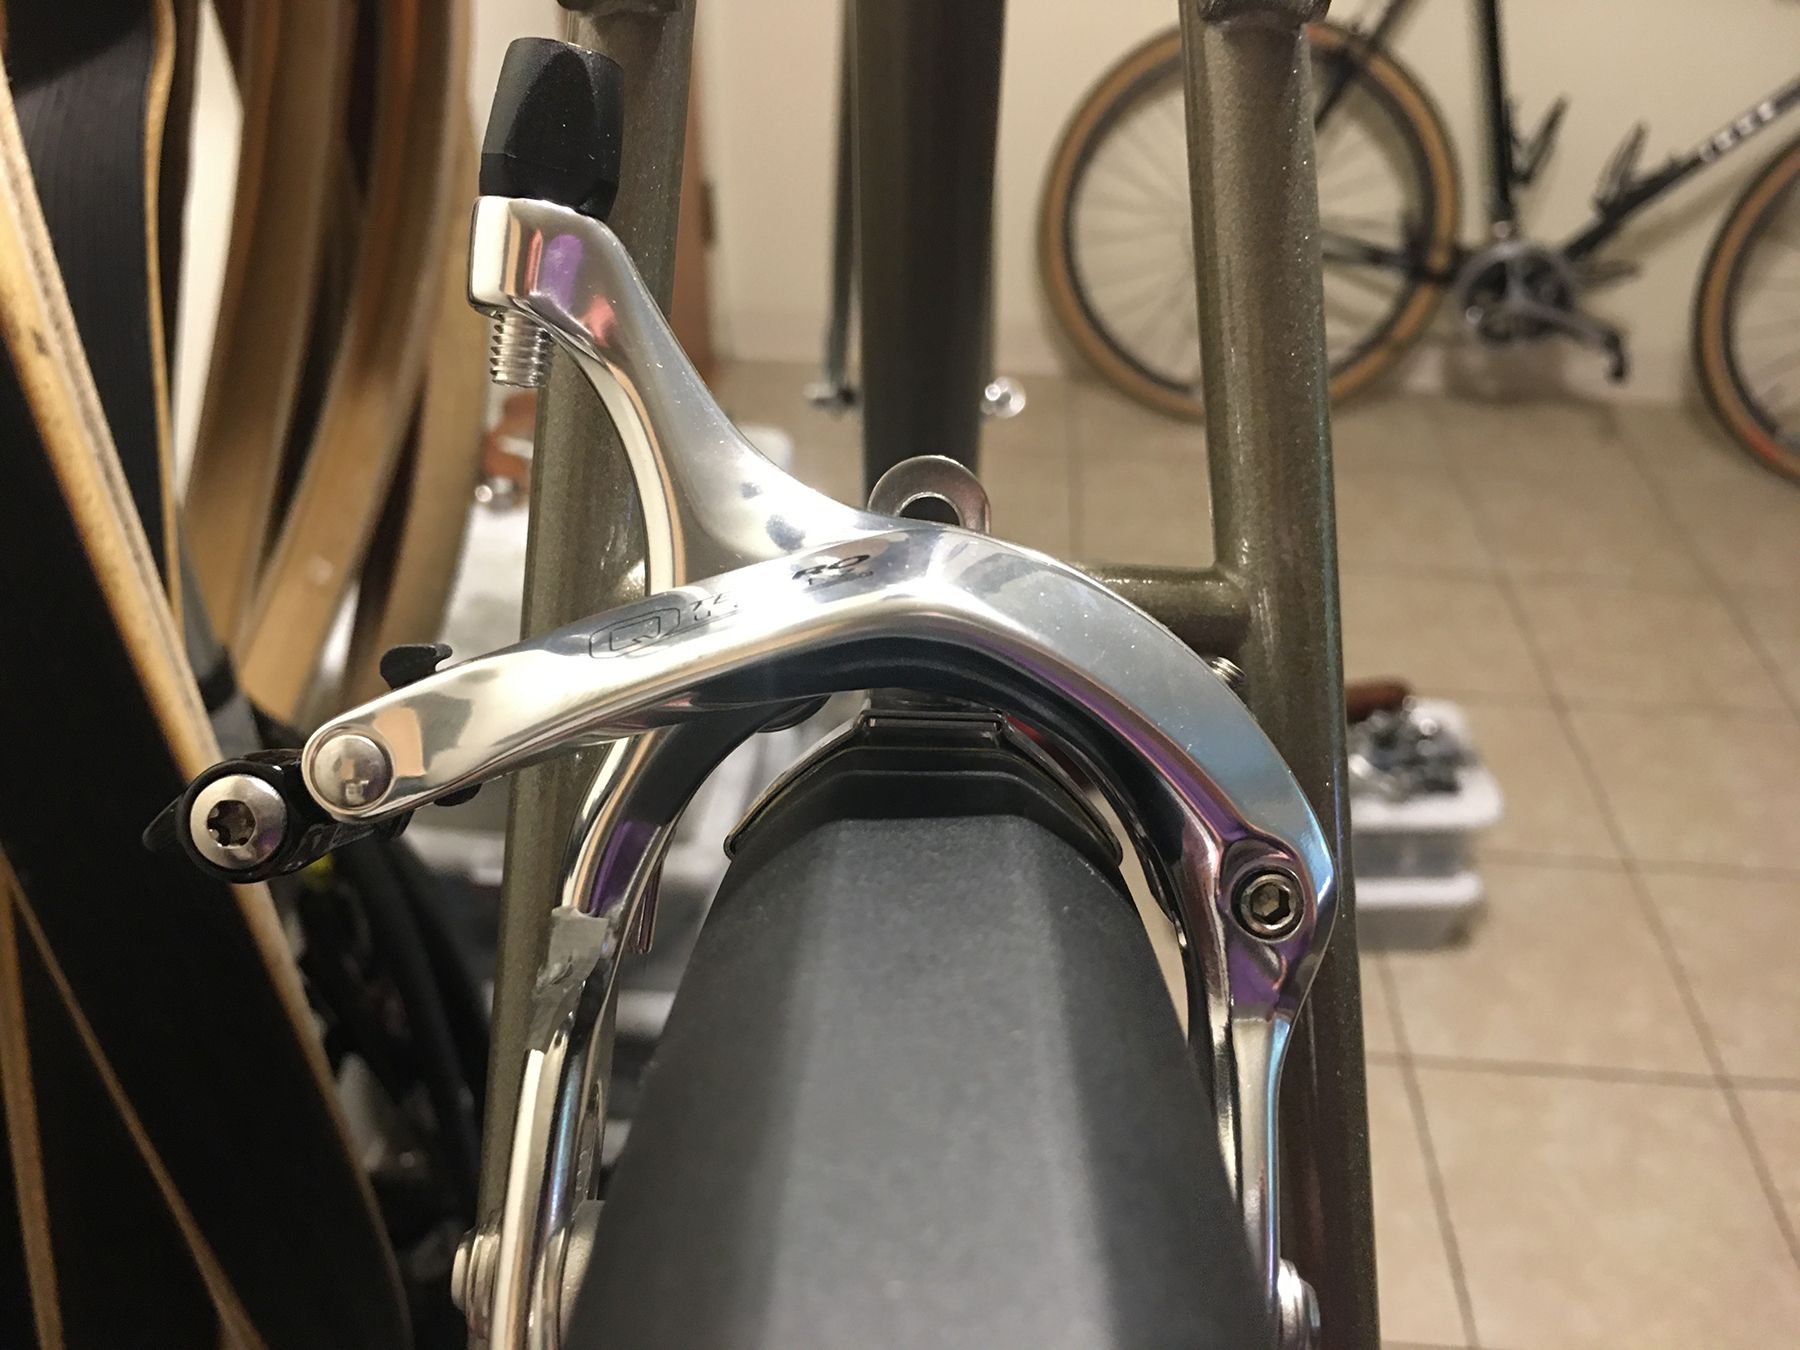
I will say that the really nice thing about owning two Treks with 47cm chain stays (that have had/need fenders), is that theoretically you don't have to adjust the brake bridge mounting hardware/clamp's position. What a relief it was to find that true in this case!
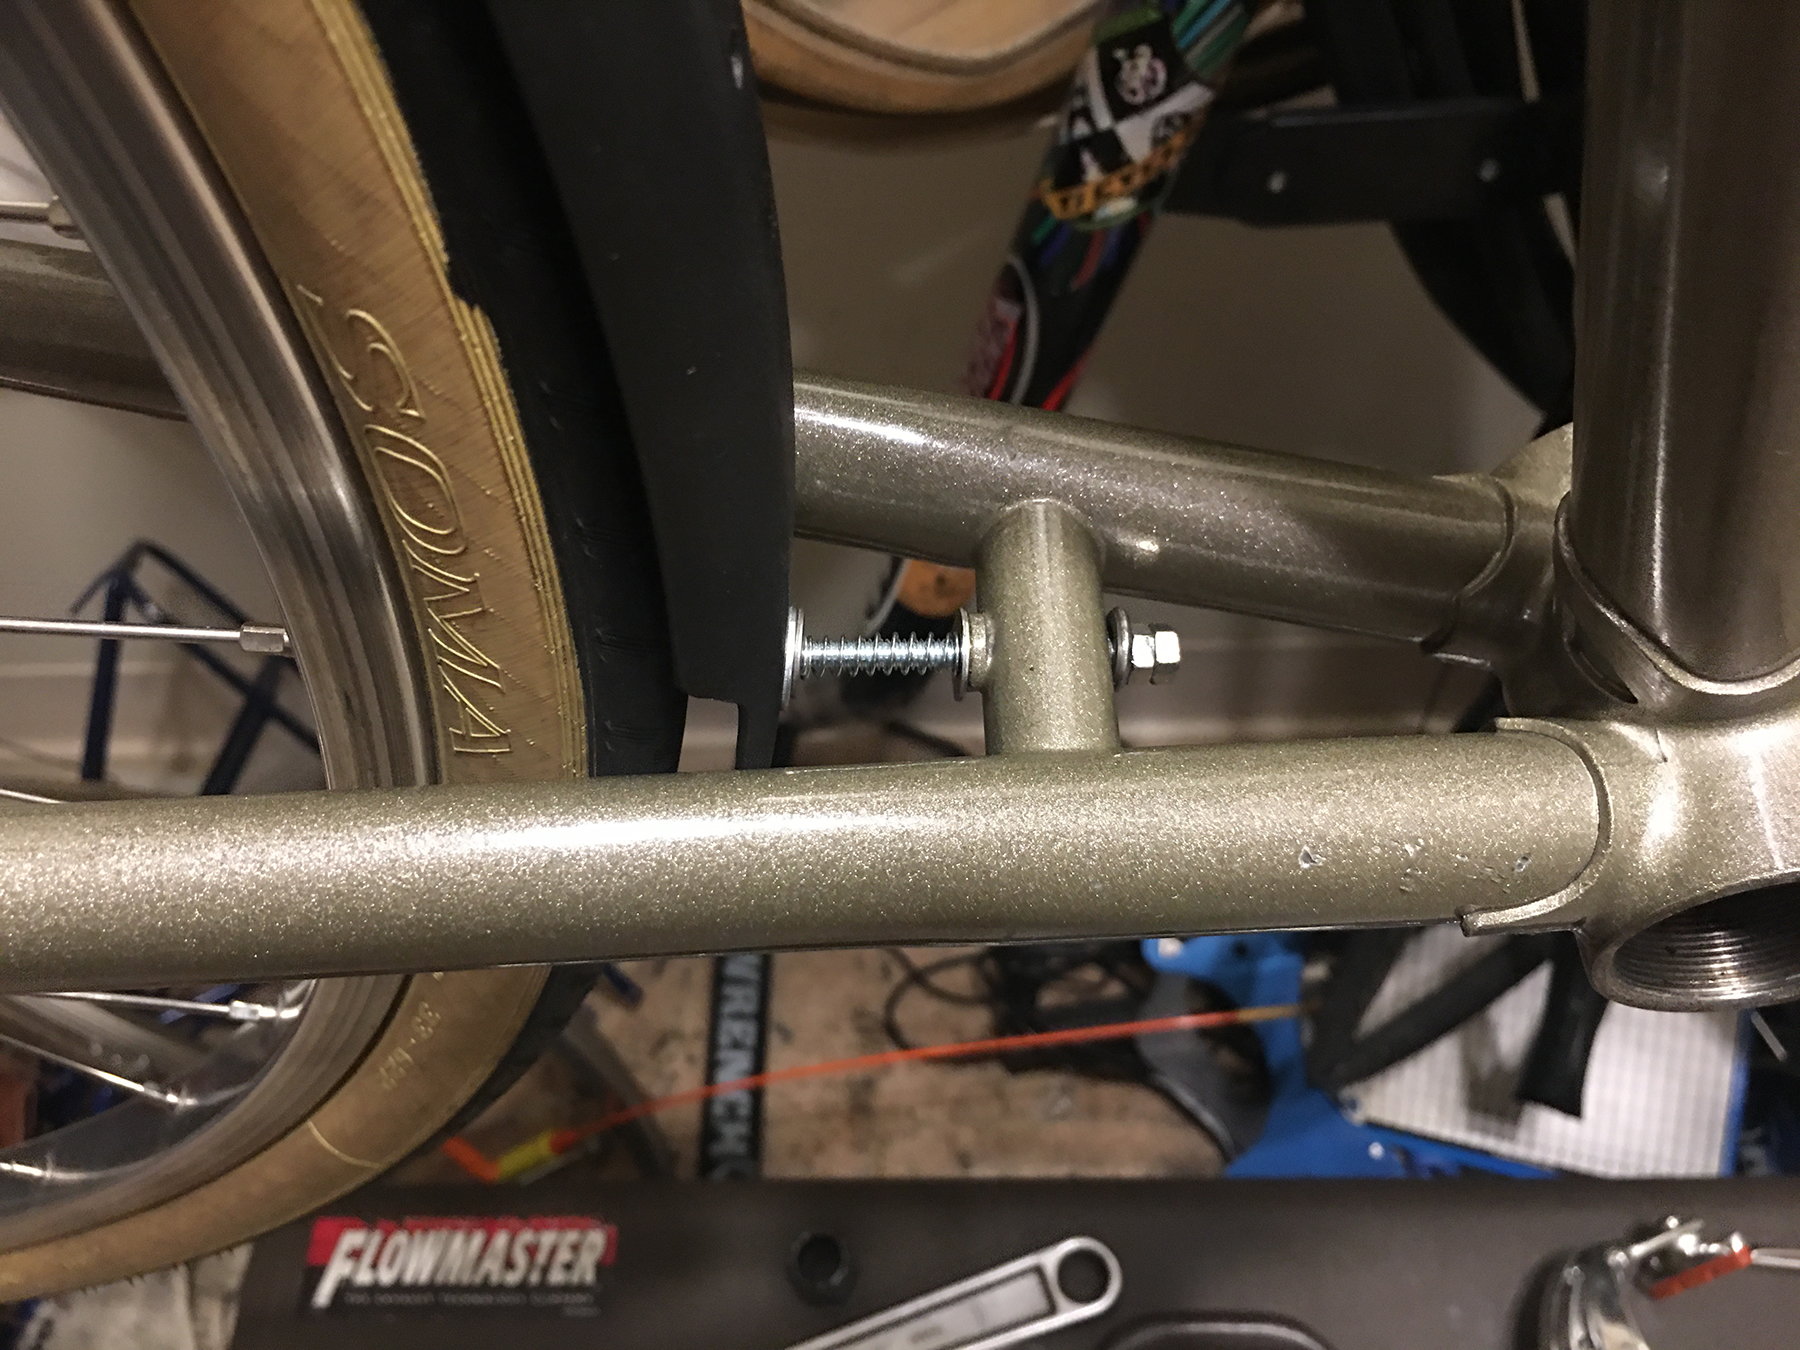
This incredibly sophisticated chain stay fender mounting system cost about $2.00.

It's missing its final nut, but otherwise what you see is what is there. Let the record state that this sort of solution has been dreamt up and produced before, so this is nothing new in concept.
To make this, I bought an M4 x 0.7 x 50mm screw. The threading for the bridge hole is an M5. I needed a simple way to create a sliding system that would, ideally, allow for a fully inflated tire to be mounted or removed (via spring/system compression) as well as hold a proper fender line when the tire was mounted. I initially considered an M5 screw and drilling out the bridge hole to accommodate, but the combination of no 1" springs available to slide over the 5mm screw diameter (found this out after I had gotten home), and its subsequent working with an M4 bolt, sealed the deal. Various washers were used to fully capture the fender (slot width and resulting stability) and disallow the spring to get sucked into the gap in between the screw and the washer. I eventually put a second nut (7mm tool interface) to the first, and did a lock-nut type solution as the hardware store seemed to lack M4 nylon locknuts. M3 or M5, but no M4. Ugh! Stoneway Hardware has a very good selection of hardware, including metric, so they get a visit from me whenever I need bike solutions. In this case, I had to work with what I had available. The good news is that it works!! Full compression to that critical 6mm minimum needed, was achieved. It also anchors
and centers the fender well. Road testing will put that to the test, but a bunch of fender bopping (to check for rattles) bodes very well.
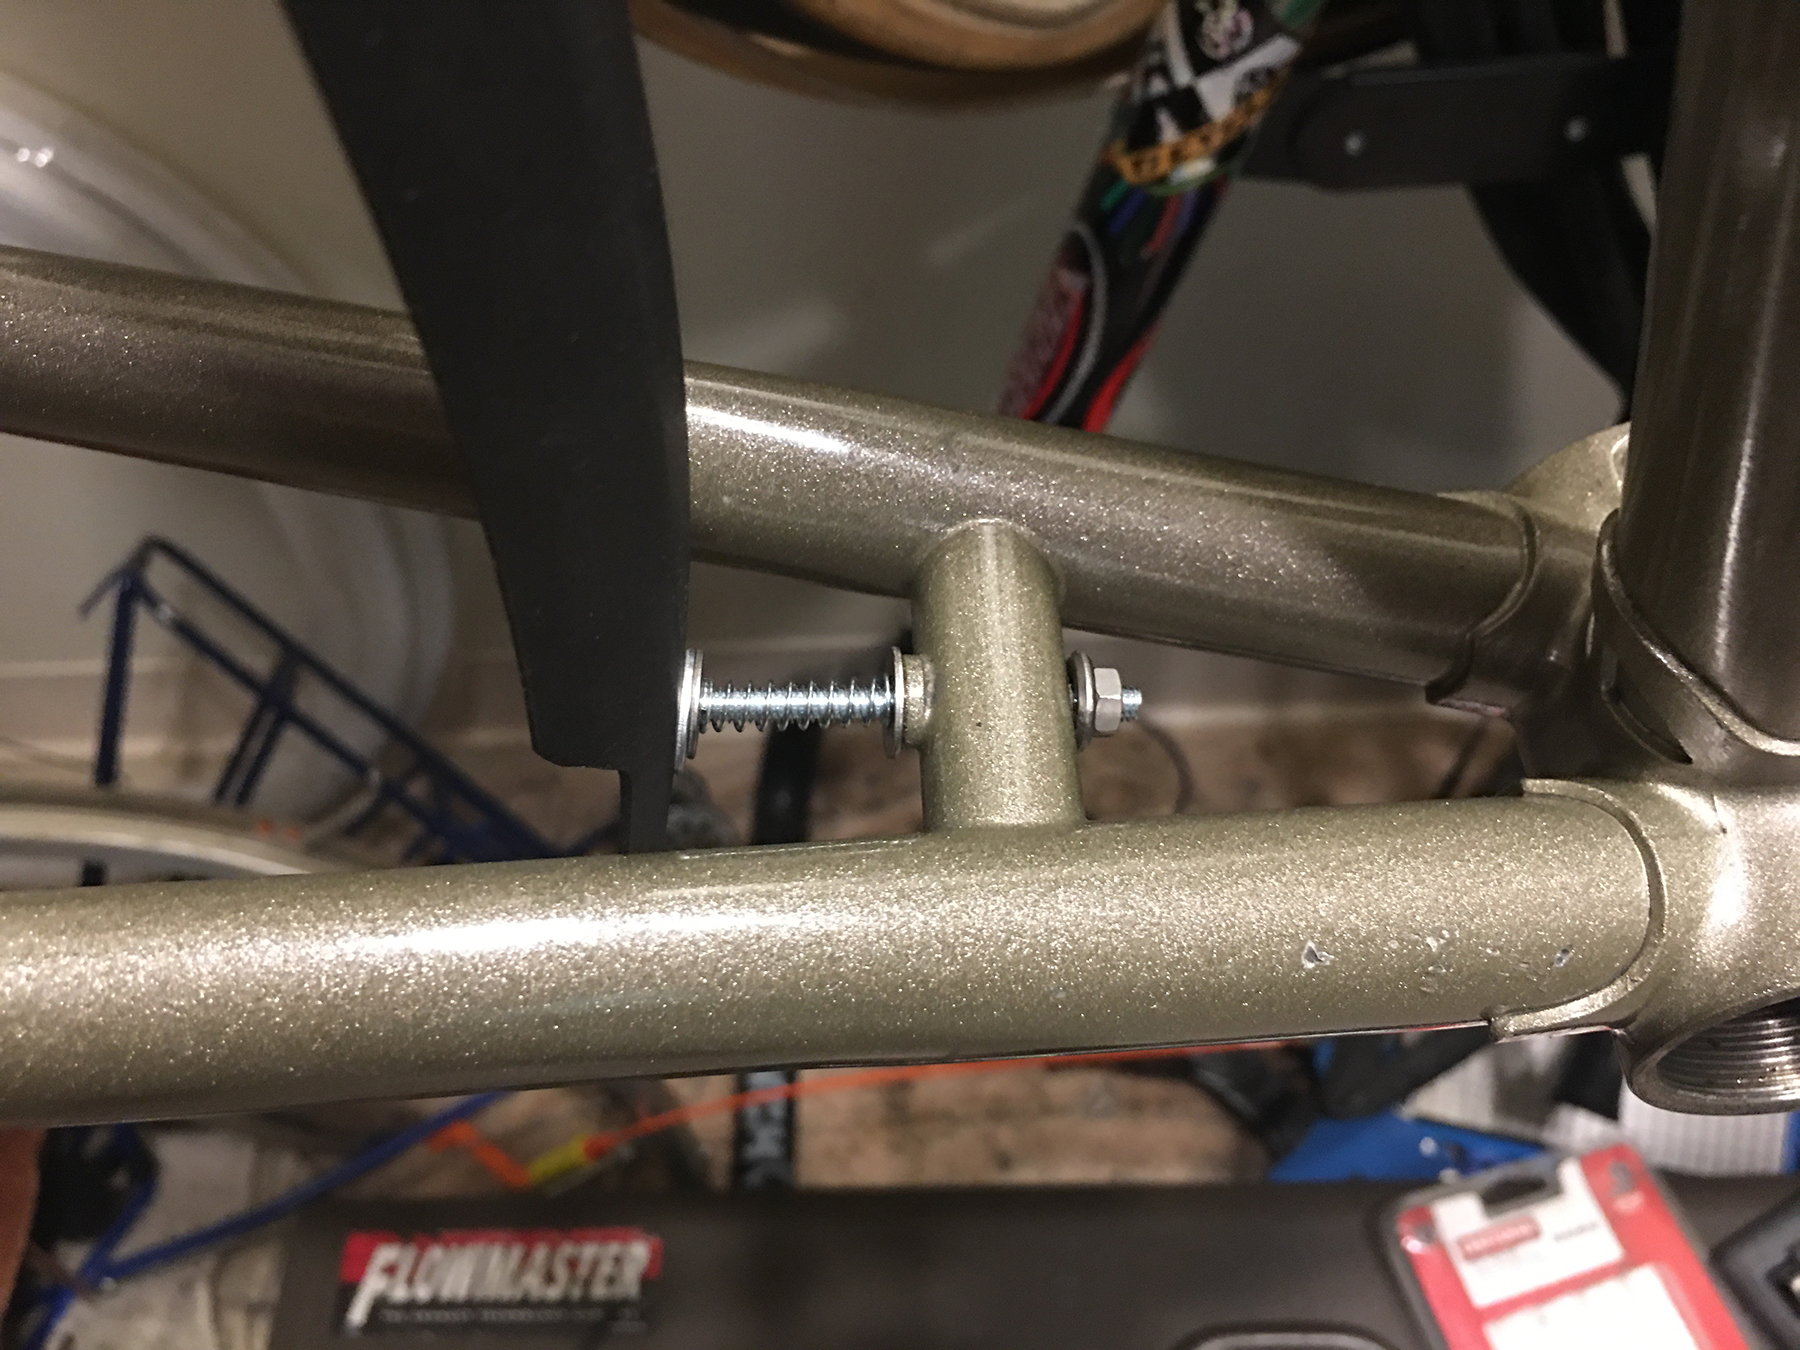
Here is the assembled look. Wheel in, fender line satisfactory, and locknut style securing in place.