....at this point. I think I'd try cleaning up two opposite notches with a file, so they would fit a lock ring plier like the VAR.Then dose the thread interface with the BB shell liberally with ATF/acetone 50/50 mix. Then heat with a Mapp gas torch to break some of the corrosive bonding, apply the ATF/ acetone again, grab it with the pliers and hope for the best,
It looks beat up enough to be a total loss/throwaway at this point. So I guess you could also just try grabbing it with a pipe wrench going in the right direction, clamp that down on the ring surfaces as tight as you can, and using a pipe cheater on the handle of the wrench.
I hope you already removed the positioning cup from the other side. Sometimes that makes it easier to turn out the rest of the sealed unit.
This is how they go together. Often they were wrongly installed without any sort of anti-seize compound on the threads. The cups are aluminum alloy, so this is not an unusual problem.
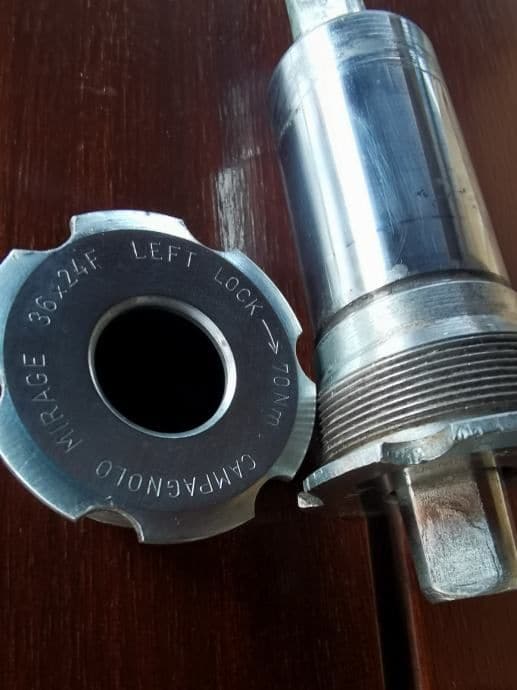
I think your photo is the drive side, which is more or less integral with the shell of the sealed unit. The whole think turns for installation and removal. With the threading marked on yours, the drive side (the whole unit) is LH threaded. The non drive side is regular RH threading.