I�m posting details of the adapted SKS guards as I said I would, but please note the following:
In addition to metal and plastic working skills a lot of time is needed to modify and install these guards. I was able to justify the time taken because the bike was useless to me without them � It�s frequently wet around here. Bear in mind Helix currently say their guards will be available this month, so you may want to wait before committing to this adaptation. Also note that their current image from the upgrade guide on their website shows a single piece rear guard:
https://helixhelix.b-cdn.net/support...mud_guards.png This image is several years old.
With the single piece rear guard design the rear wheel is prevented from touching the ground by the intervening guard when the bike is folded which consequently makes the bike very unstable in that mode. (I know because I copied that simpler design on my first attempt). My guess is if that design turns out to be the actual production version then you will also need to fit the folding rear rack (theoretically also available this month) and this will probably provide a stable base for the folded bike. This is just my theory- I haven�t seen final production images of guards or rack. If my theory is correct it might explain why the mudguards have been delayed so long, waiting for finalisation and production of the rear rack.
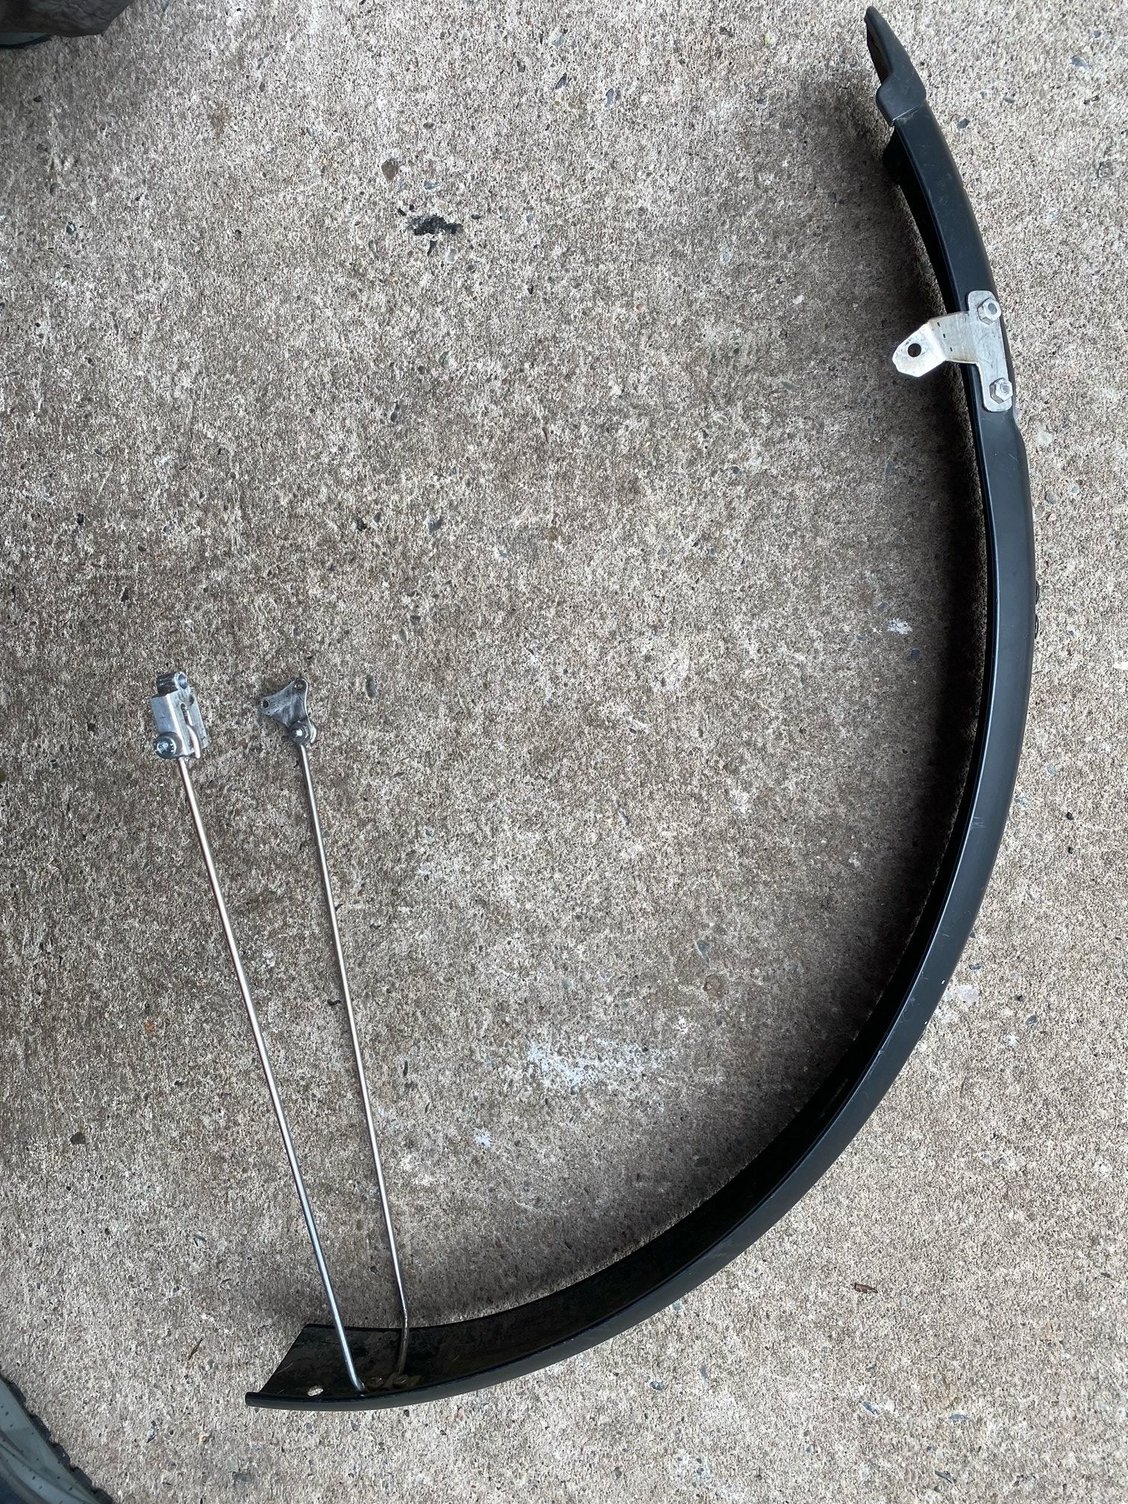
For this version I used SKS 700 x 45 matt black guards:
https://www.sjscycles.co.uk/mudguard...28-inch-black/
Previously I used 700 x 53 which were wider than necessary.
It�s not possible to use the �pop out� front stay fixings. They�re way too flexible to prevent the guard constantly rubbing every time you hit a bump. So what about safety? I�ve had one experience with a strong stick slipping through the front wheel spokes when riding through woodland. I came to an abrupt stop but didn�t lose control. The guard crumpled up and the stays were bent. There was a split in the guard at one of the rivet holes. I was able to bend everything roughly back into shape by hand and continue my journey. On this basis I think there is sufficient flexibility in my construction to prevent a catastrophic �over the bars� incident. Your opinion may vary!
Obviously the guards are not the correct radius for the 507-40 tyres. The first job is to re-form them by gently clamping the end tips of the guard to a wheel (with inflated tyre) and gently warming them up with a heat gun so that they adopt the new curvature. The plastic softens at quite low temperature. When the clamps are released the guards will spring back a little and should then be the correct radius. Tips: heat up the whole length of the mudguard slowly keeping the gun moving back and forth constantly. Do not dwell on a single point. Don�t be tempted to squeeze the sides of the guard inwards to maintain the original width while doing this as its very difficult to do it evenly. The expanded width won�t be a problem.
I repurposed the front stays by cutting away the moulded on plastic pop out fittings then straightening out the wire and re-bending them into a simple U shape. I would strongly recommend you make trial U shape stays out of soft steel wire about 3mm diameter which is more easily manipulated to get the required lengths. Once you�re happy with the fit you can then use these as templates to make the SKS stainless steel ones.
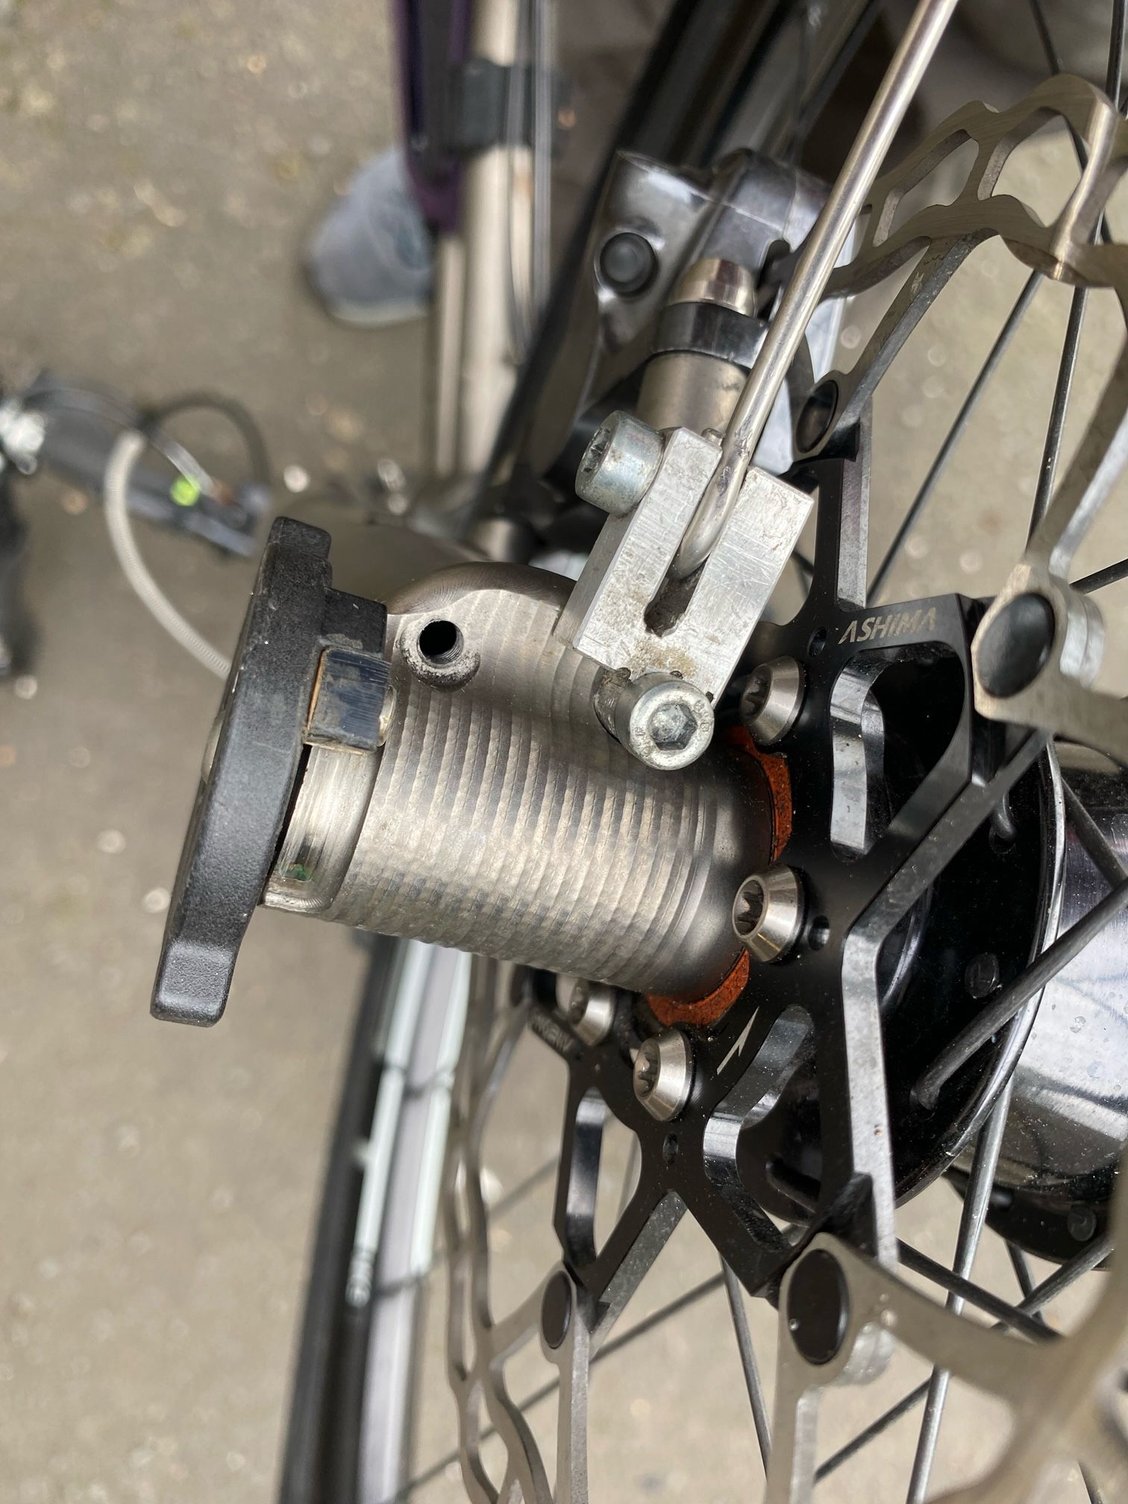
 Front guard. A depression is required adjacent to the top fixing bracket to accommodate the "nut" of the front helix which otherwise forces the guard to run much too close the the tyre. I heated up that spot, then pressed a round bar down to create the depression.
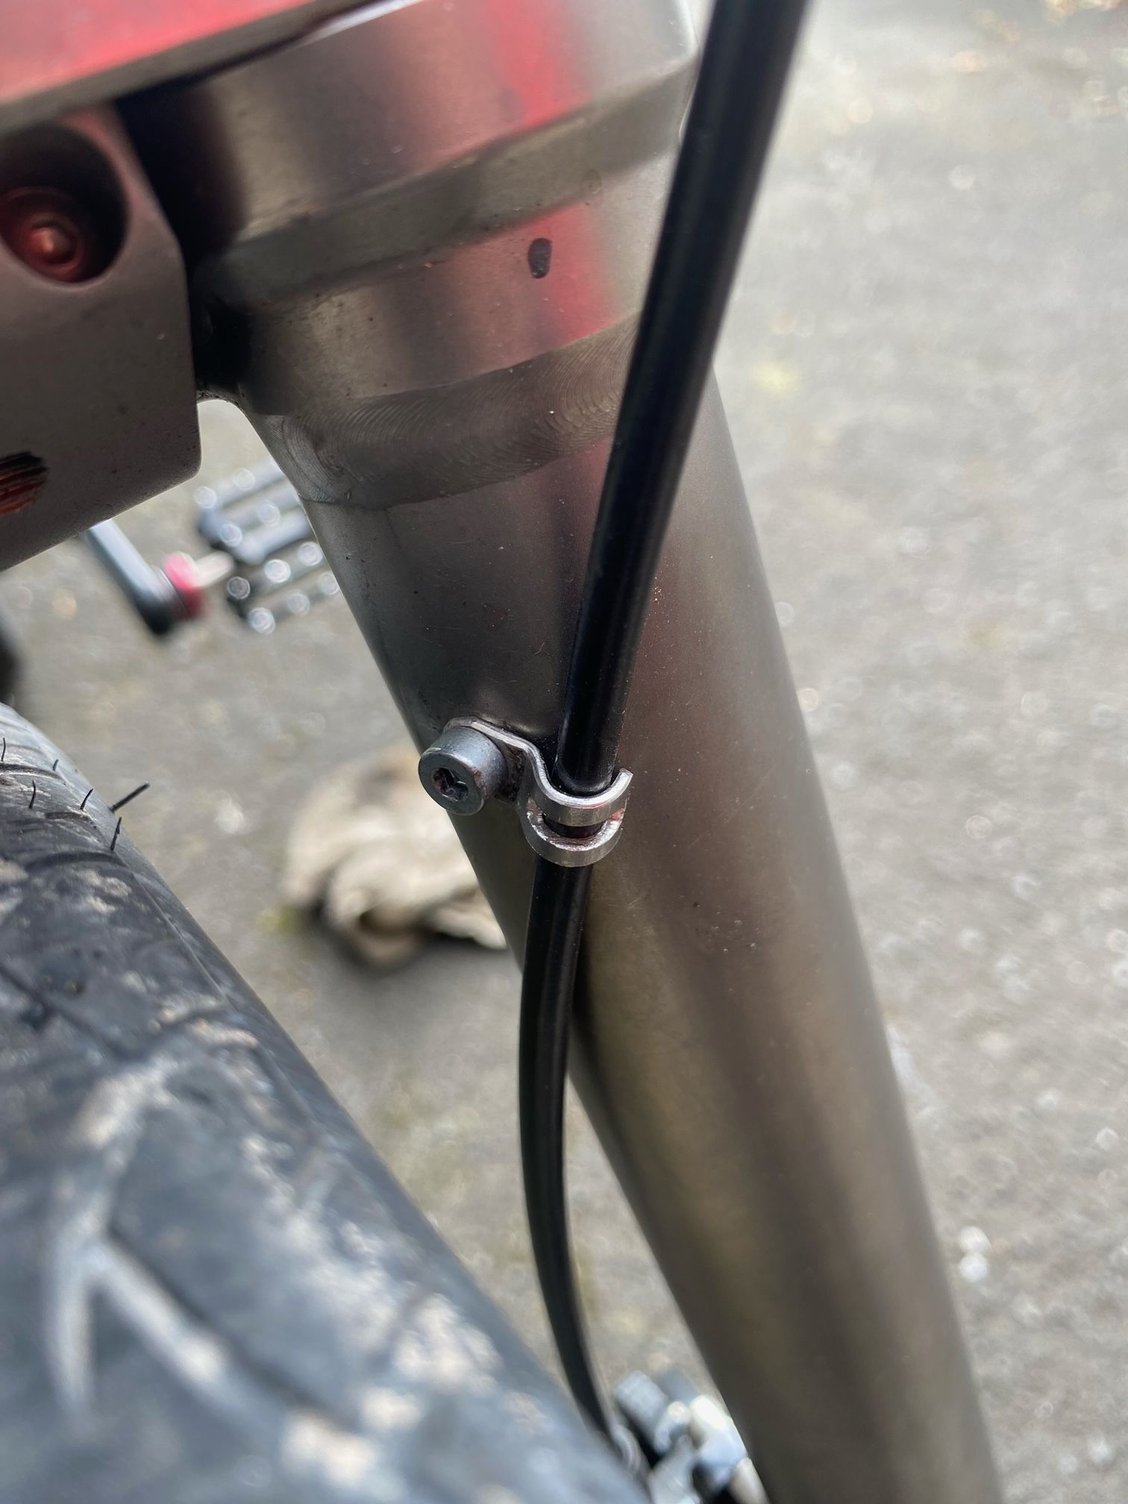 I removed the original wireform guide for the brake hose and tapped the hole M4 to provide the fixing point for the top of the front guard. I made the hose clip shown here to fix at the same point.
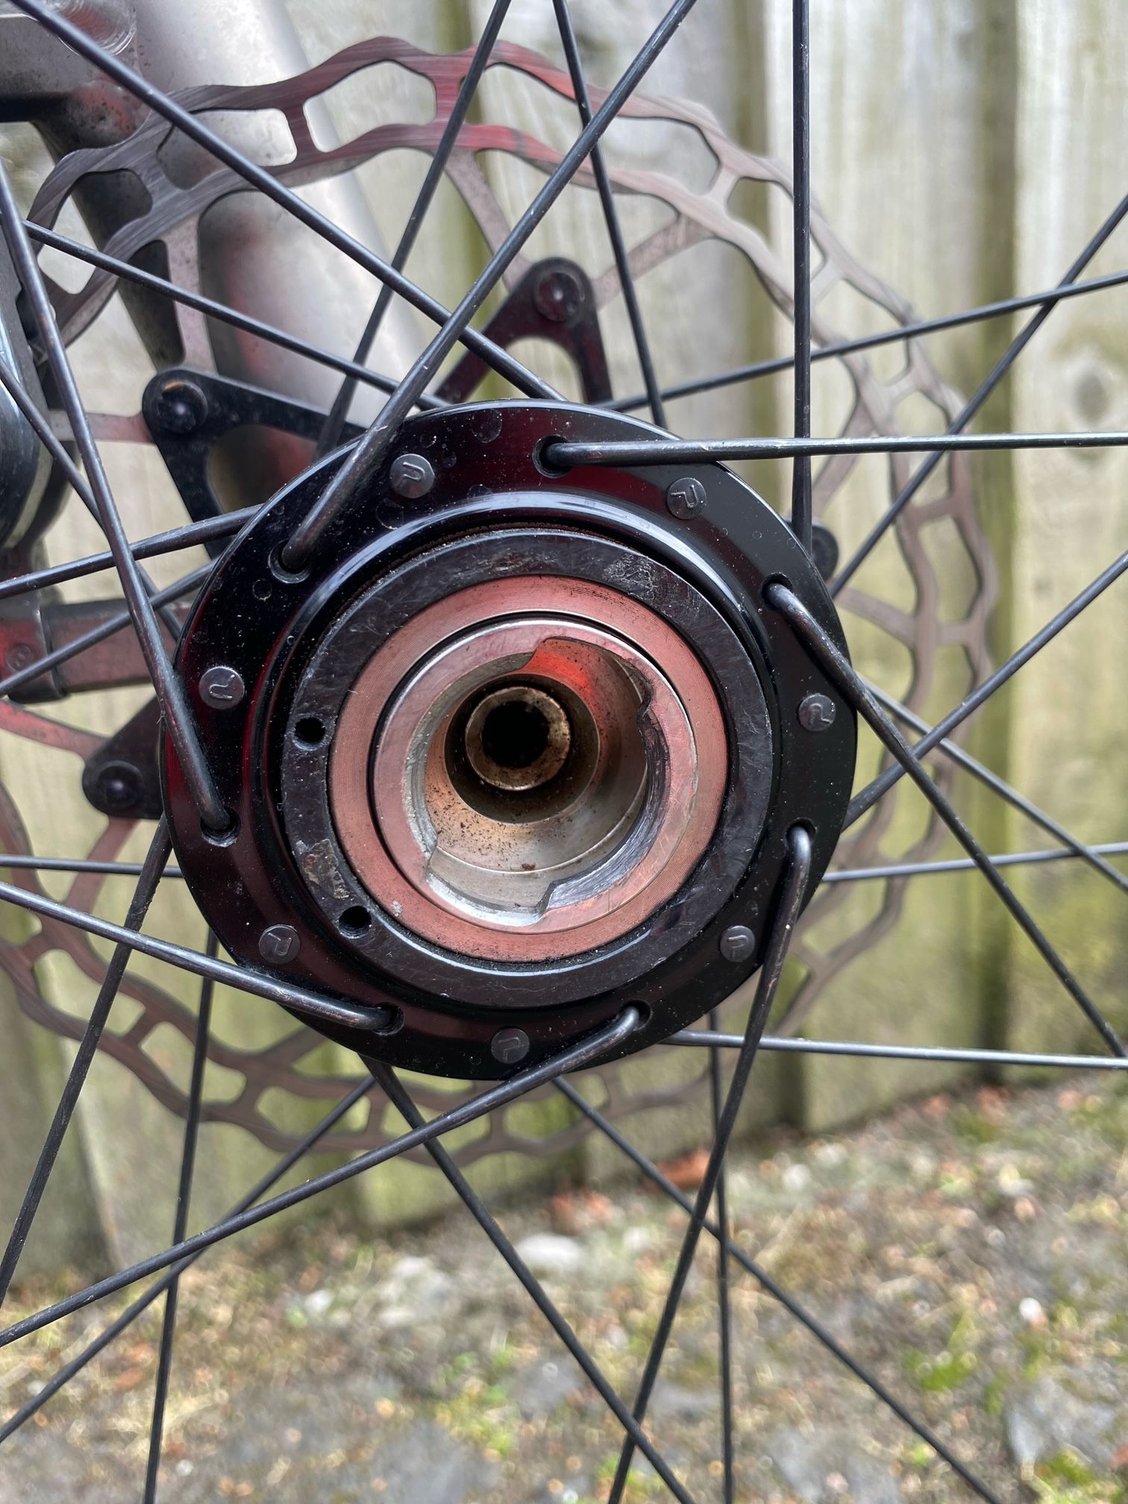 I drilled and tapped two M3 holes into the black plastic bush to provide a fixing point for the RH side stay.
 I made the fixing plate from stainless steel plate and used M3 x 10mm socket head screws to hold it in place. I stripped one thread out because I overtightened a screw. Both are now held in place with threadlocking compound. I intend to re-drill and tap but haven't needed to do it yet. (the plastic bush is free to rotate 360�).
 Hinged section of rear guard. Stainless steel strip pop riveted the the back end. Plastic plate held by screws at the front end. Hot glue used to seal the gaps between the plastic plate and the guard.
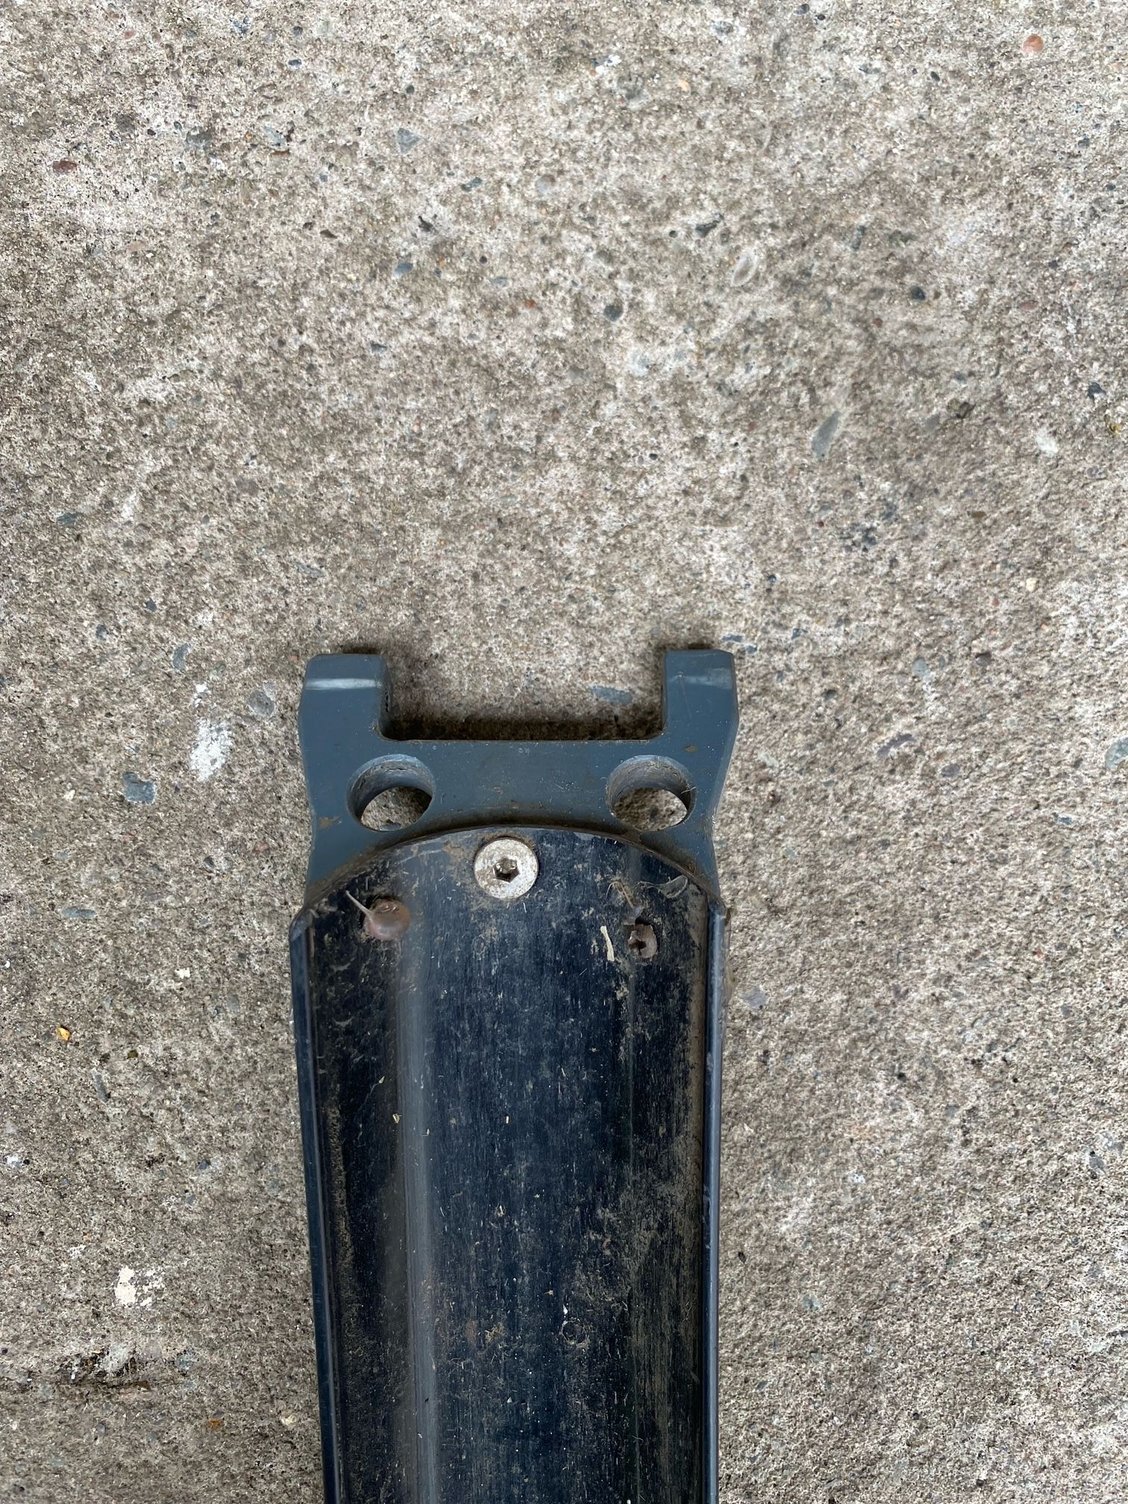 M4 countersunk screw in the centre. Two very small self tapping screws holding the sides to the plastic plate.
 Aluminium blocks bolted to the rear latch housing to provide mounting points for the hinged part of the rear guard. The blocks are drilled to create pedal holders. Spring clips to retain pedals are fixed in small holes by M3 grub screws (headless socket screws). Spring clips are made from the stainless steel strips found in older windscreen wiper blades.
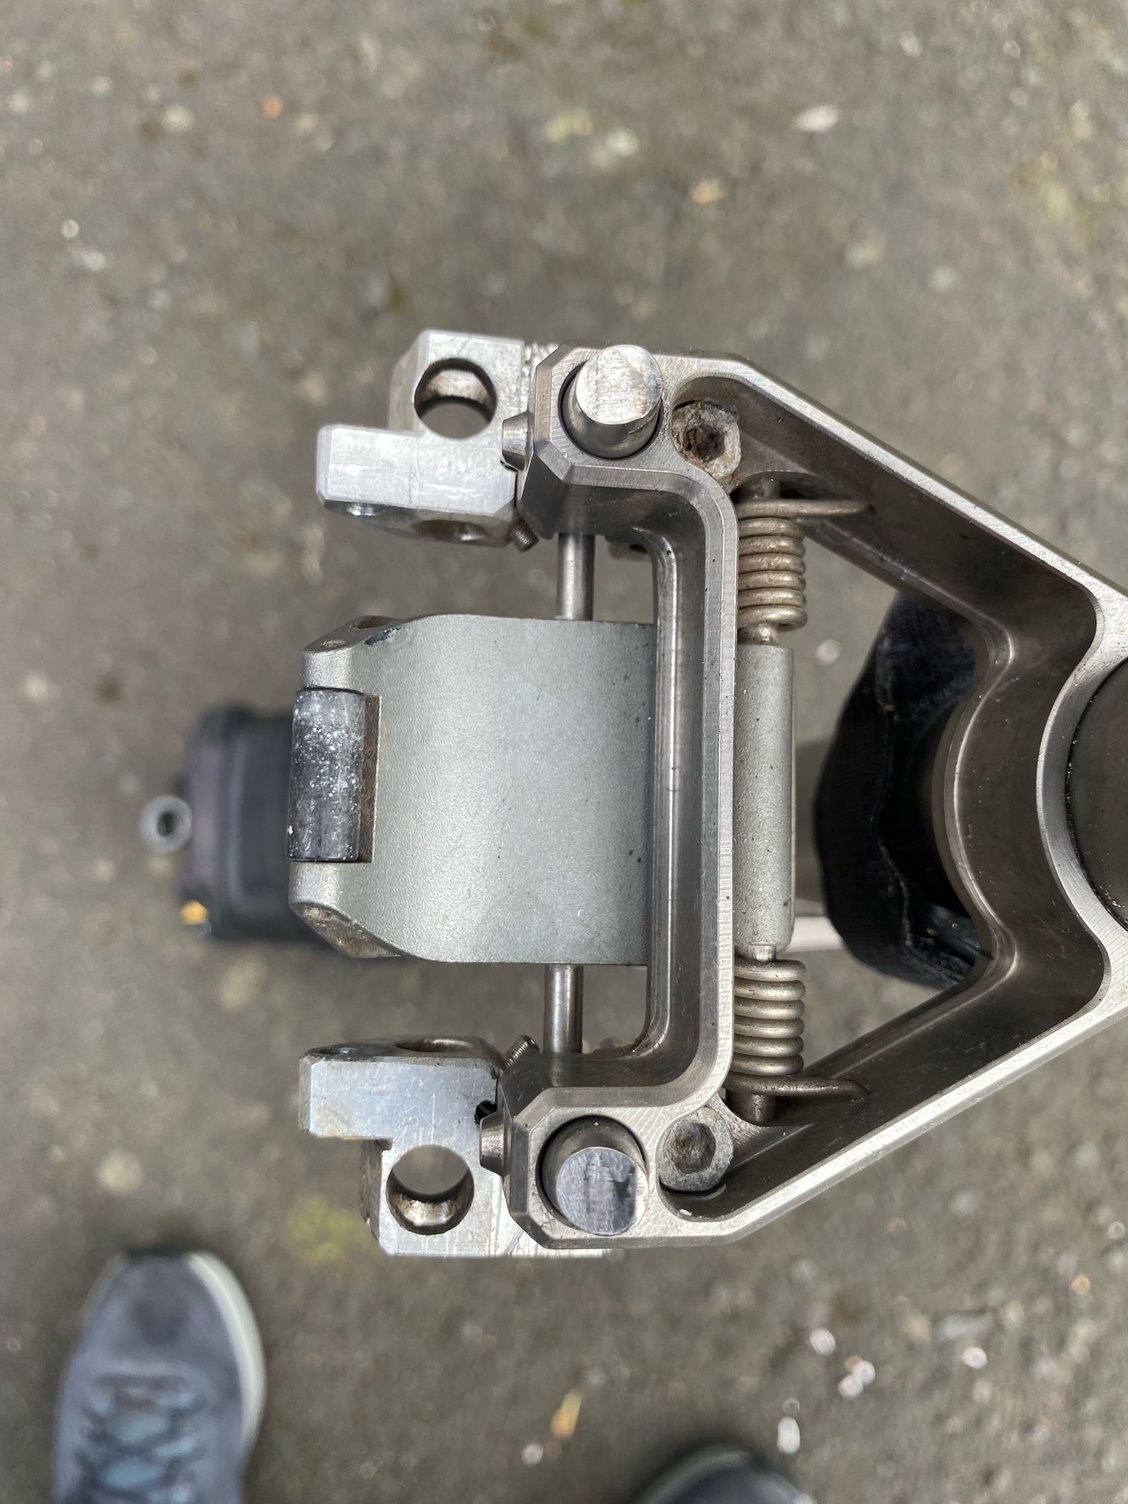 Bike upside down to show fixing screws for the hinge blocks / pedal holders.
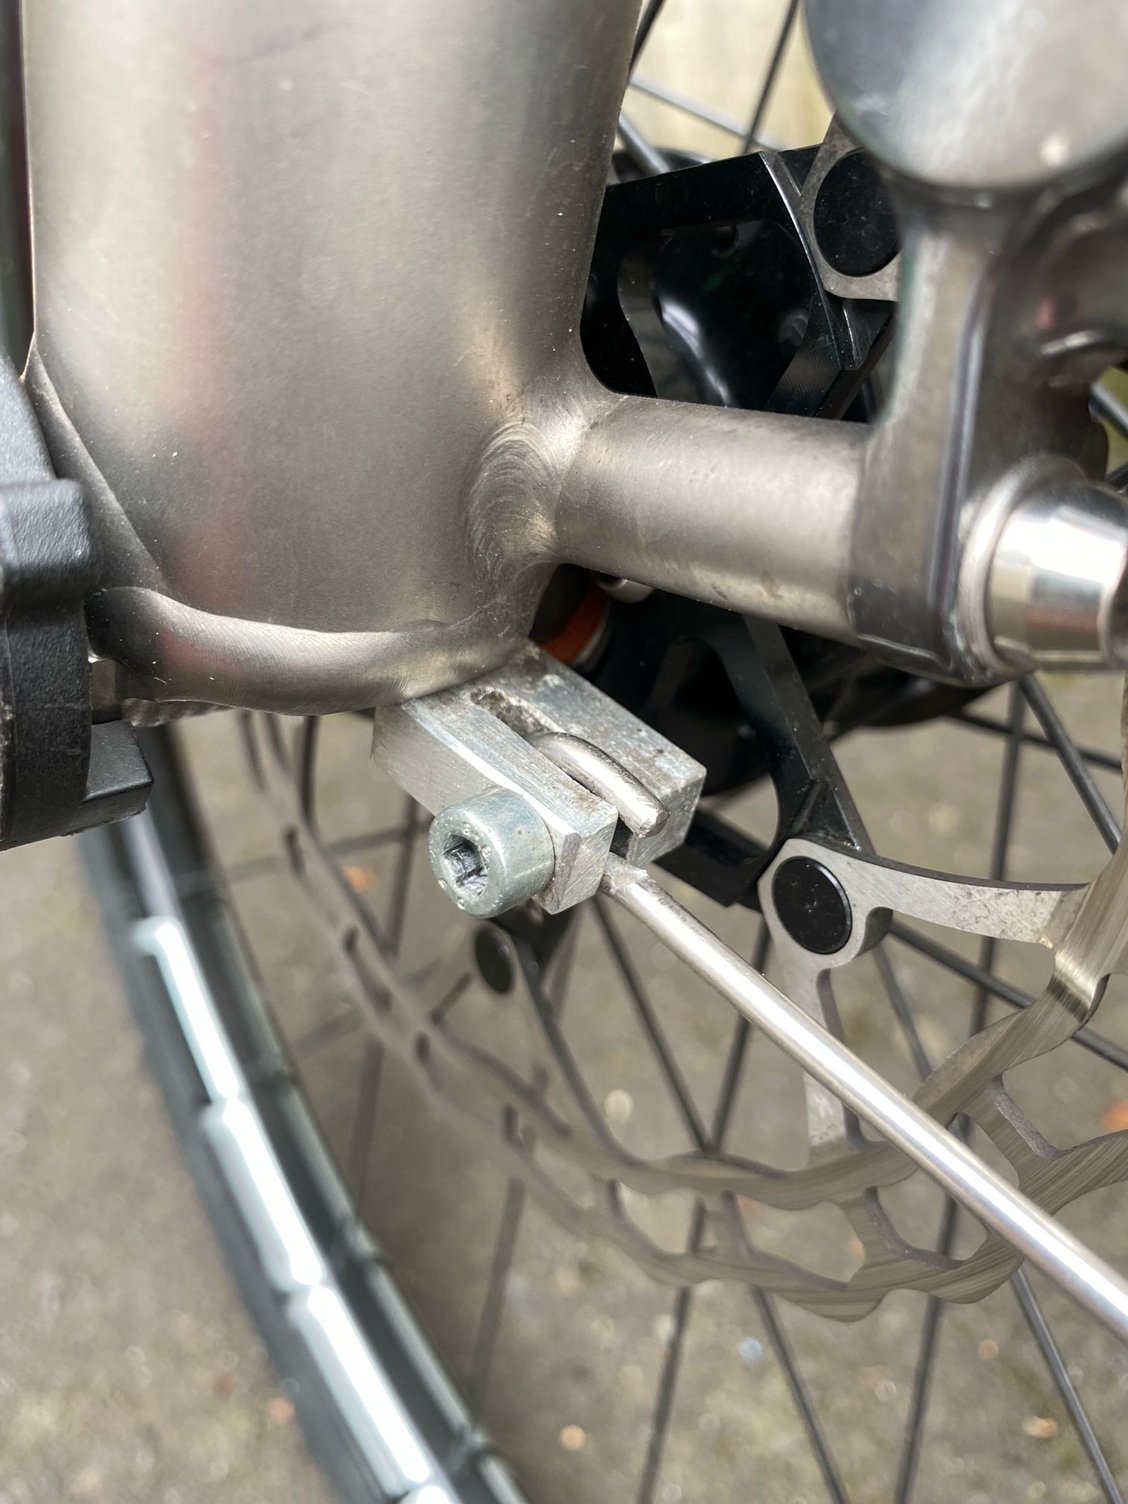 Forgot to insert the pic for the LH front stay fixing above. It's made from 8mm aluminium plate.
 Bottom view of LH front stay fixed with M5 socket head screw into existing tapped hole. Before starting anything, check that you can fully insert the M5 screw!! The holes on my bike were not fully tapped out. Use a brand new tap and go very carefully if you need to re-tap your yours!!
It�s important to make the fixed rear section of the rear guard and its mountings as stiff as possible because it will contact the ground during folding and needs to carry the weight of the wheel and rear swing arm. I added a wear strip made from 1mm black nylon sheet to this section. It�s held in place with strong double sided tape and the pop rivets which hold the stays in place.
I've reached ten images so need to continue in another post.