The trailer that this mod is based on was received free through our local Freecycle chapter. It had been sitting open outside for a couple years so naturally the fabric was thrashed. No matter. The thing that DID cause a minor snafu was the fact that the hitch's spring universal joint was broken and stretched. 
I contacted Bell (still no response) for a new part, but in the mean time I decided to give an idea I had a shot. I went to Lowes and bought a gate spring of approximate size and a length of chain. (not shown) I don't remember the chain's designation, but it fit and the rated working load was about twice what the trailer is rated for. The chain keeps the spring from stretching, while allowing it to bend.
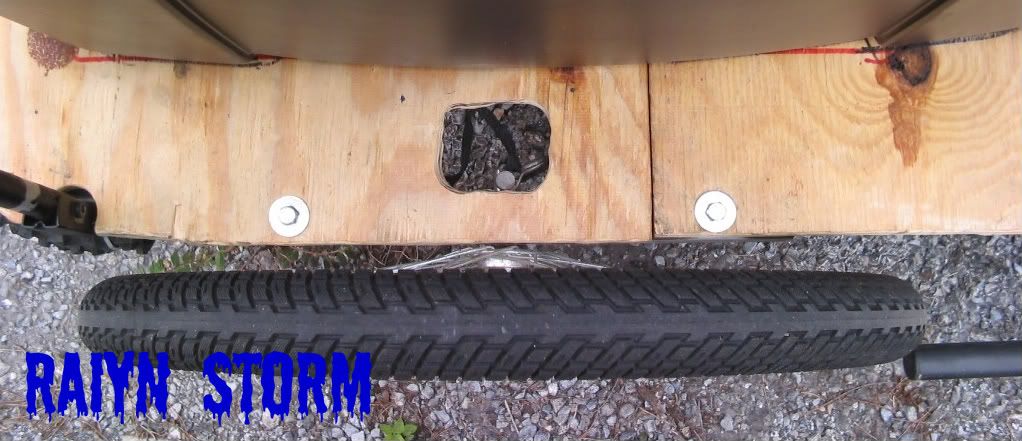
The chain was used to replace the black plastic piece shown in the above photo
I've pulled the plastic piece out a bit in the picture to shown that it too was broken, possibly due to the trailer being overloaded by the a previous owner. The break actually occurred at the noticeably stretched portion of the spring. The bolts that hold the spring and clamp assembly in place also passed through the plastic "stick". The trick to the chain was finding one that would fit through the interior of the spring, and have a high enough working load rating (mines twice what the trailer's rated for). I ended up having to hold one link in a pair of pliers and smack the end with a hammer into a concrete block in order to reshape it slightly, just enough for a bolt to pass through. I then used a small zip tie to anchor the chain to the ends of the spring simply for the purpose of easing the assembly process.
 The trailer started life as a standard Bell Kiddie Trailer
As I mentioned the fabric was thrashed so I replaced it with a couple of sections of �" plywood that we had laying around in the garage using 2�" x � hex head bolts, fender washers, and stop nuts I also cut holes in the plywood to allow the stock canopy support to remain in place as it provides a perfect mount for lights and other equipment.
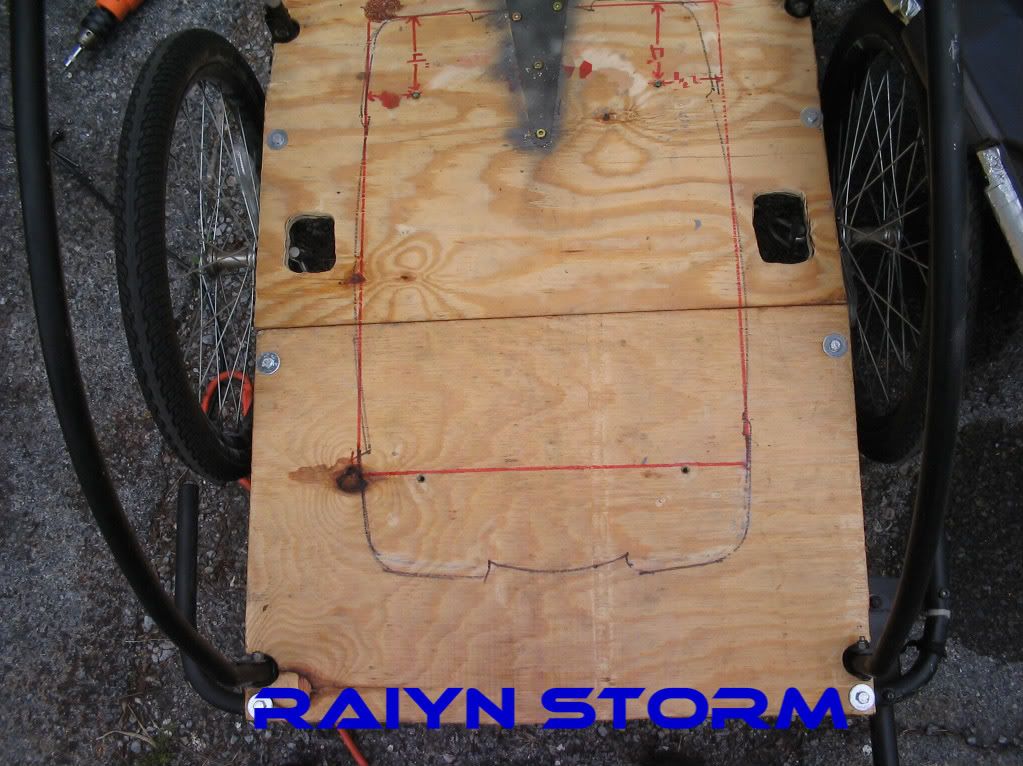
I used the stock bolt holes as much as possible, but I did end up drilling two additional holes on the rear of the trailer to provide additional anchoring points for the deck.
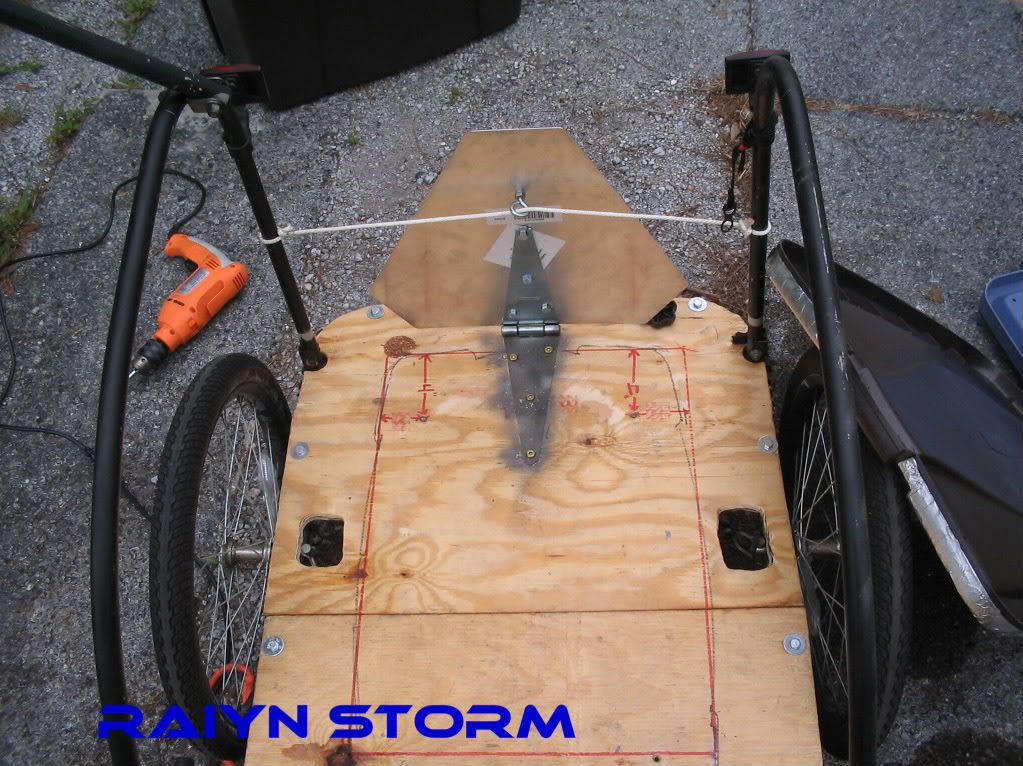
I had intended to replace the "bolts" that secured the canopy supports to the frame with some longer ones that would allow me to mount the supports on top of the plywood and to use the mounts to help secure the plywood, however the "bolts" turned out to be welded studs, hence the need for the holes to be cut. As you can also see in the picture I chose to mount the Slow Moving Vehicle Triangle (SMVT) on a hinge with a rope keeping it from falling rearward, while the bin keeps it from falling forward.
You'll also notice that the hinge has some spray paint on it on the deck side. That was a short cut to marking the hole positions for the mounting screws.
This was done primarily so that the trailer could be collapsed as much possible. (Yeah I know it's way over-built, but I plan to use the same kind of hinge in another application and I wanted to fiddle with one first)
Also keeping with the collapsible theme I made some holes in the deck so that the wheels could retain their quick release properties.
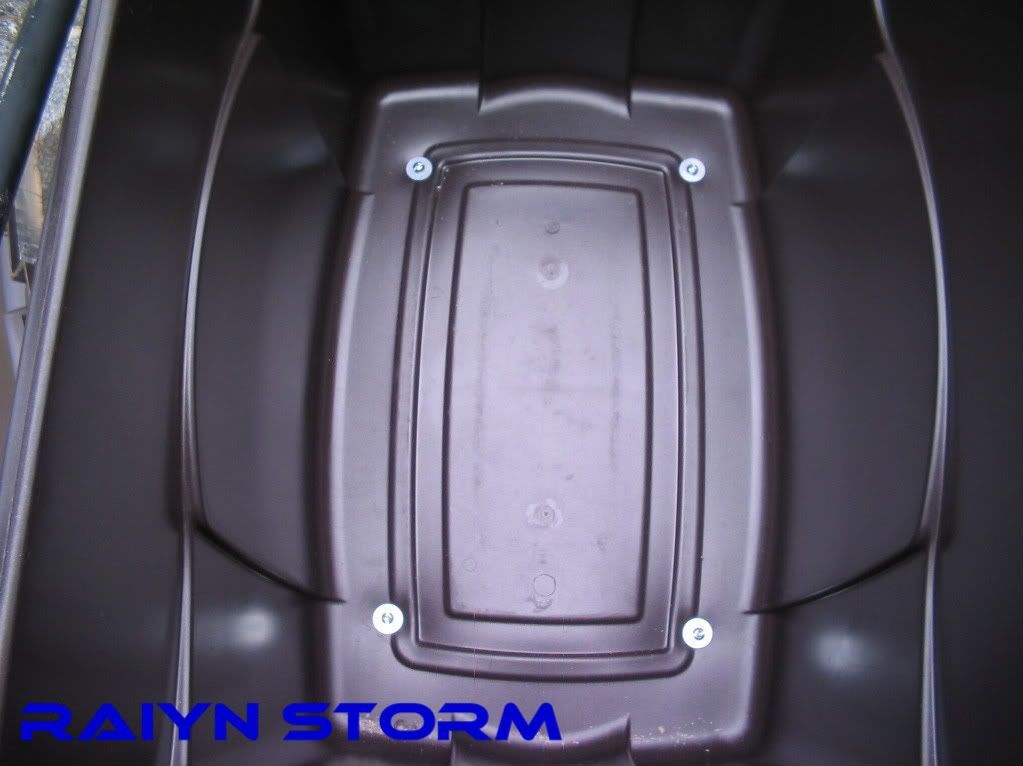
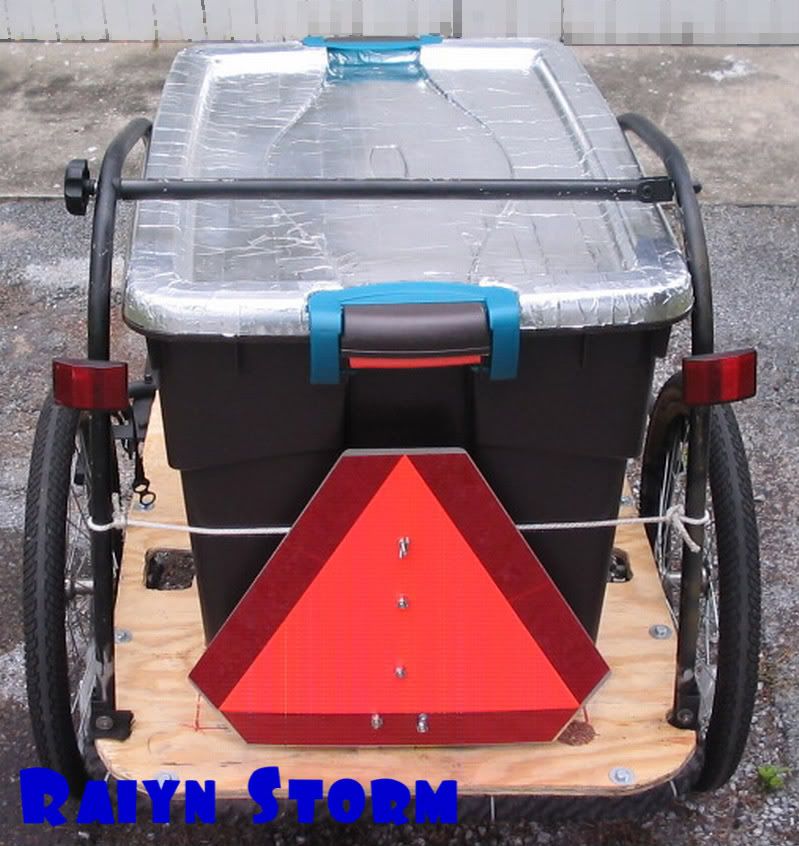
The bin is a 35gal Rubbermaid™ Duratote we picked up at the local Big Lots for $10.
It's held in place by four 1�" x �" screws fender washers and tee nuts. I had hoped to use the tee nuts and screws in sort of a "stud and wingnut" configuration until I discovered that the tee nuts would pop out the bottom of the plywood with a slight pressure. Instead I opted to secure the tee nuts to the plywood by sandwiching them between the deck and some plywood scrap and running the screws in through the top with a drill driver (faster than doing it by hand). edit: The bolts are now in the stud and wing nut configuration as explained further on in the thread I plan on utilizing the method to use alternate bins (for recycling etc) and for other ideas under development.
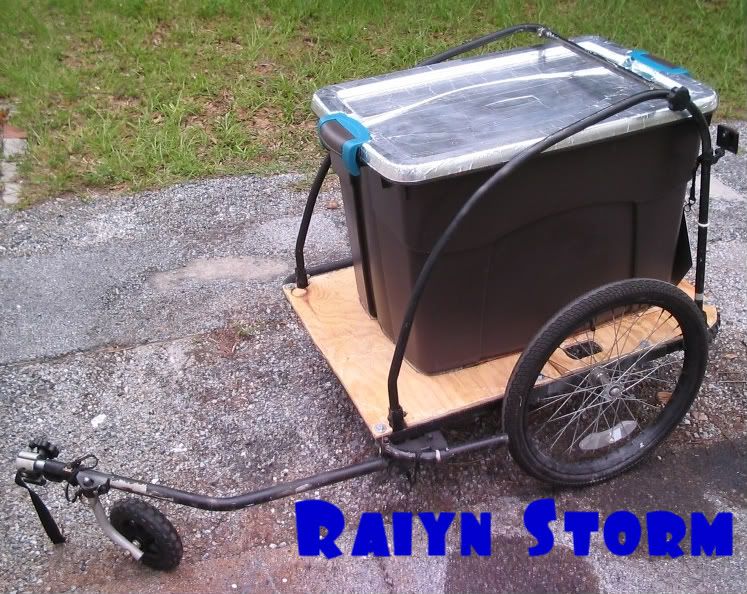

We tried out our new trailer this past weekend, both of us first riding around the block unloaded and then with a 40lb bag of cat litter. After getting a feel for the trailer (slight corner surges which are apparently common with a spring joint hitch and we needed to lower the tire pressure) we set out on a minor mission. Jolt cola in glass bottles from the neighborhood Big Lots and a milk / OJ run to the grocery store. We used a soft sided cooler and some freezer bricks to keep everything cool. It was 90 something degrees out, and while the cooler bag and it's contents were unaffected by the heat we did notice that the dark bin retained heat
")
To remedy this I used some Aluminum HVAC tape that we had on hand and covered the top to reflect some of the heat. This may be a temporary measure as we haven't tried it with the new surface and I'm not sure if it will reflect too much light in a dangerous way.
Potentially it will be replaced with a layer of white duct tape until we can find a lighter color bin for food hauling use, at which time the current bin will be used for hauling recyclables and other cargo. One other thing we noticed is that this thing likes to fly if we hit a speed bump too fast. I'm planning on adding some cushioning materials to the bin at a later point.
Also on the agenda:
- Safety "dork" flag
- Disassembly and painting of the frame and deck
- Replacing the current CSPC reflectors with lights for night use
- Adding reflective tape to the canopy supports
- Adding eye bolts around the frame perimeter for better bungee cord use
[/color]