Hi all,
Been seeing some talk here lately about the Big Dummy and thought I'd join in.
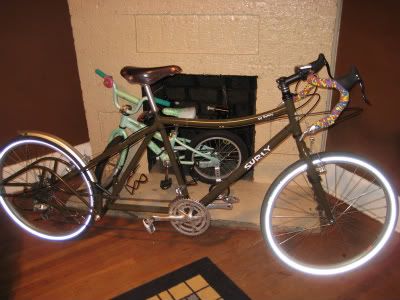
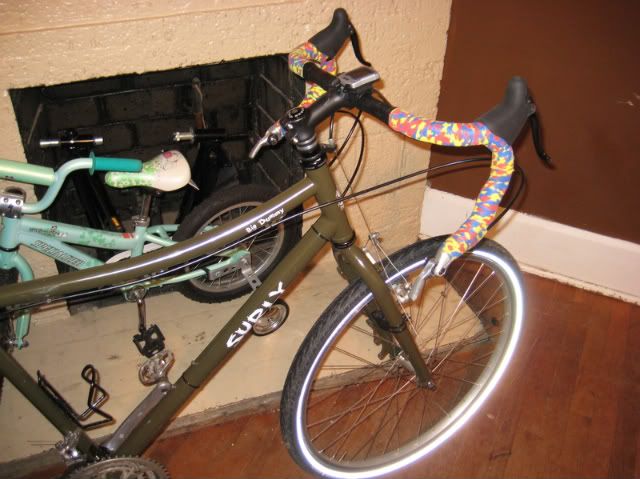
I just built up my Dig Dummy and thought I'd share some of the details. I know it's a bit long, but I'm a wordy person.
The frame is a 20 inch Big Dummy that I ordered as a frame and fork from my LBS.
A little background here. I'm about 5' 11" and this 20 inch frame rides nicely with drops and
100mm stem that has about a 10-15 degree rise (I don't remember the exact rise sorry). Granted
I do have more torso than legs and was going to order an 18 inch frame, but this one fits nicely.
My overall impression is that this frame is very well built. Nice clean welds and a very good job on the powdercoat.
The only thing I had to do to prep the frame was chase the threads on the bottom bracket.
Other than that this frame was good to go.
For the build I used components that I've been hoarding since I first read about the Big Dummy
at interbike 2006. Yeah, I'm one of the dorks that's been waiting 2 years for this frame.
The only component I didn't have were the wheels. Everything else was in a parts bin or off
another bike.
Also, I haven't ordered my xtracycle components yet. I wanted a bike in hand before I ordered
the rest.
Here's a list of my components:
Salsa Bell Lap Moto Ace bar
Tektro Road Brake Levers
Dura Ace Bar End Shifters
Paul Touring Canti Brakes front and rear
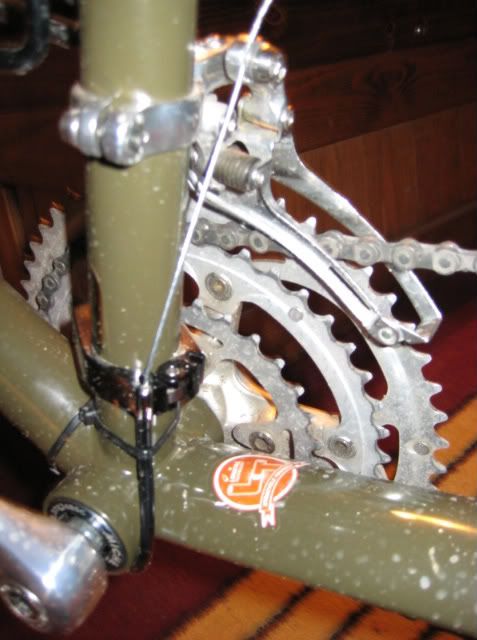
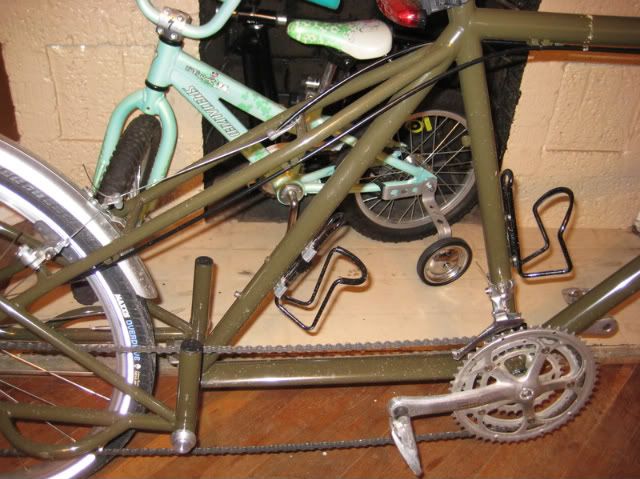
Campagnolo Veloce Triple Crank (52/42/30)
Miche 112mm Bottom Bracket
Shimano Ultegra Frond Derailleur
Shimano XT Rear Derailleur
Shimano XT Cassette 11-34 9 Speed
Brooks Team Pro Saddle
Thomson Elite 27.2 330 silver seatpost
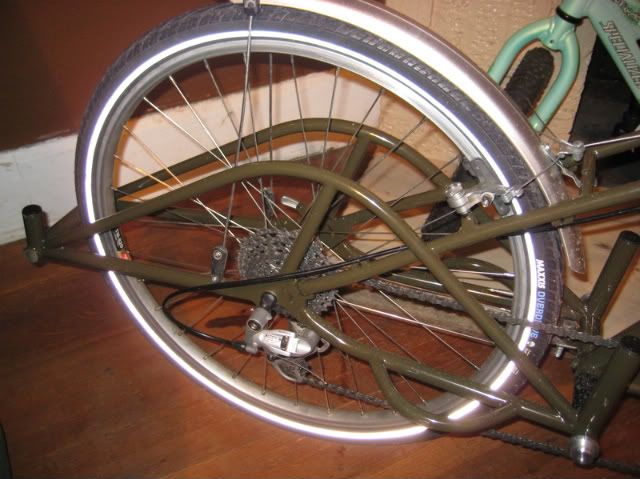
Maxxis Overdrive wheels 26x1.75
The wheels are some Araya wheels that I had laying around. My real wheels aren't done yet.
However when they are, they'll be Shimano XT hubs laced to Salsa Gordo rims. Front will be a
disc compatible dyno hub, while the rear will be disc compatible. All black.
The bike went together easy enough. There were only a few challenges that were easily solved
just by looking at the problem and applying a little common sense (and some outside the box thinking
from time to time).
The brakes work well with this bike. Also, Paul Canti's have to be the easiest Canti Brakes
I've ever set up.
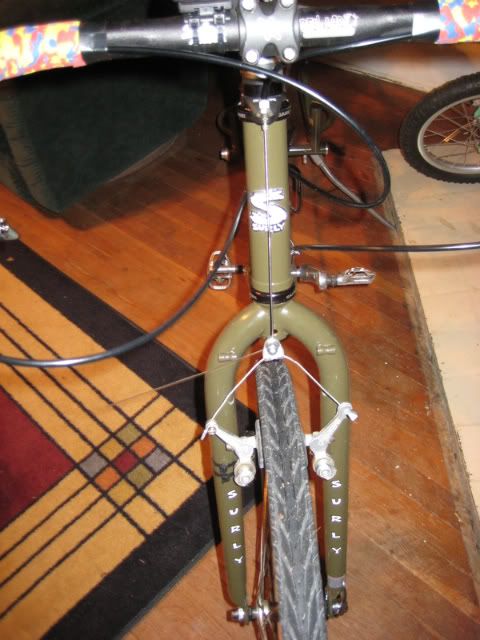
Initially, I thought the rear Canti would be more difficult to set up. It was a looong way from the
seatpost to the straddle wire on that Canti. Luckily, I was able to attach a rear cable hanger
and route the cable well enough. Works much better that I expected it to.
Drivetrain went in easily too. The big problem I was expecting was my front derailleur. The
Big Dummy is designed to use a Mountain Bike style Top-Pull derailleur. Well, since I was
using Campy cranks, that was out of the question. There are no Top Pull FD's that will
cover a 52 tooth ring. I thought about removing the big ring and putting a bash guard there and
just buying a FD that would work with my 42 tooth ring, really how often would I use a 52 crank
on a Utlilty bike anyways (I know you're all thinking that)? However, you really don't see
many bash guards on the market with a BCD of 135. So I thought it out.
Problem Solvers makes cable stops that would generally work great in this situation. I had actually
sort of anticipated this and ordered one a while back. My goal was to place it on the downtube
about where bar shifters would go and just route it like any other cable. Unfortunately, the downtube
on the Big Dummy is huge. Almost 35mm IIRC. So that didn't work. I ended up using a few zip ties
and putting the cable stop on the seat tube. It works pretty well and was much cheaper that
having to buy a new derailleur.
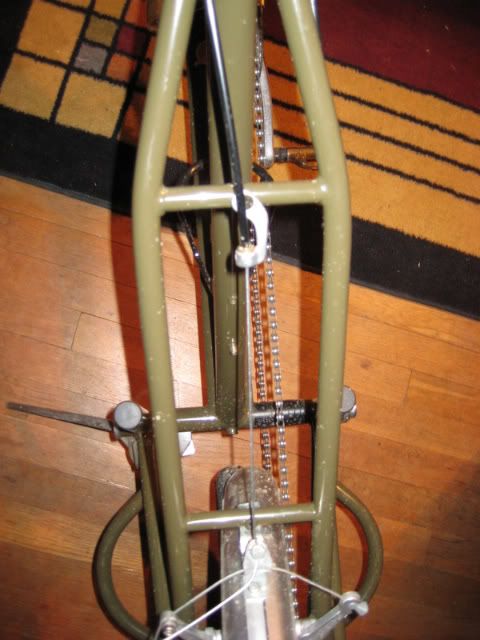
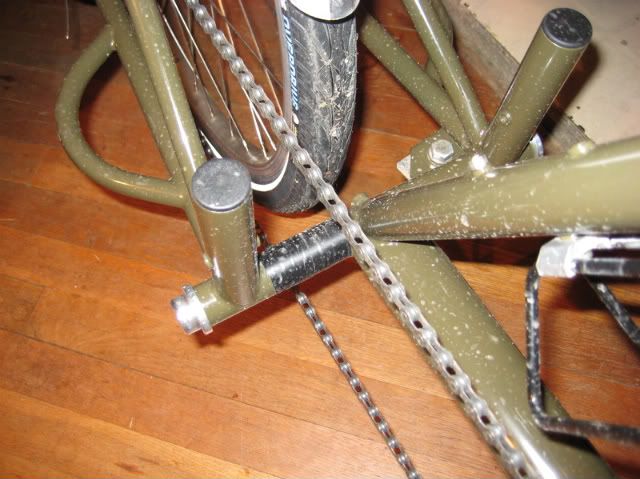
The chain is a little longer than 1.5x a regular chain. I also put some tape on the cross member
to prevent any chain slap. However that hasn't been a problem yet. As you can see I have plenty of
chain clearance. This pic is about middle on both ends of the drive train.
This bike rides very smoothly. Handles well, but does take a little getting used to. I think
one good 15-20 miles ride should make you about as comfortable with it as you can get. However,
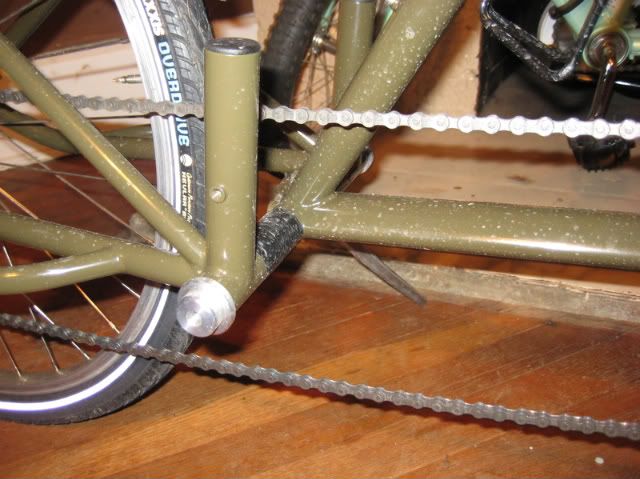
I would also recommend putting a little tape of some sort on the rear of the frame on the part
that looks like footsies. Until you get used to the extra length of this bike, you're gonna
turn a few corners too sharply. Trust me, I know this because I've already scuffed the powdercoat
in that very spot. In the picture below it's the semi circle in the bottom right hand side of the
picture.
Man I love this bike. Reminds me why I went car free two years ago. Hopefully it will
help ease some of the hard parts about being car free as well.
Hope this has been helpful for those of you that are either building up your frames, or waiting
on them to arrive soon.