Originally Posted by
rtciv
That's a very good looking trailer, Gareth! I will come back later to ask you about "painting" it and such.
I may also need some more tubing, since I need to construct the "wrap" around the outside of the wheels, to hold the outer drop-out. I think I'll use dropouts cut from actual bike forks, to save fabricating those from plate metal..
Have you considered using the front forks and headset tube from something like a cheap kiddies BMX?
If the complete head set tub was cut away from the rest of the frame, it could be used in conjuction with a couple of quick realese type pins, so that wheels and forks rotate through 90 degrees for storage.
This is not my idea, but one gleaned from another single wheel bike trailer project that I found posted on the internet:

The painting of my 2 wheel bike trailer was a relatively simple and straight forward affair, as I brush painted it with three coats of paint; Hammerite red-oxide primer/undercoat, Hammerite smooth dark blue topcoat, and finally a coat of hammerite hammered dark blue. Here is a copy and paste from my bike trailer blog on;
www.overthegate.com
"I'll bet that you lot had thought that I had forgotten about my Bike trailer, and it had become an abandoned project.
Well, you were not far off the mark; working hard on the Ocean Observer, meeting Lois and forming a new relationship, and my new virgin plot allotment have consumed a lot of time recently. But last week I had the opportunity to finish the rubbing down to bare metal and repainting my two wheel bike trailer at long last; it's only taken me 9 months to get around to it.
Anyway last week I got the paint on, and over the weekend I actually managed to reasemble the trailer. As it was me, one incident, and one technical problem arose.
The incident;
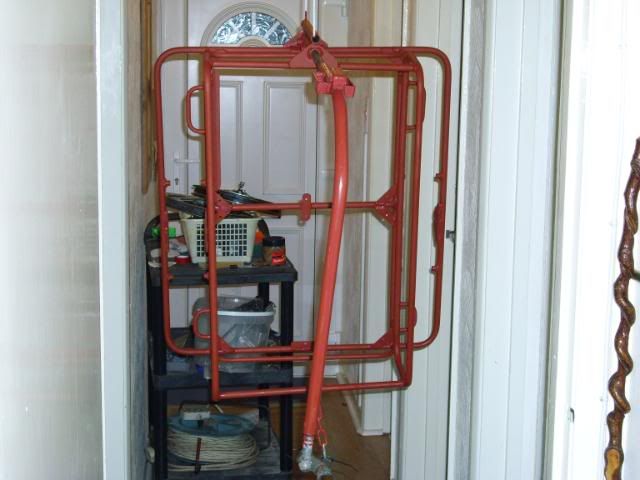
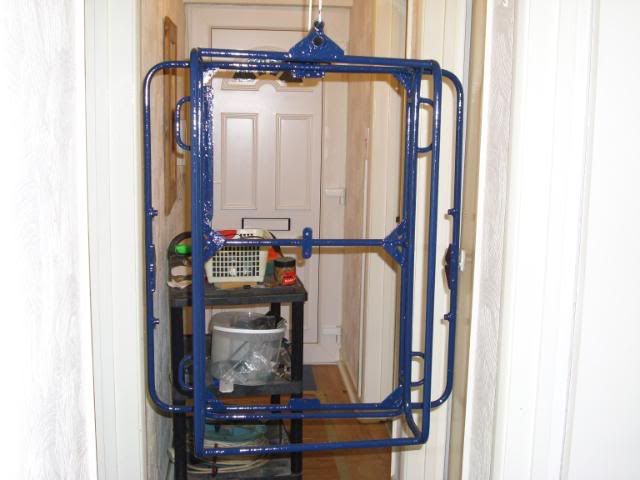
I spent all of Thursday painting: One coat of Hammerite Primer undercoat, one coat of Hammerite Smooth dark blue top coat, and one coat of Hammerite Dark blue hammered finish paint. Because I live in a smallish ground floor flat without a garden, I chose to undertake the work in my internal hallway. Suspending the bike trailer from a piece of timber resting on the toilet, and bedroom door frames. All well and good in theroy, but damn well dangerous in practice.
I had opened all of the five windows and internal doors in my flat to allow ventilation, but there was no wind, and therefore no draught. At approx. 5 pm, Lois found me passed out on the sofa. I had stopped for a cuppa after finishing the third and final coat of paint, but had not realised that the paint fumes had built up. I was awoken abruptly by Lois, and dragged outside into the fresh air, and it took a good few minutes and a little "mouth to mouth" for me to return to my senses. So if it says use in a well ventilated area on the tin, follow that advice, and if possible do the painting outside.
The problem that has arisen;
Originally, 10 years ago this Bicycle trailer was designed and built to be towed behind a fixed frame mountain bike on 26 inch diameter wheels. My Falcon Explorer has 700c diameter wheels fitted, and therefore the the trailer's drawbar is not long enough to fit to the seat post; my chosen towing point. I now have to make a new bracket to fit onto the rack of my current bicycle, and it may be another couple of weeks before I am tearing about Norwich with trailer loaded with shopping, etc. following behind me.
The bike trailer hanging from the door frames and the first coat of red-oxide primer on;
[img]
[/img]
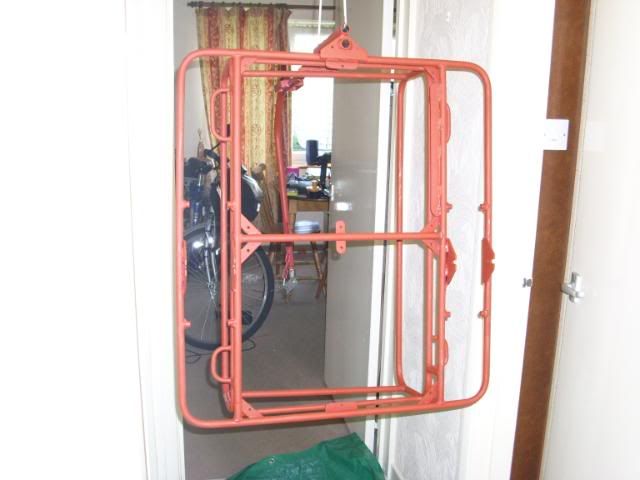
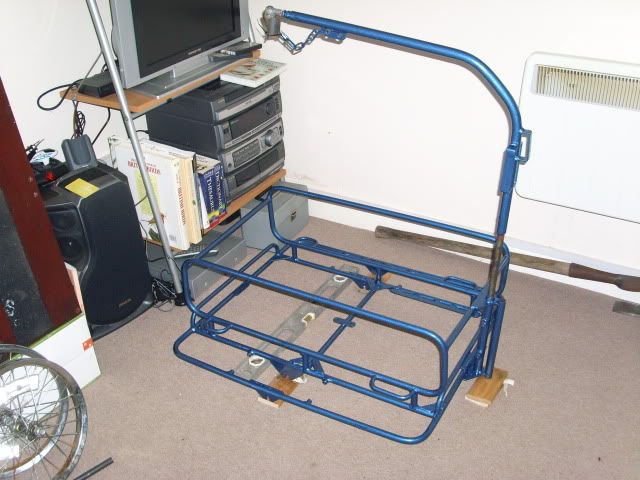
This will give you some idea how small my place is; Who else do you know who keeps their bicycle and bike trailer in their living room? ROFL .
[img]
[/img]
[img]
[/img]
The smooth finish dark blue topcoat on;
[img]
[/img]
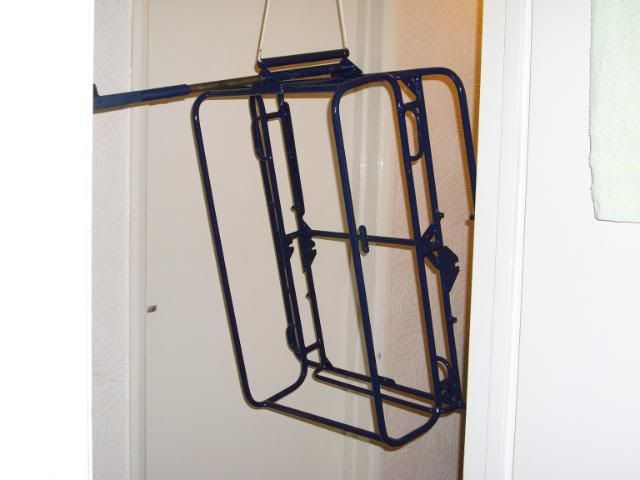
The hammered Blue topcoat on.
[img]
[/img]
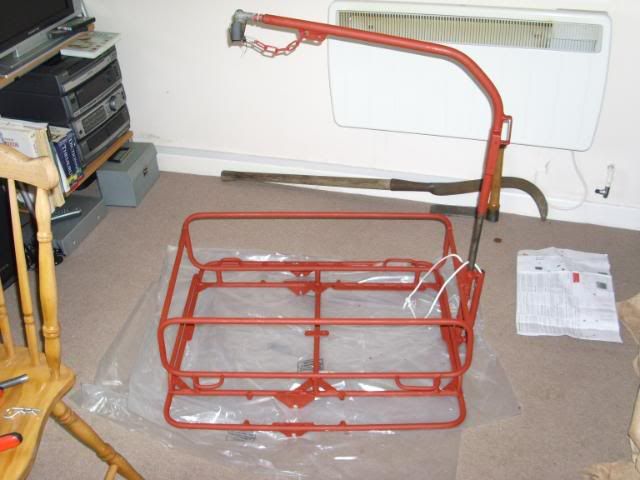
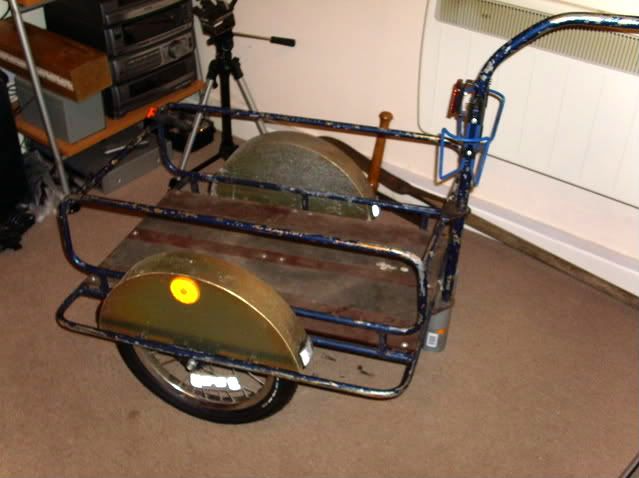
The bicycle trailer frame paintwork completed.
[img]
[/img]
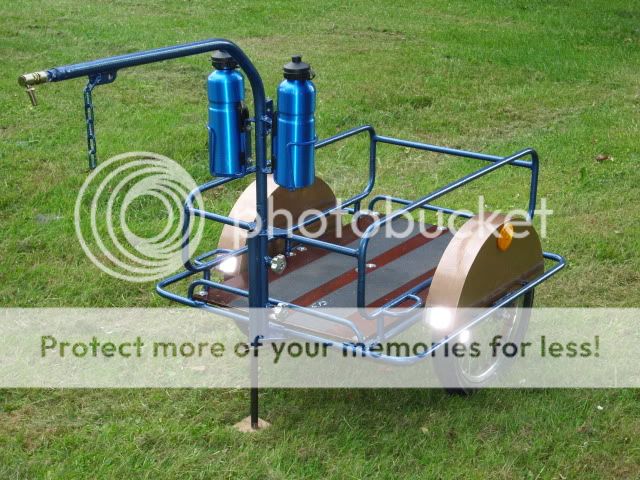
The bicycle trailer refurbishment is now finished,
From this;
[/img]
 To this:
Note; I have fitted my two drinks bottles for the photo.
To this:
Note; I have fitted my two drinks bottles for the photo.
[img]
[/img]
[img]

[/img]