Thought I'd go ahead and make this a build thread....
The Story:
I purchased this 2001 Merlin Agilis frame new in 2002 from Colorado Cyclist. I sold the bike to a good friend in 2005. He then sold it to a mutual friend in 2007. The bike was ridden, but not much. Oddly, I bumped into the dude who owned it at a coffee shop about two weeks ago. He mentioned that he still had the bike but was getting a new Quattro Aussie. I asked him what he was going to do with the old Merlin frame... he replied:
"I don't know, I guess sell it... why? You wanna buy it back?"
I said
"how much?" (expecting a big number).
He replies, "
I dunno... how's $300 sound?"
I wrote him a check on the spot and picked up the bike 2 hours later. Still got the original owner's manual.
The sentimental value of this frame is now priceless and I will never sell this bike again. I will own it until it dies or I die... whichever comes first. (probably me).
I hope to have the build done in time for some cool November rides in the NC fall season. Can't wait!
It's great to be a Ti owner again. It's amazing how you can spend a few hours with a scotch brite pad, some steel wool, some Pledge, invest $25 in some new decals... and voil�! Bike looks like the day you bought it! How cool is that?
here's a ongoing build thread.
when I got it back...after 2 days of scotch brite scrubbing and #0000 steel wool New decals also applied.

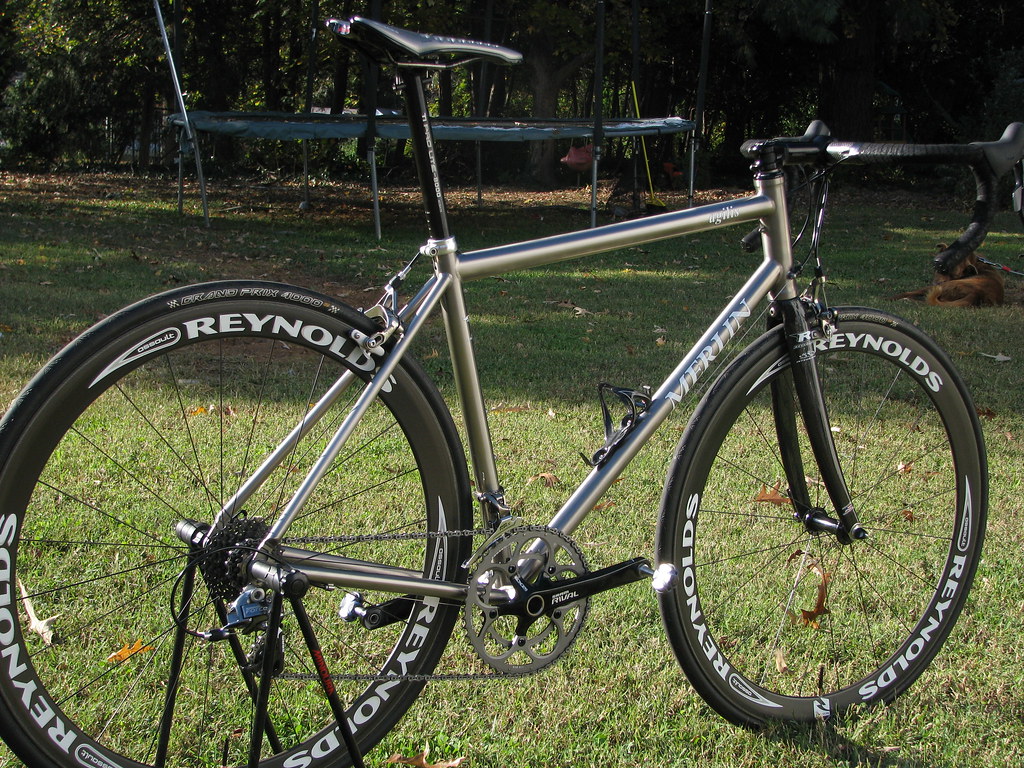
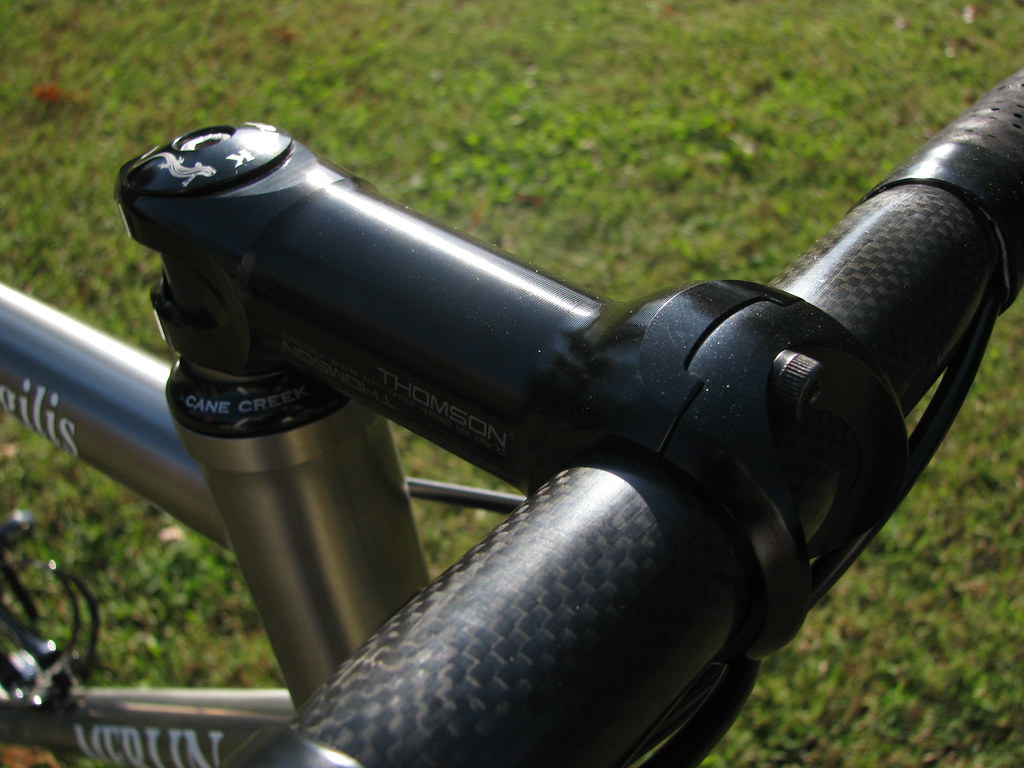
Cane Creek headset, Thomson X2 Stem, and ITM 101 Handlebars (refinished to matte black) added.

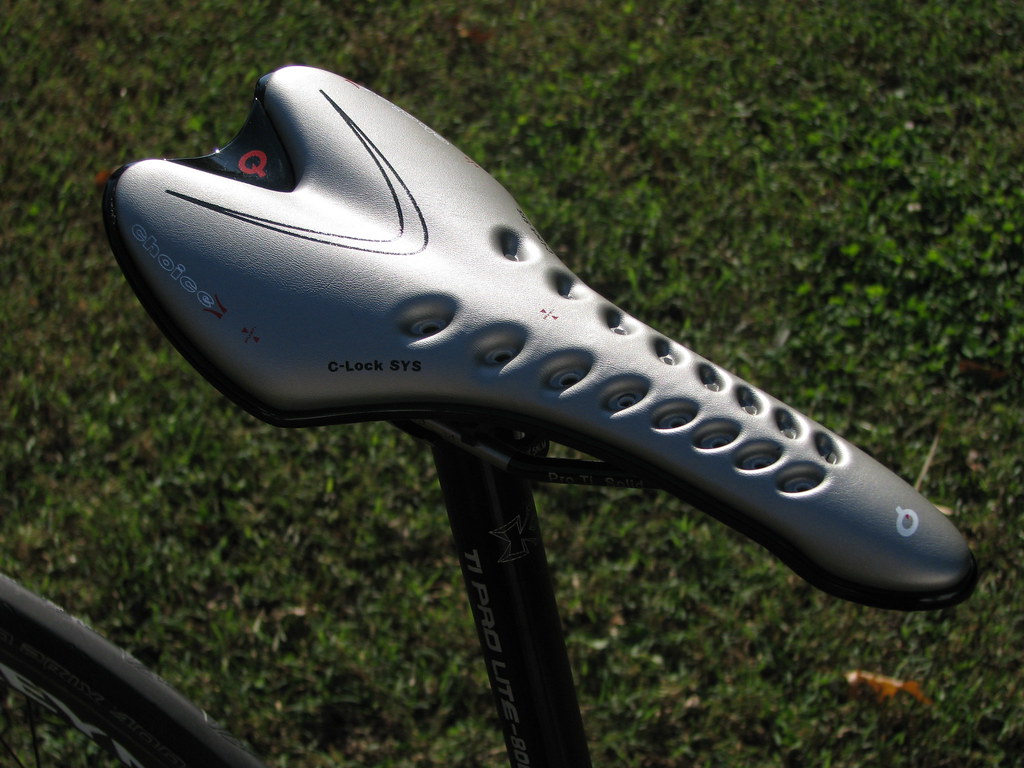
9/22/09: Added SRAM Force Rear Derailleur, Front Derailleur, and Brakeset. Also, KCNC Ti Pro-8000 Post, Selle Italia SLR Saddle, and some Reynolds Assault wheels.

Next: Force Brakes, Rival shifters/crankset...
Many ask how I restored the frame to such a "like new" condition:
Begin with "kitchen grade" pad (the green kind) for bad scratches. Then finish entire bike with the "grade A" kind (brown color). Cut into thin 1" strip. then quickly, briskly, and lightly buff over tubes up and down in a uniform pattern on the frame (around the tubes... not long ways). Do this for while. Eventually it will begin to look like a new frame. I also use steel wool super fine grade which is #0000. in between. Scotch brite, then steel wool, then finally scotch brite again. Got ithe steel wool and grade-a scotch brites at local hardware store. Once done... I hit it with a soaking of windex...wipe it down, then buff it with Pledge. Looks awesome. Go get a six-pack, make sure your not rushed, and spend a few hours. It pays off.
Applying new decals to Ti?
Peel clear backing off decal. Place decal on frame (be exact, once on, you can't move it). take a credit card and pre-burnish it (rub it briskly to create friction and separate the decal from the backing). Now remove the white backing... you now just have the decal with the clear plastic. Now continue to "burnish" the decal briskly with the credit card until it pulls away fro the plastic backing. Your goal is to transfer the decal from being attached to the clear plastic to being part of the frame now. There's way more to it than putting it on like a windshield decal or bumper sticker. Completely different animal. Now, Carefully peel the backing away... if it starts to peel the decal off... stop... put back on and keep burnishing until it works. It took me like 20 minutes per decal on the big Logos... the small one's came off quick. Good luck.
After pouring through old disks and USB hard drives I was lucky enough to find a photo of this bike back when I originally owned it. Rockin an Ultegra 9-speed with black Ksyriums.

Final:
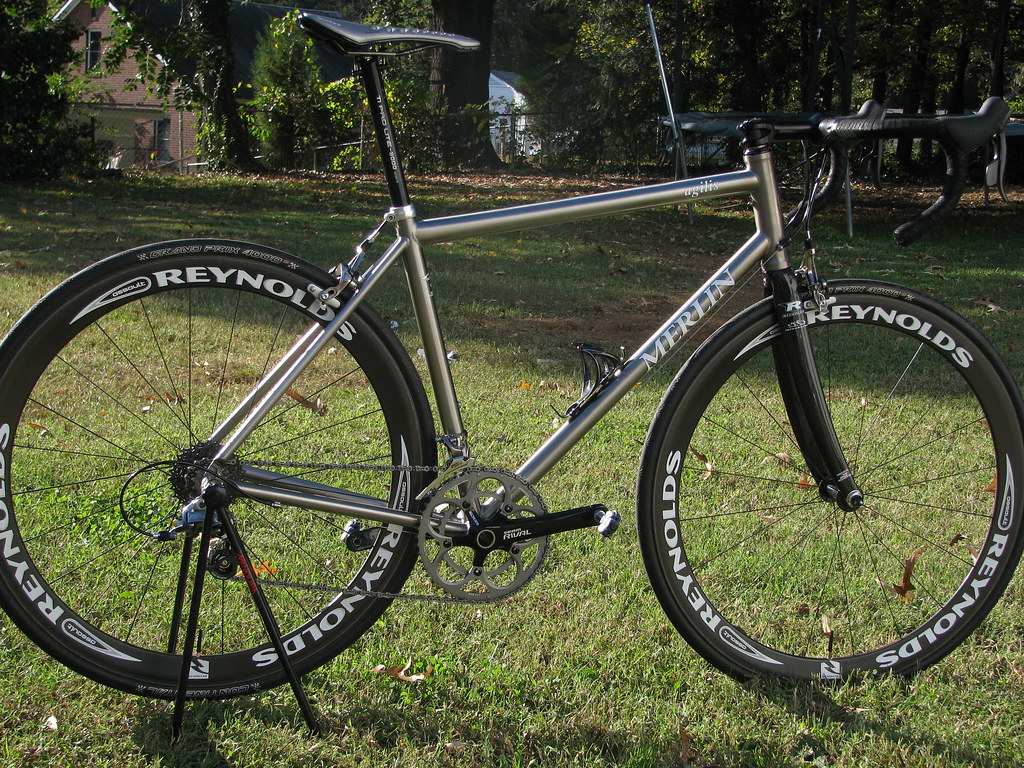


Only planned upgrades now are a new fork, KCNC Skewers, a Ti seat post collar.