


Single Pivot Brake Squeal
 03-16-19 | 02:04 PM
#26

Senior Member
Joined: May 2013
Posts: 2,036
Likes: 550
From: Pacific Northwest
Bikes: �87 Marinoni SLX Sports Tourer, �79 Miyata 912 by Gugificazione
I put a rubber band around the back end of each pad when adjusting them to achieve toe-in. I use Kool-stop salmon pads in their holders that allow enough motion for toe-in and rim surface matching.
When I had a front dual pivot brake that resisted these methods and still squealed occasionally, several wraps of Teflon pipe sealing tape around the brake attachment “nut” solved the problem.
When I had a front dual pivot brake that resisted these methods and still squealed occasionally, several wraps of Teflon pipe sealing tape around the brake attachment “nut” solved the problem.
 03-16-19 | 02:28 PM
#27

Thread Starter
Senior Member

Joined: Aug 2010
Posts: 2,849
Likes: 2,415
From: Wurundjeri Country
Yes, that�s what I do with my bikes that have the concave/convex washers that allow for toe in adjustment. The �problem� with the old holders is they bolt straight onto the caliper arm.
03-16-19 | 09:27 PM
#28

Ride, Wrench, Swap, Race
Joined: Jan 2010
Posts: 9,835
Likes: 1,816
From: Northern California
Bikes: Cheltenham-Pedersen racer, Boulder F/S Paris-Roubaix, Varsity racer, '52 Christophe, '62 Continental, '92 Merckx, '75 Limongi, '76 Presto, '72 Gitane SC, '71 Schwinn SS, etc.
My standard for accelerating the mating of the pads to the rim is to force some heavy beltsander belt cloth past the brake pad surface under the exact alignment and direction as when using the brakes while riding. This simulates the first hundred miles of riding in just seconds.
Applying the brake while rotating the wheel forward with the belt moving with the wheel:
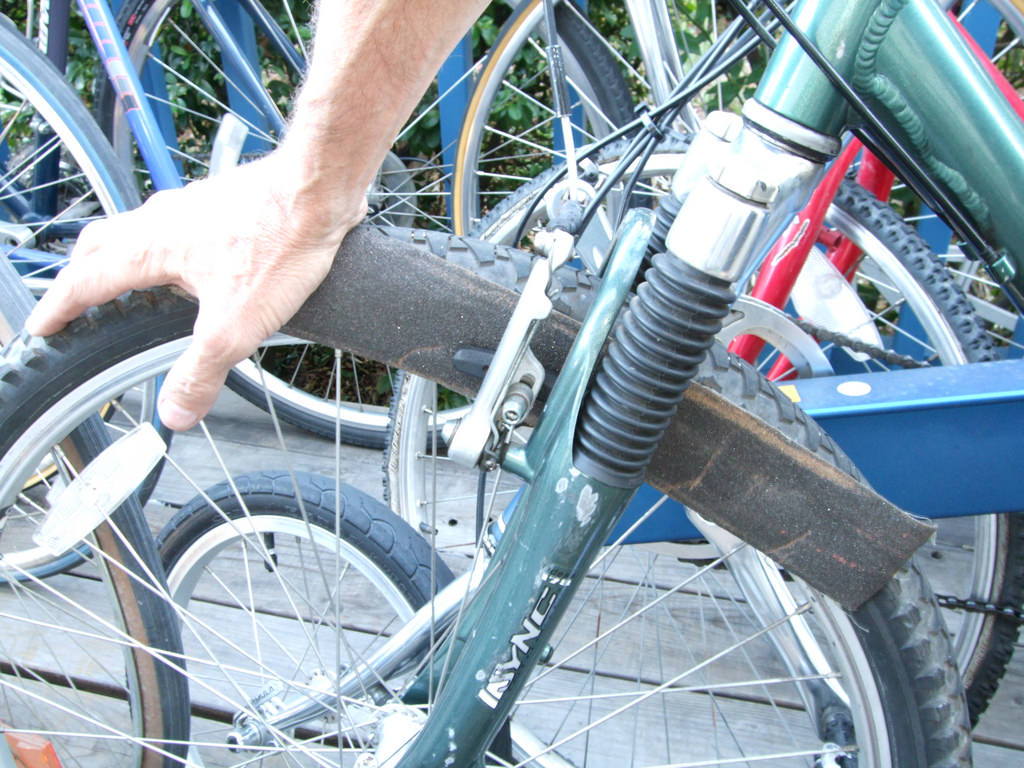
Note that Kool-Stop's black compound is their grippiest, so most likely to squeal.
The pink compound is all-weather, with iron oxide and less grippy.
Loose pivots don't actually move with the squeal frequency, since the elasticity of the arms, cable and pads keeps the pivot loaded uni-directionally under braking force. Nearly all of the squeal motion thus occurs in the pad itself and the flexing arm.
Sloppy pivots can affect the effective pad toe however, since the pad will change angle in three dimensions as the pad first hits the rim and all freeplay is taken up by the constant braking force. As such, note that the accelerated bedding-in process pictured above has all slack preloaded out of the pivots in the exact direction as when braking, so the leveling of the toe under force is indeed level with the rim surface.
Additional toe can be quickly applied to the pad surfaces with a stone in a high-speed Dremel tool once the wheel is removed. I would not bend a Campy caliper.
One first thing to check for is whether the toe is equal on both pads, and if not the caliper may need aligning at it's mounting point.
The most common cause of squeal is too much friction, as when the air is humid.
Applying the brake while rotating the wheel forward with the belt moving with the wheel:
Note that Kool-Stop's black compound is their grippiest, so most likely to squeal.
The pink compound is all-weather, with iron oxide and less grippy.
Loose pivots don't actually move with the squeal frequency, since the elasticity of the arms, cable and pads keeps the pivot loaded uni-directionally under braking force. Nearly all of the squeal motion thus occurs in the pad itself and the flexing arm.
Sloppy pivots can affect the effective pad toe however, since the pad will change angle in three dimensions as the pad first hits the rim and all freeplay is taken up by the constant braking force. As such, note that the accelerated bedding-in process pictured above has all slack preloaded out of the pivots in the exact direction as when braking, so the leveling of the toe under force is indeed level with the rim surface.
Additional toe can be quickly applied to the pad surfaces with a stone in a high-speed Dremel tool once the wheel is removed. I would not bend a Campy caliper.
One first thing to check for is whether the toe is equal on both pads, and if not the caliper may need aligning at it's mounting point.
The most common cause of squeal is too much friction, as when the air is humid.
03-20-19 | 05:06 AM
#29
Thread Starter
Senior Member
Joined: Aug 2010
Posts: 2,849
Likes: 2,415
From: Wurundjeri Country
OK, so I gave the pads a heavy sand with a 60 grit paper and gave the rims a light sand with a 600 grit wet and dry paper...because that was the roughest I had save the 60 which I thought was too rough.
I�ve only ridden around the block, but early signs are good. The rear is silent and the front only squeals under heavy braking, which I can live with, but I might get a rougher wet and dry and give the rims another go.
Stoked! Thanks everyone for your help.
I�ve only ridden around the block, but early signs are good. The rear is silent and the front only squeals under heavy braking, which I can live with, but I might get a rougher wet and dry and give the rims another go.
Stoked! Thanks everyone for your help.
03-20-19 | 02:09 PM
#30

Senior Member

Joined: Oct 2005
Posts: 1,885
Likes: 843
From: Santa Barbara Calif.
For folks like me riding old bikes with steel calipers, toe in, no matter how you achieve it, won't wear in as the pads wear. What happens is the front of the pad contacts the rim first and then the brake calipers flex with more pressure so the pads contact the rim evenly. The toe in adjustment doesn't change.
03-20-19 | 02:41 PM
#31
Senior Member
Joined: Oct 2015
Posts: 6,280
Likes: 612
From: Los Angeles
Bikes: 78 Masi Criterium, 68 PX10, 2016 Mercian King of Mercia, Rivendell Clem Smith Jr
For folks like me riding old bikes with steel calipers, toe in, no matter how you achieve it, won't wear in as the pads wear. What happens is the front of the pad contacts the rim first and then the brake calipers flex with more pressure so the pads contact the rim evenly. The toe in adjustment doesn't change.
At any rate I'm glad the OP has solved the issue. Yeah, 80 grit is too coarse for sanding rims. My preference is for 220 or 320P, but it's not super critical.
06-22-19 | 02:29 AM
#32
Thread Starter
Senior Member
Joined: Aug 2010
Posts: 2,849
Likes: 2,415
From: Wurundjeri Country
Thought I�d give an update on this. While sanding the rims and pads certainly improved things, it didn�t take too long for the rims to polish up and start to squeal again. I also noticed there was a lot of shudder through the fork, quite visible and a little disconcerting.
So I took the drastic measure of trimming the pads at an angle to replicate toe in. I started sanding them, but that was taking forever, so I got the hacksaw out and started surgery. They were tricky to cut so finely, but the end result was OK.
I�ve only been for a short ride but early signs are good. The shudder has gone and there�s no squeal, they even feel a bit more solid. So I�ll be interested to see how they go over the next few weeks. I haven�t done the rear yet, but at the moment they seem to be OK.


Thread
Thread Starter
Forum
Replies
Last Post
brianinc-ville
Classic & Vintage
5
06-08-11 09:35 AM
