


OCD (grrrr...)
 05-16-20 | 05:43 AM
#1
Thread Starter
Senior Member


Joined: Feb 2020
Posts: 4,001
Likes: 2,317
OCD (grrrr...)
Picked up a mid-80s Peugeot berceau, five speed. Plan was to fix and flip.
Where to start?
650B steel rims, Positron II mech, alloy crankarms with steel rings, Altenberger Synchro brakes, nice alloy porteur bars, Soubitez bottle dyname and lights (all work), fenders and rear rack.
French threads, but all bearings are good. Tyres rotted, a little rust in spots.
The Positron is good, but has to go, the sort of person who would buy this shouldn't have to be looking for the parts when they break because they won't find them except for $$$. Ditto the 650B wheels, the brakes are long enough to reach 26" wheels and they and their tyres are much cheaper than 650B ones.
Everything else looks good....except....that rear rack attachment....
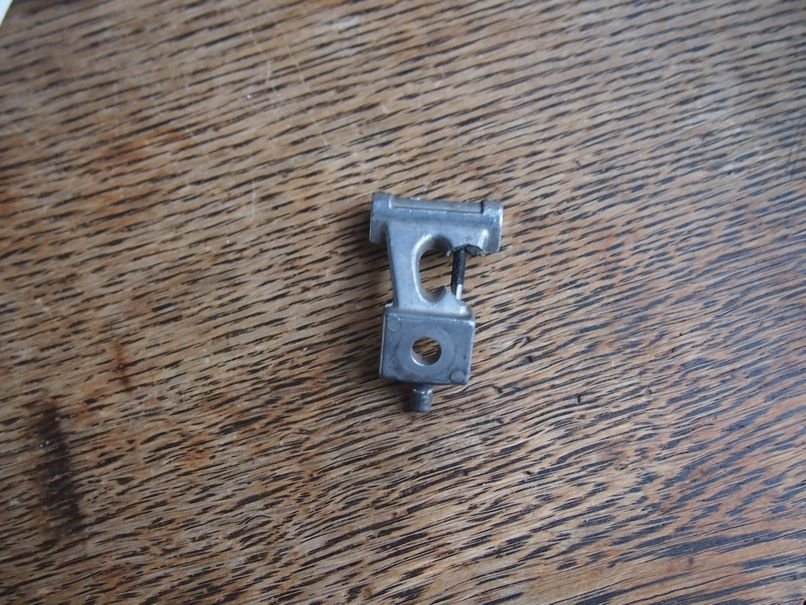
The rear rack attaches to the brake bolt through a special little casting, has a section to go around the brake bridge, then two* arms go up to a cross-wise tubular section that the rack bolts into. This casting also has a tit that goes through a hole in the fender, attached with a speed-nut.
Two arms, but one has broken.
To get that bit off everything else has to come off. Wheel, rack, dynamo and wiring (crimped under the mudguard edge), rack, rusted bolt and nut through the chainstay bridge, and that bloddy speed nut.
Could be replaced with a bit of thickish sheet bent and drilled in the right places, but that is a lovely bit of zamak even if broken...
So it gets fixed: drill a hole through the rack mount section down the axis of the missing arm section, into the lower end. Enlarge the first hole so the shank of a 3mm tap will go far enough to thread the first of the other holes. Turn down the end of a long 3mm machine screw so it will fit in the bare hole in the bottom section, measure and cut the screw, sawing a slot in the end, screw it into the casting far enough that the rack mounting screw will pass. Next step is to sculpt epoxy putty around the screw to match the good side:
Where to start?
650B steel rims, Positron II mech, alloy crankarms with steel rings, Altenberger Synchro brakes, nice alloy porteur bars, Soubitez bottle dyname and lights (all work), fenders and rear rack.
French threads, but all bearings are good. Tyres rotted, a little rust in spots.
The Positron is good, but has to go, the sort of person who would buy this shouldn't have to be looking for the parts when they break because they won't find them except for $$$. Ditto the 650B wheels, the brakes are long enough to reach 26" wheels and they and their tyres are much cheaper than 650B ones.
Everything else looks good....except....that rear rack attachment....
The rear rack attaches to the brake bolt through a special little casting, has a section to go around the brake bridge, then two* arms go up to a cross-wise tubular section that the rack bolts into. This casting also has a tit that goes through a hole in the fender, attached with a speed-nut.
Two arms, but one has broken.
To get that bit off everything else has to come off. Wheel, rack, dynamo and wiring (crimped under the mudguard edge), rack, rusted bolt and nut through the chainstay bridge, and that bloddy speed nut.
Could be replaced with a bit of thickish sheet bent and drilled in the right places, but that is a lovely bit of zamak even if broken...
So it gets fixed: drill a hole through the rack mount section down the axis of the missing arm section, into the lower end. Enlarge the first hole so the shank of a 3mm tap will go far enough to thread the first of the other holes. Turn down the end of a long 3mm machine screw so it will fit in the bare hole in the bottom section, measure and cut the screw, sawing a slot in the end, screw it into the casting far enough that the rack mounting screw will pass. Next step is to sculpt epoxy putty around the screw to match the good side:
 05-27-20 | 06:44 PM
#2
Thread Starter
Senior Member
Joined: Feb 2020
Posts: 4,001
Likes: 2,317
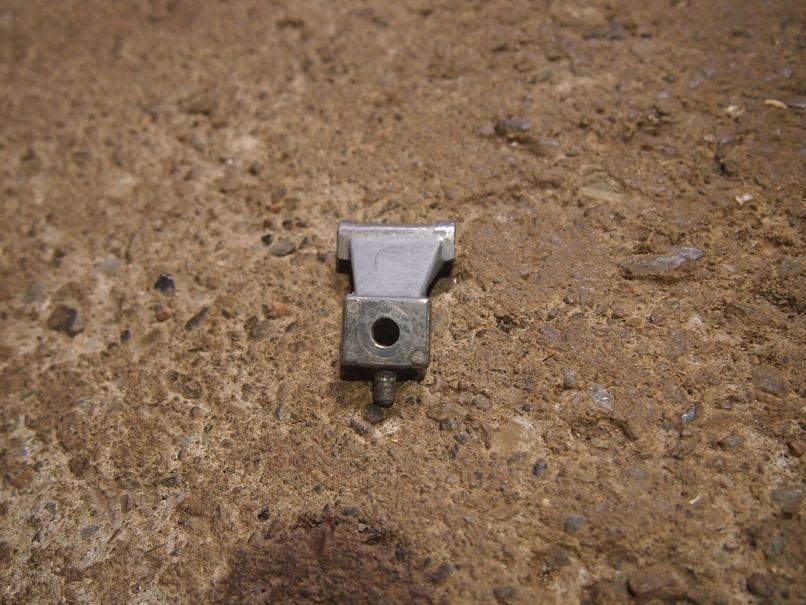
Ok, it's done good enough now.
I decided the screw should be threaded into the lower portion. The 3mm taps I have were too short, so I made a crude tap from a fresh screw. Sorry, no photos, but it is dead simple - just grind three flats making a tetrahedral point at the end of the screw. The casting is Zamak or some similar alloy, very nice cutting, so the made-tap bit right in and the threads were good enough. I actually made the tap twice, second time the flats were much more oblique so as to thread deeper into the hole.
Then same as before, cut the head off the screw and grind a slot in the end, put it in like a setscrew. After that some steel-filled epoxy, bit of work with files and then some dull silver paint:
