


Painting Pantographs
 07-29-21 | 07:33 PM
#1

Thread Starter
Senior Member


Joined: Jul 2004
Posts: 928
Likes: 103
From: Twin Cities
Painting Pantographs
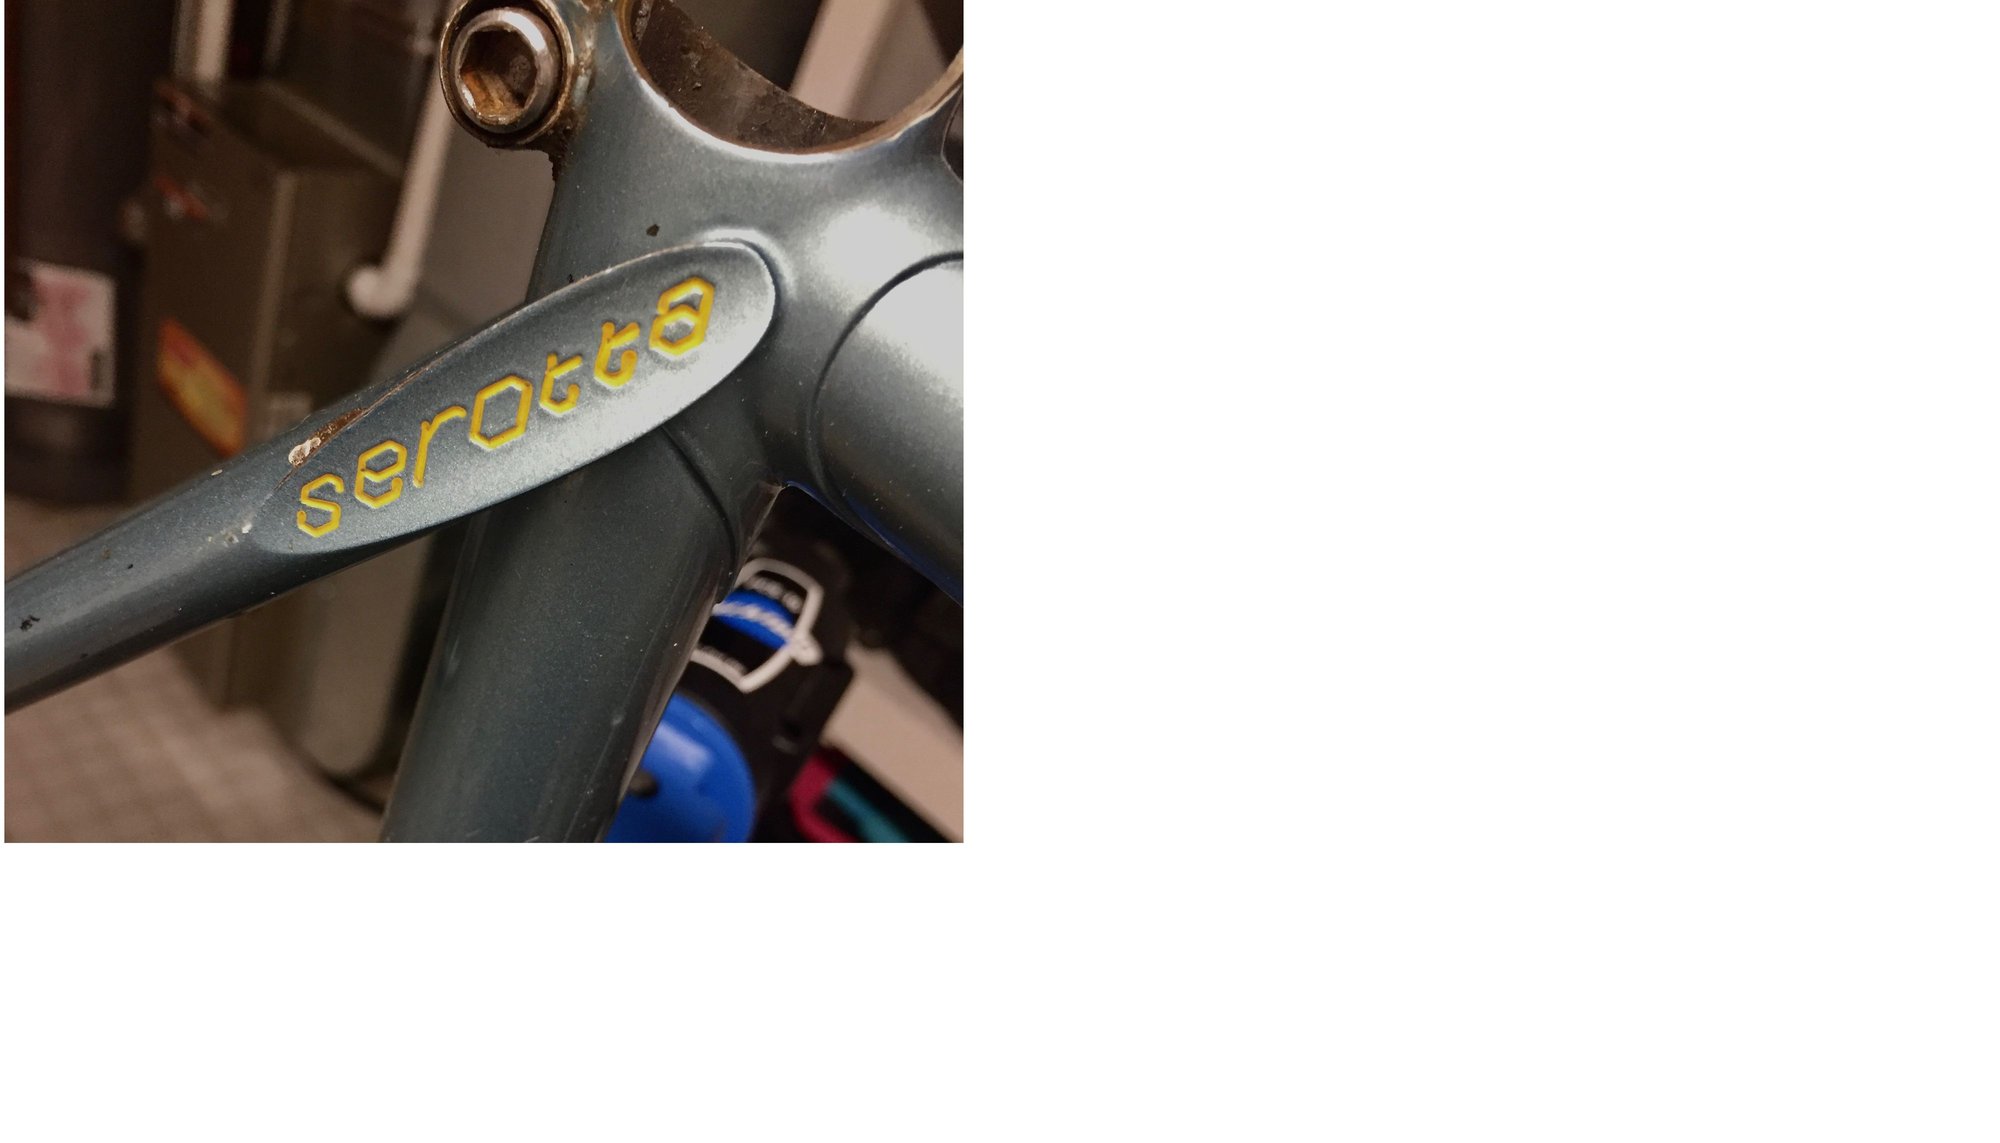
Any tips on painting pantographs on a old bike? I have an early-80s Serotta that I’m finally getting around to redoing - new paint and more modern hardware. I just don’t have experience in dealing with fine etchings on the frame and fork. What are your experiences?
__________________
Some days, it's not even worth gnawing through the restraints.
Some days, it's not even worth gnawing through the restraints.
 07-29-21 | 07:47 PM
#2

Senior Member

Joined: Feb 2008
Posts: 5,319
Likes: 4,828
From: Peoria, IL
that's something I've had an interest in, but never did it. Still, I do recall this getting discussed a few times in not-too-distant history. Hopefully a search will pull up the threads?
Steve in Peoria
Steve in Peoria


 07-29-21 | 08:47 PM
#5

Senior Member
Joined: Nov 2010
Posts: 22,994
Likes: 10,498
From: Sacramento, CA
Bikes: old ones
.
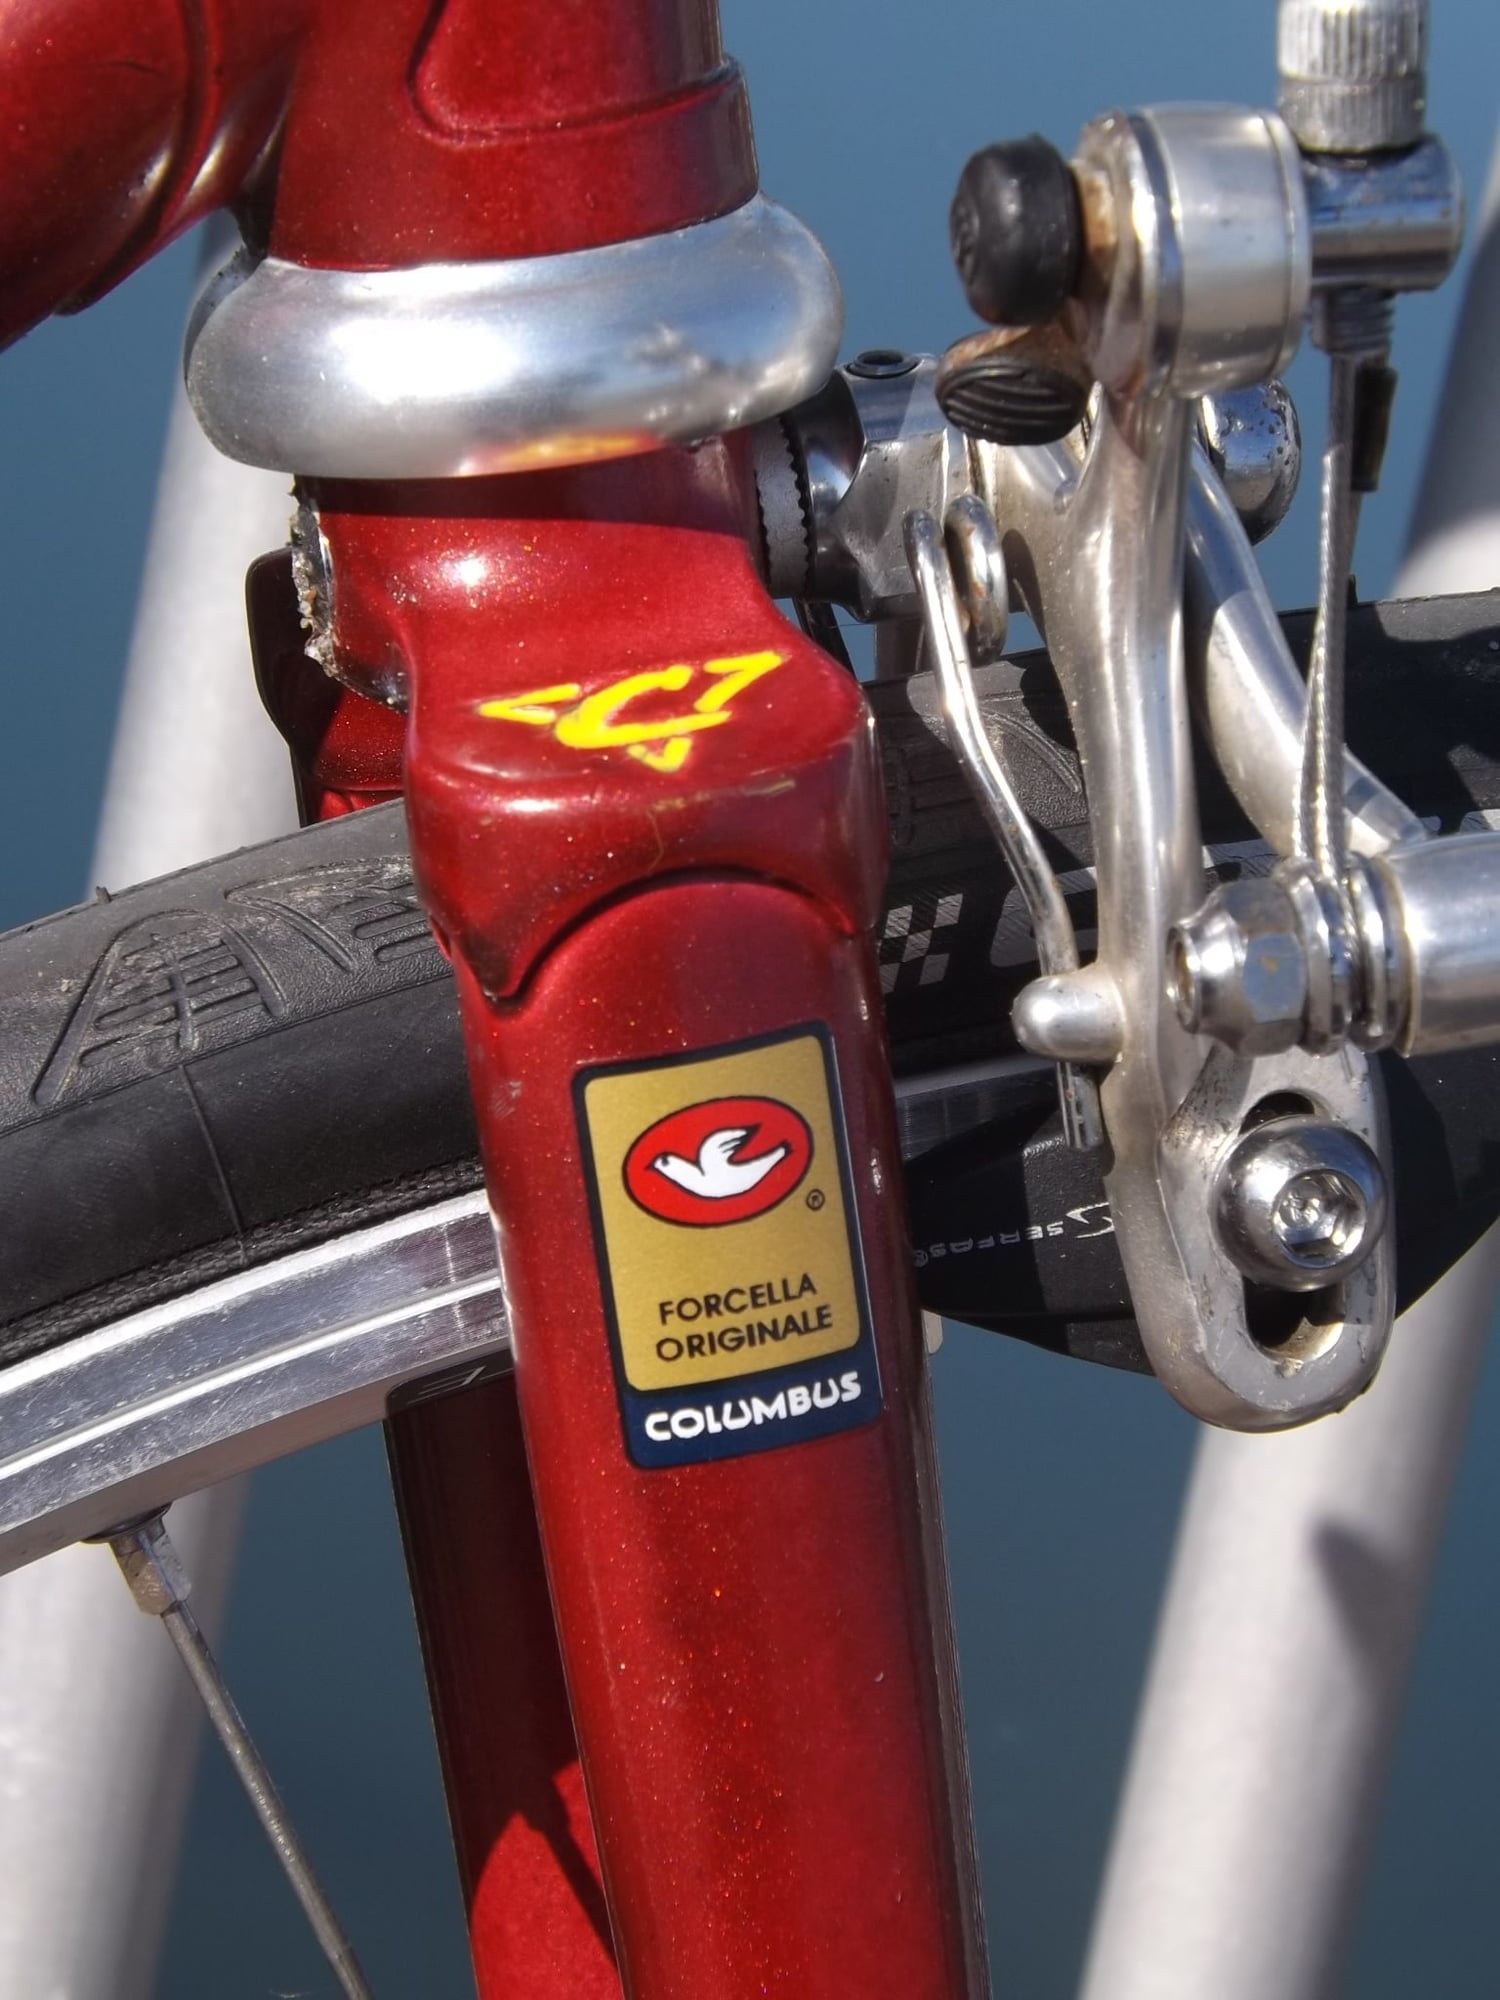
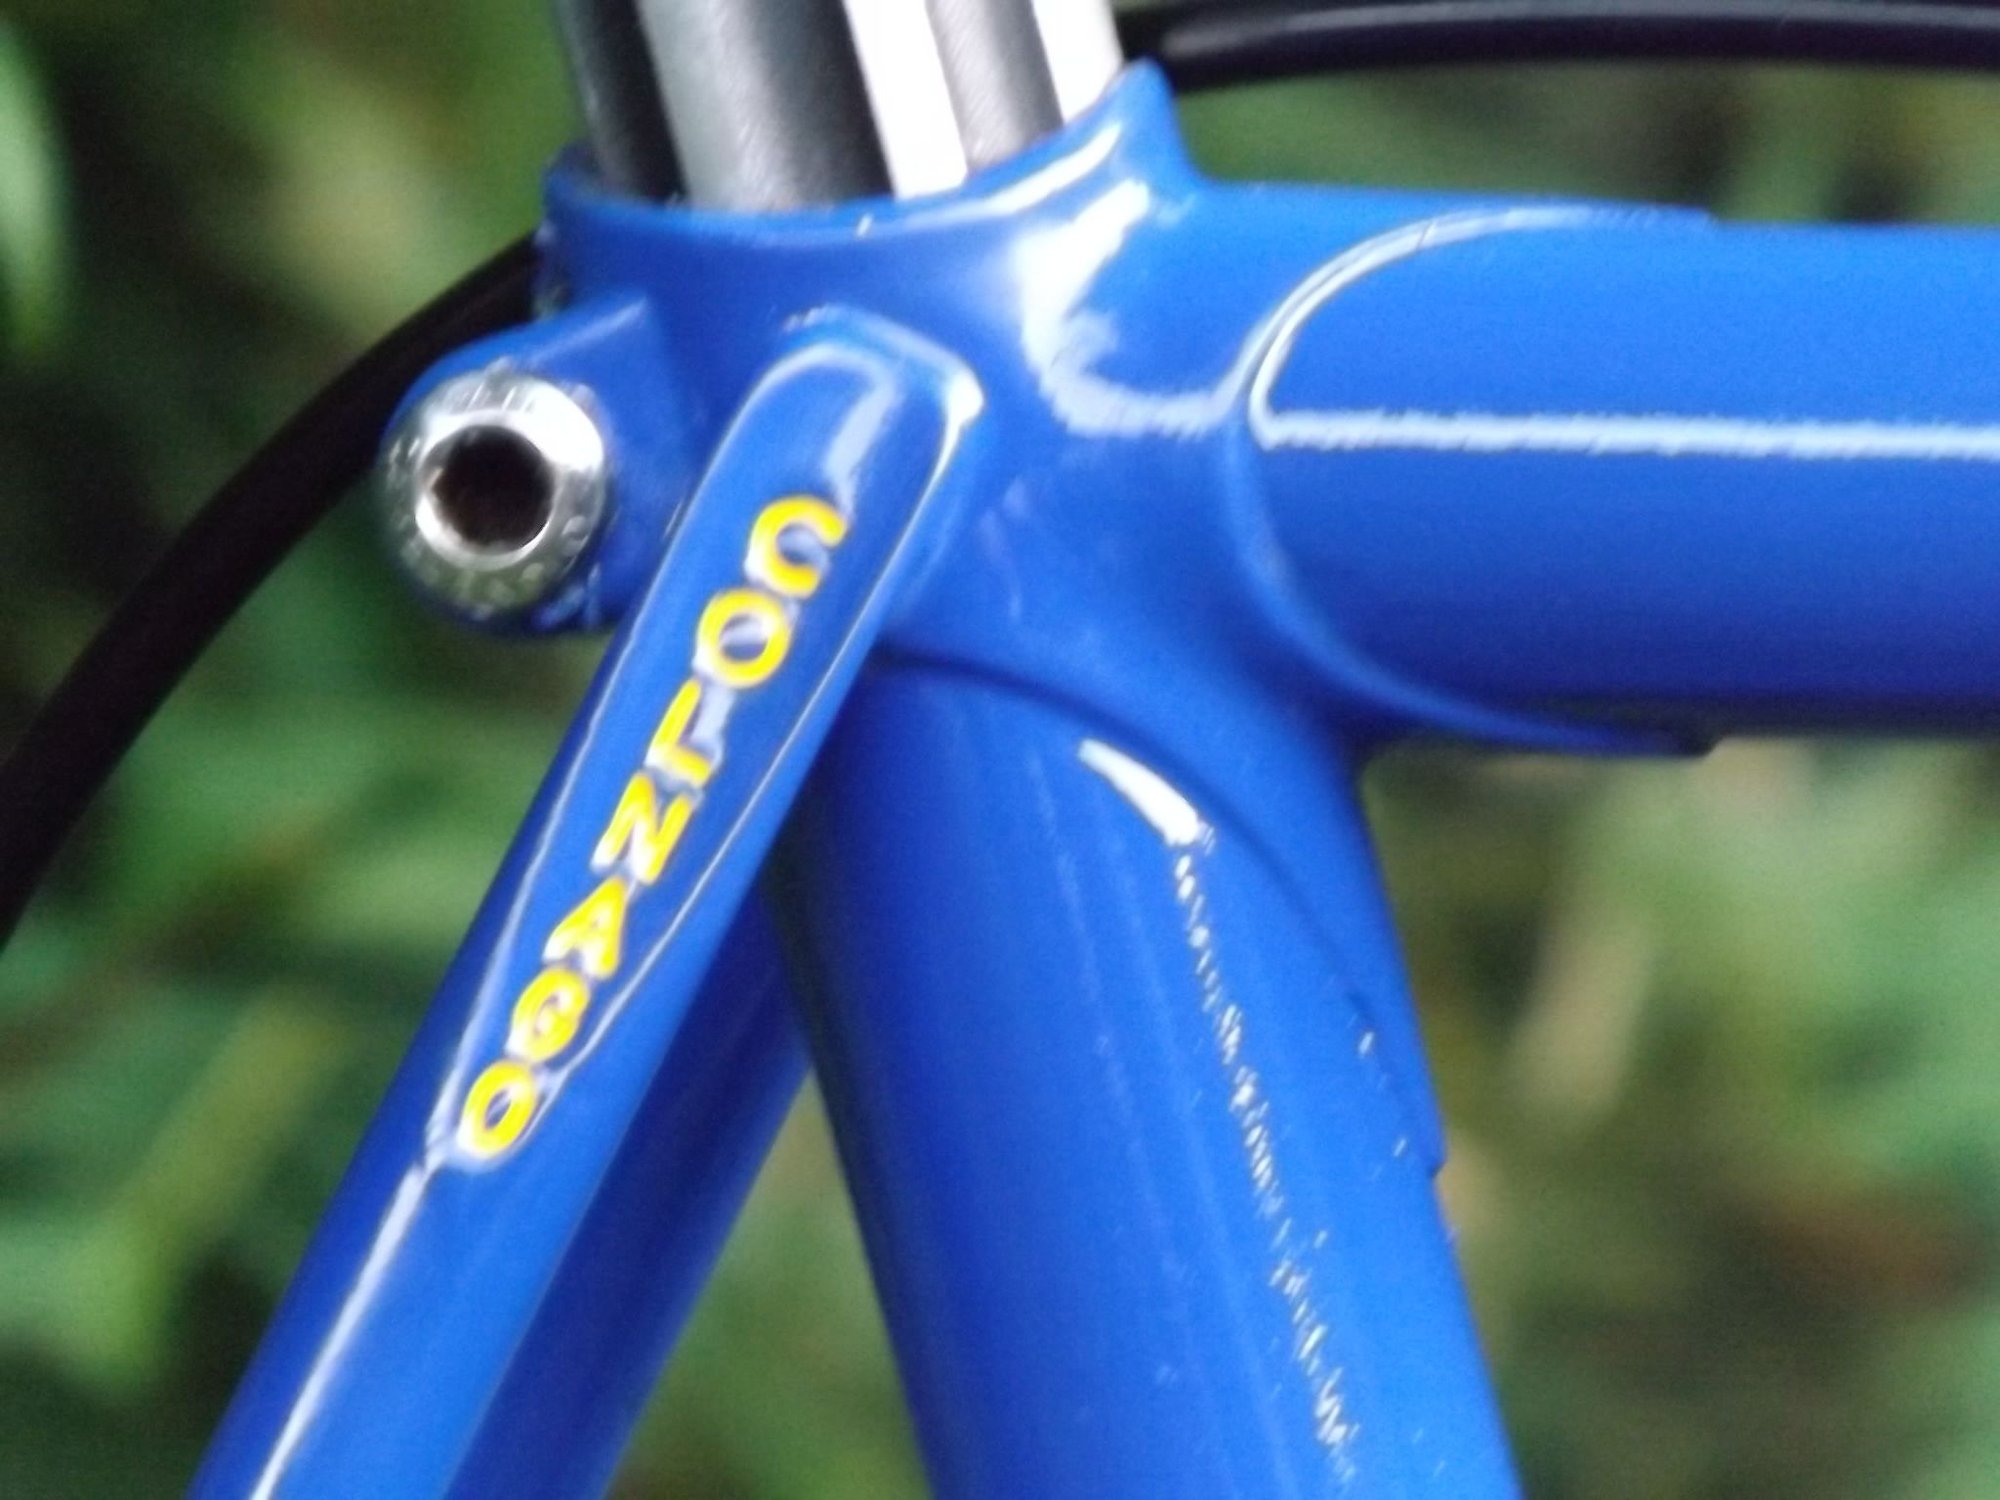
...this is how I do it:
1. Finish your repaint of the frame with a 2 part epoxy clear coat. Let that cure for about a week.
2. Use a fine artists brush or a paint pen to fill the pantographing with whatever contrasting color you picked.
3. Let that sit in there about five minutes until it starts to thicken.
4. Take a blue shop towel (the disposable kind, similar to paper towels), moistened with mineral spirits. Wring it out so it's not dripping.
Wrap a single or double layer of it around something like a dowel for a curved stay cap like that, or just a straight edged wood scrap for flat.
With a single swiping action, wipe off anything that you painted on there that has gone outside the clean, machined edge of the pantograph.
5. This will sometimes still leave some streaking on the bottom edge of your swiping stroke. You can usually clean that up with another part of the same blue, spirits moistened towel, around your finger.
6. With the advantage of the epoxy clear coat protecting your color coat, you get as many tries as you need, until you get it right. It's important to get clean, sharp edges.
...this is how I do it:
1. Finish your repaint of the frame with a 2 part epoxy clear coat. Let that cure for about a week.
2. Use a fine artists brush or a paint pen to fill the pantographing with whatever contrasting color you picked.
3. Let that sit in there about five minutes until it starts to thicken.
4. Take a blue shop towel (the disposable kind, similar to paper towels), moistened with mineral spirits. Wring it out so it's not dripping.
Wrap a single or double layer of it around something like a dowel for a curved stay cap like that, or just a straight edged wood scrap for flat.
With a single swiping action, wipe off anything that you painted on there that has gone outside the clean, machined edge of the pantograph.
5. This will sometimes still leave some streaking on the bottom edge of your swiping stroke. You can usually clean that up with another part of the same blue, spirits moistened towel, around your finger.
6. With the advantage of the epoxy clear coat protecting your color coat, you get as many tries as you need, until you get it right. It's important to get clean, sharp edges.

 07-30-21 | 05:11 PM
#6
Senior Member
Joined: Jan 2008
Posts: 12,940
Likes: 363
Paging Drillium Dude 😉
 07-30-21 | 06:36 PM
#8
Senior Member
Joined: May 2005
Posts: 1,498
Likes: 248
From: Southern Maryland
Bikes: A few
07-30-21 | 08:57 PM
#9

Bike Butcher of Portland

Joined: Jul 2014
Posts: 12,486
Likes: 8,054
From: Portland, OR
Bikes: It's complicated.
Paging Drillium Dude 😉
__________________
If someone tells you that you have enough bicycles and you don't need any more, stop talking to them. You don't need that kind of negativity in your life.
If someone tells you that you have enough bicycles and you don't need any more, stop talking to them. You don't need that kind of negativity in your life.
07-30-21 | 09:02 PM
#10
Senior Member
Joined: Oct 2013
Posts: 3,454
Likes: 910
From: Connecticut
Bikes: are fun!
