


Finally -- A Really Solid Bicycle Flashlight Mount with Photos
 09-21-07 | 01:50 PM
#26
Thread Starter
Senior Member
Joined: Apr 2007
Posts: 249
Likes: 0
From: Victoria, BC
Bikes: Bridgestone MB-5, Rocky Mountain Oxygen Race, Surly LHT, Specialized Roubaix Expert, Marinoni Sportivo, Steelwool Tweed
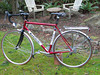
Here ya go: Here is my variation:
I used a Shark mount ($1.50) and a Planetbike QuickCam Mount ($3.50):
My girlfriend is a smart cookie, she made her mount in about a minute: (two zip ties)

My mount took about 10 minutes: (9 minutes thinking/experimenting, 1 minute execution:


The two Compared:

I used a Shark mount ($1.50) and a Planetbike QuickCam Mount ($3.50):
My girlfriend is a smart cookie, she made her mount in about a minute: (two zip ties)
My mount took about 10 minutes: (9 minutes thinking/experimenting, 1 minute execution:
The two Compared:
Needless to say, a close-up pic would be greatly appreciated.
Thanks
 09-21-07 | 08:16 PM
#27
Banned.
Joined: Jun 2007
Posts: 313
Likes: 0
Tools:
Screwdriver
Screw
Get the two Planetbike Quickcam mounts from Mec.
Unscrew the plates/shoes off em.
Make the plates kiss, then turn one 90�, but still are kissing.

Screw them together with this: (no drilling needed)
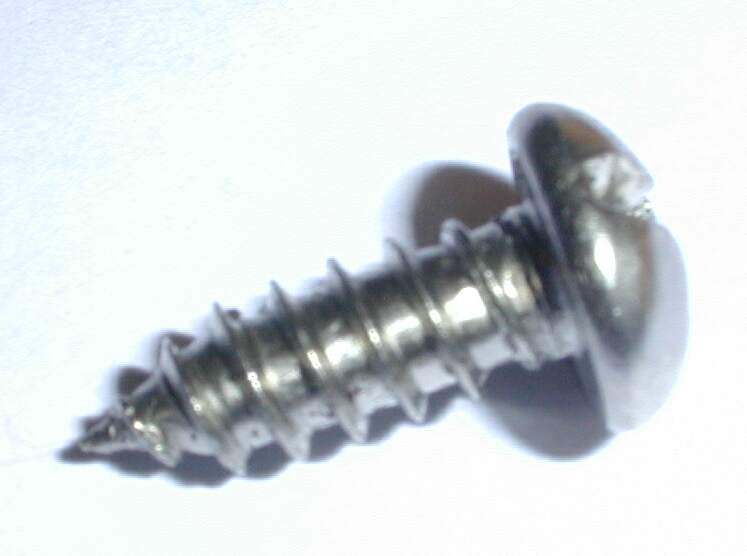
Put the plates back on.
 09-21-07 | 08:21 PM
#28
Banned.
Joined: Jun 2007
Posts: 313
Likes: 0
Notice how there is a screw that you can undo? That allows you to remove the plate. Then you can screw it back on.
There are three screws altogether, one that has a sharp end which you either have laying around in your tool box, or you can get for $0.03 at the hardware store, and one from each of the Planetbike-MEC QCam Clamps.
There are three screws altogether, one that has a sharp end which you either have laying around in your tool box, or you can get for $0.03 at the hardware store, and one from each of the Planetbike-MEC QCam Clamps.
