


Headbadge re-mounting
 01-10-20, 08:00 AM
#26
Half way there

Join Date: Sep 2015
Location: North Carolina
Posts: 2,957
Bikes: Many, and the list changes frequently
Mentioned: 5 Post(s)
Tagged: 0 Thread(s)
Quoted: 987 Post(s)
Liked 880 Times
in
527 Posts
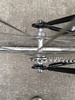
I've tried drive screws (AKA screw nails) and found that I didn't like the look of the head - larger and more round than the original. Nor have I had any luck with brass screws. It seems that every frame I've worked with has different diameter holes. I've since used rivets that I've made from short lengths of solid copper wire. I first form the head on the wire by inserting it into a shallow hole drilled into a piece of metal and then using a small punch with a concave end to round it off. The punch is just a bolt that I've modified by grinding the concavity into the end. To install the head badge, I place the head tube over a short piece of iron pipe clamped to a bench, insert the formed rivet through the hole, and then use the same concave punch to expand the back end against the pipe.
 01-10-20, 03:20 PM
#27

Senior Member

Join Date: Sep 2009
Location: Corvallis, OR
Posts: 1,241
Mentioned: 39 Post(s)
Tagged: 0 Thread(s)
Quoted: 176 Post(s)
Liked 245 Times
in
116 Posts
I've since used rivets that I've made from short lengths of solid copper wire. I first form the head on the wire by inserting it into a shallow hole drilled into a piece of metal and then using a small punch with a concave end to round it off. The punch is just a bolt that I've modified by grinding the concavity into the end. To install the head badge, I place the head tube over a short piece of iron pipe clamped to a bench, insert the formed rivet through the hole, and then use the same concave punch to expand the back end against the pipe.
__________________
The Simplicity of Vintage Cycles
The Simplicity of Vintage Cycles
01-13-20, 11:09 AM
#28
Half way there
Join Date: Sep 2015
Location: North Carolina
Posts: 2,957
Bikes: Many, and the list changes frequently
Mentioned: 5 Post(s)
Tagged: 0 Thread(s)
Quoted: 987 Post(s)
Liked 880 Times
in
527 Posts
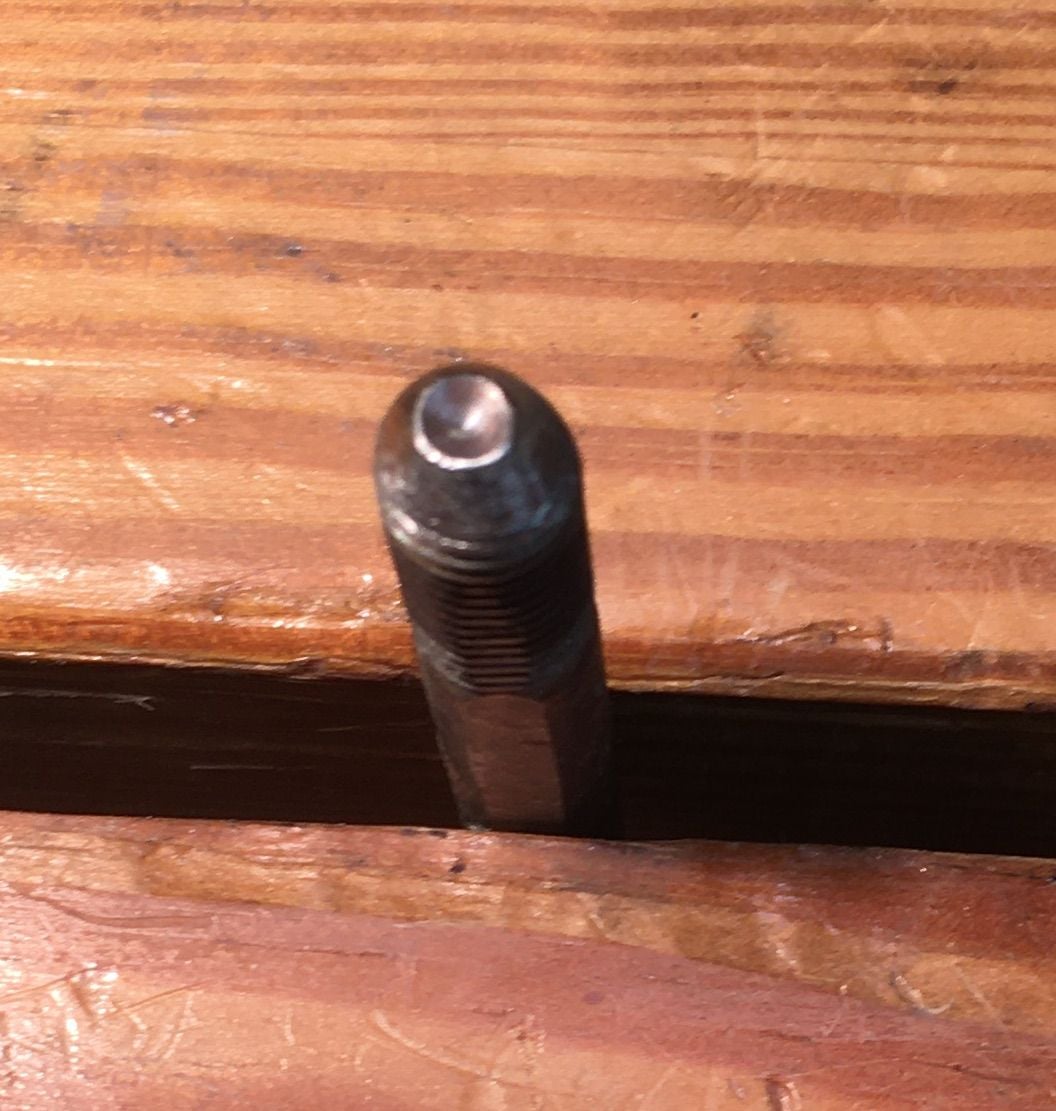
1. Picture of the bolt that I form the rivet head with as well as drive the rivet through the headbadge/headtube. You can form the concavity with a drill bit or dremel tool and then taper it.
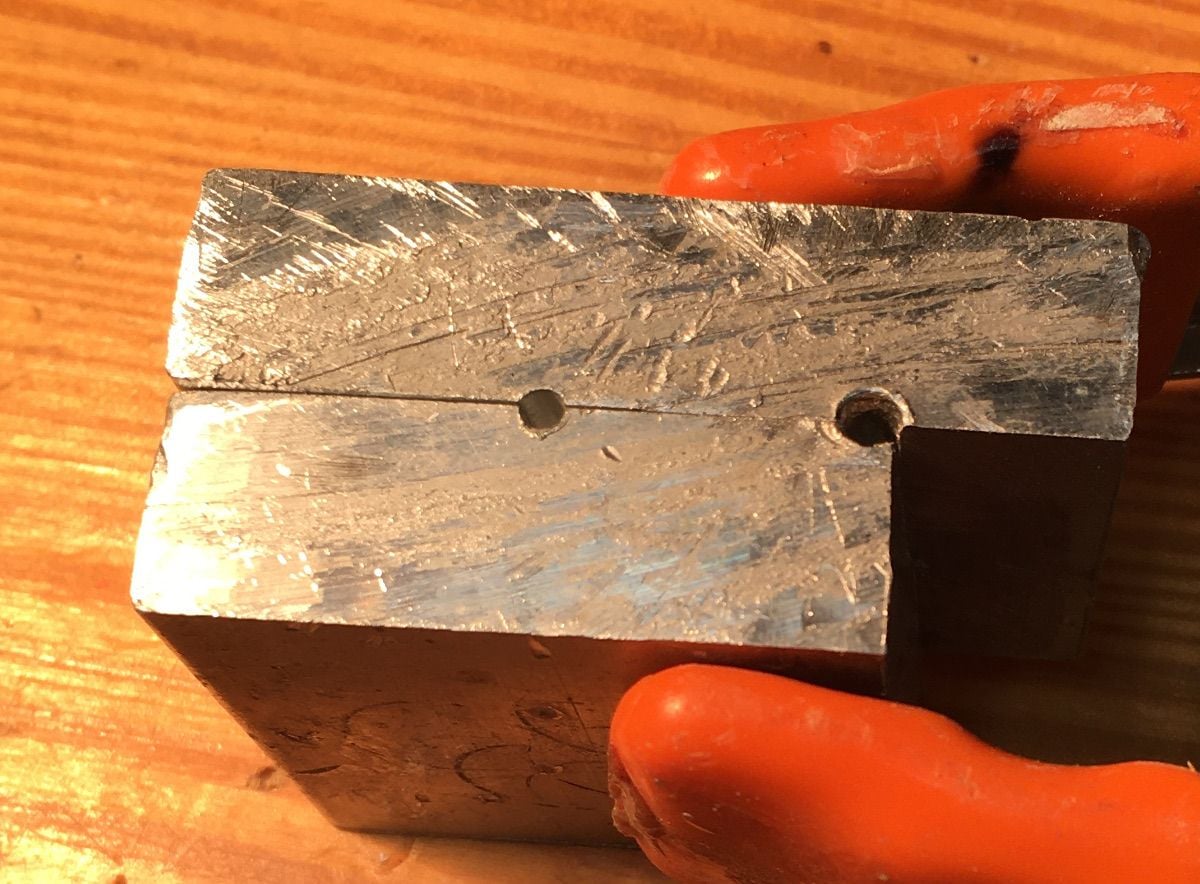
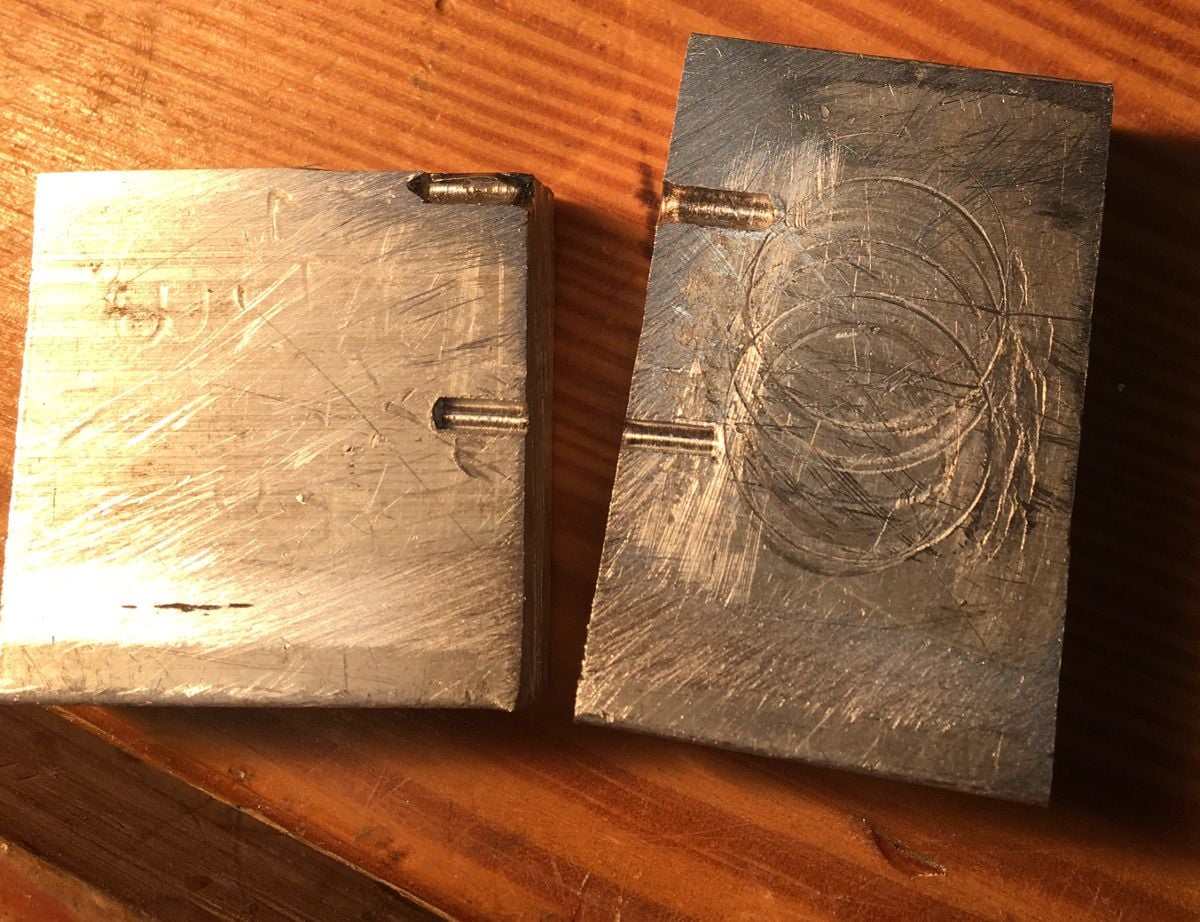
2. This is the device that I use to form the head. It's just 2 plates of aluminum with a short hole drilled through the joint. The plates are clamped together when forming the head. The head forming process will expand the shaft of the wire in the hole so this split plate system is necessary in order to get the formed rivet out.
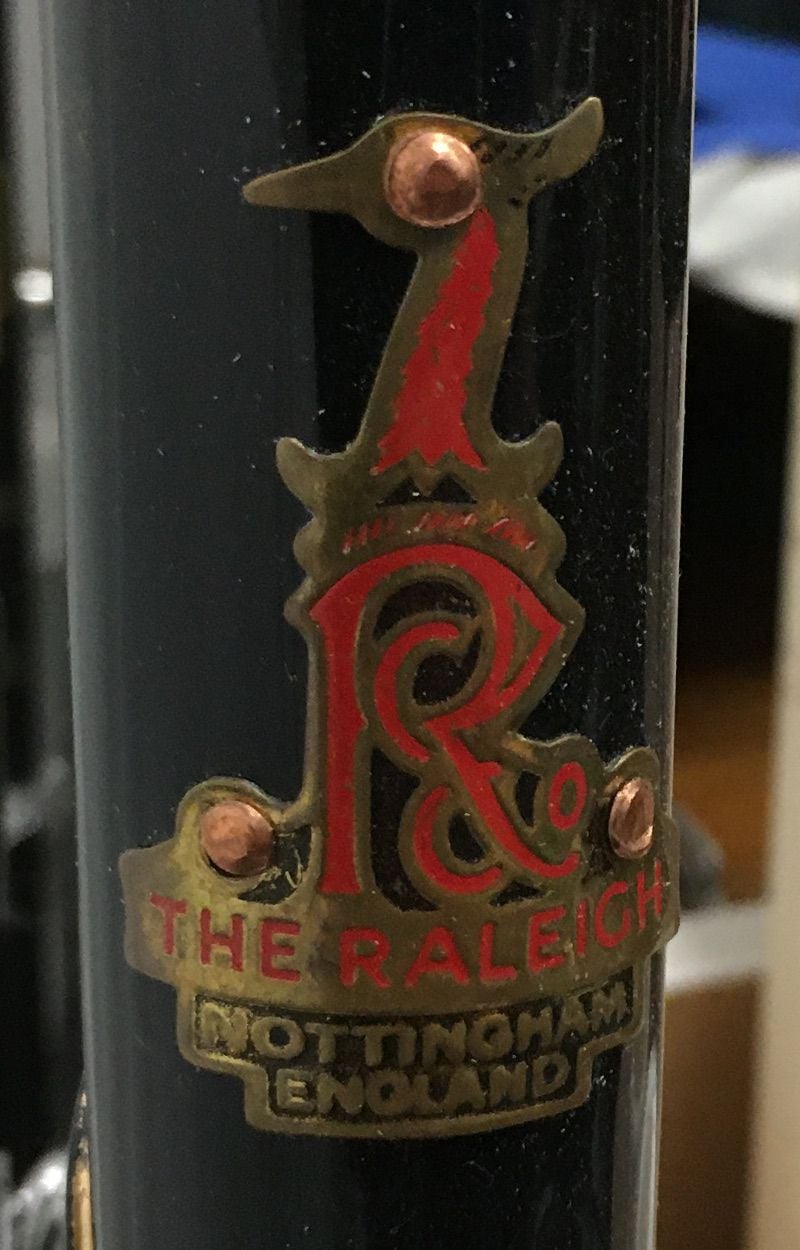
3. Here's what the finished product looks like:
Likes For Moe Zhoost:
01-13-20, 03:18 PM
#29
Senior Member
Thread Starter
 01-13-20, 05:32 PM
#30
Senior Member
Join Date: Jun 2019
Location: Portland Oregon
Posts: 996
Mentioned: 7 Post(s)
Tagged: 0 Thread(s)
Quoted: 457 Post(s)
Liked 462 Times
in
270 Posts
Sure:
1. Picture of the bolt that I form the rivet head with as well as drive the rivet through the headbadge/headtube. You can form the concavity with a drill bit or dremel tool and then taper it.
2. This is the device that I use to form the head. It's just 2 plates of aluminum with a short hole drilled through the joint. The plates are clamped together when forming the head. The head forming process will expand the shaft of the wire in the hole so this split plate system is necessary in order to get the formed rivet out.
3. Here's what the finished product looks like:
Do you know if you used 12 gauge wire or 14 gauge wire?
01-14-20, 06:26 AM
#31
Senior Member
Join Date: Nov 2013
Location: Near Pottstown, PA: 30 miles NW of Philadelphia
Posts: 2,186
Bikes: 2 Trek Mtn, Cannondale R600 road, 6 vintage road bikes
Mentioned: 83 Post(s)
Tagged: 0 Thread(s)
Quoted: 472 Post(s)
Liked 1,028 Times
in
404 Posts
I also created rivets from 12awg copper wire for my Raleigh. I drilled a hole in hardwood (maple or oak) to hold the stubby little length of copper wire. I then and "tap tap tap" formed a head with my quite small ball peen hammer. Inserted each one from inside the head tube and backed that on an iron bar, clamped in the vice. I then put the headbadge on and "tap tap tap" formed a wee head on the outside. No where as nice as those copper rivets shown above but just as functional. It's all held for 6 years now. Not much stress on a headbadge.
I much prefer the subtle look vs drive screws or the large rivets that Raleigh and Carlton used on some head badges.
I much prefer the subtle look vs drive screws or the large rivets that Raleigh and Carlton used on some head badges.
Likes For Moe Zhoost:
