Originally Posted by
squirtdad
the Pastor Bob method worked. broke one pin punch. and it takes forever. the angle is awkward and even when after the intial movement started I needed to keep using the punch until the very end. YMMV
I took apart a freewheel which came from Hawaii over the weekend and I needed to use the punch to turn the retaining ring all the way to the end as well.
I got mine off, too. I tried to disassemble the freewheel as recommended above, but my pin wrench (an old VAR one) wouldn't reach them (they're pretty far recessed into the freewheel). I took the axle out and dremeled the freewheel body to make the notches deeper and sharper, and was eventually able to break it free with the freewheel puller.
Whew!
Rudi, very few freewheels I've worked on would have allowed a pin spanner to remove the retaining ring. They are just too tight.
So two different C&V members used two different methods to remove stuck freewheels!

Bravos all around!
Originally Posted by
JohnDThompson
Did you remove the outer cog (or two) before you tried the pin tool? The Regina freewheel body was originally designed for a 4-cog cluster, so it is quite narrow. As five, six and even seven cogs became common, the face became quite recessed below the level of the cogs.
This is one reason why I remove cogs first. The second reason is to be able to clean the cogs completely.
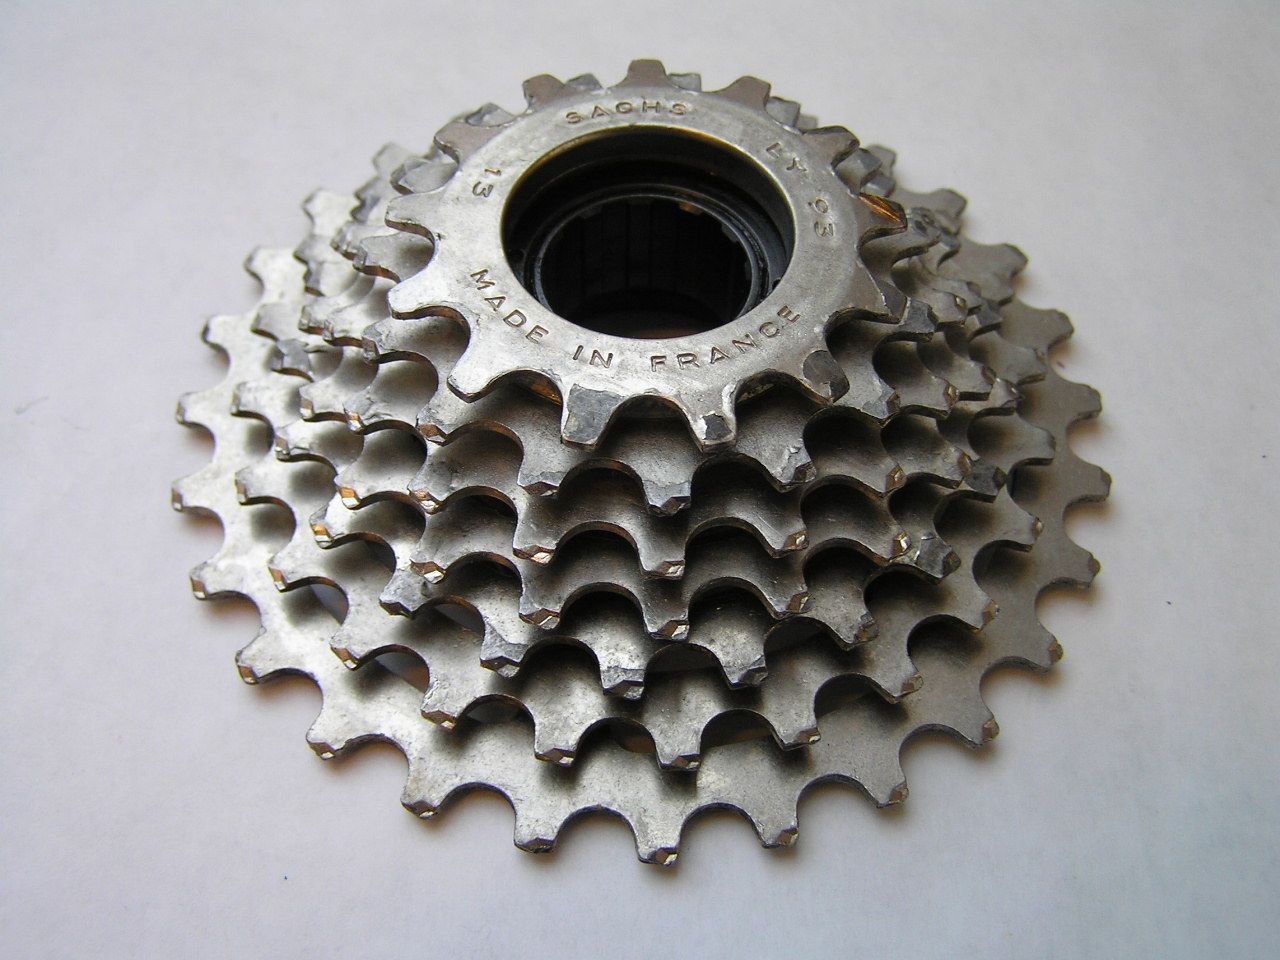
Sachs freewheels are a good example of a deep face under the top cog, which is true of their 6, 7 and 8 speed models.