This is usually an easy fix to the worn teeth on the smallest cog(s).
What is causing slippage isn't so intuitive.
The new chain isn't worn, so the rollers (the parts that actually contact the sprocket teeth) are slightly closer together than on your old chain.
The wear on the "driven" side edge of each tooth (where the roller contacts with driving force) is allowing the chain to travel in a slightly more-advanced position relative to the sprocket.
However, the wear to this same driven-side edge of the tooth, up near the tip of the tooth, is more like non-existent, leaving the driven-side corner near the tip of the tooth protruding rearward relative to where the roller contacts the tooth.
So, with the chain running in it's "advanced" position, the rollers will contact the unworn, rearward-protruding corners of the teeth as each roller is trying to mesh between adjacent teeth. This contact causes the rollers to
fail to engage between the teeth momentarily, until the driving force momentarily eases off following gross slippage of the chain on the sprocket.
The slippage occurs at higher pedaling force because the chain roller and tooth both flex slightly under load, enough to pull the rollers forward to where they start contacting the protruding tip corners of the teeth with enough force to prevent engagement of the rollers between the teeth.
The cure is to grind a 1mm bevel at each protruding corner of the teeth of the affected sprocket, so the rollers of the new chain can engage between the teeth even as high tension force is forcing the sprocket to turn.
I use a Dremel tool for this with a 3/8" diameter stone, no need to remove it from the bike.
One could also remove the sprocket from the freewheel and then dress the corners on a bench grinder, which is a lot more work.
Do not remove too much metal from those corners or this may cause the chain to slip (even the old chain would still slip).
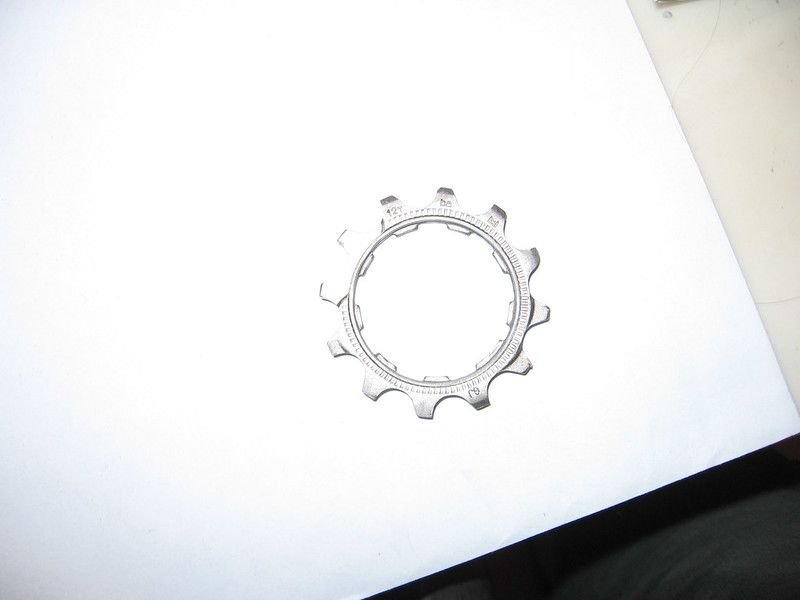
Below is an exaggerated cut made to a single tooth at roughly the 12-O'clock position.
Ideally, the cut would be more vertical, more like only 30 degrees away from the driven edge of the tooth.
Start with a lighter cut, then only cut more if the slippage persists.
As the chain wears, any tendency to slip will very slowly go away.
They aren't making these old freewheels like these any more, so it seems wasteful to replace such high-quality freewheels just because of such slight wear.
Note that severely-worn, "tombstoned" sprocket teeth can slip due to a completely different mechanism, and that such teeth cannot be restored using my method.
But a bike shop would have discarded your freewheel if the teeth looked like that.
And as far as the chain length, the shop would have likely matched the link count of your old chain. So unless the chain sags while on the smallest front and rear sprockets, your problem likely isn't due to chain length.
Can you post a photo of your freewheel?