


I need to get a fork steerer fixed. Guide me where to get it done!
 11-08-18, 04:08 PM
#26
Senior Member

Join Date: Nov 2014
Location: Eugene, Oregon, USA
Posts: 27,547
Mentioned: 217 Post(s)
Tagged: 0 Thread(s)
Quoted: 18378 Post(s)
Liked 4,512 Times
in
3,354 Posts
I realize this idea is long past its due date, but I'm curious anyway.
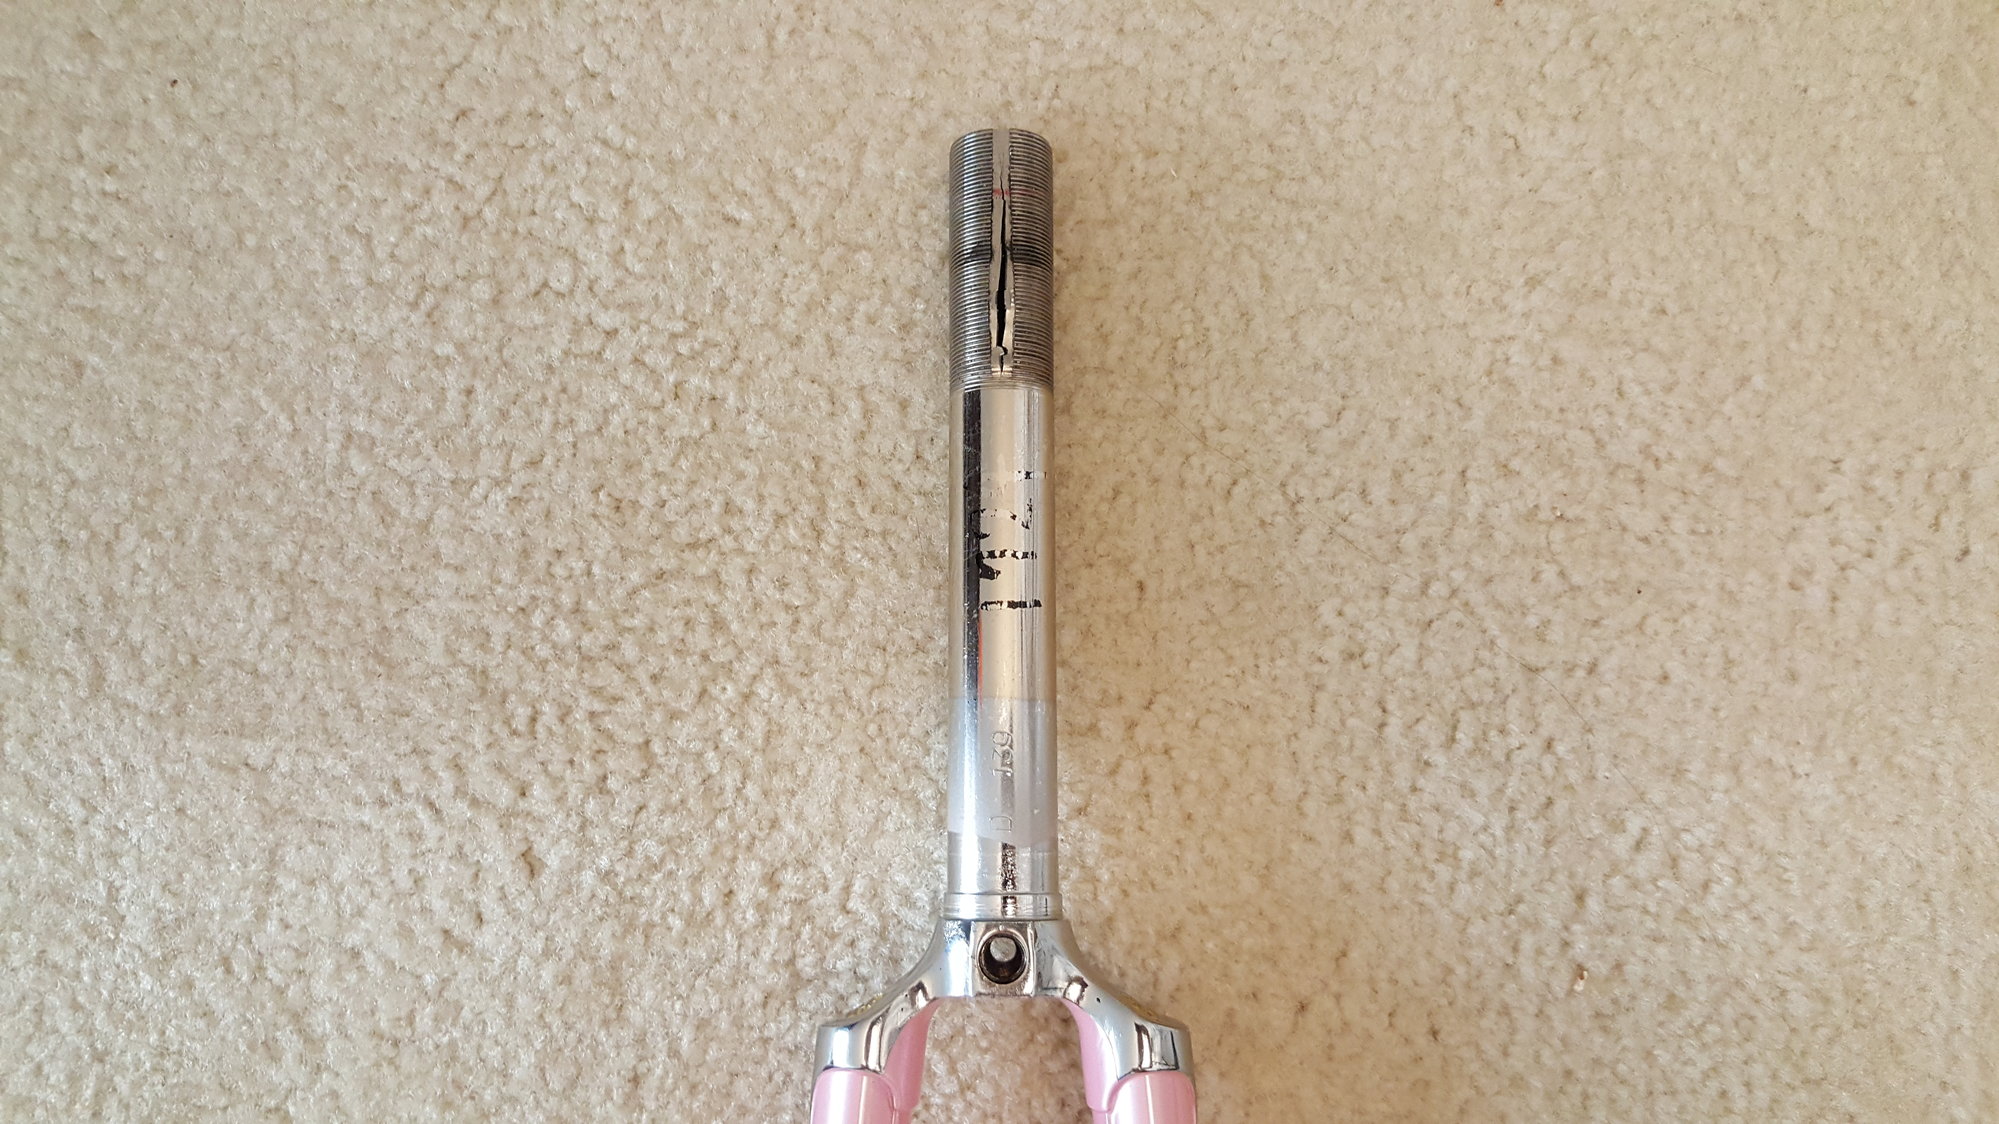
Would it be possible to force the tube back to the right shape and then TIG weld that split shut? You'd have to remove the plating and clean up the split before welding, and afterwards you'd have to ream the inside of the steerer and run a die down the threads to clean up the threads. You'd lose the groove; but wouldn't it be strong enough?
Would it be possible to force the tube back to the right shape and then TIG weld that split shut? You'd have to remove the plating and clean up the split before welding, and afterwards you'd have to ream the inside of the steerer and run a die down the threads to clean up the threads. You'd lose the groove; but wouldn't it be strong enough?
It might work. It should be strong enough as it would theoretically do the least damage to the rest of the tube.
The grooves are moderately obsolete if not using center pivot brakes, and even so, the forks can probably be used without the groove.
Obviously there will be a slight bulge at the point of the crack.
There are frame blocks that are supposed to take down bulges around dents.
If I was going to attempt it, I'd try to make some nuts, say relatively long, but with slightly undersized threading for the fork.
Then cut the nut in half and use it like frame blocks.
The problem will be forcing the crack closed so that it doesn't spring back, and keeping everything perfectly round, and the right size.
Making a threaded clamp might help for welding.
I suppose one might be able to get away with unthreaded dies, but then one would risk additional damage to the threads.
It would be a major pain to get it perfect, and any inaccuracy will cause problems with reaming and threading.

 11-15-18, 02:35 PM
#28

Senior Member

Join Date: Nov 2015
Posts: 4,488
Mentioned: 102 Post(s)
Tagged: 0 Thread(s)
Quoted: 1641 Post(s)
Likes: 0
Liked 831 Times
in
540 Posts
I don't think frame blocks would work as that area is depressed/milled out.
getting that bulge out could be quite difficult, as you might end up ovalizing the steerer tube as the load applied on it would be a point load towards the center of the tube. You will have to figure out some sort of jig that will brace the tube, except at the flat milled area. a larger, ID tube with thicker wall schedule that the steerer tube will fit snugly in, with an open slot where you will be applying force/pressure to flatten out the bulge...
Edit: Actually a simpler way to get the bulge out is to slip in a thick solid bar through the steerer tube. Then tap on the bulge from the outside. Still a chance you can deform the steerer near the milled out flat area, but less than just pounding out the dent without any solid/fixed material inside the steerer tube.
Last edited by Chombi1; 11-15-18 at 10:15 PM.
11-15-18, 03:40 PM
#29
Senior Member
Join Date: Oct 2015
Location: PDX
Posts: 13,045
Bikes: Merz x 5 + Specialized Merz Allez x 2, Strawberry/Newlands/DiNucci/Ti x3, Gordon, Fuso/Moulton x2, Bornstein, Paisley,1958-74 Paramounts x3, 3rensho, 74 Moto TC, 73-78 Raleigh Pro's x5, Marinoni x2, 1960 Cinelli SC, 1980 Bianchi SC, PX-10 X 2
Mentioned: 267 Post(s)
Tagged: 0 Thread(s)
Quoted: 4512 Post(s)
Liked 6,386 Times
in
3,671 Posts
 11-16-18, 03:07 PM
#30
Senior Member
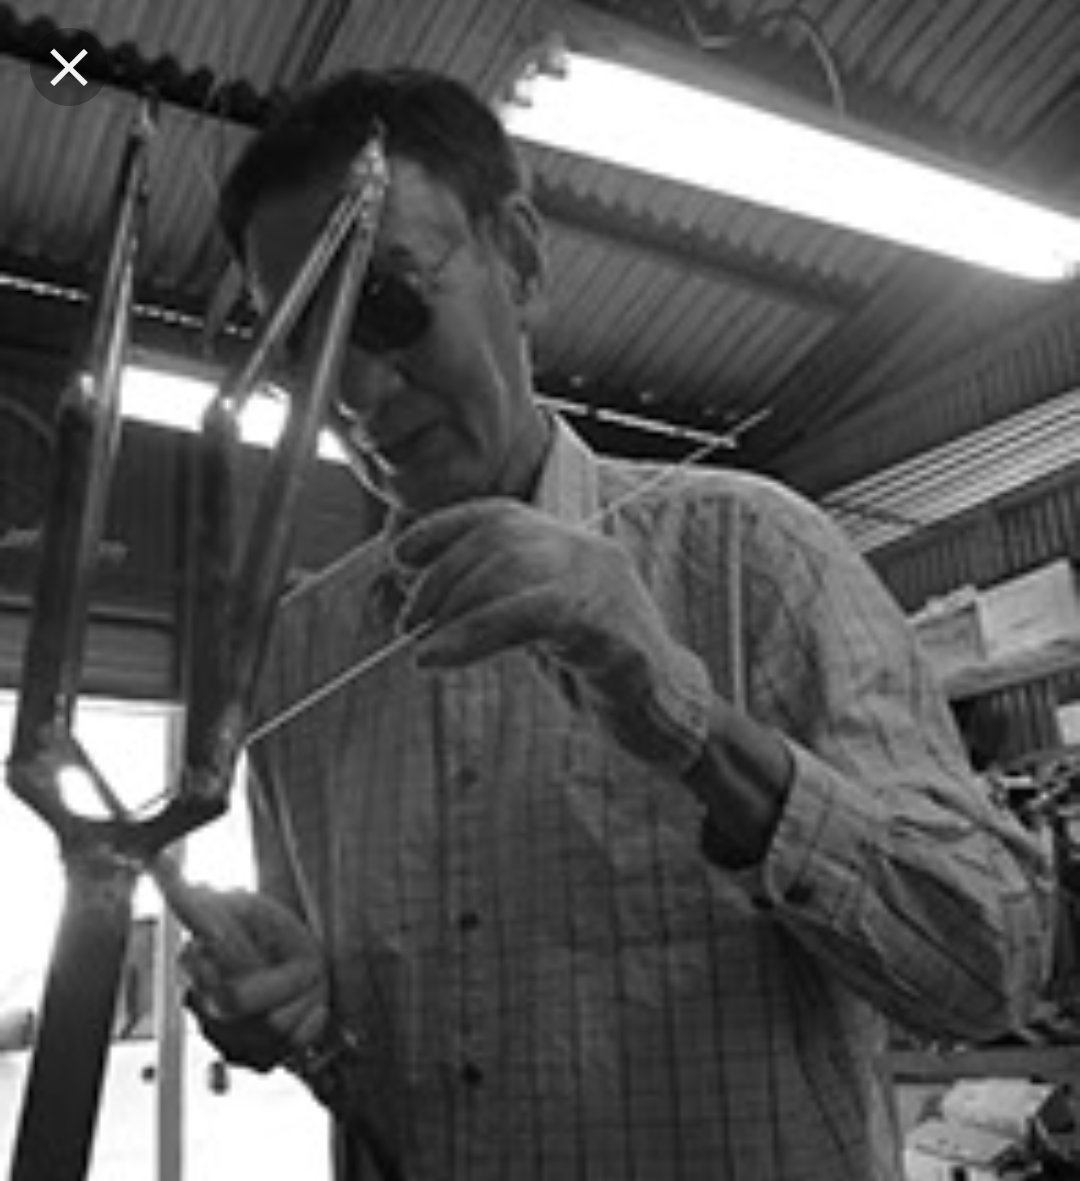
Framebuilders know what liability is. One of the first rules is don’t do anything too clever with a steerer. Steerer failure accidents are bad accidents. And oh so easy to assign blame should that occur. No idea here for fixing this but I would trust a builder.
11-16-18, 04:54 PM
#31

multimodal commuter

Join Date: Nov 2006
Location: NJ, NYC, LI
Posts: 19,808
Bikes: 1940s Fothergill, 1959 Allegro Special, 1963? Claud Butler Olympic Sprint, Lambert 'Clubman', 1974 Fuji "the Ace", 1976 Holdsworth 650b conversion rando bike, 1983 Trek 720 tourer, 1984 Counterpoint Opus II, 1993 Basso Gap, 2010 Downtube 8h, and...
Mentioned: 584 Post(s)
Tagged: 0 Thread(s)
Quoted: 1908 Post(s)
Liked 574 Times
in
339 Posts
I don't think frame blocks would work as that area is depressed/milled out.
getting that bulge out could be quite difficult, as you might end up ovalizing the steerer tube as the load applied on it would be a point load towards the center of the tube. You will have to figure out some sort of jig that will brace the tube, except at the flat milled area. a larger, ID tube with thicker wall schedule that the steerer tube will fit snugly in, with an open slot where you will be applying force/pressure to flatten out the bulge...
Edit: Actually a simpler way to get the bulge out is to slip in a thick solid bar through the steerer tube. Then tap on the bulge from the outside. Still a chance you can deform the steerer near the milled out flat area, but less than just pounding out the dent without any solid/fixed material inside the steerer tube.
getting that bulge out could be quite difficult, as you might end up ovalizing the steerer tube as the load applied on it would be a point load towards the center of the tube. You will have to figure out some sort of jig that will brace the tube, except at the flat milled area. a larger, ID tube with thicker wall schedule that the steerer tube will fit snugly in, with an open slot where you will be applying force/pressure to flatten out the bulge...
Edit: Actually a simpler way to get the bulge out is to slip in a thick solid bar through the steerer tube. Then tap on the bulge from the outside. Still a chance you can deform the steerer near the milled out flat area, but less than just pounding out the dent without any solid/fixed material inside the steerer tube.
Cutting the steerer off, and welding on a new one, seems risky. But fixing what's there does not seem so risky to me.
Last edited by rhm; 11-16-18 at 07:30 PM.
 11-16-18, 07:32 PM
#33
Senior Member
Thread Starter
What if the repair was done with cutting a few inches below the half way point and tig welding a new steerer? Seems straight forward.
11-16-18, 08:28 PM
#35
Ride, Wrench, Swap, Race

Join Date: Jan 2010
Location: Northern California
Posts: 9,194
Bikes: Cheltenham-Pedersen racer, Boulder F/S Paris-Roubaix, Varsity racer, '52 Christophe, '62 Continental, '92 Merckx, '75 Limongi, '76 Presto, '72 Gitane SC, '71 Schwinn SS, etc.
Mentioned: 132 Post(s)
Tagged: 0 Thread(s)
Quoted: 1565 Post(s)
Liked 1,296 Times
in
866 Posts
A builder will best be able to judge where a weld or sleeve should be, relative to the location of the installed stem and to the location of the internal butting.
As I think chas mentioned, such welds are done while the part is rotating slowly, so as to keep the weld dimensions, penetration and cooling rate more constant.
I think this is preferable to restoring the area where the quill expands forcefully (and already weakened by the threading and by subsequent distortion and cold-work reshaping).

 11-30-18, 02:05 PM
#37
Senior Member
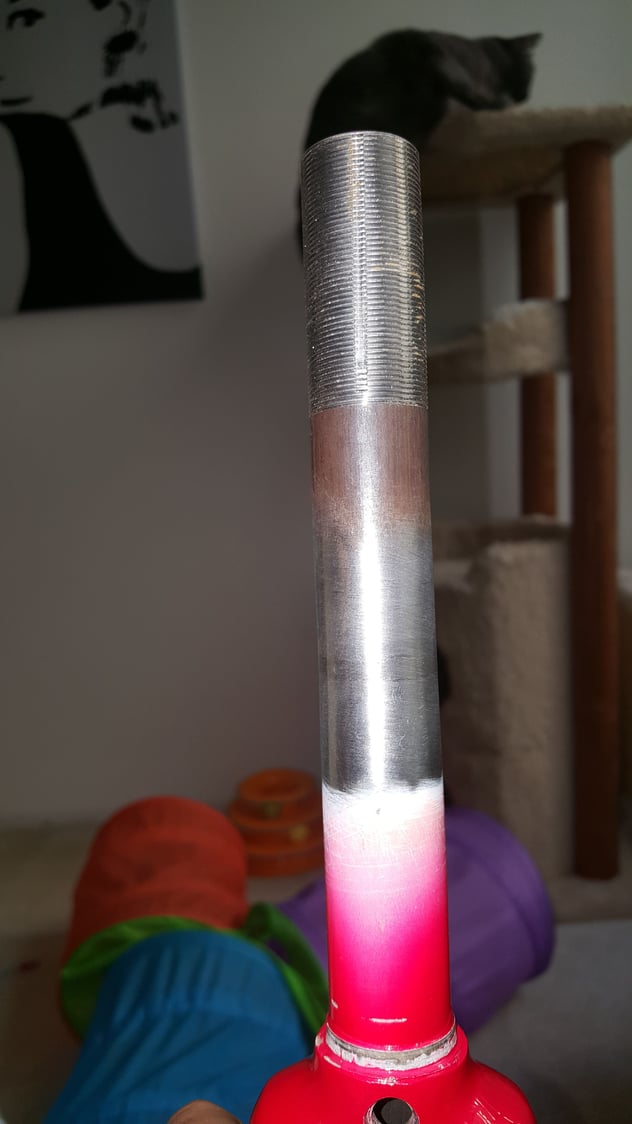
OK so what happened here? What method was used? I'm assuming not photoshop. 
I've got a bit of a nitpick, but it's important. TIG welds are not as strong as the base material. TIG filler is intentionally weaker and more ductile. You make up for this by adding thickness in the form of a bead. With the increased thickness at the joint, the combined structure becomes as strong. If you machine it down, it is a definite weak spot.
I've got a bit of a nitpick, but it's important. TIG welds are not as strong as the base material. TIG filler is intentionally weaker and more ductile. You make up for this by adding thickness in the form of a bead. With the increased thickness at the joint, the combined structure becomes as strong. If you machine it down, it is a definite weak spot.
11-30-18, 03:23 PM
#39
Ride, Wrench, Swap, Race
Join Date: Jan 2010
Location: Northern California
Posts: 9,194
Bikes: Cheltenham-Pedersen racer, Boulder F/S Paris-Roubaix, Varsity racer, '52 Christophe, '62 Continental, '92 Merckx, '75 Limongi, '76 Presto, '72 Gitane SC, '71 Schwinn SS, etc.
Mentioned: 132 Post(s)
Tagged: 0 Thread(s)
Quoted: 1565 Post(s)
Liked 1,296 Times
in
866 Posts
For any similar future repairs or extensions, I would first establish where the lower end of the quill would end up at it's lowest point, and make the splice just below that, since the stress on the unthreaded part of the steerer is lower as one moves further above the end of the tube's butting.
I have yet to hear of any spliced steerer failing, not to say that it will never happen.
11-30-18, 09:02 PM
#40
Senior Member
Thread Starter
However, mine was due to overtightening more so than a failure you can say.
Once I get the forks in (should be sometime next week), I will post more detailed pics along with the finished project! Im also changing some bits to hopefully give my Zunow a somewhat-new identity which is the route I was trying to take.
12-02-18, 11:25 AM
#41
Senior Member
Thread Starter
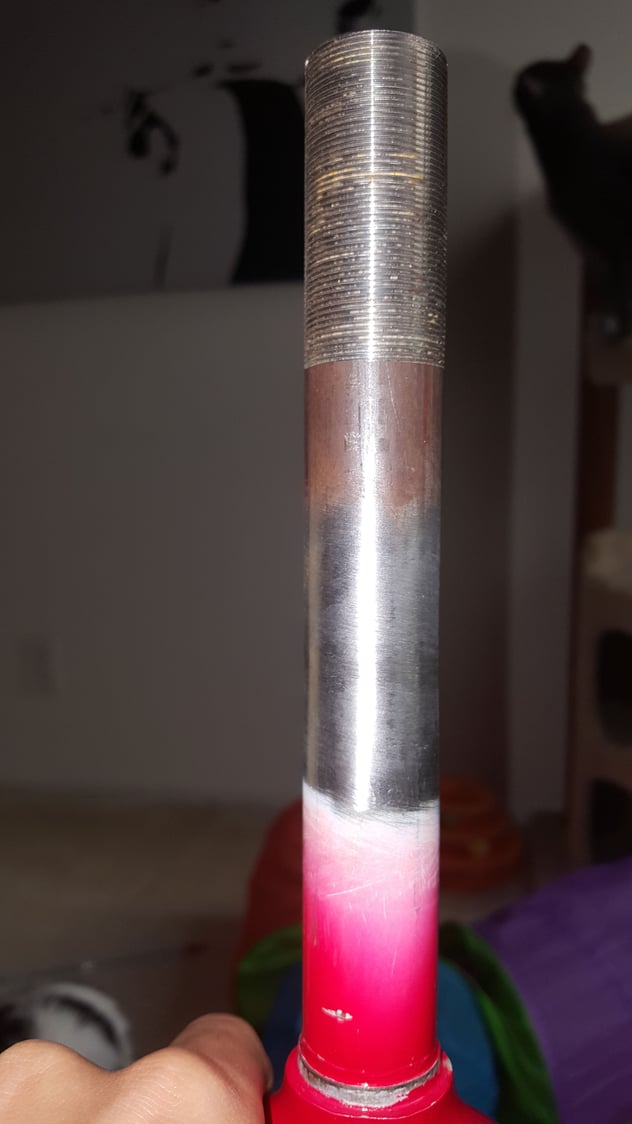
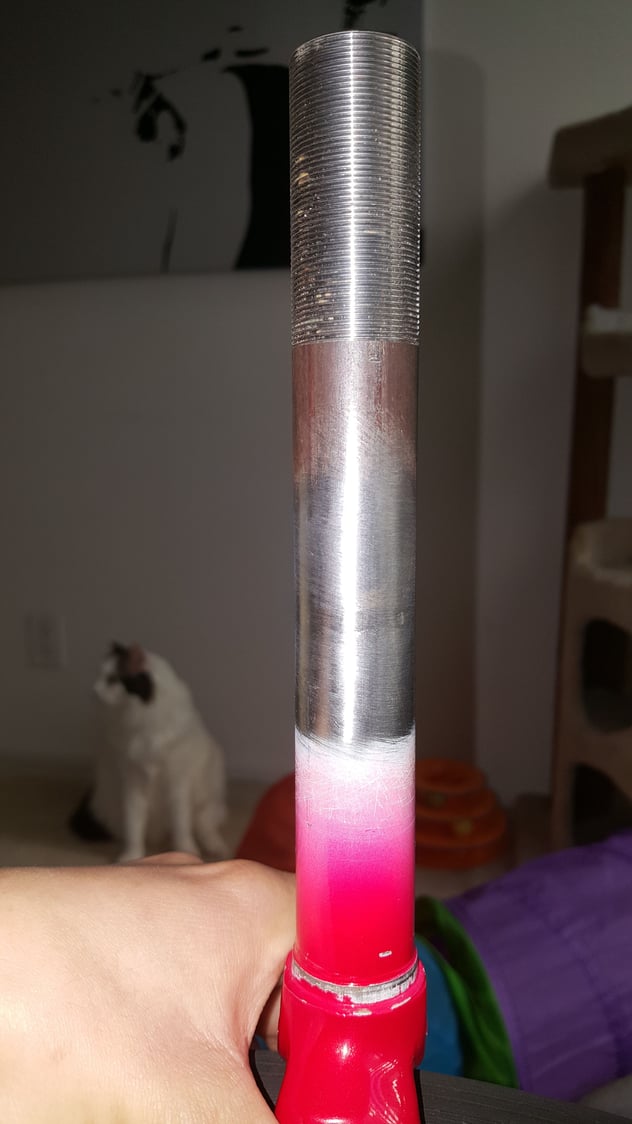
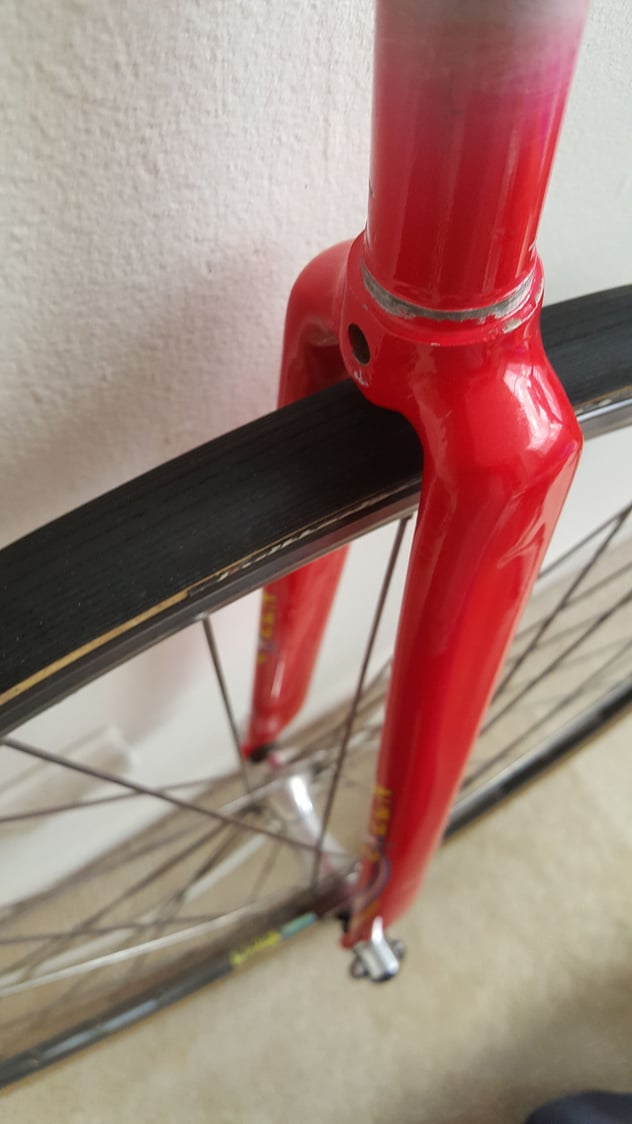
I tried to get the best "inside tube" shots but it was pretty tough to get a good shot.
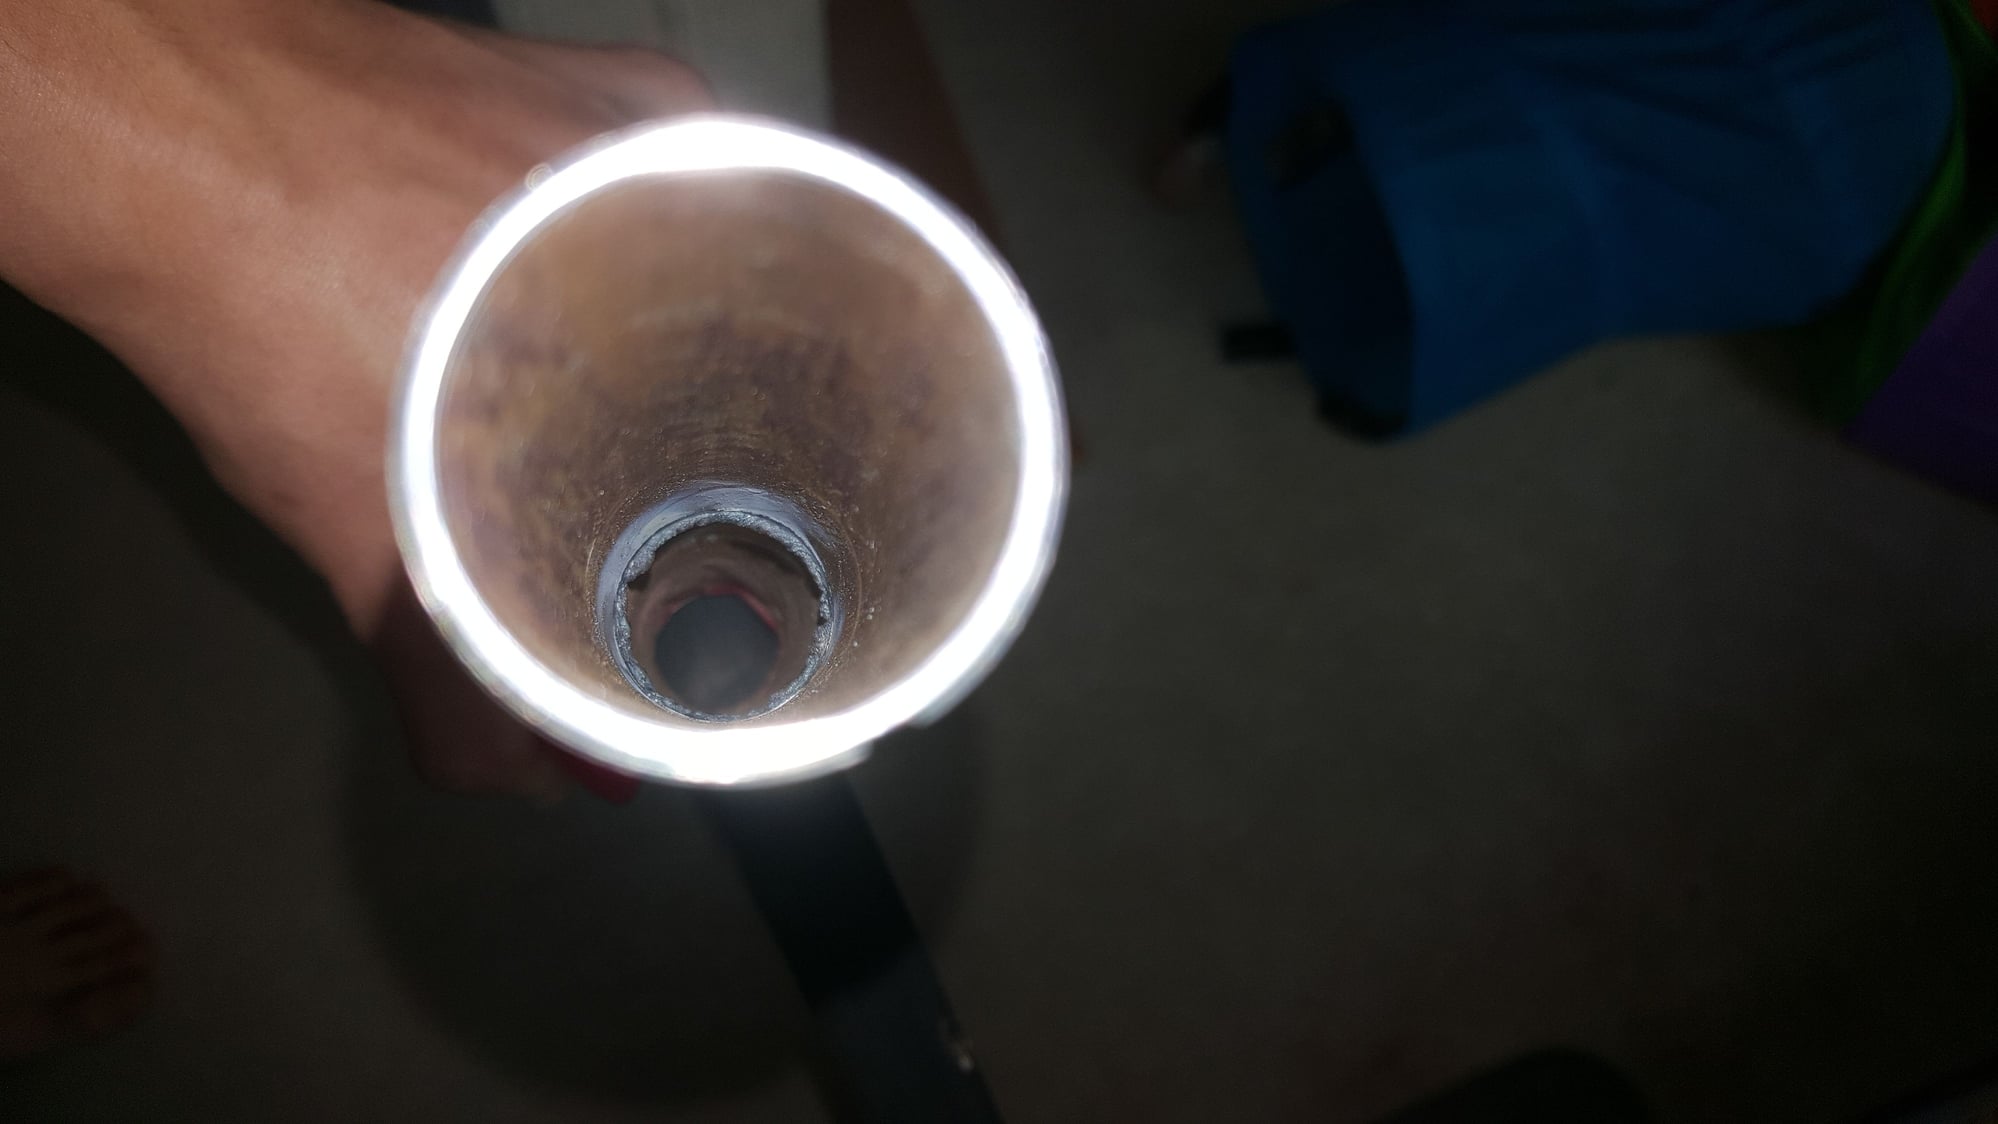
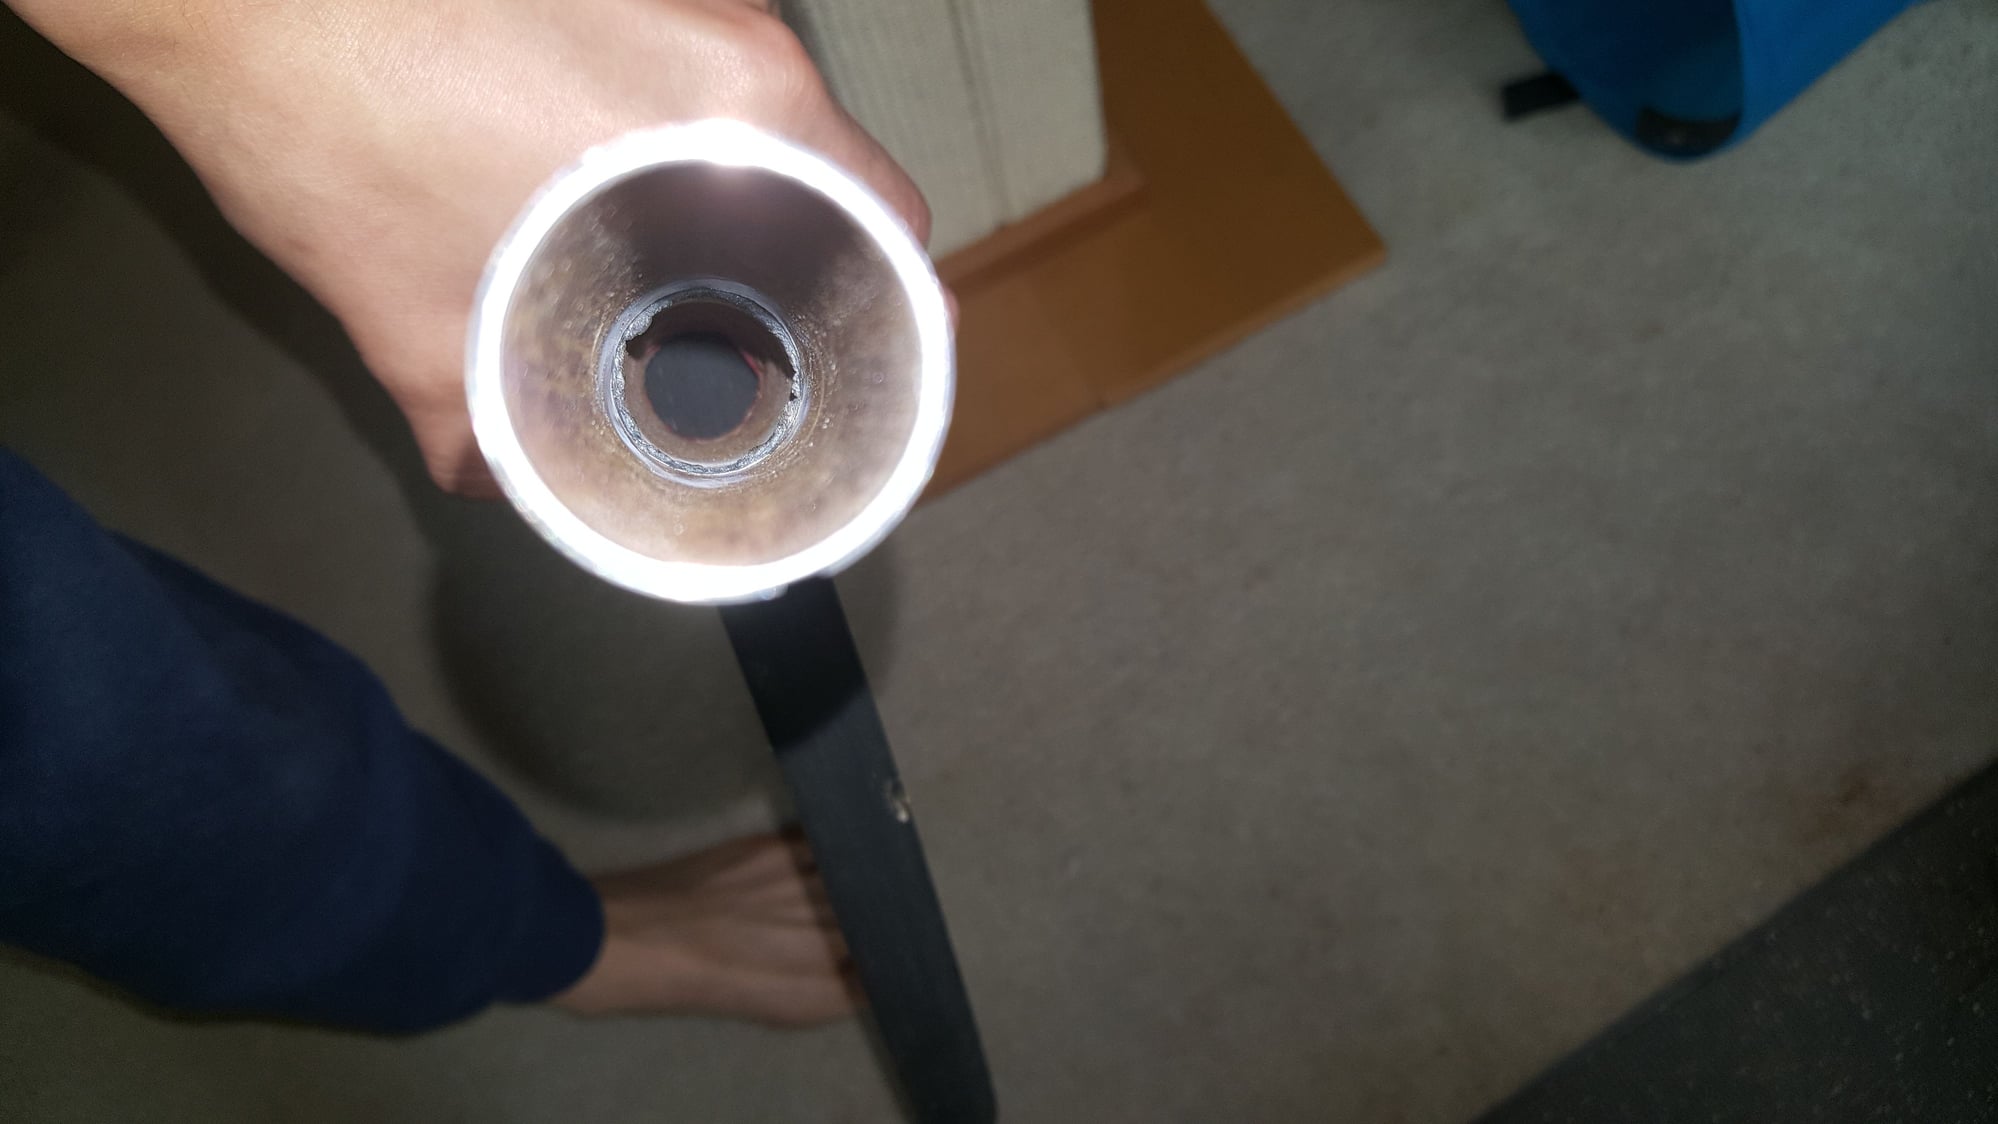
All shots of the exterior steerer tube. (rear/front/right/left)

All shots of the exterior steerer tube. (rear/front/right/left)


 12-02-18, 11:32 AM
#43
Senior Member
Thread Starter
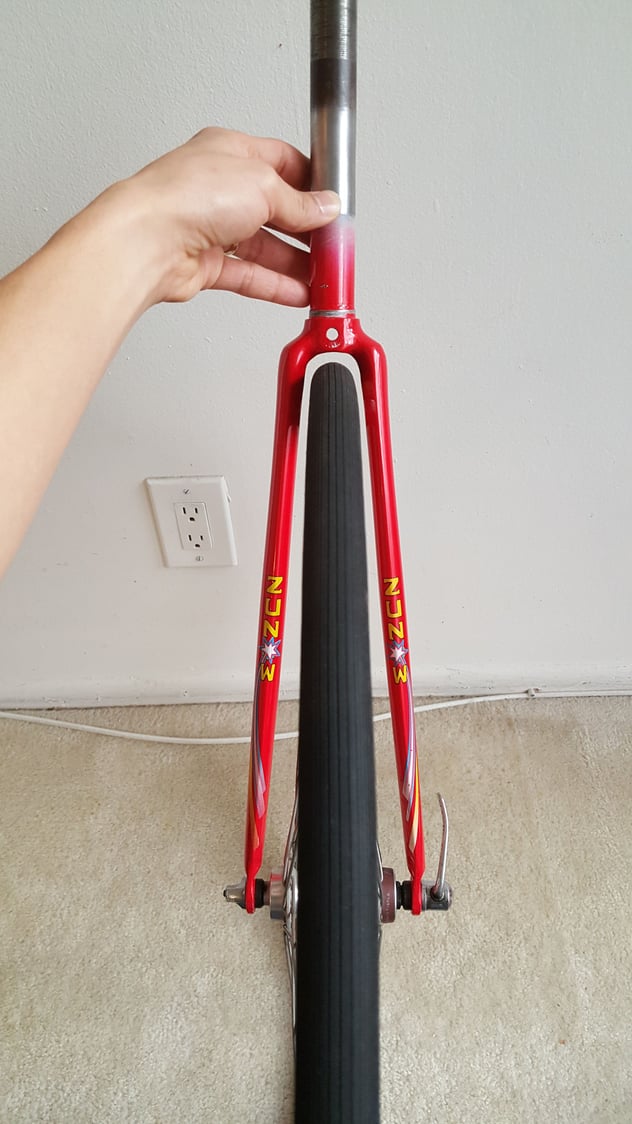
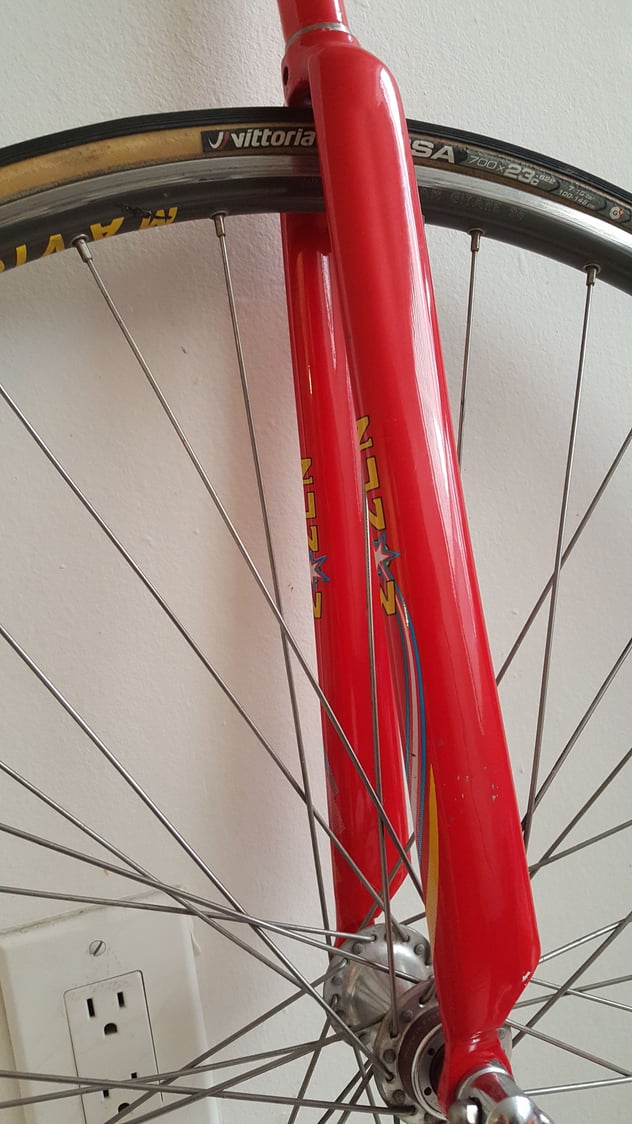
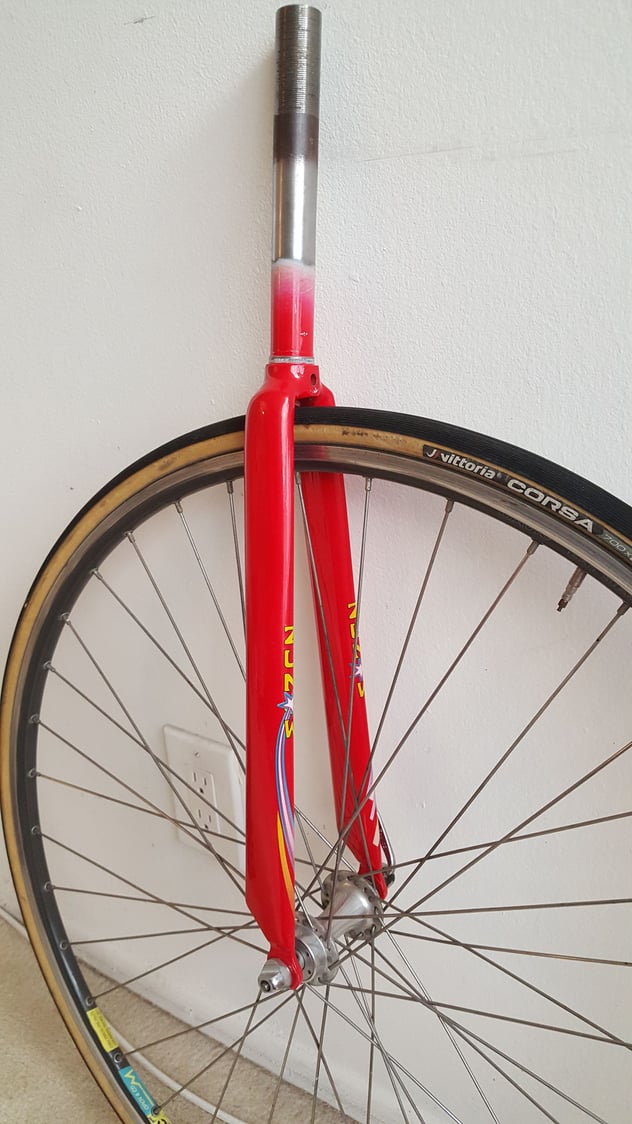
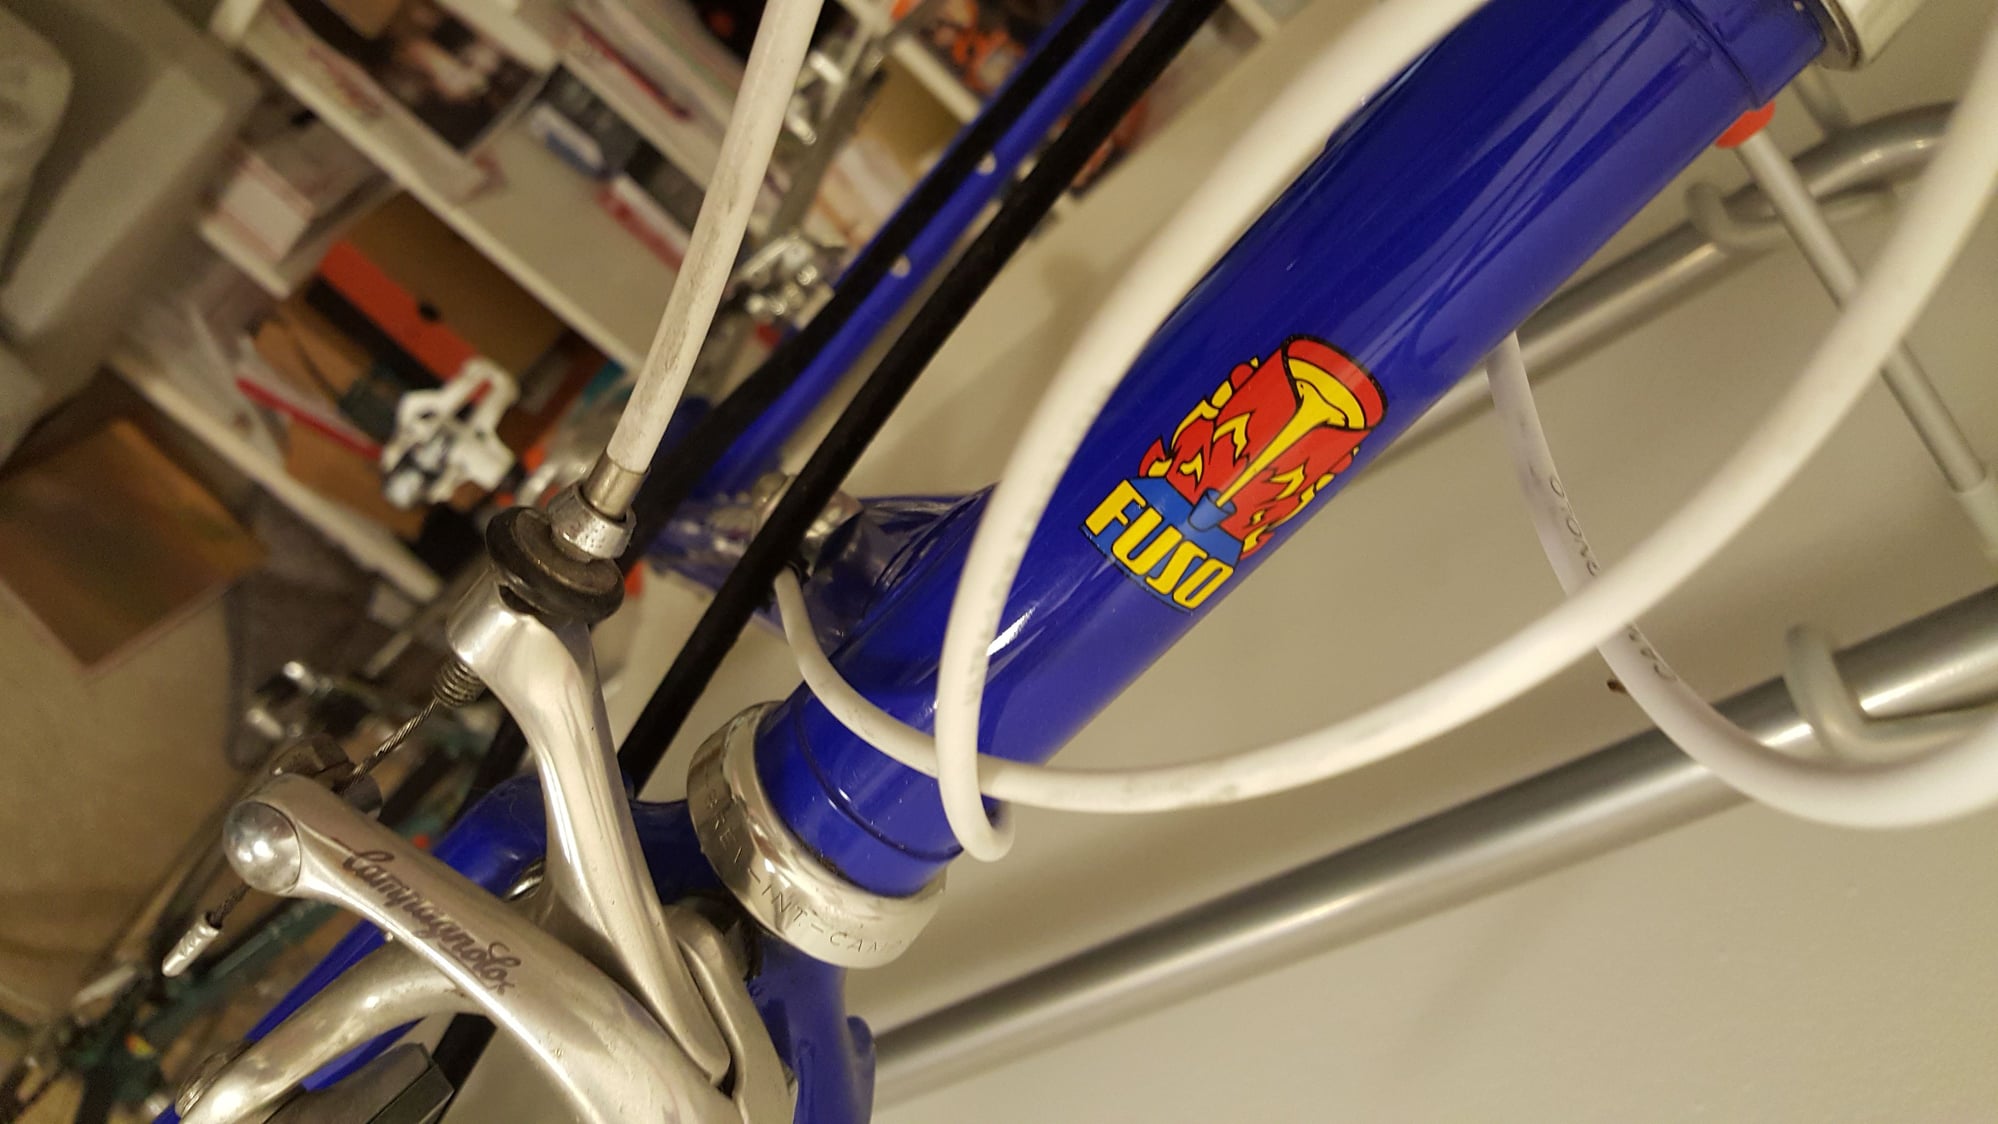
More shots of fork on wheel..


Last but not least..the framebuilder added a 'tiny' surprise to top it off. A Fuso Pin..the grandest gesture.
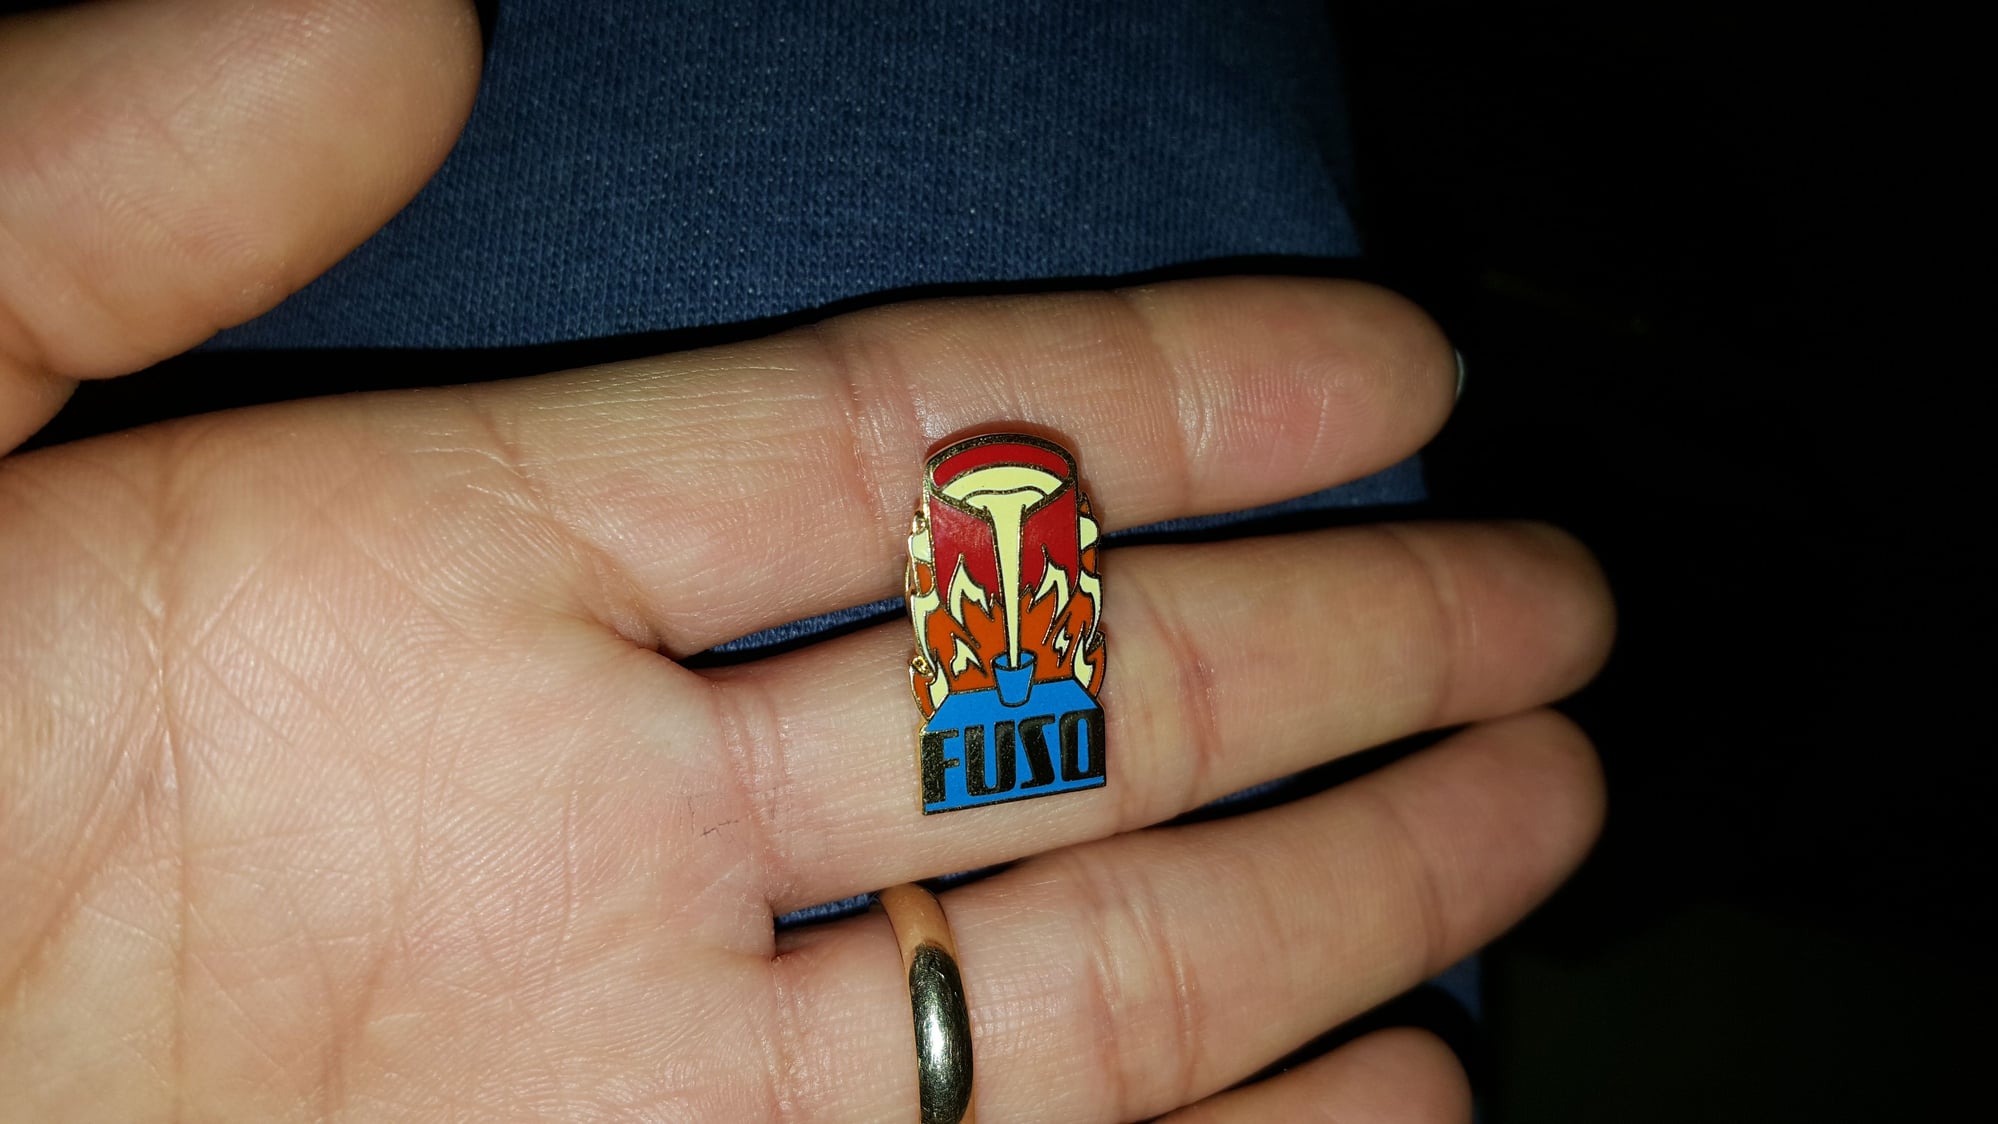
Last but not least..the framebuilder added a 'tiny' surprise to top it off. A Fuso Pin..the grandest gesture.
12-02-18, 11:41 AM
#44
Senior Member
Thread Starter
Ill update pics of the finished project as soon as possible.
First, Ill be riding the Zunow in its given state for a good 45mins. Then Ill head down to the LBS and get the fork/headset swapped out and give it another go to try and feel difference if any. I really ask ALOT of questions and don't really post pics, but I really wanted to get this thread finished with pics because all have been so helpful with suggestions/opinions and really affected how I went about this repair process. The pink Zunow fork is still in its damaged state, don't know if Ill ever repair it..hoping THIS fork will suffice or surpass my expectations. Thanks to all here that helped!
First, Ill be riding the Zunow in its given state for a good 45mins. Then Ill head down to the LBS and get the fork/headset swapped out and give it another go to try and feel difference if any. I really ask ALOT of questions and don't really post pics, but I really wanted to get this thread finished with pics because all have been so helpful with suggestions/opinions and really affected how I went about this repair process. The pink Zunow fork is still in its damaged state, don't know if Ill ever repair it..hoping THIS fork will suffice or surpass my expectations. Thanks to all here that helped!
12-02-18, 02:23 PM
#45
Senior Member
Join Date: Oct 2015
Location: PDX
Posts: 13,045
Bikes: Merz x 5 + Specialized Merz Allez x 2, Strawberry/Newlands/DiNucci/Ti x3, Gordon, Fuso/Moulton x2, Bornstein, Paisley,1958-74 Paramounts x3, 3rensho, 74 Moto TC, 73-78 Raleigh Pro's x5, Marinoni x2, 1960 Cinelli SC, 1980 Bianchi SC, PX-10 X 2
Mentioned: 267 Post(s)
Tagged: 0 Thread(s)
Quoted: 4512 Post(s)
Liked 6,386 Times
in
3,671 Posts
@shuru421 You need the frame to go with that pin.

 12-02-18, 07:59 PM
#48
Senior Member
Join Date: Oct 2015
Location: PDX
Posts: 13,045
Bikes: Merz x 5 + Specialized Merz Allez x 2, Strawberry/Newlands/DiNucci/Ti x3, Gordon, Fuso/Moulton x2, Bornstein, Paisley,1958-74 Paramounts x3, 3rensho, 74 Moto TC, 73-78 Raleigh Pro's x5, Marinoni x2, 1960 Cinelli SC, 1980 Bianchi SC, PX-10 X 2
Mentioned: 267 Post(s)
Tagged: 0 Thread(s)
Quoted: 4512 Post(s)
Liked 6,386 Times
in
3,671 Posts
12-02-18, 09:57 PM
#49
Senior Member
Why all this complication?
So, why all the complications? Can't the steerer be cut ? Then gently heat the fork in a kiln or similar (but not enough to vause damage to the paint) to whatever reasonable temp. Then freeze the steerer with dry ice and knock it out. Unless the steerer was made using an interference fit, this should be able to be done. WHAT am I missing?
To replace put the new steerer in a deep freeze overnight set the fork up in a vice (wrapping the fork to protect it) upside down. Remove the steerer from the deep freeze, align and use a deadblow mallet and tap it home. Wrap the fork crown with wet rags and heat the steerer from the inside...braze using proper silver solder avaiable at a machine shop supply. Or use very small electronics silver solder available in spools. The heat can be managed.
If not, cut the existing steerer midway down. Purchase another from one of the bicycle frame supply companies and cut the threaded end to an aporopriate length. get a piece of good quality tubing that will fit on the inside of the steerer tube pieces. Drill a pair of holes on the shortened steerer 180 degrees apart, and hone the interior.
Push the short piece of tube past the holes in the 3xisting shortened steerer tube, and butt weld them using a mig welder...
Then silver solder the joint. With the upper threaded section, do the same, but offset the drilled holes 90 gegrees to those that have already been welded. Push the new threaded portion onto the inserted tube, and butt weld them together. Done ...or, or, or...
So tell me if I'm wrong. I do get that it is desired that the original finish and chrome needs to be preserved as much as possible.
Sorry for any typos in advance.
12-02-18, 11:26 PM
#50
Senior Member

Join Date: Aug 2009
Location: Berkeley, CA
Posts: 7,244
Bikes: '72 Cilo Pacer, '72 Gitane Gran Tourisme, '72 Peugeot PX10, '73 Speedwell Ti, '74 Peugeot UE-8, '75 Peugeot PR-10L, '80 Colnago Super, '85 De Rosa Pro, '86 Look Equipe 753, '86 Look KG86, '89 Parkpre Team, '90 Parkpre Team MTB, '90 Merlin
Mentioned: 87 Post(s)
Tagged: 0 Thread(s)
Quoted: 834 Post(s)
Liked 2,126 Times
in
555 Posts
I am curious: Why the decision to go through the trouble of extending the steerer on the red fork, rather than doing the same work on the original, pink fork? Personally, I'd rather match the frame with it's original, matching fork. I don't see the point in doing that work on the red fork, which seems too modern for that frame. Did I miss something?
Cool Fuso, btw.
Cool Fuso, btw.