


The Cave of Bad Ideas
 07-23-25 | 07:28 PM
#26

Garage tetris expert


Joined: May 2016
Posts: 1,340
Likes: 1,392
From: Texas Hill Country
Bikes: A few. Ok, a lot
Decided to use a top-pull front derailleur with a 31.8 clamp on bike with 28.6 tubes and downtube cable routing. Shimmed the clamp with a piece of pvc water pipe split open. Made a clamp-on pulley using a one sided downtube shifter mount clamp and a plastic pulley wheel from a kids toy. Mounted pulley clamp on the seat tube above the FD clamp to reverse the cable from bottom pull to top-pull. A week after this madness decided to buy a suitable FD. 
 07-23-25 | 07:46 PM
#27
Francophile
Joined: Nov 2015
Posts: 4,832
Likes: 2,152
From: Seattle
Bikes: Lots
Decided to use a top-pull front derailleur with a 31.8 clamp on bike with 28.6 tubes and downtube cable routing. Shimmed the clamp with a piece of pvc water pipe split open. Made a clamp-on pulley using a one sided downtube shifter mount clamp and a plastic pulley wheel from a kids toy. Mounted pulley clamp on the seat tube above the FD clamp to reverse the cable from bottom pull to top-pull. A week after this madness decided to buy a suitable FD.
__________________
Keeping Seattle�s bike shops in business since 1978
Keeping Seattle�s bike shops in business since 1978
Last edited by Aubergine; 07-23-25 at 10:04 PM.
07-23-25 | 10:42 PM
#29

Cantilever believer


Joined: Nov 2021
Posts: 3,205
Likes: 4,967
From: Phoenix, AZ
I beg to differ(entiate). Over what variables is Shimano integrating, and wouldn't you leave such functions to the next higher power, e.g. Dura Ace?
__________________
Richard C. Moeur, PE - Phoenix AZ, USA
https://www.richardcmoeur.com/bikestuf.html
Richard C. Moeur, PE - Phoenix AZ, USA
https://www.richardcmoeur.com/bikestuf.html
07-23-25 | 10:44 PM
#30
Cantilever believer
Joined: Nov 2021
Posts: 3,205
Likes: 4,967
From: Phoenix, AZ
Decided to use a top-pull front derailleur with a 31.8 clamp on bike with 28.6 tubes and downtube cable routing. Shimmed the clamp with a piece of pvc water pipe split open. Made a clamp-on pulley using a one sided downtube shifter mount clamp and a plastic pulley wheel from a kids toy. Mounted pulley clamp on the seat tube above the FD clamp to reverse the cable from bottom pull to top-pull. A week after this madness decided to buy a suitable FD.
Disregard - missed the "downtube cable routing". Nothing to see here. Move along.
__________________
Richard C. Moeur, PE - Phoenix AZ, USA
https://www.richardcmoeur.com/bikestuf.html
Richard C. Moeur, PE - Phoenix AZ, USA
https://www.richardcmoeur.com/bikestuf.html
Last edited by RCMoeur; 07-24-25 at 11:26 AM.


 07-24-25 | 07:01 AM
#32
 07-24-25 | 12:34 PM
#33

Freewheel Medic


Joined: Oct 2005
Posts: 13,578
Likes: 3,329
From: An Island on the Coast of GA!
Bikes: Snazzy* Schwinns, Classy Cannondales & a Super Pro Aero Lotus (* Ed.)
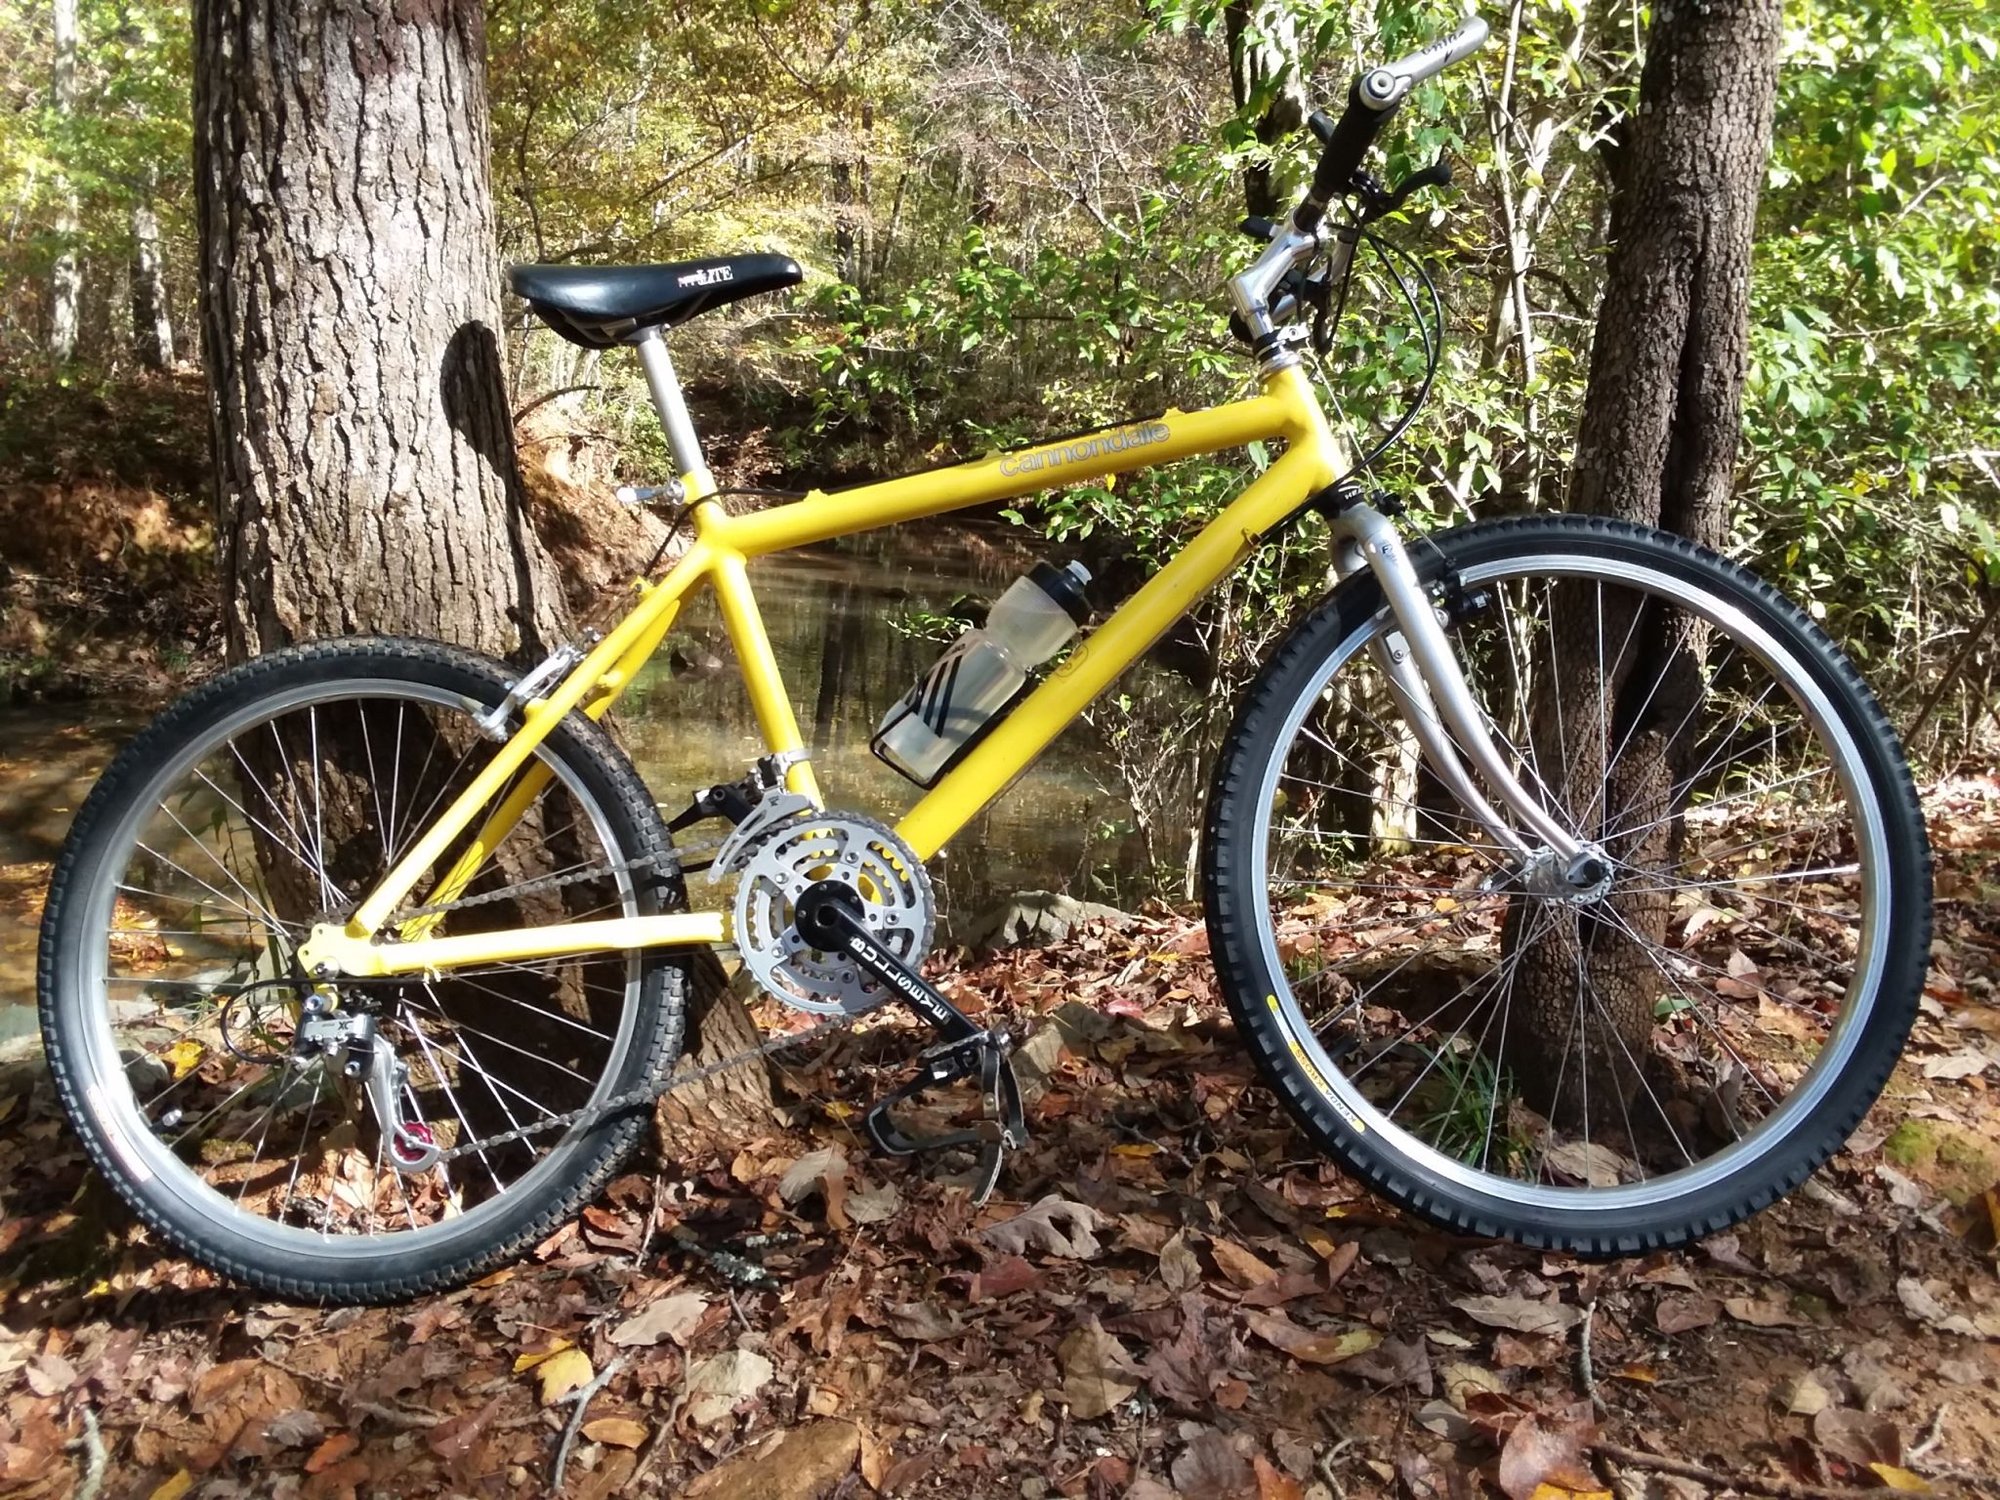
Here's a picture of my 54-speed Cannondale.

I recently switched out the bars that I bought from Velo Orange. While browsing their site I spotted this front rack at a great price of $40 something. It's designed specifically for a certain type of bars which have four mounting points. I thought I could make it work with a bit of creativity.


At the bars I used two of VO's handlebar water cage mounts. However, it still needed support from below. I had the struts from an unused rear rack, but where and how would I attach them to the frame or fork? The Headshok suspension presents challenges. The brake bosses were not an option.

Fortunately the bottom of the headset is rather thick and beefy, and covered by a rubber boot. I immediately thought about a hose clamp, but didn't have any on hand that would fit.
For now I'm using a length of chain secured with two zip ties. Two screws, positioned 180 degrees apart, are bolted through links in the chain. The eyelets at the end of the struts are then bolted to the screws. The valve stem covers protect me from the rough edges where I shortened the screws.


I still need to test ride it with a load, but so far it is working. I do plan to refine this setup with a hose clamp in the future.
I recently switched out the bars that I bought from Velo Orange. While browsing their site I spotted this front rack at a great price of $40 something. It's designed specifically for a certain type of bars which have four mounting points. I thought I could make it work with a bit of creativity.
At the bars I used two of VO's handlebar water cage mounts. However, it still needed support from below. I had the struts from an unused rear rack, but where and how would I attach them to the frame or fork? The Headshok suspension presents challenges. The brake bosses were not an option.
Fortunately the bottom of the headset is rather thick and beefy, and covered by a rubber boot. I immediately thought about a hose clamp, but didn't have any on hand that would fit.
For now I'm using a length of chain secured with two zip ties. Two screws, positioned 180 degrees apart, are bolted through links in the chain. The eyelets at the end of the struts are then bolted to the screws. The valve stem covers protect me from the rough edges where I shortened the screws.
I still need to test ride it with a load, but so far it is working. I do plan to refine this setup with a hose clamp in the future.
07-24-25 | 01:15 PM
#34
Cantilever believer
Joined: Nov 2021
Posts: 3,205
Likes: 4,967
From: Phoenix, AZ
Here's a picture of my 54-speed Cannondale.
I recently switched out the bars that I bought from Velo Orange. While browsing their site I spotted this front rack at a great price of $40 something. It's designed specifically for a certain type of bars which have four mounting points. I thought I could make it work with a bit of creativity.
At the bars I used two of VO's handlebar water cage mounts. However, it still needed support from below. I had the struts from an unused rear rack, but where and how would I attach them to the frame or fork? The Headshok suspension presents challenges. The brake bosses were not an option.
Fortunately the bottom of the headset is rather thick and beefy, and covered by a rubber boot. I immediately thought about a hose clamp, but didn't have any on hand that would fit.
For now I'm using a length of chain secured with two zip ties. Two screws, positioned 180 degrees apart, are bolted through links in the chain. The eyelets at the end of the struts are then bolted to the screws. The valve stem covers protect me from the rough edges where I shortened the screws.
I still need to test ride it with a load, but so far it is working. I do plan to refine this setup with a hose clamp in the future.
I myself would have used baling wire instead of zip ties, but around here the sun is more ruthless than moisture in destroying ad hoc connectors.
So which expendable small child will sit on it for the testing?

__________________
Richard C. Moeur, PE - Phoenix AZ, USA
https://www.richardcmoeur.com/bikestuf.html
Richard C. Moeur, PE - Phoenix AZ, USA
https://www.richardcmoeur.com/bikestuf.html
07-24-25 | 01:24 PM
#35
Thread Starter
Senior Member

Joined: Jul 2020
Posts: 1,823
Likes: 1,492
From: Oakland, CA
I recently switched out the bars that I bought from Velo Orange. While browsing their site I spotted this front rack at a great price of $40 something. It's designed specifically for a certain type of bars which have four mounting points. I thought I could make it work with a bit of creativity.
- Homebrew Computer Club - level hackery here. This, ladies & gentlemen, is how it's done.
- Velo Orange needs to make versions of (at least) their Porteur and Tourist bars with the hardpoints for this rack. Currently, if you think this is a neat idea, you're stuck with a clunker-style bar.
- The HeadShok is itself a product of Cannondale's Cave of Bad Ideas, and thus belongs in this thread anyway. The only way it would be more so is if it were a Lefty HeadShok.
- I've always wanted to play around with a mid-Naughties Bad Boy. I sold exactly one, to guy with a clapped-out old 80s MTB and like 3 DUIs. It had been sitting in the shop for like a year and a half, maybe two. He absolutely loved that bike. I rode it, and dug it enough that I considered buying it. Only thing was that in 2003, MTB bars were straight bars, which I hate. Nowadays, with something like V-O Crazy Bars, or the alloy version of the Surly Corner Bar, it'd be a main street rocket ship.
--Shannon
07-24-25 | 02:09 PM
#36

Senior Member
Joined: Dec 2004
Posts: 15,427
Likes: 8,348
From: Seattle area
Bikes: Bikes??? Thought this was social media?!?
buying a Zeus frameset and thinking "what fun it might be to re-Zeus this thing" - when donor bikes are above the budget limit and individual matching components are not readily available.
Cave of Bad Ideas = aka, Labor of Love - Been there, in one sense of the phrase, occasionally.
But a wonky implementation or weird component attempt is not a fault I will readily admit to.

Still in the box.
Cave of Bad Ideas = aka, Labor of Love - Been there, in one sense of the phrase, occasionally.
But a wonky implementation or weird component attempt is not a fault I will readily admit to.
Still in the box.
__________________
Vintage, modern, e-road. It is a big cycling universe.
Vintage, modern, e-road. It is a big cycling universe.
 07-24-25 | 02:43 PM
#37

Disco Infiltrator

Joined: May 2013
Posts: 15,350
Likes: 3,551
From: Folsom CA
Bikes: Stormchaser, Paramount, Tilt, Samba tandem
No photos, but I've long been mixing and matching SRAM and Shimano 1x11-speed MTB stuff. I just did it 12 speed for the first time, to my kid's bike so he could have a Shimano shifter, and told MTBR about it. Another denizen hooted at me of course it couldn't possibly work, according to the chart he found the Shimano system is 3.seven mm per click while the SRAM is 3.six.
There's a direct line from these guys to Sid in Toy Story. They all need a visit to Doc McStuffins
I thought it might be a nod to the Island of Misfit Toys (1964).
__________________
Genesis 49:16-17
"Well, well!" said Holmes, impatiently. "A good cyclist does not need a high road. The moor is intersected with paths and the moon is at the full."
Genesis 49:16-17
"Well, well!" said Holmes, impatiently. "A good cyclist does not need a high road. The moor is intersected with paths and the moon is at the full."
07-24-25 | 03:15 PM
#38
Vintage Trek Black Hole
Joined: Sep 2013
Posts: 1,427
Likes: 1,393
From: Portland, Cascadia
Bikes: 1976 Merz' Tourer, 1984 Strawberry, 1978 Trek 910, 1982 Trek 950, 1982 Trek 720, 1981 Trek 510

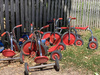
On the automobile side, I've been having problems with the back hatch on my car. My temporary fix works great.
07-24-25 | 04:51 PM
#40
Thread Starter
Senior Member
Joined: Jul 2020
Posts: 1,823
Likes: 1,492
From: Oakland, CA
07-25-25 | 04:01 AM
#41
ambulatory senior
Joined: Dec 2016
Posts: 6,451
Likes: 4,519
From: Peoria Il
Bikes: Austro Daimler modified by Gugie! Raleigh Professional and lots of other bikes.

Mounting a dynamo light intended for a rear rack on a rear seat stay. I never use rear racks and this mounting is easier and cheaper than a fender mount tail light. Bright as hell too!
07-25-25 | 09:19 AM
#42

Senior Member

Joined: Feb 2008
Posts: 5,321
Likes: 4,834
From: Peoria, IL
clearly you have not come across the Campagnolo Cambio Corsa!
To shift, you just reach behind you and grab the upper lever to unlock the quick release.
Then you grab the lower lever, back pedal, and use the lever to move the chain to whatever freewheel cog you want.
Then just grab the upper lever and lock the quick release.
That's it! What could be easier?!

Seen here on a bike displayed by the late Mike Barry of Mariposa Cycles at one of the Classic Rendezvous gatherings.
As always, a familiarity with history tends to make you more satisfied with some of the inconveniences that you've dealt with.
Steve in Peoria
To shift, you just reach behind you and grab the upper lever to unlock the quick release.
Then you grab the lower lever, back pedal, and use the lever to move the chain to whatever freewheel cog you want.
Then just grab the upper lever and lock the quick release.
That's it! What could be easier?!
Seen here on a bike displayed by the late Mike Barry of Mariposa Cycles at one of the Classic Rendezvous gatherings.
As always, a familiarity with history tends to make you more satisfied with some of the inconveniences that you've dealt with.
Steve in Peoria
07-25-25 | 09:25 AM
#43
Senior Member
Joined: Feb 2008
Posts: 5,321
Likes: 4,834
From: Peoria, IL

You do need to attach that lever to the hatch structure somehow, just to provide a means of pulling on the lever. Or hack off a bit of old handlebar and fit that to the lever?
Steve in Peoria (rather impressed, to be honest!)
07-25-25 | 09:53 AM
#44
Vintage Trek Black Hole
Joined: Sep 2013
Posts: 1,427
Likes: 1,393
From: Portland, Cascadia
Bikes: 1976 Merz' Tourer, 1984 Strawberry, 1978 Trek 910, 1982 Trek 950, 1982 Trek 720, 1981 Trek 510
why does this remind me of the saying "There's nothing so permanent as a temporary fix"?
You do need to attach that lever to the hatch structure somehow, just to provide a means of pulling on the lever. Or hack off a bit of old handlebar and fit that to the lever?
Steve in Peoria (rather impressed, to be honest!)
You do need to attach that lever to the hatch structure somehow, just to provide a means of pulling on the lever. Or hack off a bit of old handlebar and fit that to the lever?
Steve in Peoria (rather impressed, to be honest!)
I can operate the lever one handed just fine. The real problem is having to crawl through the back of the car to reach the lever!
I know what you're all thinking: cable extender so I can operate it from the driver's seat 😂
07-25-25 | 11:08 AM
#45
Thread Starter
Senior Member
Joined: Jul 2020
Posts: 1,823
Likes: 1,492
From: Oakland, CA
--Shannon
 08-03-25 | 08:08 PM
#48
Thread Starter
Senior Member
Joined: Jul 2020
Posts: 1,823
Likes: 1,492
From: Oakland, CA
11-25-25 | 02:37 PM
#49
Thread Starter
Senior Member
Joined: Jul 2020
Posts: 1,823
Likes: 1,492
From: Oakland, CA
Front Derailluer Setup Hack
Setting up front derailleurs is really friggin' annoying. It's not complicated, and it isn't difficult. What it is is irritating.
And one of the most, indeed, to my mind, the most annoying part about it is setting the mounting height of the damned things. It sucks. And the reason that it sucks is that you have to set the clearance between the derailleur's cage and the top of the big ring's teeth. Which sucks. And the reason that that sucks is that you have to simultaneously hold the derailleur at full extension with one hand while sliding it up / down the seat tube and setting the angle with the other. Which, unless you're using a Spirt*, means you're fighting the spring. With your fingers. Which really sucks.
And so, as I was trying to unbork the front shifting on the PPPKN-10, (of which more elsewhere,) and complaining about the lameness, when, inspired by the movement of the derailleur when I loosened the cable pinch bolt, and by a post about a centerpull adjustment hack that used the old cable upside down, which I can sadly not find, the Gnomes handed this up from the Cave of Bad Ideas:
What if I took the cable pinch bolt and threaded it into the arm from the other side, so that tighten it would move the derailleur outward?
So I tried it.
And it works.
And it's pretty awesome.
(And an Ultegra 9-speed triple front derailleur doesn't like a 26t granny, at least not with a 48t big ring. Back to the Nuovo Gran Sport, which was working fine before the Saga of the Bottom Brackets.)
Anywho, that's today's Bad Idea. Which is now open to criticism, and even outright mockery.
--Shannon
*It just occurred to me that this may have been the question to which Suntour's top-normal front derailleurs were supposed to be the answer. Yet another reason that I should build a fully reverse-buttocked drivetrain someday. RapidRise and Spirt... two dumb names for one dumb idea!
Last edited by ShannonM; 11-25-25 at 02:43 PM.
11-25-25 | 06:18 PM
#50
Junior Member
Joined: Aug 2025
Posts: 133
Likes: 132