

MFA
I thought the same thing. Right now, i don't believe there is much movement in that area around the lock nuts. The bolts them selves are ground down to be even or just below the nuts, so everything is smooth. I'll definitely keep an eye on them for a while in case I need to change out the hardware.
MFA
I have started the handles.
Two lengths of 3/4" x 6" aluminum rod.

To get rid of the smooth milled finish, I have been pounding the surface to get a hammered finish.

I have a handfull of 6" 1/4-20 stainless steel bolts with only the first 3/4" threaded. The plan is make a pair of short eye bolts that will connect the handle to the loops on each bag.
Two lengths of 3/4" x 6" aluminum rod.
To get rid of the smooth milled finish, I have been pounding the surface to get a hammered finish.
I have a handfull of 6" 1/4-20 stainless steel bolts with only the first 3/4" threaded. The plan is make a pair of short eye bolts that will connect the handle to the loops on each bag.


Senior Member
Quote:
You mean Chicago screws, Purebikes? They do indeed have a very low profile, but don't hold very well. Could Loctite them I suppose.Originally Posted by purebikes
Great work. My only concern would be the rubbing on the underside from the lock nuts. I am not sure what they are called but you might think of using those screw on rivets people use when recovering saddles. They have a much smaller profile.
MFA
My attempt to bend the bolts into a handle attachment did not work. Even with heat, the steel was too brittle to bend without tearing and breaking. Lucky or me, I found a better solution. the hardware store had these stainless steel S-hooks.

They are already bent most of the way, so if I can make the bend tighter I can make what amounts to a staple.
Clamp an S-hook in the vise

This piece of steel is the same thickness at the D-rings on the bags

Heat. I'm using MAPP gas.

Pound the hook closed.

Heat agin and pound it flat.

Here is the result.

More on page 2
They are already bent most of the way, so if I can make the bend tighter I can make what amounts to a staple.
Clamp an S-hook in the vise
This piece of steel is the same thickness at the D-rings on the bags
Heat. I'm using MAPP gas.
Pound the hook closed.
Heat agin and pound it flat.
Here is the result.
More on page 2
MFA
After cutting off the remaining hook, I made a drill jig on the table saw to mark out the four holes needed to "staple" the handles to the bag.

Insert the staples and pound them in with a mallet.

Now I can carry the bags into the store. Something that was not possible before.

On the bike.
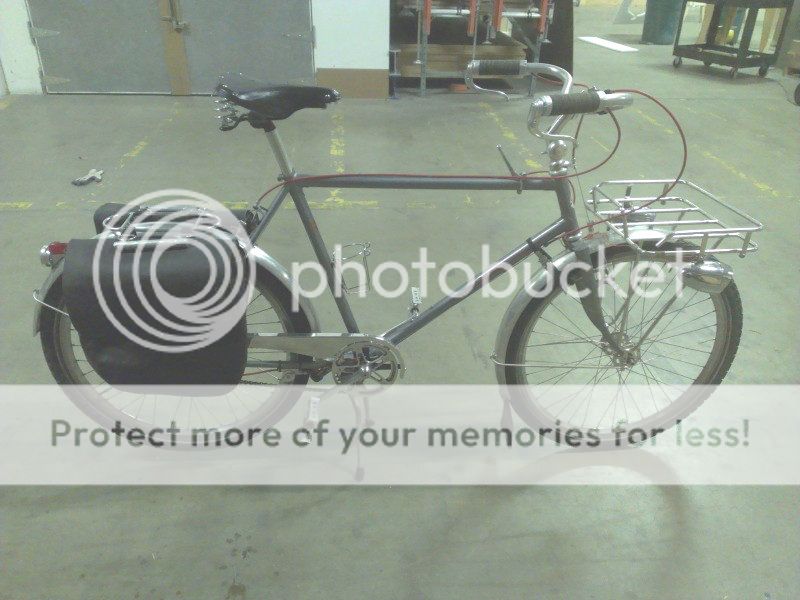
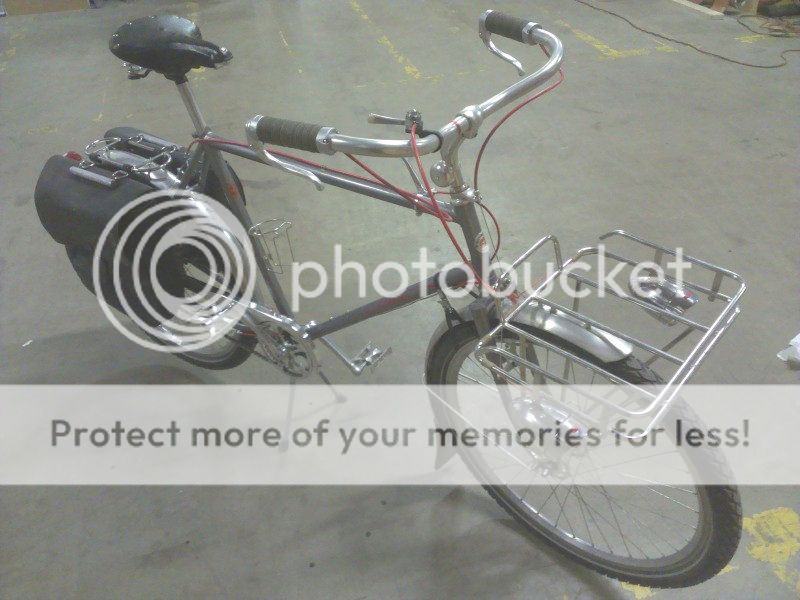
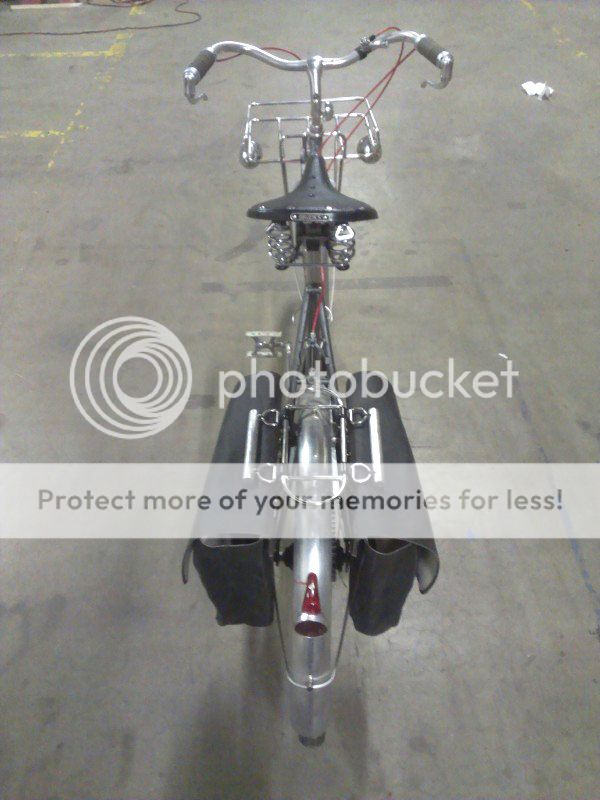
From above.

Also at the hardware store were these stainless rings. I attached them through the grommets with a length of stainless steel cable running behind the flap. These can be used to secure the bags with a locking cable attached to my U-lock and I can also attach a shoulder strap.

The bags might be done.
Insert the staples and pound them in with a mallet.
Now I can carry the bags into the store. Something that was not possible before.
On the bike.
From above.
Also at the hardware store were these stainless rings. I attached them through the grommets with a length of stainless steel cable running behind the flap. These can be used to secure the bags with a locking cable attached to my U-lock and I can also attach a shoulder strap.
The bags might be done.

Velocommuter Commando
Quote:
Insert the staples and pound them in with a mallet.
Now I can carry the bags into the store. Something that was not possible before.
On the bike.
From above.
Also at the hardware store were these stainless rings. I attached them through the grommets with a length of stainless steel cable running behind the flap. These can be used to secure the bags with a locking cable attached to my U-lock and I can also attach a shoulder strap.
The bags might be done.
Awesome! I could also see making some wooden handles instead of Aluminum..Originally Posted by jjvw
After cutting off the remaining hook, I made a drill jig on the table saw to mark out the four holes needed to "staple" the handles to the bag.Insert the staples and pound them in with a mallet.
Now I can carry the bags into the store. Something that was not possible before.
On the bike.
From above.
Also at the hardware store were these stainless rings. I attached them through the grommets with a length of stainless steel cable running behind the flap. These can be used to secure the bags with a locking cable attached to my U-lock and I can also attach a shoulder strap.
The bags might be done.
MFA
You could if you used expoxy to attach the staples or devised a way to pin the staples in place. Drilling all the way through the handle is the obvious choice, but that is far too easy.