


Alternate Headlight Mount - Mid-Fork Braze Ons
 01-27-16 | 01:06 AM
#1

Thread Starter
Living the Dream
Joined: Apr 2009
Posts: 449
Likes: 0
From: DFW Metroplex
Bikes: 2015 AWOL Frameset with custom drivetrain, 20?? Windsor Tourist, 2010 Specialized Secteur
Alternate Headlight Mount - Mid-Fork Braze Ons
A few guys from another thread asked about this, so I figured I'd make a new topic rather than derail that thread. Forgive the small thumbnails, my photobucket isn't working right.
I wanted to try mounting my battery powered headlights on my mid-fork braze ons, and I didn't want to spend a lot of money, in case I didn't like it.
I ended up liking it so much, I did it to two bikes. If you've been on the fence about trying it, I suggest you do. Everything you see cost me less than $10. The most expensive part was the can of paint.
Here are my results:


I got a few PVC end caps from the hardware store, and a few different washers. I drilled holes in the middle of the end caps and painted them black, then bolted them on.
Pro Tip, get the biggest washers that will fit inside the end cap. Drop the washer into the PVC. If you do it right, the washer will center itself in the cap, and that will give you a guide hole to drill a perfectly centered bolt hole.


The 1/2" PVC end caps have an OD of ~27mm, while the 3/4" end caps have an OD of ~33mm. Neither are the perfect diameter for this application. The 1/2" is a little shorter, so I decided to go with the 3/4" so the lights would be offset a little wider. Luckily my Cygolite mounts could accommodate the 33mm diameter. My old NiteRider MiNewt 600 clamp wouldn't close on it tightly enough.
I found the secret to keeping the PVC from rotating was to use the washers. They compress a little, making everything more snug. I added the star looking washers between the flat washer and the back of the PVC so that it gripped everything tighter.
I've been using them for quite a few months now, and I haven't had any major problems, even riding rough gravel roads and some singletrack. Every once in a while, when taking the lights off to charge, I'll tighten the bolt just a little, to make sure it's all snug.
I experimented with rear light mounts, but with my frame, I didn't find a mounting spot I liked.


One downside is that the lights cast a weird shadow from the wheel. It could be annoying to some. I found I like the extra free handlebar space and the depth of shadows more than I dislike the weird wheel shadow. With my handlebar mounted lights, the light would hit the ground and wash everything out. If there was a hole or a rut, you couldn't tell because there was no shadow. With the lights mounted lower, I can see the holes better, and avoid them.


I wanted to try mounting my battery powered headlights on my mid-fork braze ons, and I didn't want to spend a lot of money, in case I didn't like it.
I ended up liking it so much, I did it to two bikes. If you've been on the fence about trying it, I suggest you do. Everything you see cost me less than $10. The most expensive part was the can of paint.
Here are my results:
I got a few PVC end caps from the hardware store, and a few different washers. I drilled holes in the middle of the end caps and painted them black, then bolted them on.
Pro Tip, get the biggest washers that will fit inside the end cap. Drop the washer into the PVC. If you do it right, the washer will center itself in the cap, and that will give you a guide hole to drill a perfectly centered bolt hole.
The 1/2" PVC end caps have an OD of ~27mm, while the 3/4" end caps have an OD of ~33mm. Neither are the perfect diameter for this application. The 1/2" is a little shorter, so I decided to go with the 3/4" so the lights would be offset a little wider. Luckily my Cygolite mounts could accommodate the 33mm diameter. My old NiteRider MiNewt 600 clamp wouldn't close on it tightly enough.
I found the secret to keeping the PVC from rotating was to use the washers. They compress a little, making everything more snug. I added the star looking washers between the flat washer and the back of the PVC so that it gripped everything tighter.
I've been using them for quite a few months now, and I haven't had any major problems, even riding rough gravel roads and some singletrack. Every once in a while, when taking the lights off to charge, I'll tighten the bolt just a little, to make sure it's all snug.
I experimented with rear light mounts, but with my frame, I didn't find a mounting spot I liked.
One downside is that the lights cast a weird shadow from the wheel. It could be annoying to some. I found I like the extra free handlebar space and the depth of shadows more than I dislike the weird wheel shadow. With my handlebar mounted lights, the light would hit the ground and wash everything out. If there was a hole or a rut, you couldn't tell because there was no shadow. With the lights mounted lower, I can see the holes better, and avoid them.
 01-27-16 | 10:37 AM
#2
Banned
Joined: Jun 2010
Posts: 43,586
Likes: 1,380
From: NW,Oregon Coast
Bikes: 8
Foot/Candlepower is a Known factor for perceived brightness ..
Wired Dynamo Headlights have a 6mm bolt holes .
Those will work on Mid fork braze ons* too, with spacers and a Longer 5mm bolt.
* and fork tip eyelets..
Wired Dynamo Headlights have a 6mm bolt holes .
Those will work on Mid fork braze ons* too, with spacers and a Longer 5mm bolt.
* and fork tip eyelets..
01-27-16 | 05:02 PM
#3

aka Tom Reingold


Joined: Jan 2009
Posts: 44,193
Likes: 6,428
From: New York, NY, and High Falls, NY, USA
Bikes: 1962 Rudge Sports, 1971 Raleigh Super Course, 1971 Raleigh Pro Track, 1974 Raleigh International, 1975 Viscount Fixie, 1982 McLean, 1996 Lemond (Ti), 2002 Burley Zydeco tandem
Very nice work. You got me thinking.
__________________
Tom Reingold, tom@noglider.com
New York City and High Falls, NY
Blogs: The Experienced Cyclist; noglider's ride blog
�When man invented the bicycle he reached the peak of his attainments.� � Elizabeth West, US author
Please email me rather than PM'ing me. Thanks.
Tom Reingold, tom@noglider.com
New York City and High Falls, NY
Blogs: The Experienced Cyclist; noglider's ride blog
�When man invented the bicycle he reached the peak of his attainments.� � Elizabeth West, US author
Please email me rather than PM'ing me. Thanks.
01-27-16 | 05:14 PM
#4
Senior Member

Joined: Jun 2014
Posts: 4,628
Likes: 943
From: Ontario, Canada
Bikes: iele Latina, Miele Suprema, Miele Uno LS, Miele Miele Beta, MMTB, Bianchi Model Unknown, Fiori Venezia, Fiori Napoli, VeloSport Adamas AX
I wanted to do that on my touring bike but couldn't. I mounted the light on the front of the front rack.
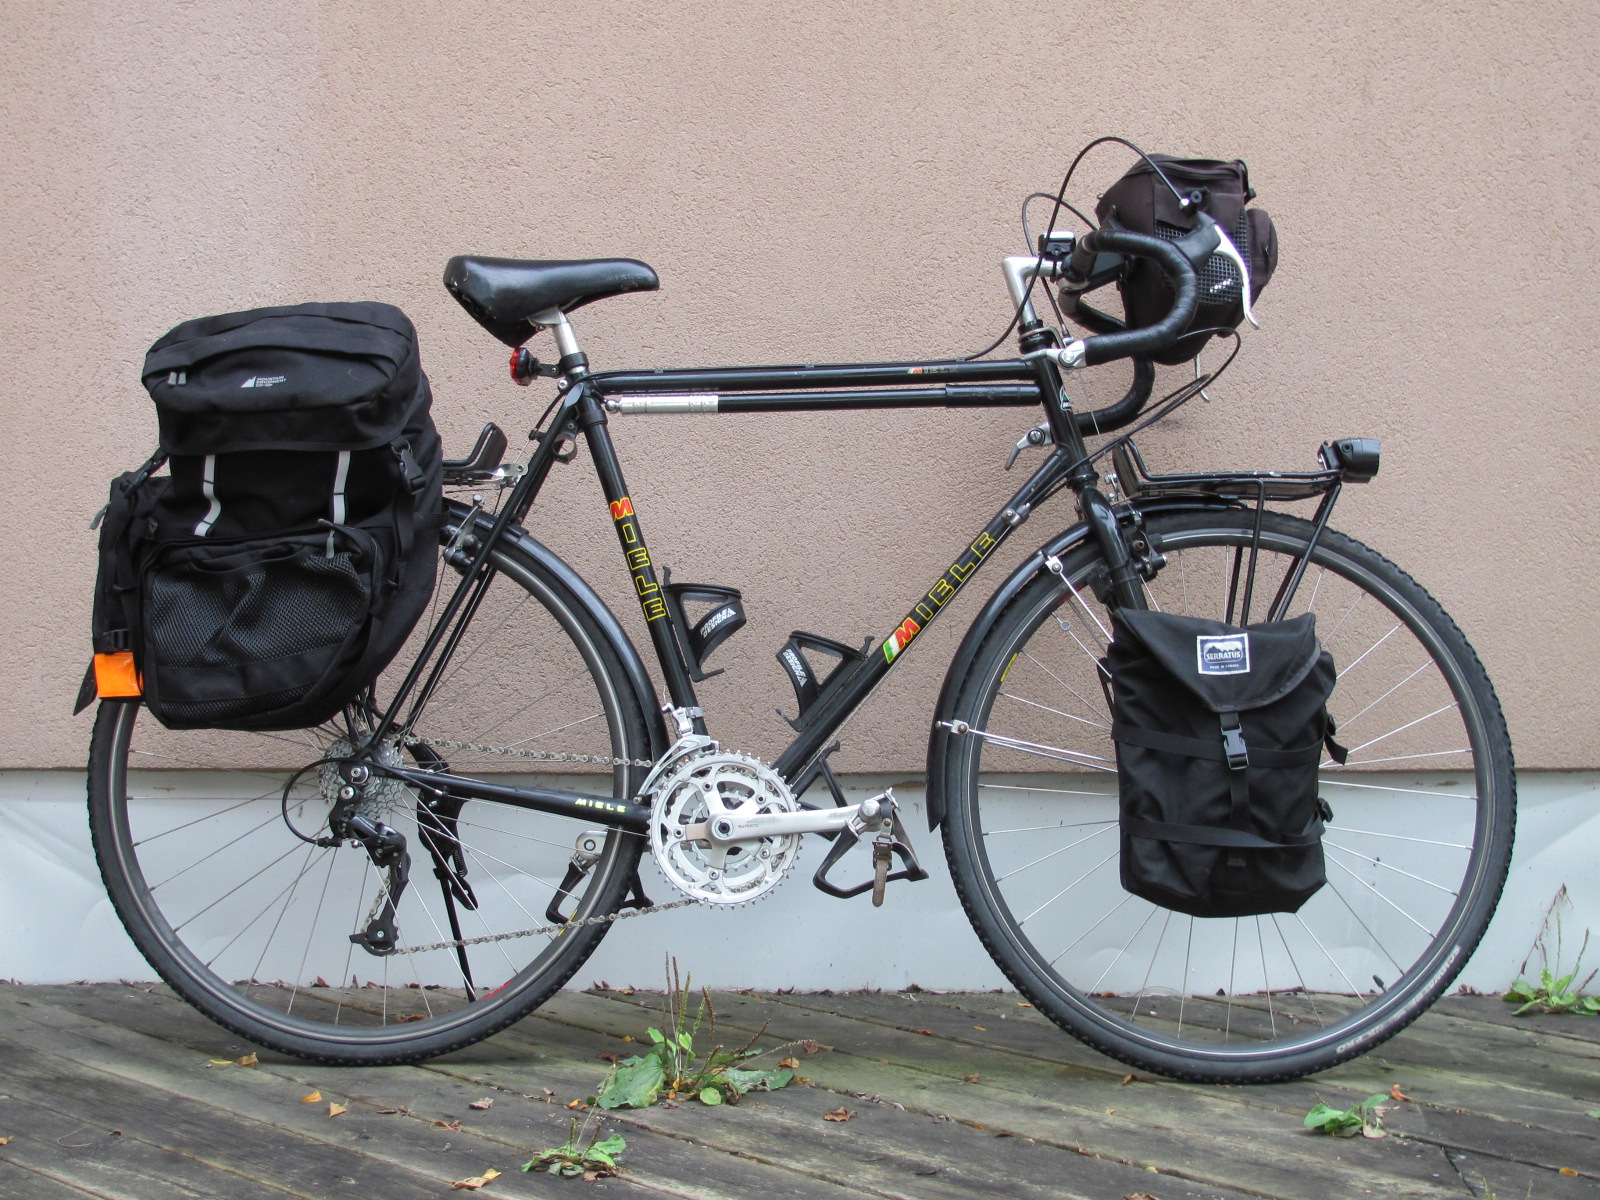 #04b Miele Uno L.S. Rebuilt 4 Touring - Added Bottle Mount, Canti-brake Studs & Bridge by Miele Man, on Flickr
It could also be mounted on the loop of a front low rider rack. i used a P-clip then.
You're correct that the lower beam angle gives a lot more shadow highlighting.
Cheers
#04b Miele Uno L.S. Rebuilt 4 Touring - Added Bottle Mount, Canti-brake Studs & Bridge by Miele Man, on FlickrIt could also be mounted on the loop of a front low rider rack. i used a P-clip then.
You're correct that the lower beam angle gives a lot more shadow highlighting.
Cheers


 01-29-16 | 08:40 AM
#6

always rides with luggage
Joined: Feb 2005
Posts: 2,109
Likes: 20
From: KIGX
Bikes: 2007 Trek SU100, 2009 Fantom CX, 2012 Fantom Cross Uno, Bakfiets
Looks like the trick for me was the star lockwasher inside the PVC. Thanks for the tip!
__________________
--Ben
2006 Trek SU100, 2009 Motobecane Fantom CX, 2011 Motobecane Fantom Cross Uno, and a Bakfiets
Previously: 2000 Trek 4500 (2000-2003), 2003 Novara Randonee (2003-2006), 2003 Giant Rainier (2003-2008), 2005 Xootr Swift (2005-2007), 2007 Nashbar 1x9 (2007-2011), 2011 Windsor Shetland (2011-2014), 2008 Citizen Folder (2015)
Non-Bike hardware: MX Linux / BunsenLabs Linux / Raspbian / Mac OS 10.6 / Android 7

