


Play in the Bottom Bracket - What's wrong with my Bottom Bracket?
 09-06-25 | 09:33 AM
#51
Francophile

Joined: Nov 2015
Posts: 4,831
Likes: 2,152
From: Seattle
Bikes: Lots
The cup is not uncommon or hard to replace. Don't focus too much on trying to save it at this point.
__________________
Keeping Seattle�s bike shops in business since 1978
Keeping Seattle�s bike shops in business since 1978
 09-06-25 | 04:37 PM
#52

Mad bike riding scientist


Joined: Nov 2004
Posts: 29,209
Likes: 6,286
From: Denver, CO
Bikes: Some silver ones, a red one, a black and orange one, and a few titanium ones
Given the state of the bearing cages, you should just replace the whole thing. Cages that are worn like that generally have wear patterns on the cups and spindle that make them unusable. Bearings are meant to roll, not grind. Yours have been grinding for a while.
__________________
Stuart Black
Dreamin' of Bemidji Down the Mississippi (in part)
Plan Epsilon Around Lake Michigan in the era of Covid
Gold Fever Three days of dirt in Colorado
Pokin' around the Poconos A cold ride around Lake Erie
Dinosaurs in Colorado A mountain bike guide to the Purgatory Canyon dinosaur trackway
Solo Without Pie. The search for pie in the Midwest.
Picking the Scablands. Washington and Oregon, 2005. Pie and spiders on the Columbia River!
09-06-25 | 05:31 PM
#53

Senior Member
Joined: Aug 2015
Posts: 4,202
Likes: 2,949
A little heat, like use a torch to heat to the point that the grease melts and wicks into the thread. That would be enough to help soften the start. The grease melts lower than paint, you�ll be fine there. I�ve done this a number of time with cup/cone and cartridge bb, stuck pedals, frozen gooseneck.
09-07-25 | 05:49 PM
#54
Thread Starter
Senior Member
Joined: Jul 2021
Posts: 790
Likes: 387
I followed the BB removal method suggested by the late, great Sheldon Brown (as demonstrated in the video below by RJ, skip to 6:11) and was able to remove the adjustable cup without damage.
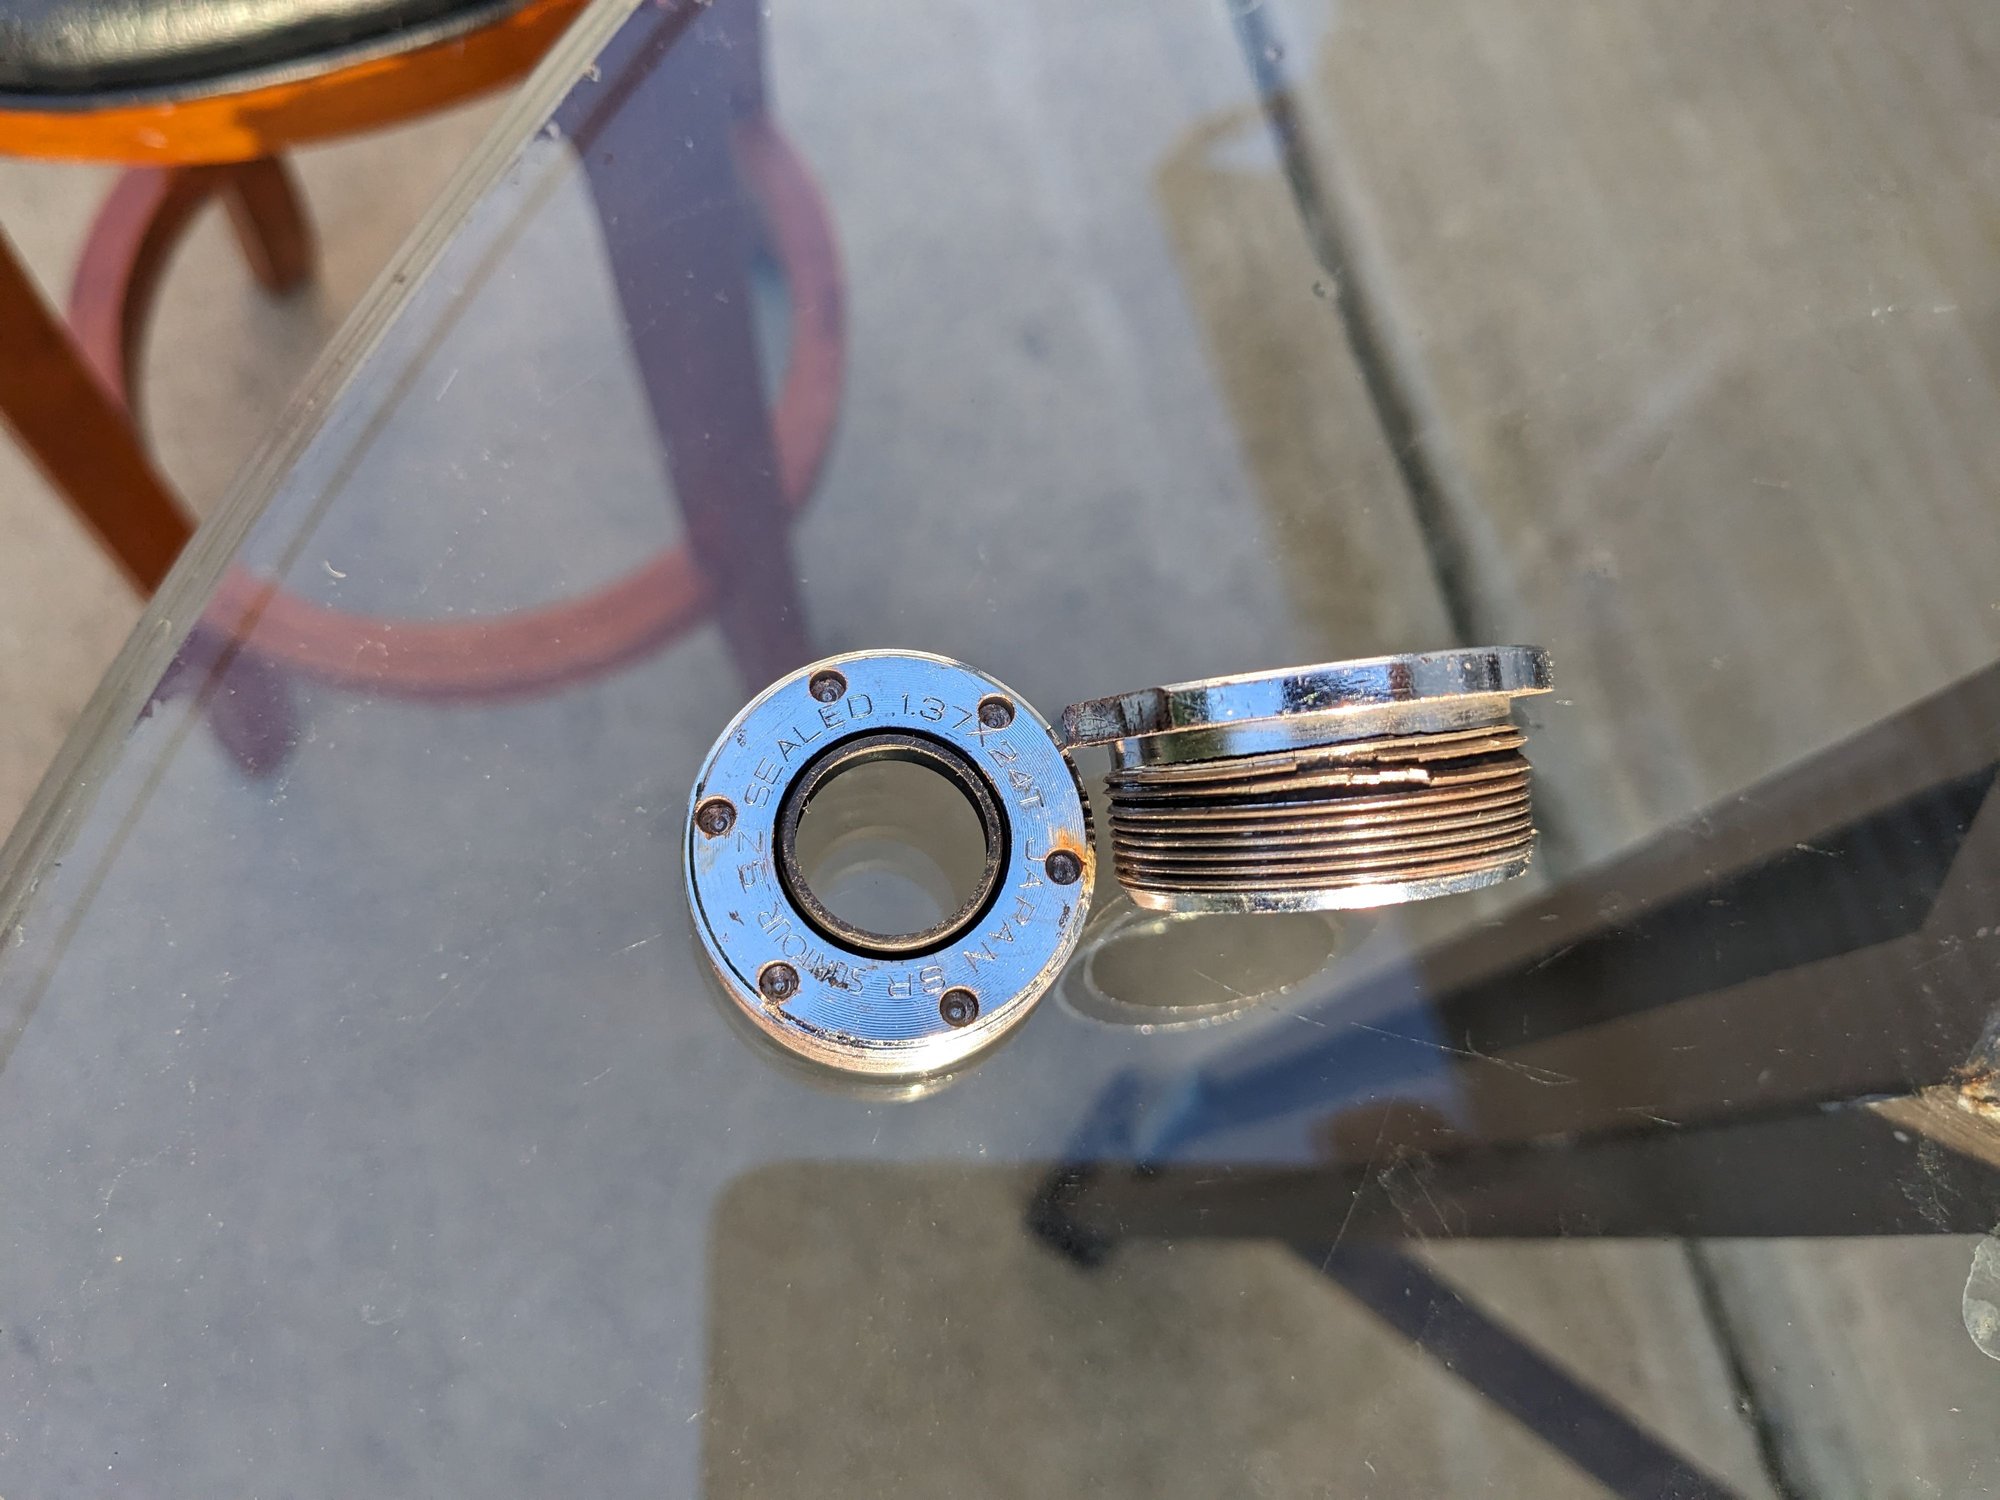
Using a 6-inch long, 5/8" bolt with a 15/16" head and a corresponding nut, a 5-inch long, 21mm diameter pipe, and two flat washers on either side for the 5/8" bolt, a 1/2" impact wrench with a 15/16" socket, it took 15 seconds to get the adjustable cup out without damage. Inserted the bolt from drive side to non-drive side. After removal, the spindle and the inside of both cups look fine to me.
However, I noticed the threads on the fixed cup were stripped. It most likely came to me like that with the bike from the previous owner.
09-07-25 | 06:12 PM
#55
Senior Member


Joined: Apr 2011
Posts: 12,782
Likes: 4,887
I followed the BB removal method suggested by the late, great Sheldon Brown (as demonstrated in the video below by RJ, skip to 6:11) and was able to remove the adjustable cup without damage.
https://youtu.be/P9oIUmdI5JU
Using a 6-inch long, 5/8" bolt with a 15/16" head and a corresponding nut, a 5-inch long, 21mm diameter pipe, and two flat washers on either side for the 5/8" bolt, a 1/2" impact wrench with a 15/16" socket, it took 15 seconds to get the adjustable cup out without damage. Inserted the bolt from drive side to non-drive side. After removal, the spindle and the inside of both cups look fine to me.
However, I noticed the threads on the fixed cup were stripped. It most likely came to me like that with the bike from the previous owner.
