


Hints and tricks thread
 11-18-23 | 02:54 PM
#751
Junior Member
Joined: Aug 2023
Posts: 101
Likes: 96
From: Norcal\San Joaquin County
Bikes: Specialized Sirrus X 3.0, Trek 700 MultiTrack,Specialized Alibi,Benotto ?
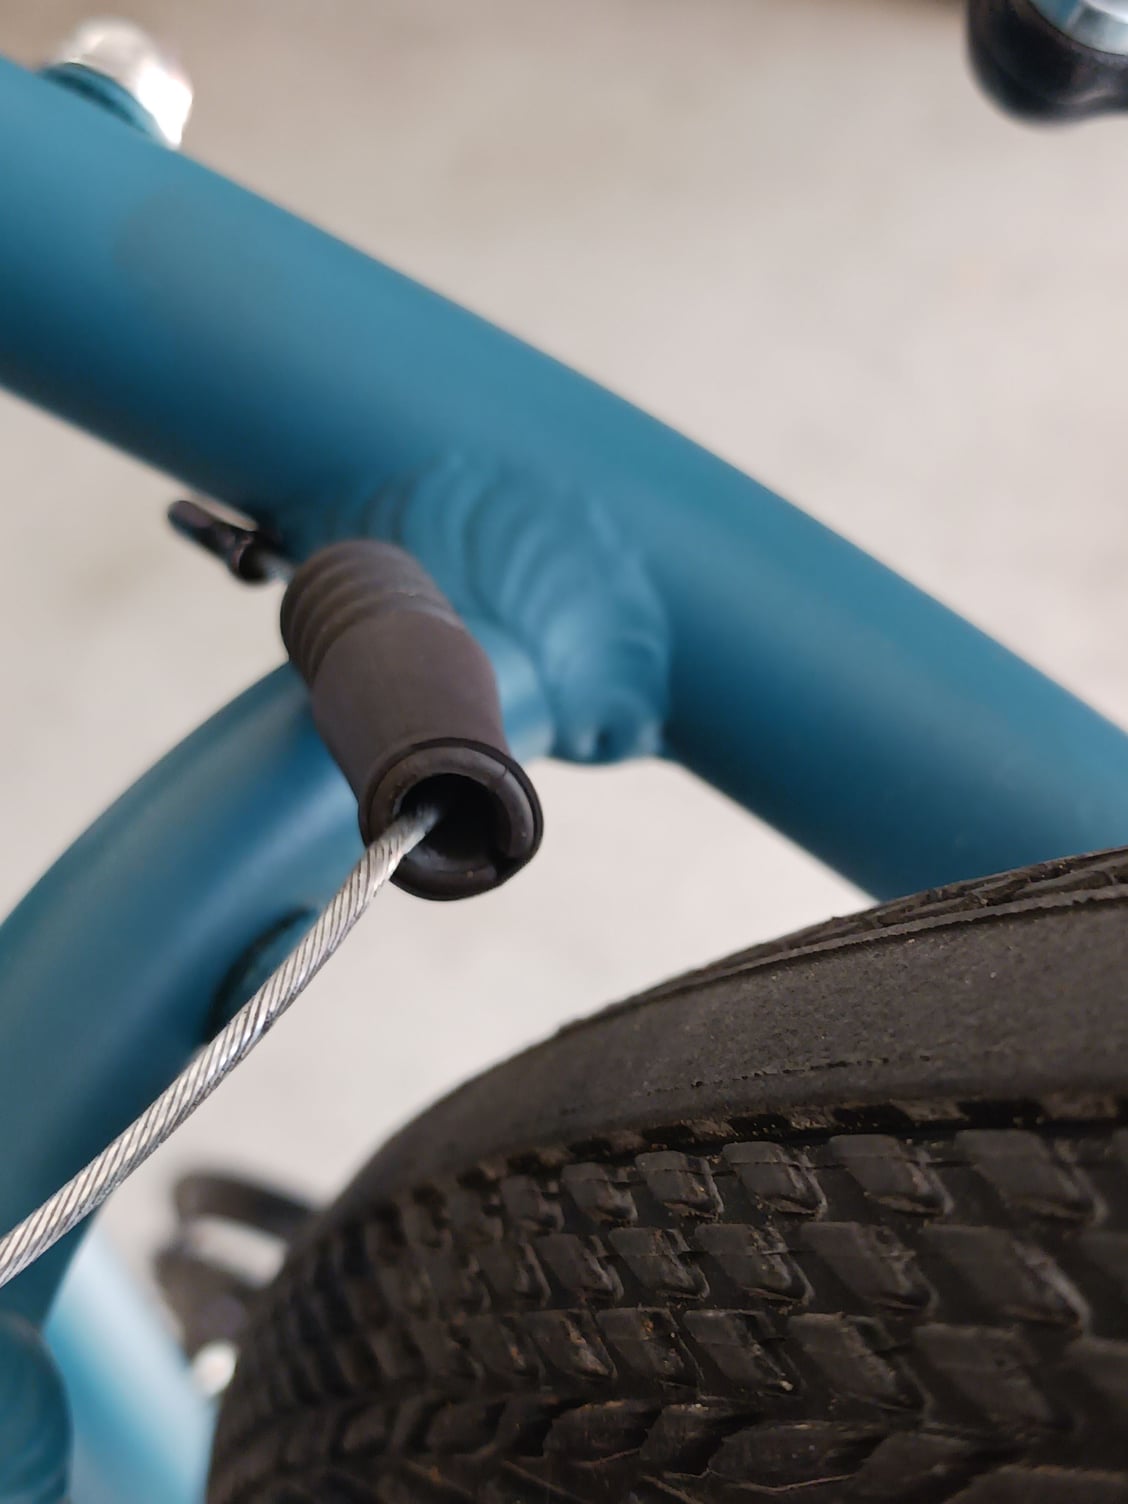
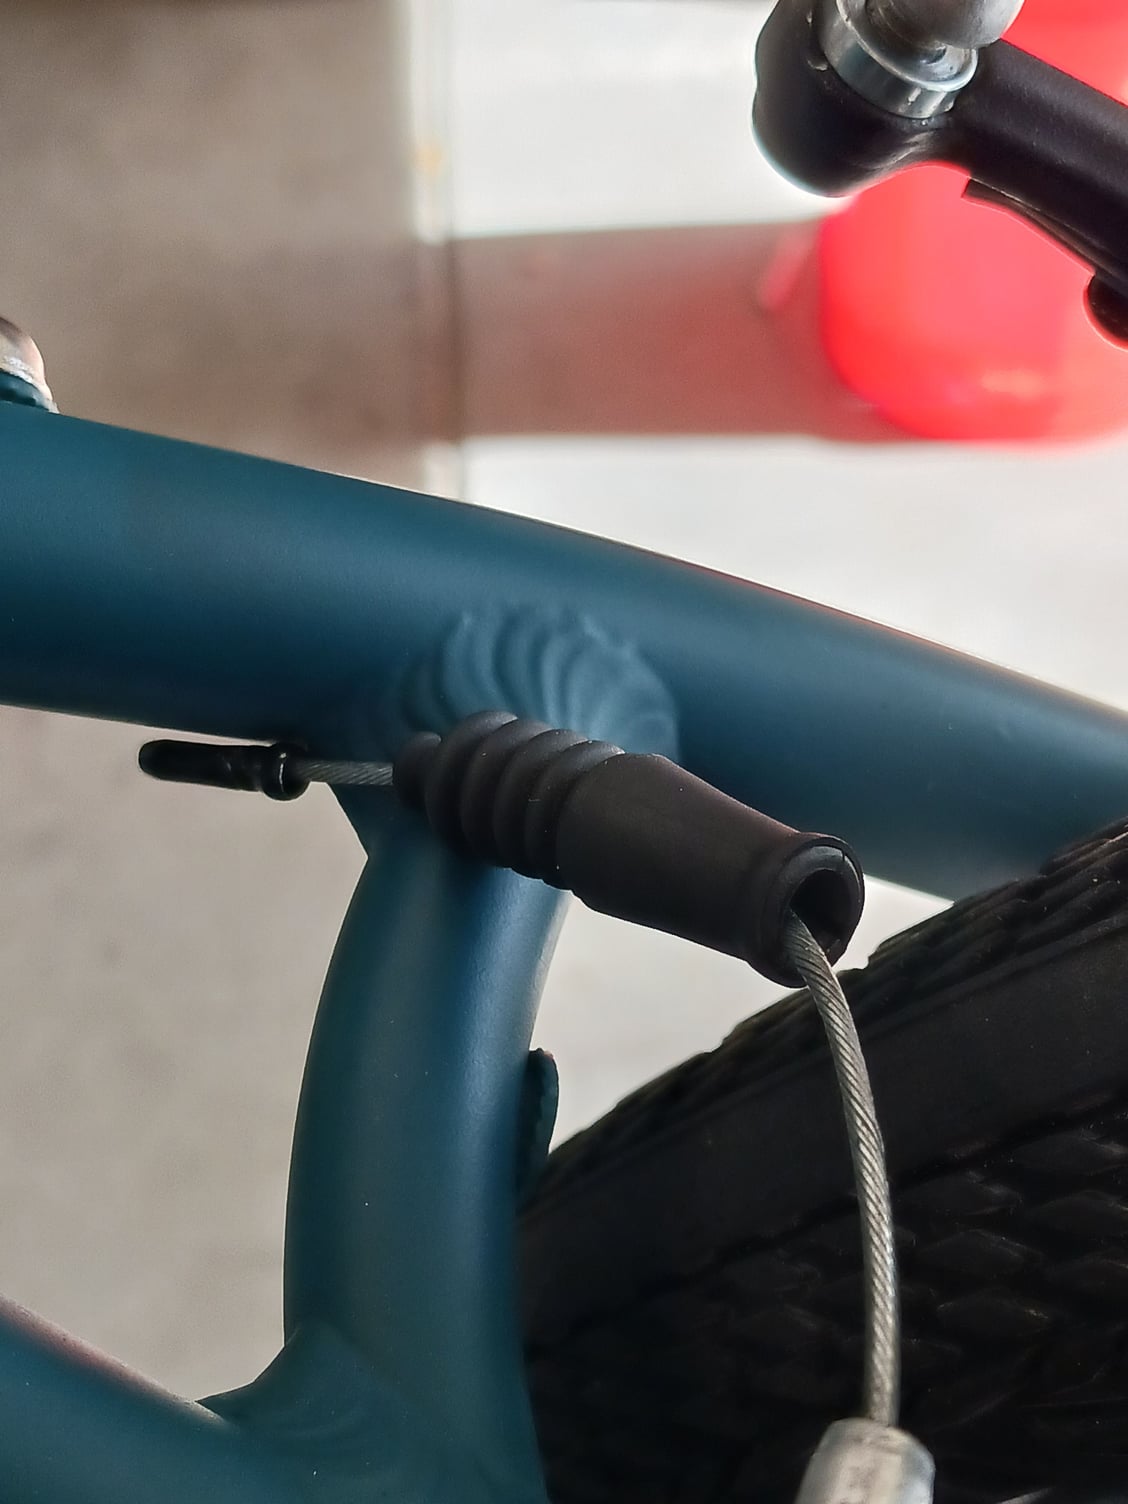
I picked up a used bike a few weeks ago. The back V brake boot was cracked and looking tired. Dug out my box of assorted shrink fit tubing. Pulled the old boot. Cut a piece of tubing and slid it over the cracked portion of the boot. Then slide it back over the cable and used a lighter to shrink it up. One day I'll buy a heat gun but somehow I've survived without one.
Here are a couple pics
Sorry if this has been posted before. So many tips here. I've barely made a dent in reading them.
Here are a couple pics
Sorry if this has been posted before. So many tips here. I've barely made a dent in reading them.
 11-20-23 | 03:31 PM
#752
Newbie
Joined: Nov 2023
Posts: 1
Likes: 0
Whoa!
Another tip: if you find yourself cycling in some place in Africa, Indonesia etc. temporarily without access to good lubricants for your bike components, be it chain or bearings, you can use coconut oil. It will work fine for all the components that need lubing (usually it's the chain to cause these emergencies) and it's impervious to peroxidation. (in fact, coconut oil, virgin or refined, has the lowest peroxidation index of all organic non-mineral oils). In other words, it won't get rancid for a very long time.
It's less than ideal in very cold climates, but in the above example that's not a problem.
It's less than ideal in very cold climates, but in the above example that's not a problem.
01-26-24 | 03:12 PM
#754

Senior Member
Joined: Oct 2022
Posts: 602
Likes: 429
From: UK, New Forest
Bikes: 1948-49 Allin SB Long Term Resto 1948 Raleigh Lenton Clubman Frame Project 1950 Raleigh Clubman Frame Project 1951 Claud Butler New Allrounder Frame Project 1959 Claud Butler European 1977 Motob�cane C4 1977 Carlton Clubman 1980 Gitane Sprint
02-04-24 | 05:16 PM
#756
Newbie
Joined: Sep 2022
Posts: 1
Likes: 0
Noisy V-brakes
A tip I learned today...
Bike: 2023 Specialized Sirrus 1.0 with V-brakes
Problem: My front brake, when applied, has always been noisy. It would make a "shhhhhhh", hissing noise. I tried all of the suggestions for squeaky brakes to no avail. Then I found a technical diagram (sorry I�m a newb and apparently cannot send a link) on the Kool-Stop web site which shows a 90 deg angle between the brake pad and the rim. My angle was more like 110 deg.
Solution: To get the angle down to 90 deg, I would have to shorten the bushing that lies next to the pad. Fortunately, there is a quick fix: simply swap the two bushings. Now the thin bushing goes next to the pad and the thick bushing now goes up beneath the washer. I did this and my angle went down exactly to 90 deg. Now my brake is blissfully silent.
02-16-24 | 12:09 PM
#758
Senior Member


Joined: Mar 2007
Posts: 9,175
Likes: 5,355
From: SF Bay Area, East bay
Bikes: Miyata 618 GT, Marinoni, Kestral 200, Soma double cross 2002 Trek 5200, KHS Flite, Koga Miyata, Schwinn Spitfire 5, Mondia Special, Univega Alpina, Miyata team Ti, Santa Cruz Highball, Waterford rs11
STI's get lazy sometimes. If you are riding and are trying to shift up to the big gear in front but the lever doesn't want to fully pull the cable, you can reach down and just pull the cable to complete the shift.
04-20-24 | 06:46 PM
#759

Keepin it Wheel


Joined: Aug 2011
Posts: 10,964
Likes: 5,224
From: San Diego
Bikes: Surly CrossCheck, Krampus
Not sure if I posted this before, but I used it this afternoon and it worked so well!
When fitting a new cable on a rear derailleur, first use your hands to push the RD and turn the crank to force the chain onto the 2nd smallest cog -- while the shifter thinks the cable is let out all the way for the smallest cog.
Pull the cable taut with pliers with one hand while tightening the pinch bolt with the other hand.
The pliers will not have been able to pull the cable fully taut, it will have about 1 gear of play.
Spin the cranks and the chain will drop into the small cog, and odds are the shifter will be shifting well across all gears (I didn't even need any barrel adjuster at all today, with a 9sp RD)
04-21-24 | 08:52 AM
#760
Senior Member

Joined: Jul 2004
Posts: 8,162
Likes: 647
From: Brooklyn NY
Bikes: Kuota Kredo/Chorus, Trek 7000 commuter, Trek 8000 MTB and a few others
Not sure if I posted this before, but I used it this afternoon and it worked so well!
When fitting a new cable on a rear derailleur, first use your hands to push the RD and turn the crank to force the chain onto the 2nd smallest cog -- while the shifter thinks the cable is let out all the way for the smallest cog.
Pull the cable taut with pliers with one hand while tightening the pinch bolt with the other hand.
The pliers will not have been able to pull the cable fully taut, it will have about 1 gear of play.
Spin the cranks and the chain will drop into the small cog, and odds are the shifter will be shifting well across all gears (I didn't even need any barrel adjuster at all today, with a 9sp RD)
When fitting a new cable on a rear derailleur, first use your hands to push the RD and turn the crank to force the chain onto the 2nd smallest cog -- while the shifter thinks the cable is let out all the way for the smallest cog.
Pull the cable taut with pliers with one hand while tightening the pinch bolt with the other hand.
The pliers will not have been able to pull the cable fully taut, it will have about 1 gear of play.
Spin the cranks and the chain will drop into the small cog, and odds are the shifter will be shifting well across all gears (I didn't even need any barrel adjuster at all today, with a 9sp RD)
03-19-25 | 10:56 AM
#761
Keepin it Wheel
Joined: Aug 2011
Posts: 10,964
Likes: 5,224
From: San Diego
Bikes: Surly CrossCheck, Krampus
Wow, almost a year with no new tips on this thread!
I'm struggling with cup&cone preload on my rear wheel, and this video gave me confidence that I'll be able to get it right! (assuming that riding for months with increasingly bad play hasn't ruined the races :-( )
I'm struggling with cup&cone preload on my rear wheel, and this video gave me confidence that I'll be able to get it right! (assuming that riding for months with increasingly bad play hasn't ruined the races :-( )
03-27-25 | 01:13 PM
#762
Senior Member
Joined: Apr 2016
Posts: 3,836
Likes: 1,770
Wow, almost a year with no new tips on this thread!
I'm struggling with cup&cone preload on my rear wheel, and this video gave me confidence that I'll be able to get it right! (assuming that riding for months with increasingly bad play hasn't ruined the races :-( )
https://www.youtube.com/watch?v=ozAQxbd1euU
I'm struggling with cup&cone preload on my rear wheel, and this video gave me confidence that I'll be able to get it right! (assuming that riding for months with increasingly bad play hasn't ruined the races :-( )
https://www.youtube.com/watch?v=ozAQxbd1euU
05-27-25 | 11:24 PM
#763

Perpetual Pedaler
Joined: May 2025
Posts: 94
Likes: 34
From: Earth
Bikes: SE Bikes - Lager
If you don't have access to a either a proper truing stand or even the materials and/or skills to assemble a makeshift stand like others have suggested, you can simply use a sharpie to mark the spots to adjust.
With the bike upside down, I begin by unmounting the wheel and the tire from the wheel then remount to the frame. Whether it's a rear wheel or front wheel, mount it in the rear because that's most stable. Then I hold the sharpie closely on the seat stay, either side, pointing towards the braking surface and spin the wheel. Make my adjustments at the marks, wipe off marks with an alcohol pad, grab sharpie and spin again. Repeat as necessary.
I usually do it a couple times on each side until it's fairly balanced. This isn't as good as using a proper stand but it'll get you close. I can get mine near perfect.
And if you're having trouble remembering which direction to turn the spokes, try keeping the spoke you're adjusting facing you. That way you can see how righty-tighty, lefty-lucy applies. Or by keeping the nipple pointing downwards, at the top of the wheel, it's the same concept designed to keep focus. I always screw it up with the nipples pointing upwards, bottom of the wheel. It's kind of like backing a trailer. I can't do that either.
Last edited by FXN56; 05-28-25 at 12:15 AM. Reason: I mistakenly said chainstay when I meant seat stay. Corrected!
05-28-25 | 12:11 AM
#764
Perpetual Pedaler
Joined: May 2025
Posts: 94
Likes: 34
From: Earth
Bikes: SE Bikes - Lager
09-13-25 | 10:20 PM
#766
Junior Member
Joined: Sep 2025
Posts: 86
Likes: 20
From: Eastern Europe
Cotter pins were getting getting loose and cranks had some play in them. Tried different sized pins with no success.
Breaking off a small piece of hacksaw blade. That fit into the spindle slot for the cotter pin and allowed the crank arm to slide over, then inserting the cotter with the piece of hacksaw blade inbetween the spindle and the cotter pin.
This way the crank never got loose in over a year of riding. There was no problem taking the crank off when needed.
03-01-26 | 10:33 PM
#767
Senior Member
Joined: Mar 2007
Posts: 9,175
Likes: 5,355
From: SF Bay Area, East bay
Bikes: Miyata 618 GT, Marinoni, Kestral 200, Soma double cross 2002 Trek 5200, KHS Flite, Koga Miyata, Schwinn Spitfire 5, Mondia Special, Univega Alpina, Miyata team Ti, Santa Cruz Highball, Waterford rs11
Always nice to see how things operate. Is there already a thread to post YouTube channels?
https://m.youtube.com/@bike.m%C3%BCnchen/shorts
https://m.youtube.com/@bike.m%C3%BCnchen/shorts
03-07-26 | 03:39 PM
#768
Senior Member

Joined: Apr 2019
Posts: 3,836
Likes: 1,456
From: UK
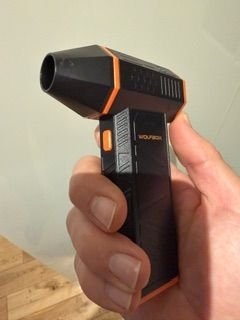
Just cleaned a chain with the old Park Tool spinner thing. Wanted to lube it tonight and not wait for it to dry properly. Had already sprayed it with water and wiped it down with a rag as much as I could.
I remembered we have this handheld airjet dust cleaning thing. Held a rag under the chain run and blew this along it. Amazing how much water AND residual dirt came off.
I remembered we have this handheld airjet dust cleaning thing. Held a rag under the chain run and blew this along it. Amazing how much water AND residual dirt came off.
03-09-26 | 12:10 AM
#769
Newbie

Joined: Nov 2025
Posts: 29
Likes: 18
From: Oakland, CA
Bikes: 1982 Team Fuji frankenbike, 1968 Raleigh Sports 3-speed, 1986 Guerciotti Carbonio
I stumbled onto a solution for one particular scenario with stripped threads. I was tightening the clamp bolt on my derailleur (#6 in the diagram), and it stripped out the hole in the alloy body. I then tortured myself for days, pondering tapping, inserts, drilling, swapping parts, etc., none of which I liked.
Then I happened to measure the depth of the hole, and I found that it would accept a longer bolt, especially when accounting for the thickness of the radius washer and mounting bracket (7, 8). So I hunted through the little drawers at the local hardware store and found one I liked. They had two options for it in stainless alone. It works like a charm; I didn�t even have to tap any more threads into the depths of the hole.
The head doesn�t match the �umbrella� style of the original bolt, but I see I can get one online if I feel like it, now that I�ve proved the concept
It sure is satisfying to stumble upon a dead-simple solution to a problem that looked like it would require time, dollars, and gray hairs!
04-21-26 | 08:22 AM
#770
Senior Member
Joined: Apr 2010
Posts: 2,946
Likes: 506
From: Elevation 666m Edmonton Canada
Bikes: 2013 Custom SA5w / Rohloff Tourster
Put compressionless housing on ALL your brakes.
After 7 years faffing without on my SA XRD3 drum brake the difference was astounding. It easily and completely locks solid now.
There's nothing better than SA drum brakes that work 100% in ALL weather and one has lasted 33,000 miles and still going on my tour heavyweight.
After 7 years faffing without on my SA XRD3 drum brake the difference was astounding. It easily and completely locks solid now.
There's nothing better than SA drum brakes that work 100% in ALL weather and one has lasted 33,000 miles and still going on my tour heavyweight.
04-28-26 | 09:51 AM
#771
Full Member
Joined: Nov 2015
Posts: 206
Likes: 58
Another way to true a wheel in the frame is to use the brakes to show high spots, this doesnt work with disks of course.
Crank the caliper to one side slightly or remove brake block on one side. Spin the wheel and gradually wind the remaining/nearest brake block towards the rim with the cable adjuster.
Where the rim rubs or stops you have a high spot. Adjust the spokes to remove the high spot and repeat ......
Keep an eye on how the wheel is centred in the frame, It is good to change over sides at some point to keep the rim central.
Also it is well worth investing in one of the cheap chinese spoke tension guages. The one I purchased for less than a tenner is a decent bit of kit. Very useful to check spoke tension is even and to confirm you have actually tightened a spoke rather than just winding it up!

